


Free Online Image Resizer
Fotor’s free image resizer makes it easy to resize photos in bulk for any platform without quality loss.
Drag image here or click to upload
Drag image here or click to upload


50M+
Images Processed
Zero
Visible Quality Loss
<0.5s
Average Processing
Why Choose Fotor Image Resizer?
![Batch]()
Smart Batch Processing
Effortlessly resize up to 50 images simultaneously with our AI-driven batch resizer, ensuring pixel-perfect clarity for Shopify, Instagram, and LinkedIn.
![Data security icon]()
Bank-Grade Security
We utilize SSL encryption and guaranteed auto-detection within 24 hours. Your data is never used for AI training.
![Fast icon]()
Lightning-Fast & 100% Free
Experience zero-lag processing with our cloud-based infrastructure—no registration required.
![Multiple upload formats supported]()
Universal Format Support
Seamlessly process everything from classic JPG/PNG to modern HEIC (iPhone Photos) and WebP. No pre-conversion needed.
![Gradient purple HD photo icon]()
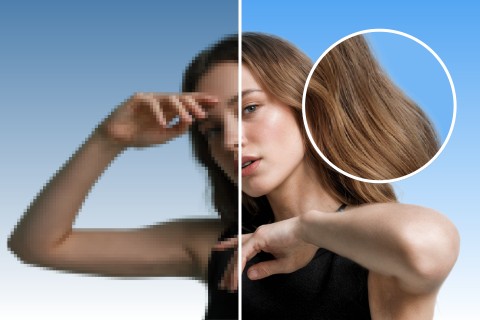
Pro-Level Clarity
Our Smart-Scaling algorithm ensures your images remain crisp and artifact-free. Get the perfect dimensions without sacrificing a single pixel of detail.”
![Online icon]()
Cross-Platform Online Tool
No installation required. Access our cloud-based resizing tool on your desktop, tablet, or smartphone—anytime, anywhere.
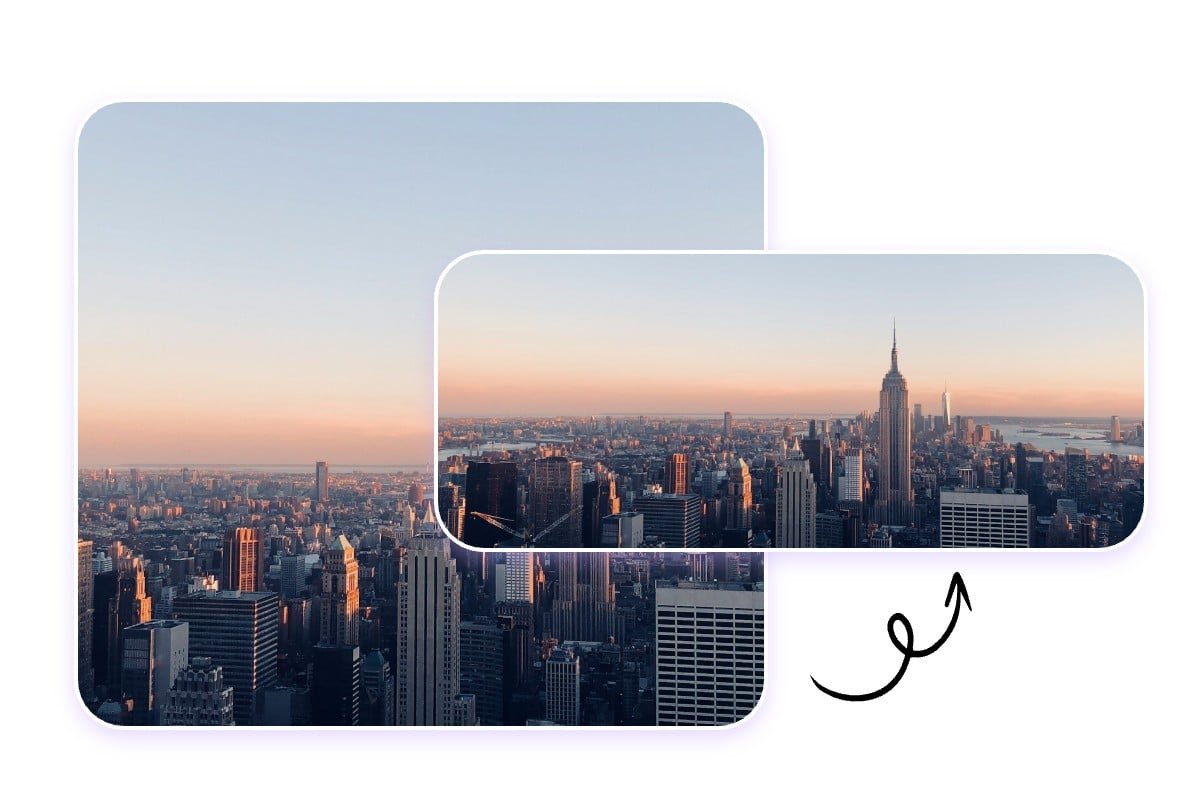
Change the Dimensions to Fit Every Social Platform
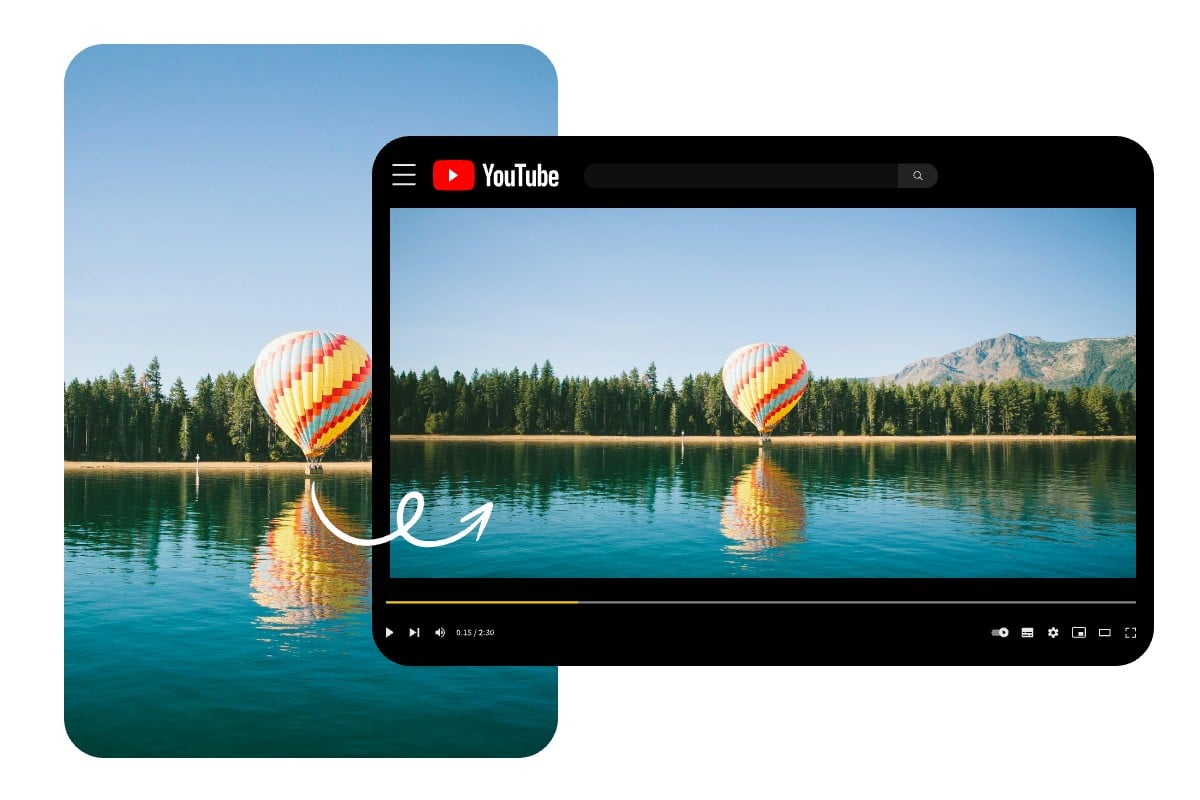
Resize Image Sizes for YouTube Channels
Creating a professional-looking YouTube channel starts with appropriately sized visuals. With Fotor's thumbnail resizer and banner resizer, you can ensure visual consistency across various screens.
Common Dimensions:
· Channel Banner: 2560 x 1440 pixels (16:9 aspect ratio)
· Video Thumbnails: 1280 x 720 pixels (16:9 aspect ratio)
· Profile Picture: 800 x 800 pixels (1:1 aspect ratio)
· Display Ads: 300 x 250 pixels (desktop)
· Overlay Ads: 480 x 70 pixels (approx. 6.86:1 aspect ratio)Sizes for YouTube Channels

Optimal Photo Sizes for Instagram Content
Fotor Instagram resizer is here to maintain a visually appealing profile, which can attract more followers and keep current ones engaged.
Common Dimensions:
· Instagram Posts:
1. Square Posts: 1080 x 1080 pixels (1:1 aspect ratio).
2. Portrait Posts: 1080 x 1350 pixels (4:5 aspect ratio).
3. Landscape Posts: 1080 x 566 pixels (1.91:1 aspect ratio).
· Instagram Stories: 1080 x 1920 pixels (9:16 aspect ratio).
· Instagram Reels: 1080 x 1920 pixels (9:16 aspect ratio).
· IGTV Cover Photo: 420 x 654 pixels (1:1.55 aspect ratio).
· Instagram Live Videos: 1080 x 1920 pixels (9:16 aspect ratio).
· Square Carousel Posts: 1080 x 1080 pixels (1:1 aspect ratio).
· Profile Picture: 320 x 320 pixels (1:1 aspect ratio).
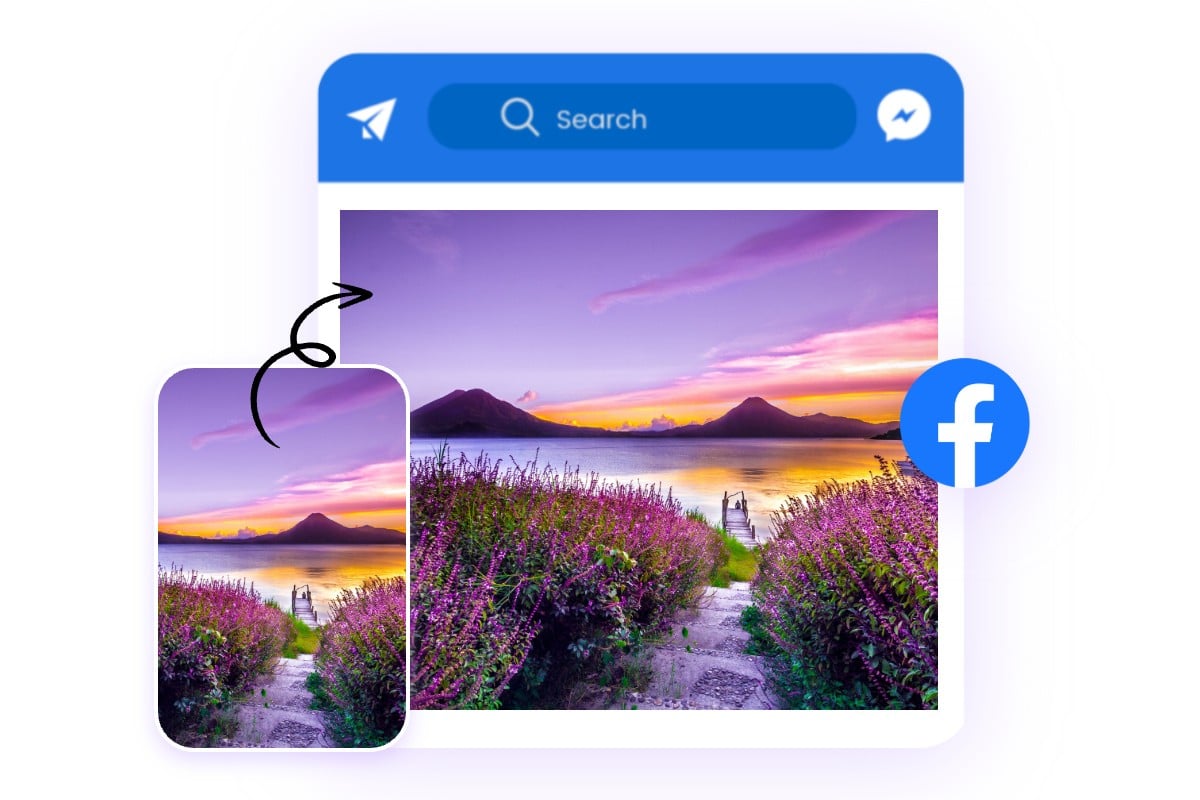
Change Photo Sizes for Enhanced Facebook Engagement
With the help of Fotor Facebook resizer, you can adhere to Facebook's photo size guidelines to ensure that your content aligns with the platform's standards, making it more likely to capture users' attention and engage them effectively.
Common Dimensions:
· Profile Pictures: 180 x 180 pixels (1:1 aspect ratio).
· Cover Photos: 820 x 312 pixels (2.63:1 aspect ratio).
· Shared Image Posts: 1200 x 630 pixels (1.91:1 aspect ratio).
· Event Cover Photos: 1920 x 1005 pixels (1.91:1 aspect ratio).
· Facebook Stories: 1080 x 1920 pixels (9:16 aspect ratio).
· Shared Link Image: 1200 x 628 pixels (1.91:1 aspect ratio).
· Highlighted Images: 1200 x 717 pixels (1.67:1 aspect ratio).
· Facebook Ads: 1200 x 628 pixels (1.91:1 aspect ratio).

Change Twitter Pictures Dimensions for the Best Display
Getting your picture sizes right for Twitter is key to making sure they pop on everyone’s feed and look good on any device. Proper dimensions not only boost engagement but also spruce up your profile.
Common Dimensions:
· Profile Pictures: 400 x 400 pixels (1:1 aspect ratio).
· Header Photos: 1500 x 500 pixels (3:1 aspect ratio).
· In-Stream Photos: 1600 x 900 pixels (16:9 aspect ratio).
Summary Card with Large Image: 1200 x 628 pixels (1.91:1 aspect ratio).
Twitter Card Images: 800 x 418 pixels (1.91:1 aspect ratio).
Fleet Images: 1080 x 1920 pixels (9:16 aspect ratio).
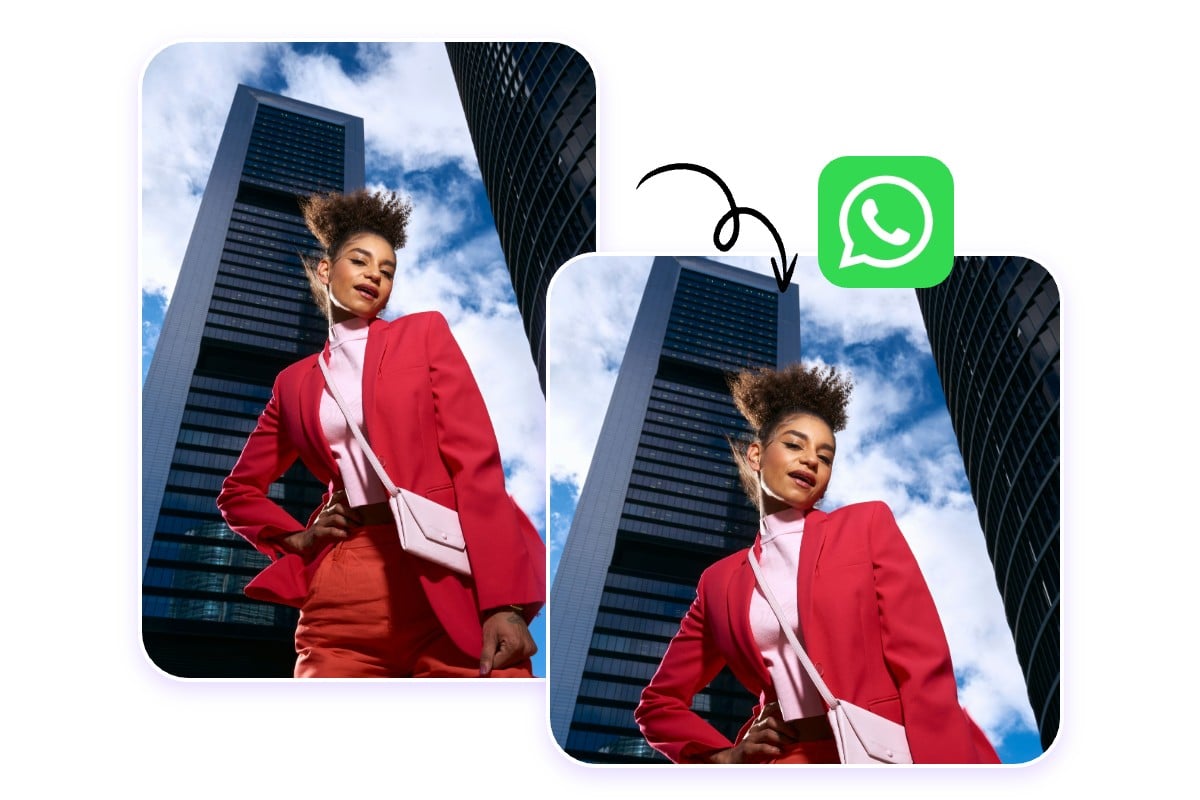
Resize Images for WhatsApp DP Without Cropping
When setting up your WhatsApp display picture (DP), it's important to get the size just right. WhatApp DPs are displayed in a circular frame, so the best size for your image is 500 x 500 pixels, with a 1:1 aspect ratio. Fotor WhatsApp dp converter helps you to resize your image to the exact dimensions, ensuring it fits perfectly within the circular frame.
Resize Your LinkedIn Images for Perfect Presentation
On LinkedIn, presenting sharp and professionally sized images can significantly enhance your personal or company brand. LinkedIn recommends specific dimensions for different types of images to ensure they look their best.
Common Dimensions:· Profile Pictures: 400 x 400 pixels (1:1 aspect ratio).
· Background/banner images: 1584 x 396 pixels (4:1 aspect ratio).
· Shared Image Posts: 1200 x 628 pixels (1.91:1 aspect ratio).
· LinkedIn Ads: 1200 x 627 pixels (1.91:1 aspect ratio).
· Company Logo: 300 x 300 pixels (1:1 aspect ratio).
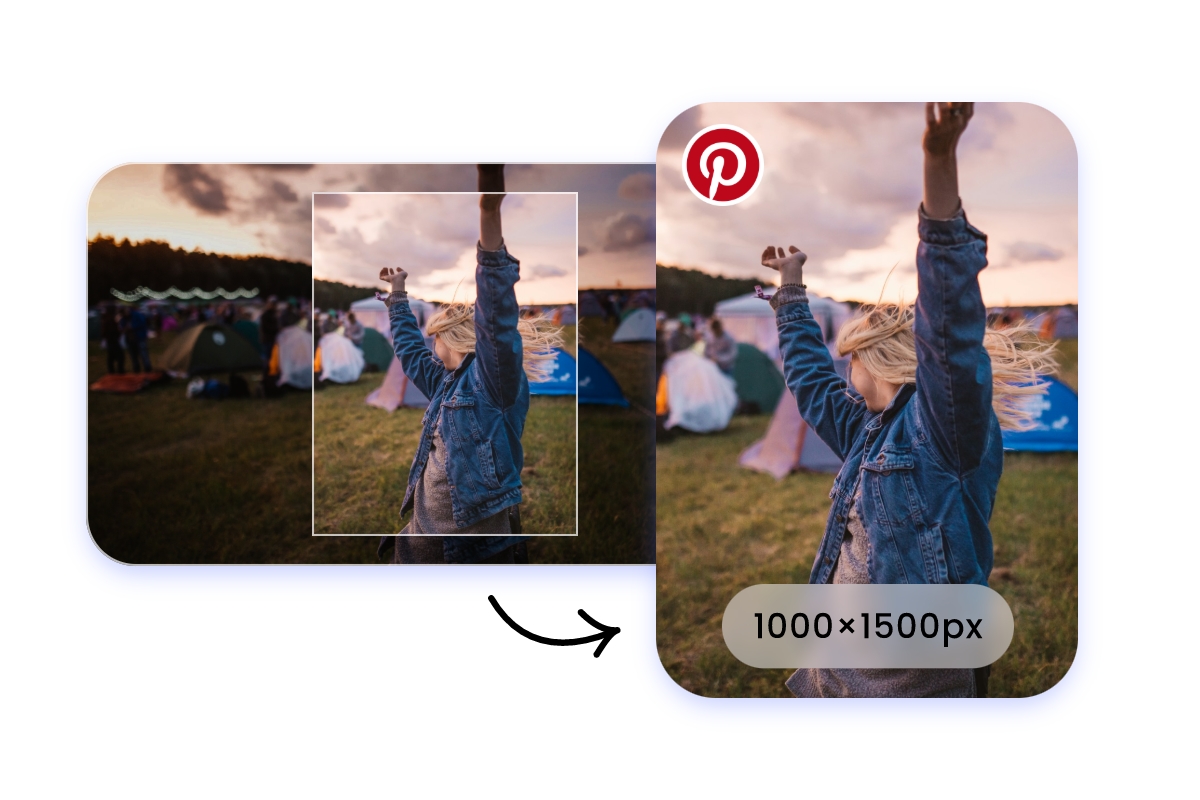
Resize Photos for the Ideal Pinterest Dimensions
Pinterest requires images to have a 2:3 vertical ratio, with a recommended size of 1000×1500px for optimal display. With our photo resizer, you can quickly adjust your photos to Pinterest's recommended dimensions while maintaining high quality and the correct aspect ratio.
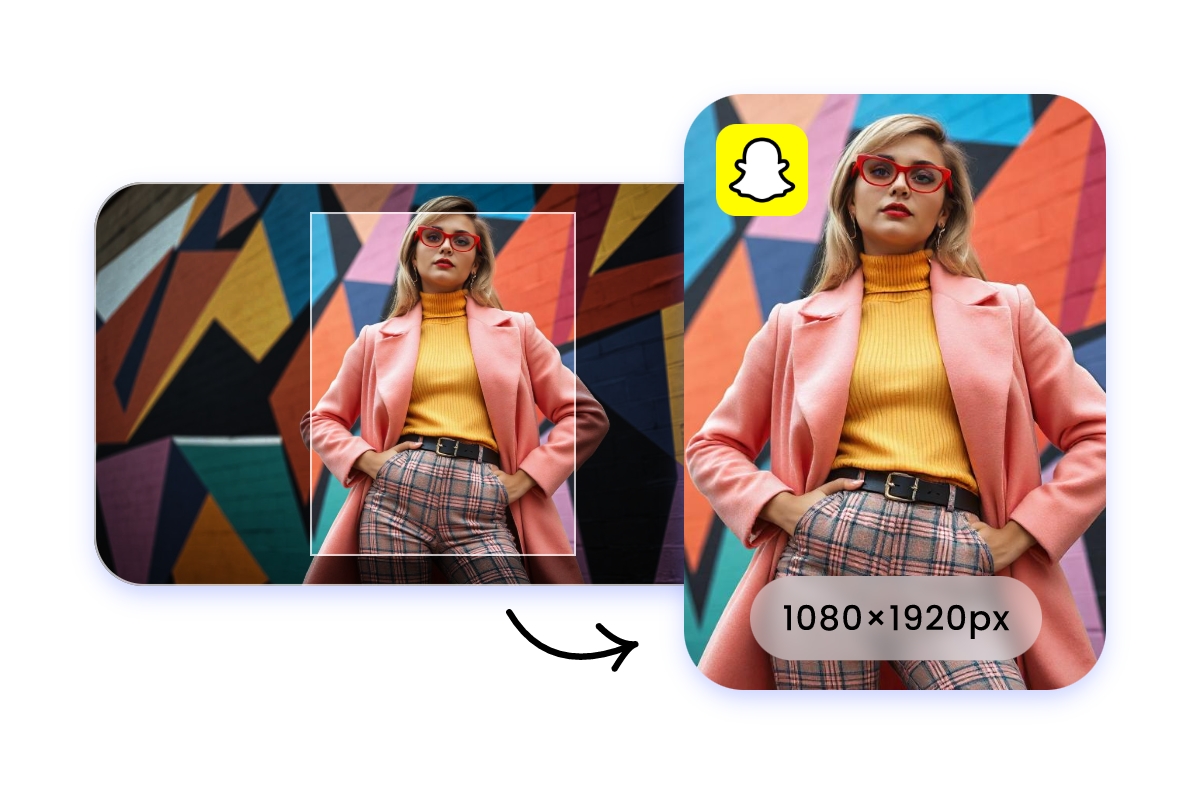
Adjust Picture Size for Snapchat
The most commonly used size for Snapchat is 1080×1920px with a 9:16 aspect ratio. Our picture resizer makes it easy to resize your pictures to fit Snapchat's dimensions, and you can choose the file size you need to ensure your pictures are perfectly optimized for Snapchat Stories, ads, filters, and more.
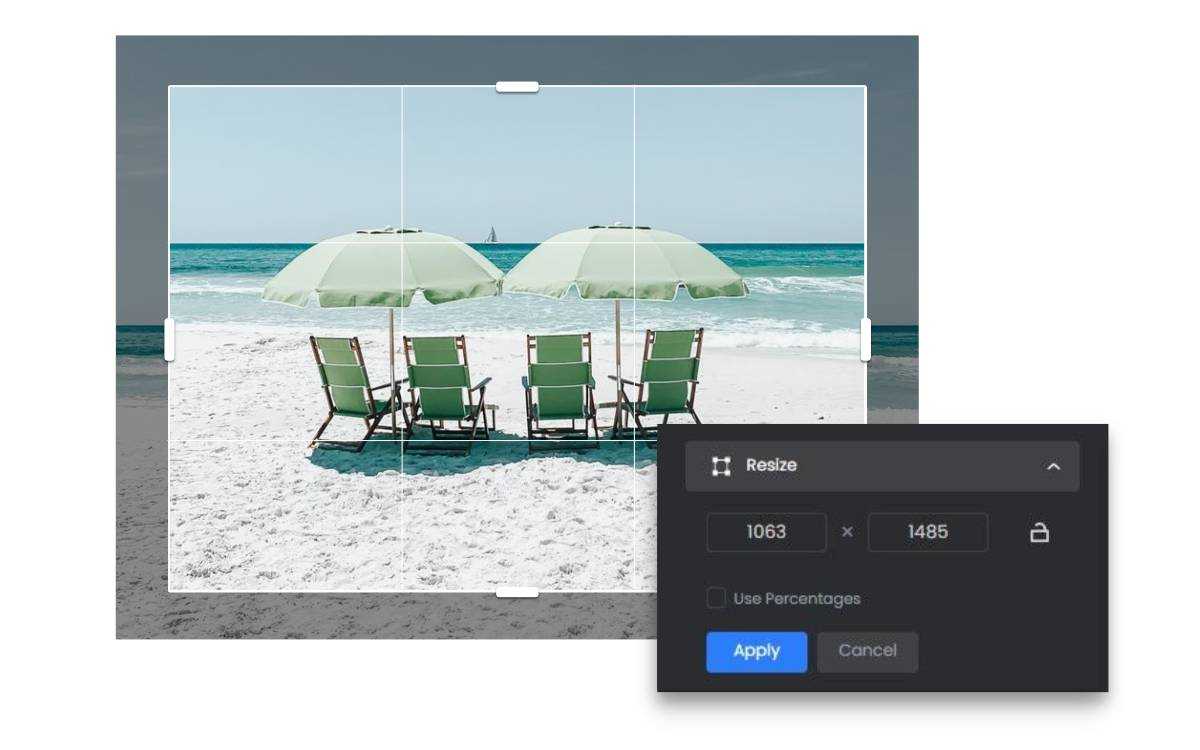
By Dimensions or Percentage as You Need
Our free photo resizer offers a fast and simple solution to resize images without cropping. Simply upload your picture to Fotor, enter your desired width or height in pixels, and our simple photo resizer will automatically resize your photo while keeping or modifying the aspect ratio in seconds.
Alternatively, you can change the photo size by percentage, ensuring the preservation of the original aspect ratio.
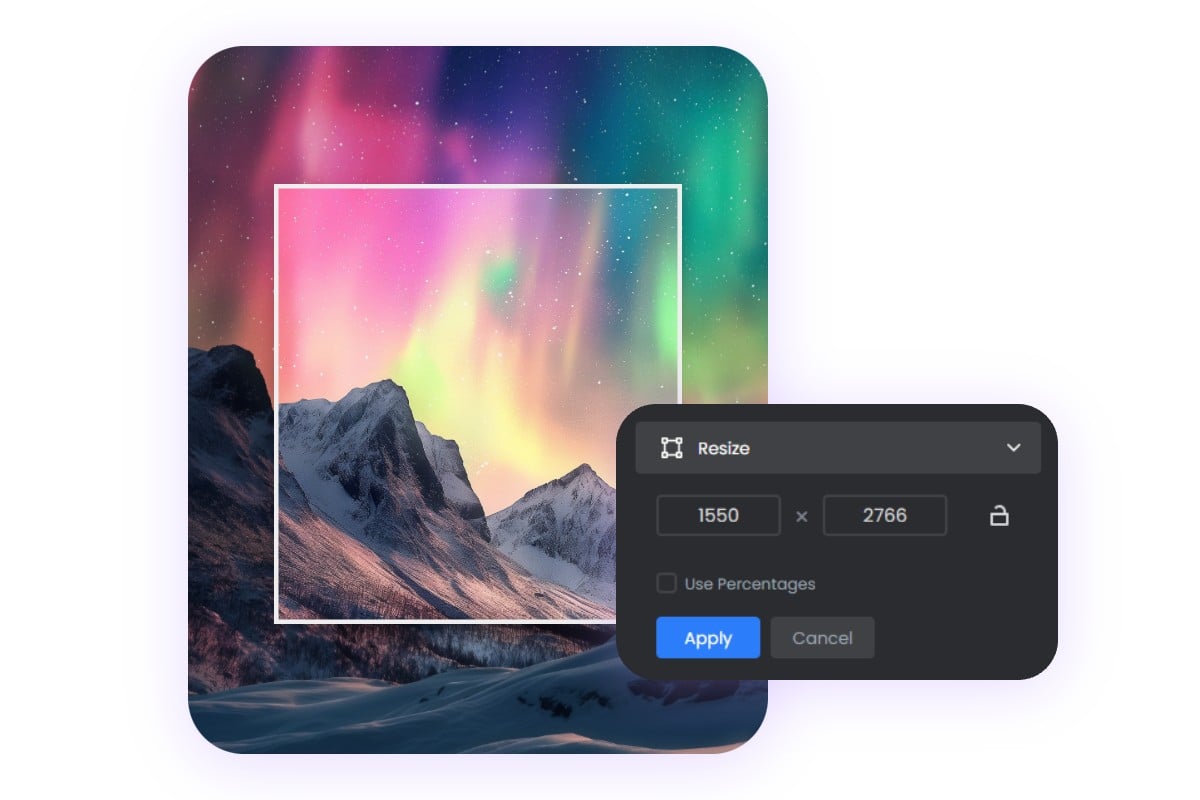
Customize Image Pixel to Fit Your Needs
With Fotor, you can easily customize the width and height of your images to meet your specific requirements. Resize your images to 300 × 300 pixels for crisp and clear social media avatars or website icons, or scale them up to 3000 × 3000 pixels for high-quality printed materials and detailed e-commerce product displays. Fotor makes it simple.
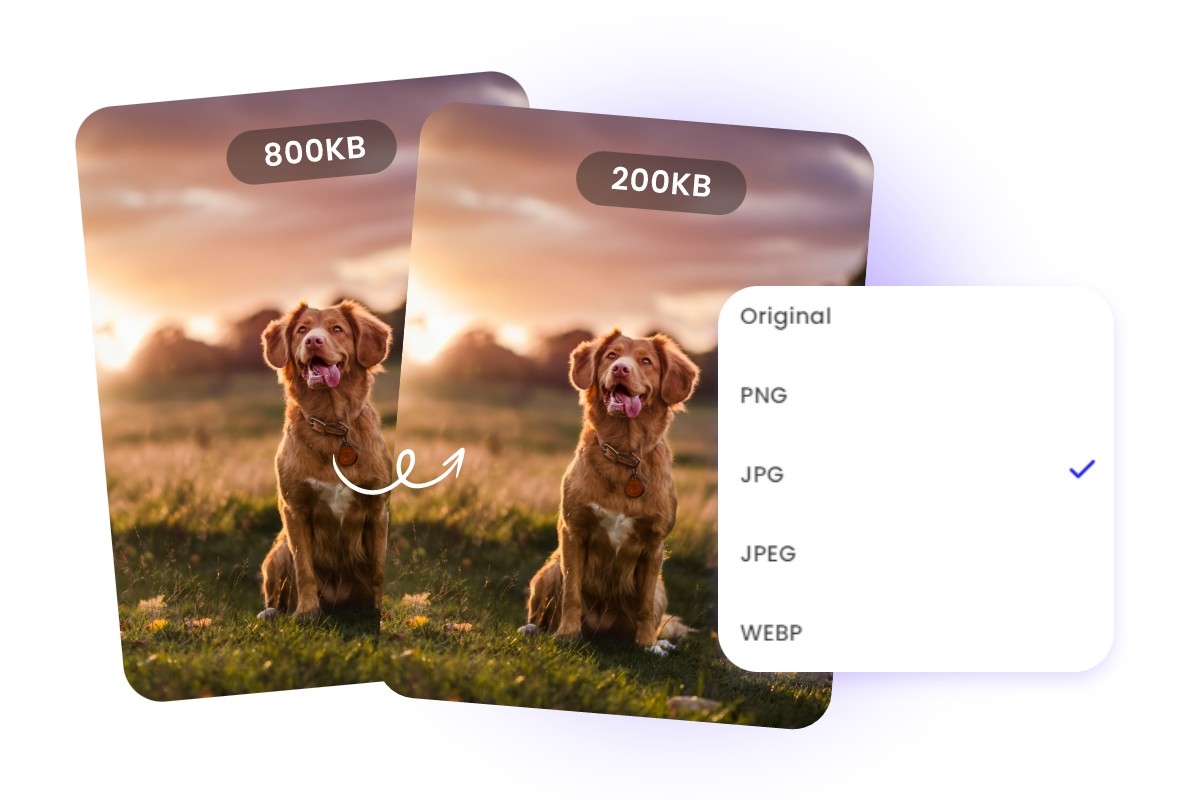
Reduce Image File Size in KB for Faster Loading
Reducing and compressing your images to smaller file sizes in kilobytes (KB) to make your website load faster, ensure your images fit within email attachment size limits, or just help save some storage space on your devices.
Versatile Image Size Converter for All Your Needs
From e-commerce batch processing for Amazon/Shopify to official ID and exam photo adjustments or 300 DPI print-ready optimization, Fotor handles every professional scenario with lossless precision.