How to Replace sky in Photoshop: Step-By-Step Guide for Beginner

Summary: This tutorial is a comprehensive guide on how to replace sky in Photoshop, including the step-by-step guide of replace sly in photoshop and an easier way to replace sky with online photo editor.

replace sky of man image in photoshop cover

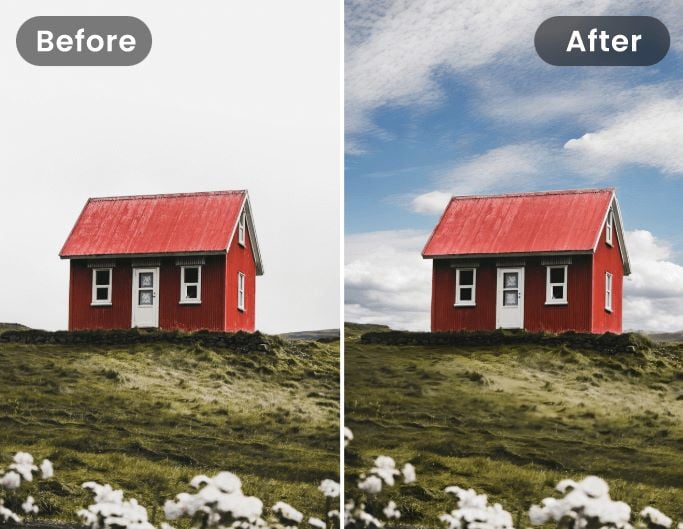
Replacing the sky in Photoshop can be a tough task for beginners. But with this step-by-step guide for Photoshop users, you'll be able to replace any sky in a few easy steps and create stunning photos.

In this article, we will provide you with a step-by-step guide on how to replace sky in Photoshop, as well as a simpler way to do it with the online photo editor. Please read on to explore more about sky replacement tips.

How to Replace Sky in Photoshop?

There are several ways to replace sky colors in Photoshop, and we have chosen to present one of the simplest methods considering the unfamiliarity of beginners. To replace the sky in Photoshop, one of the easiest ways is to use the "Replace Sky" feature introduced in Photoshop 2021 (version 22.0 or later).

The following is a step-by-step guide on how to replace sky in Photoshop:

  1. Open Photoshop, go to “File”, click “Open” and select the image you want to replace sky.
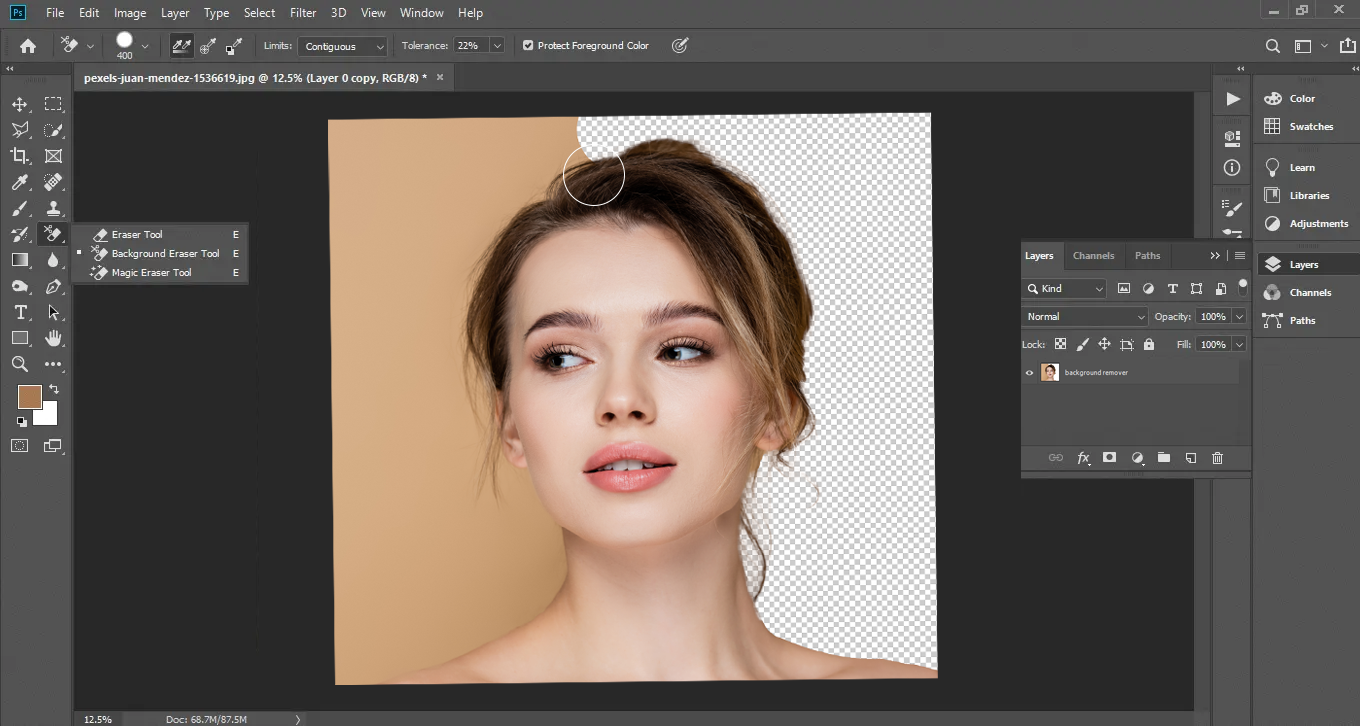
  2. From the toolbar on the left, choose the "Select and Mask" tool. Use this tool to select the sky in the image. You can use the various selection tools available, such as the Quick Selection Tool or the Magic Wand Tool, to make the selection.
  3. With the sky selected, go to "Edit" > "Sky Replacement." This will open the Sky Replacement panel, which provides a library of preloaded sky options.
  4. In the Sky Replacement panel, you can browse through the available sky options and select the one that suits your image best. You can also click on the "Add Sky" button to import your own sky image if you have a specific one in mind.
  5. Photoshop will automatically replace the sky in your image with the chosen sky option. This allows you to blend the new sky seamlessly with the rest of the image.
  6. After replacing the sky, you may need to fine-tune the mask to ensure a natural transition. You can use tools like the Brush Tool or the Refine Edge Brush to refine the edges and make any necessary adjustments.
  7. Once you're satisfied with the sky replacement, click on "OK" to apply the changes. Save your edited image by going to "File" > "Save" or "Save As."

How to Replace Sky in an Easier Way?

For novices who don't use Photoshop often and have no photo editing at all, even the simplest replacement of image skies in Photoshop can be difficult. Fortunately, there are many online image editors on the market that can also do image sky replacement, and they are simple, free, and more suitable for the sudden and sudden need to replace image skies. Here, we recommend Fotor's AI Sky Replacement Tool to help you replace image sky backgrounds easily.

Replace sky with hsl feature promotion banner
Fotor

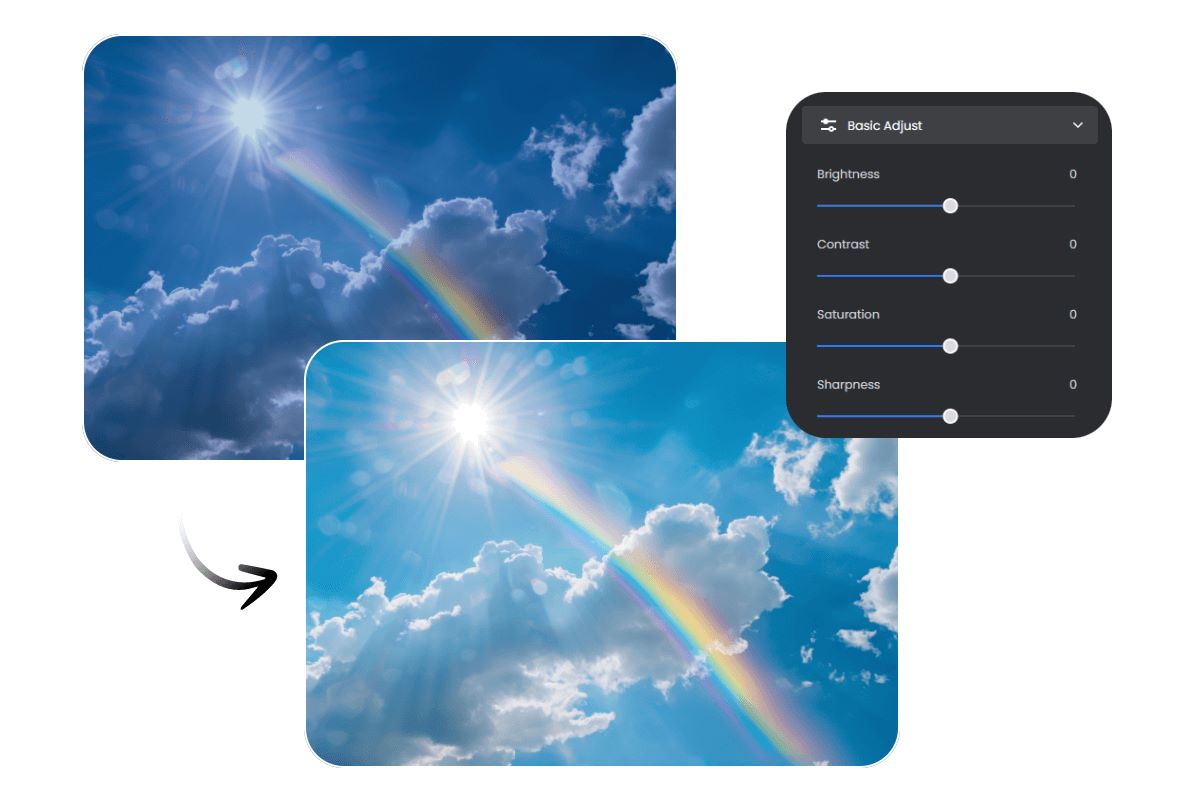
Offer more advanced photo-editing features, such as One-click enhance, HSL, Color balance, Dehaze for you to replace sky.

Various creative design templates with themes, covering different kinds of occasions.

Rich in elements and resources, more than 100 stylish effects and filters, updated weekly.

Replace Sky Now

Fotor's AI sky replacer revolutionizes the process of replacing skies in photos. With its cutting-edge technology, Fotor makes sky replacement effortless and realistic. With just a few clicks, Fotor's background remover automatically identifies the image sky background to be removed and seamlessly integrates the new sky into your image.

Whether you want to turn a dull sky into a vibrant sunset or add dramatic clouds to enhance your composition, Fotor's AI sky replacement tool lets you take your photos to new heights with ease and precision.

Fotor also provides an AI image generator that you can use to generate wanted sky image if you don’t have ready-made material. Just put the sky description into generate box and you can get numbers of sky background in various style for you to create stunning sky swap photo.

Here are the step-by-step instructions of replace sky with Fotor AI sky replacement tool:

  1. Open Fotor sky replacement tool page and upload image you want to replace sky, Fotor will remove the image background automatically in seconds
  2. Click “Backgrounds” on the right toolbar, and you can see lots of sky image backgrounds for you to swap sky.
  3. Replace sky and download the image until you are satisfied by clicking “Download” button.

Conclusion

Replacing the sky in Photoshop can be a challenge for beginning photographers. In this post, we have introduced the easiest way of replace sky in photoshop, as well as a simper way to do it with the online photo editor. Hope this tutorial can help you create stunning visual effects of sky photo.