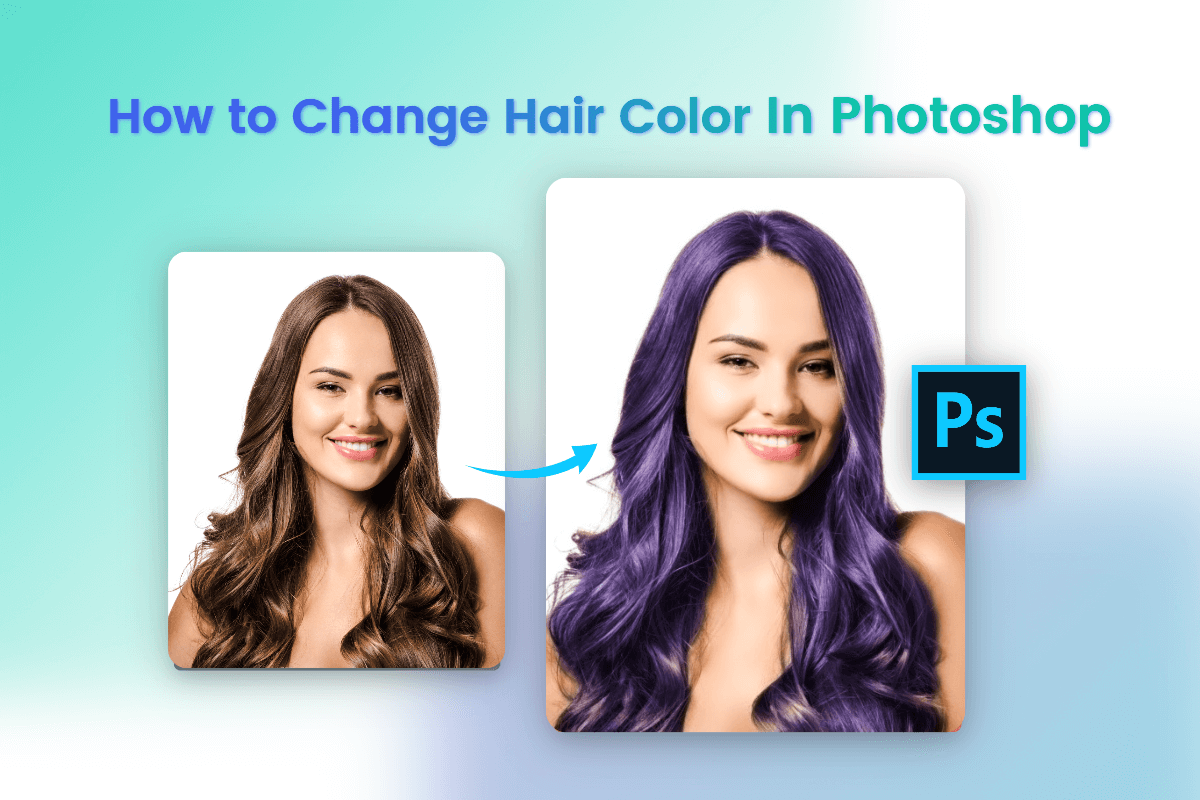
How to Change Hair Color in Photoshop: 7 Easy Steps
Summary: Learn how to change hair color in Photoshop with 7 easy steps. Virtually try on hair color to effortlessly give yourself an eye-catching new look.
Have you ever thought of changing different hair colors in a day? It’s cool and funny. But it seems impossible to dye hair many times during a day.
The good news is that, you can change hair color in Photoshop. Its powerful tools can help you easily change hair color in photo while maintaining the detailed and authentic hair texture.
In this post, we’ll teach you how to change hair color in Photoshop with 7 easy steps. Let’s go through these steps and find out what you’d look like with different hair colors.
7 Easy Steps to Change Hair Color in Photoshop
1. Duplicate a Layer
It’s always a good practice to make a copy of your image in Photoshop so that you can easily redo any steps. First, open a new image in Photoshop, then select “Image” > ”Duplicate Layer”. Now you can make adjustments on the new layer, and it doesn’t affect the original image.
2. Make a Mask of the Hair

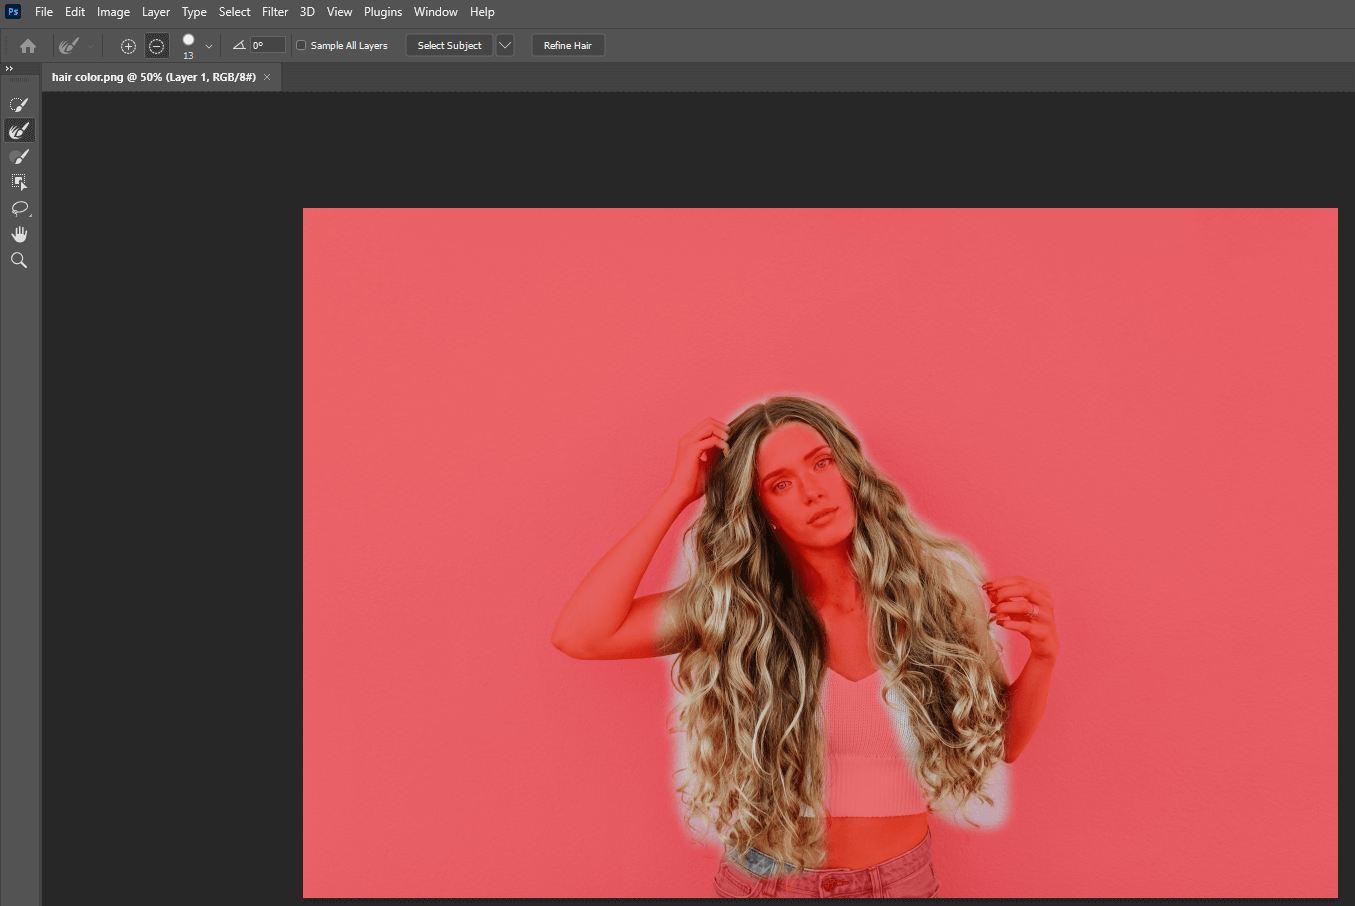
Before we start to change hair color in Photoshop, first, we need to create a mask for the hair. Select the Lasso Tool from the toolbar, then make a rough selection around the hair. Press and hold the mouse and click on the area close to the hair, following the hair until you return to the starting point.
Once the selection has been done, go to the top menu bar. Choose “Select” > “Select and Mask”. This will open the “Select and Mask Workspace” and you can refine your selection by making adjustments.
First, select a “View” from the drop-down list in the Properties panel. This will show which parts of the image are selected. Here I use the “Overlay” option. In this way, you can easily see whether your wanted part is selected.
Have the box next to “Remember Settings” selected, then choose the “Object Aware” option, as it can help select the pieces of hair near the skin.
You can move the slider of “Radius” to make the selection closer to your hair. To further refine the selection, you can move the sliders below “Global Refinements”.
3. Select the Refine Edge Brush Tool
This is a good Photoshop hair coloring tool since it allows you to shift the edge of the selection inwards or outwards only in specific areas. Then select the Brush Tool, and click on the Plus icon to add the selection by brushing over the areas in or around the selection.
Finally, click on the Minus icon to subtract the selection by brushing over the areas that you don’t want in the selection. This can contain the background, clothes, and the person’s face.
Once done, click on the “Refine Hair” option on the options bar, and in the output settings, make sure to output to “New Layer with Layer Mask”. Click OK.
4. Create a Hue/Saturation Layer
Select the “Hue/Saturation icon from the Adjustment panel above the Layers panel. Right-click (Win) or Control + Click (Mac) on the adjustment layer and select “Create Clipping Mask” to ensure that the adjustment is only added to the layer directly below.
5. Select a New Color
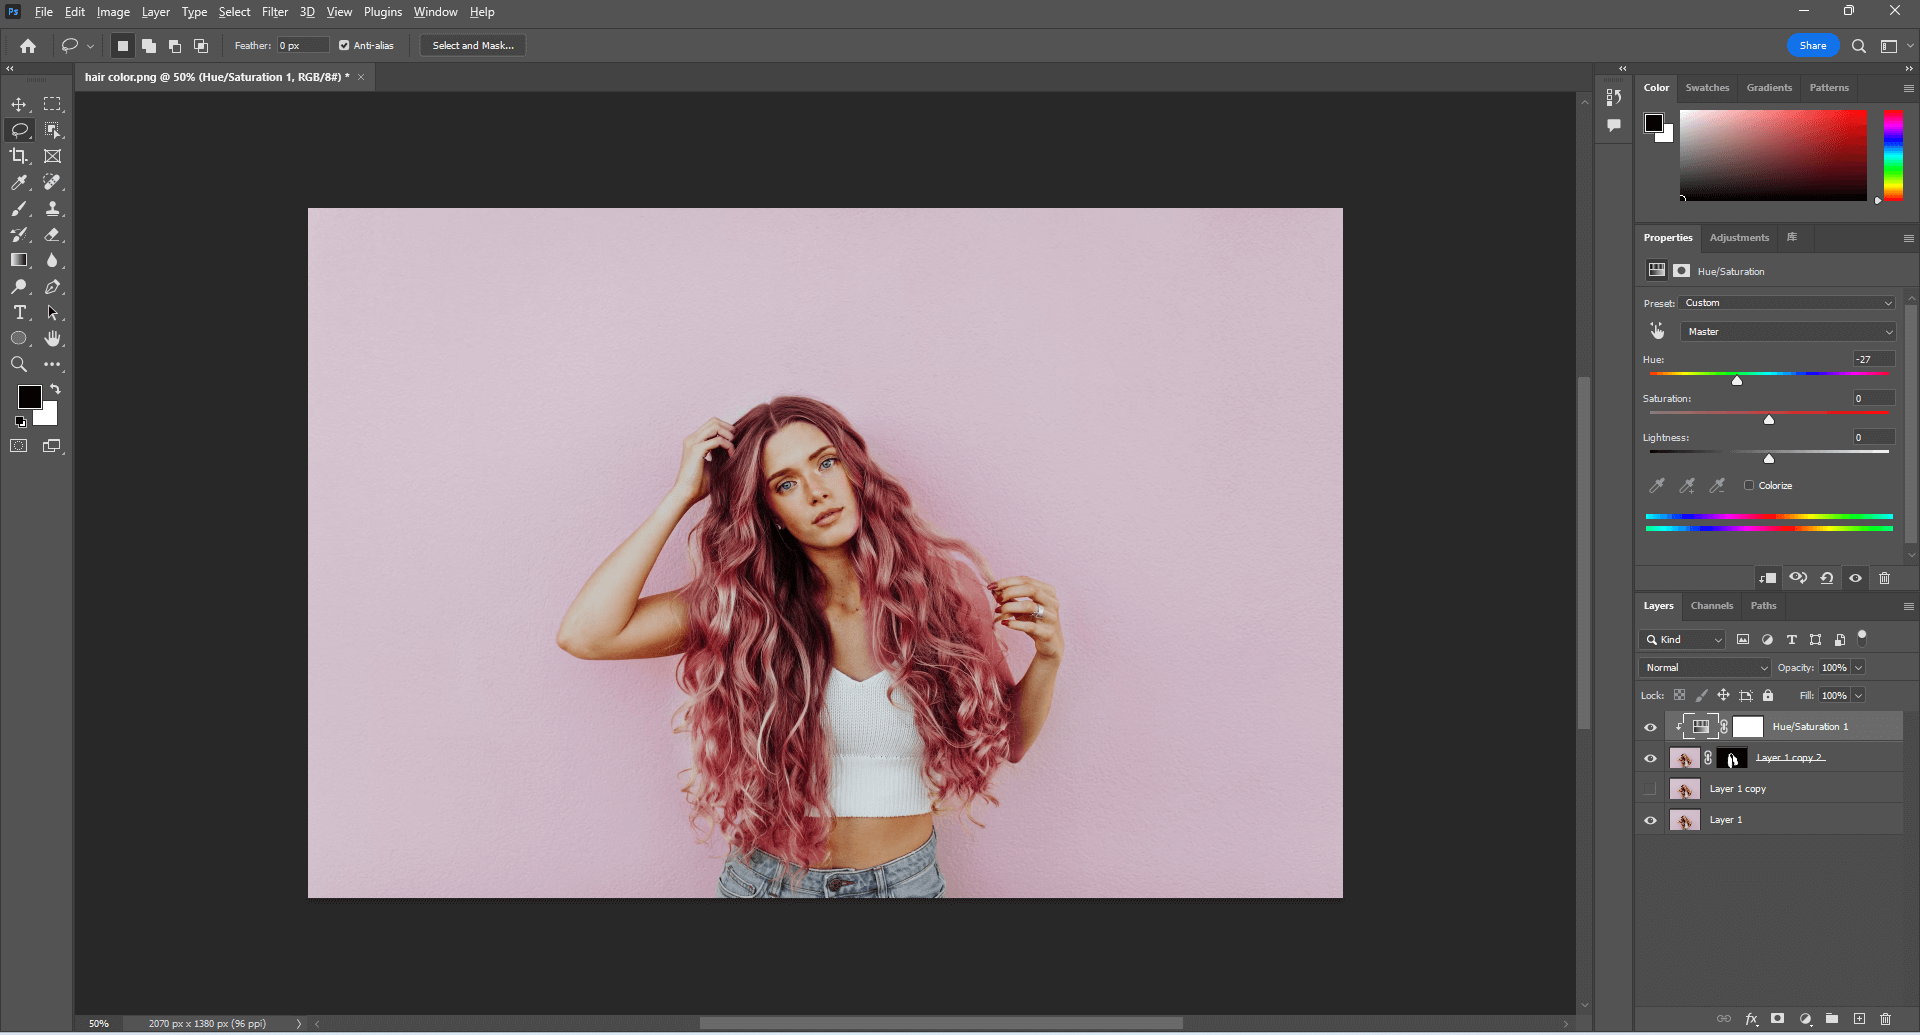
Now you can change hair color in Photoshop. In the Hue/Saturation panel, have the box next to “Colorize” selected. Then you can make relevant adjustments.
• Move the slider of “Hue” to change the color of your hair. Dragging the slider from left to right to choose your desired color.
• Move the slider of “Saturation” to make the hair color more vivid or more muted.
• Move the slider of “Lightness” to make the hair lighter or darker.
As you move the sliders, the result will appear on the screen, you can easily choose the right color and make adjustments accordingly.
6. Change The Blend Mode To Either "Color" Or "Soft Light"
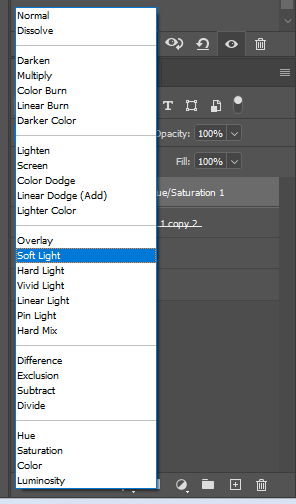
When you change hair color in photo, it looks a bit unnatural against the rest parts. Adding a blend mode can tone down the new color and help it blend into the image. To add a blend mode, make sure the Hue/Saturation layer is selected and click on the drop-down Blend Mode menu at the top of the Layers panel.
Then choose a blend mode that works best on your image. Here we recommend using “Color”. This changes only the color of an image, and it will not affect the brightness of hair. Optionally, you can use “Soft Light”. It not only changes hair color but also boosts the contrast.
Then reduce the “Opacity” of the layer to further blend the new color into the image.
7. Fix up Hair Issues
Now since the hair color has been changed, it’s easy to notice whether the selection around hair is right or if the new color of hair penetrates the background or subject in the image. Luckily, In step 2, we have selected “Remember Settings”. Now we can reopen the Select and Mask Workspace and fix up these issues.
Double-click on the layer mask, the panel will automatically open and you can adjust relevant settings as needed. Once done, set the “Output Settings” at the bottom to “Properties panel to Layer Mask”. This ensures the changes add to the layer mask you previously created.
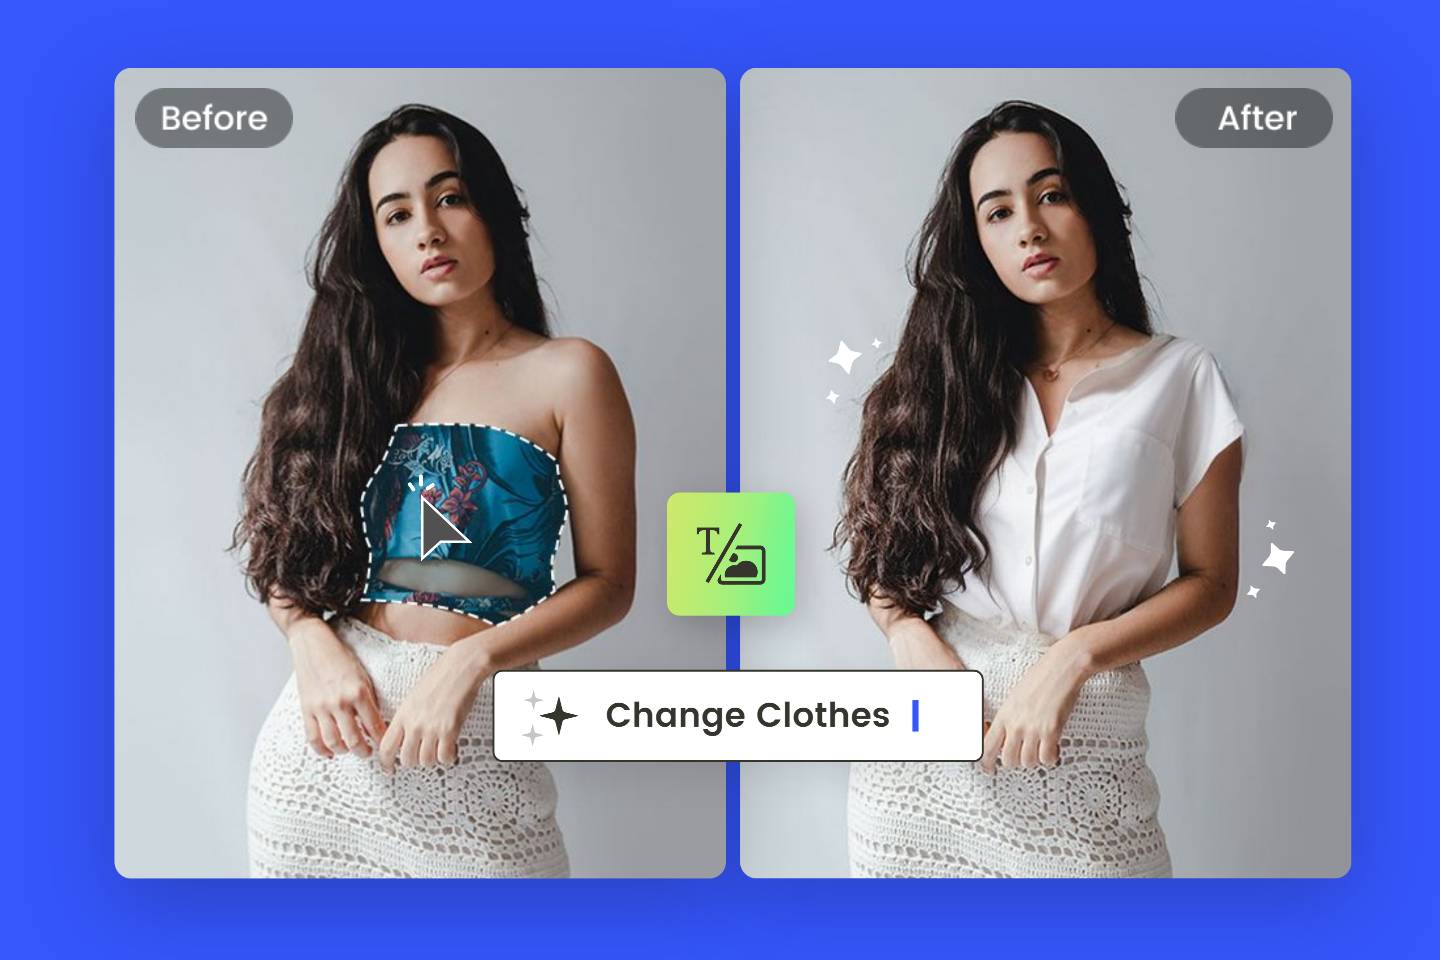
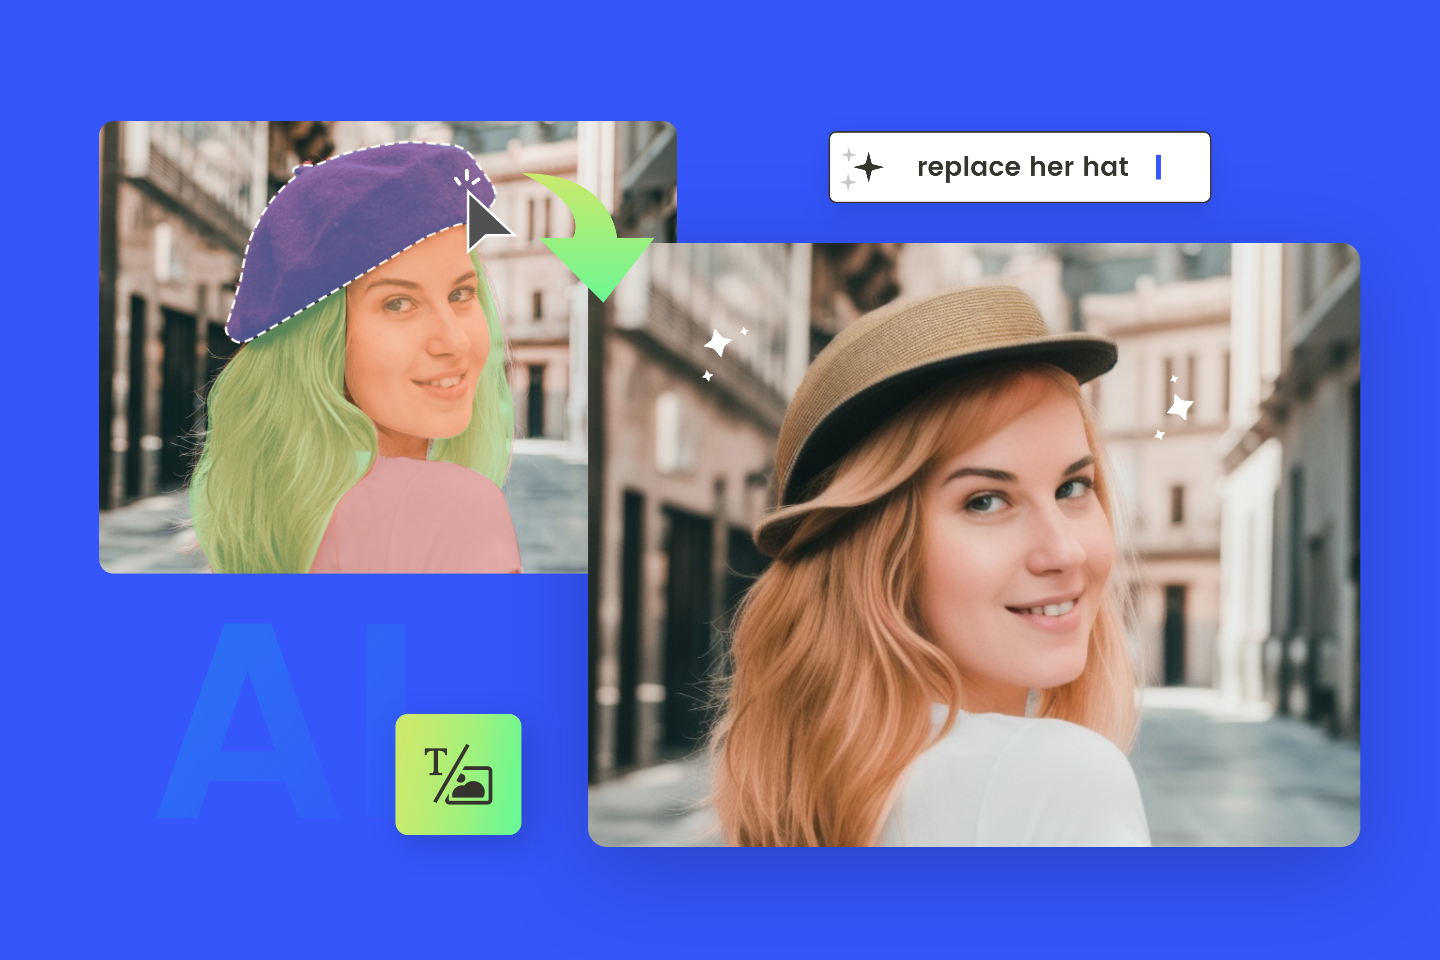
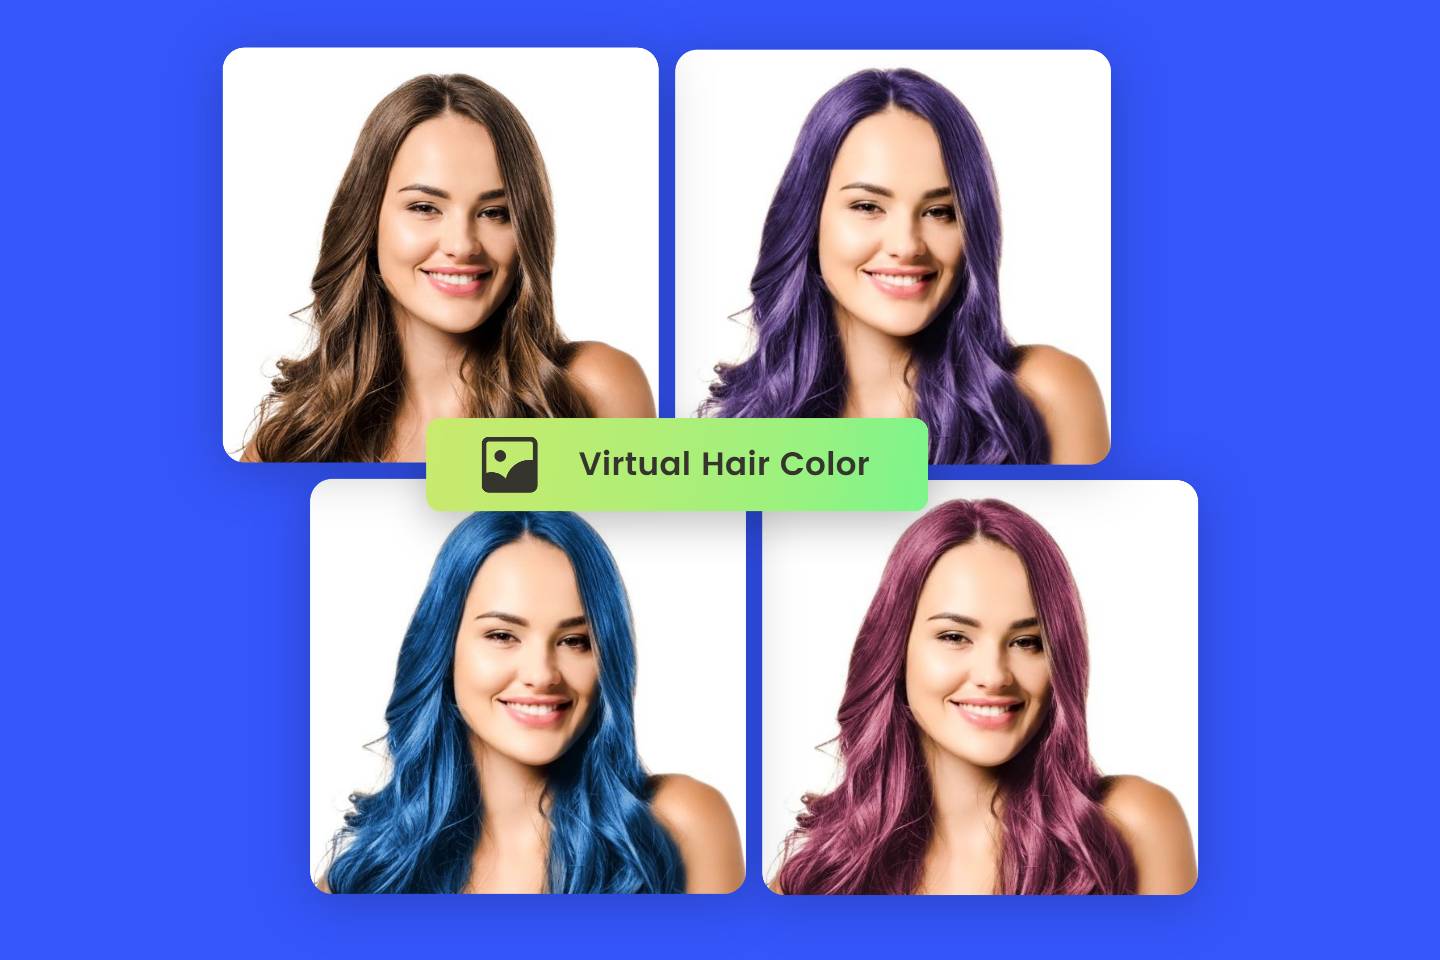
Use Online Tool to Quickly Change Hair Color: Fotor
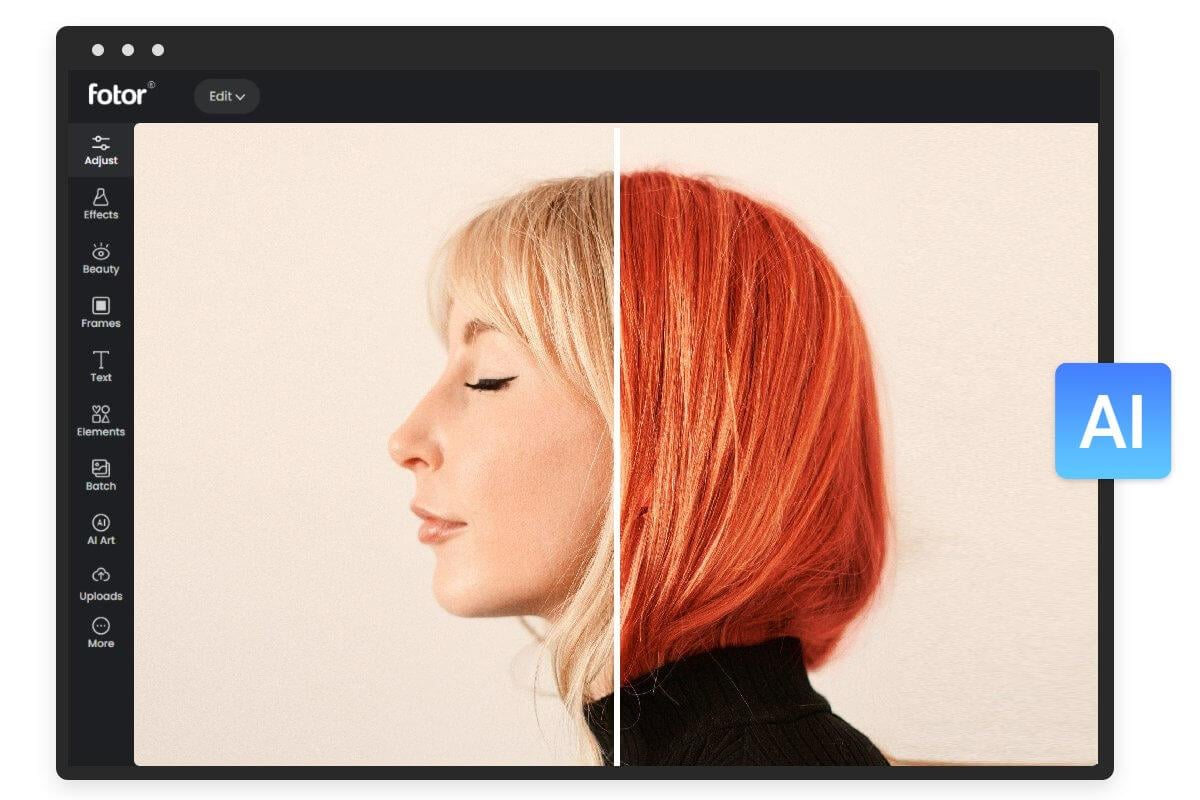
Try on hair color in one click. Use Our hair color changer to try different hair colors and get a virtual makeover.
Upload your photo to try on virtual hair color online for free. 100% automatically.
Above we shared a step-by-step tutorial on how to change hair color in Photoshop. But if you’re looking for an easier and faster way to change hair color in photo, an online tool, Fotor is your best choice.
Fotor's hair color changer allows you to virtually try on different hair colors with just a few clicks. It's easy and fast: Upload your image to our AI replacer, use the brush to mark out the area that you want to change, and enter the prompts. Then our AI will automatically detect and select your hair. Wait seconds, you can see a different look with a new hair color. Try now to transform yourself into a stunning look!
3 Tips for Best Photoshop Hair Coloring Results
• Improve Efficiency with Photoshop Hair Coloring Shortcuts
Here are some shortcuts to help you quickly change hair color in Photoshop.
- Zoom in to the image: Control + + (Win) or Command + + (Mac).
- Lasso tool: L (Win and Mac)
- Refine the selection of hair: Alt + Control + R (Win) or Option + Command + R (Mac).
- Adjust the brush tool size: Increase by pressing “]”, and decrease by pressing “[“.
• Repair Hair Issues with “Remember Settings”Selected
When you create a mask of the hair, in the Select and Mask Workspace, make sure the “Remember Settings” is selected. After you changed hair color, this can help you reopen the workspace and fix up any issues generated by the new hair color.
• Further Refine the Hair Selection by Relevant Adjustments
In “Global Refinements” in “Select and Mask Workspace”, here are 4 sliders. Use them properly to get the best Photoshop hair coloring results.
- “Smooth”: It can help you smooth rough edges to blend the newly colored hair into the image.
- “Feather”: This softens the selection of hair, making the selection more blurred without a clearly defined edge. Move the slider to the right side so that the new hair color can better blend into the image.
- “Contrast”: This defines the edge a bit more. Adjusting this helps the bottom of the hair to separate from the clothes.
- “Shift Edge”: Move this slider to adjust the edges of your selection in or out.
Conclusion
Above we shared a step-by-step tutorial on how to change hair color in Photoshop. Follow these 7 fast steps to creatively experiment with hair color in your photos. Plus, 3 tips are provided to help you get the best Photoshop hair coloring results. Try these steps and tips now to explore how to give yourself a new look.