
Drop image here

Free Background Remover
Remove backgrounds from any image in just one click with Fotor AI background remover. Make transparent backgrounds instantly for free!


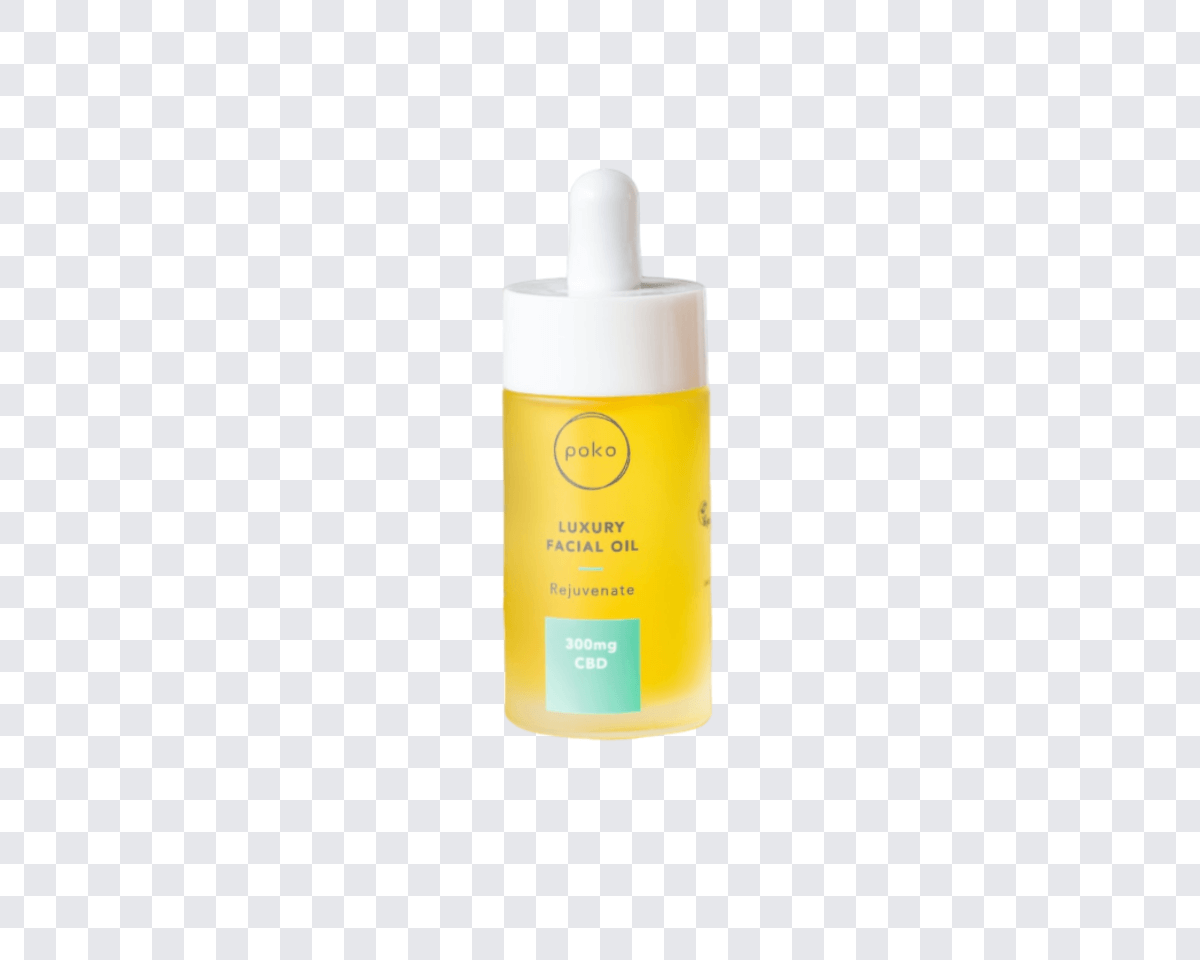
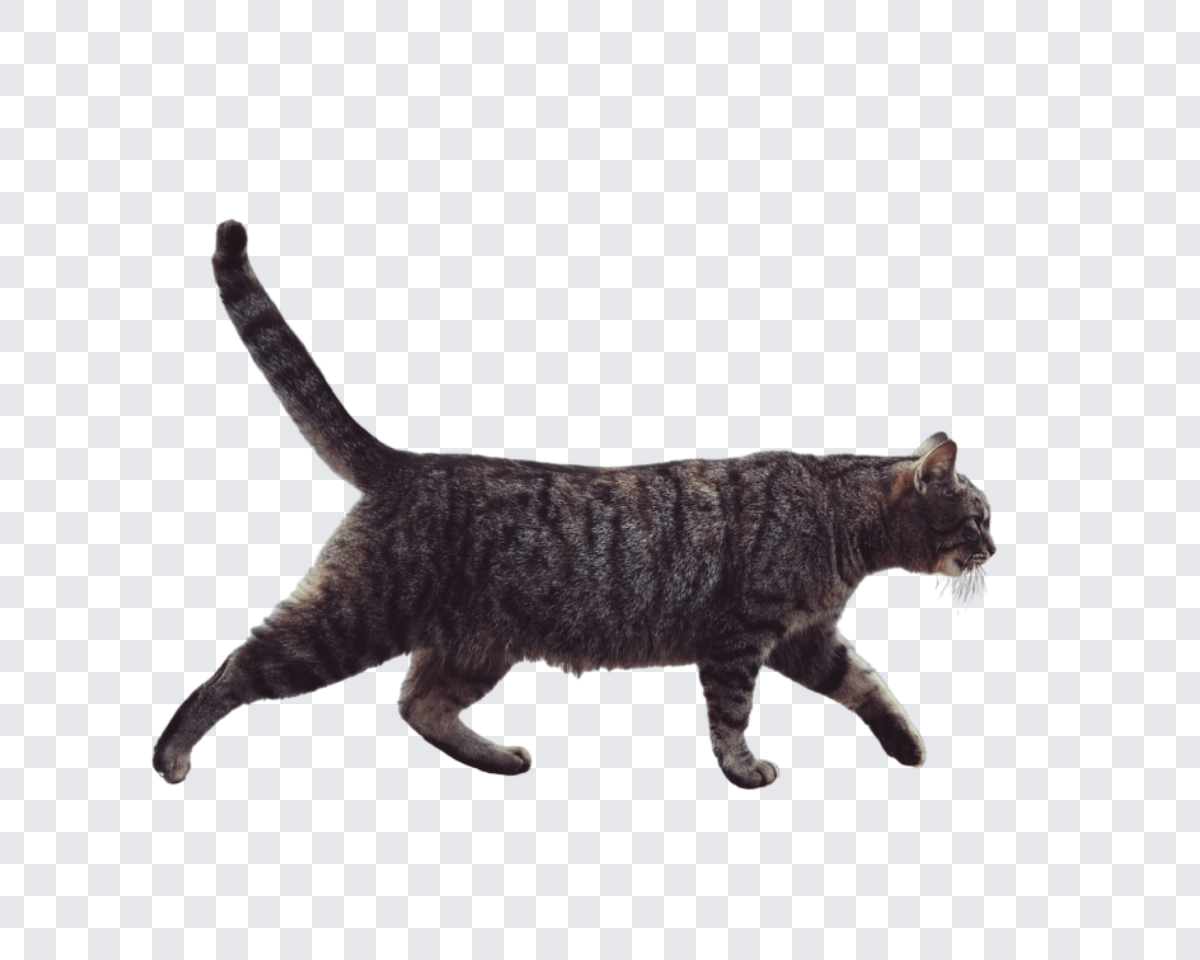
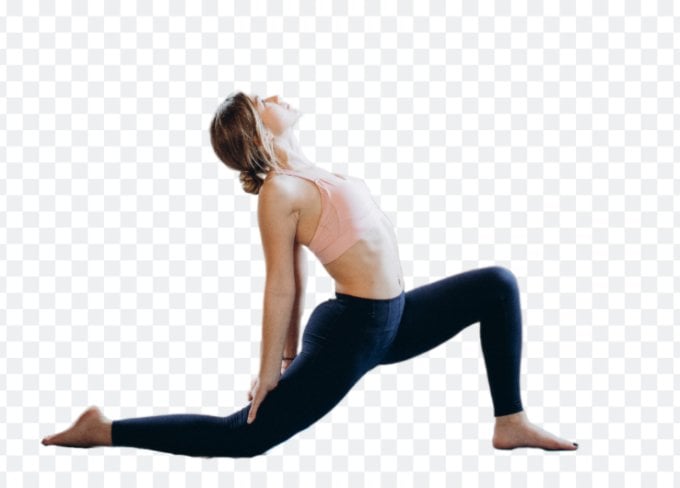
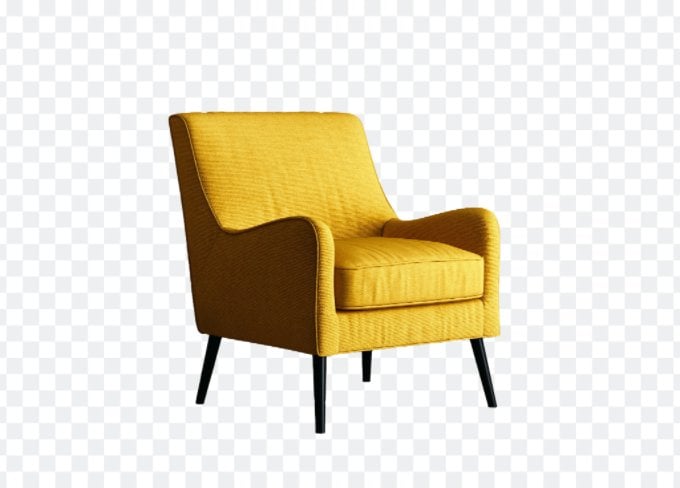
No image? Try one of these


550M+
Users
1500M+
Images Processed
Capterra
Remove Background With High Quality and Accuracy
No matter how complex your images are, our powerful bg remover delivers precise and accurate photo cutting. Using advanced algorithms, Fotor removes photo backgrounds while preserving intricate details and edges, even in challenging areas like hair and animal fur. Your images will remain as sharp and detailed as before after background removal.


Automatic AI Background Remover
Make Transparent Background for Any Image
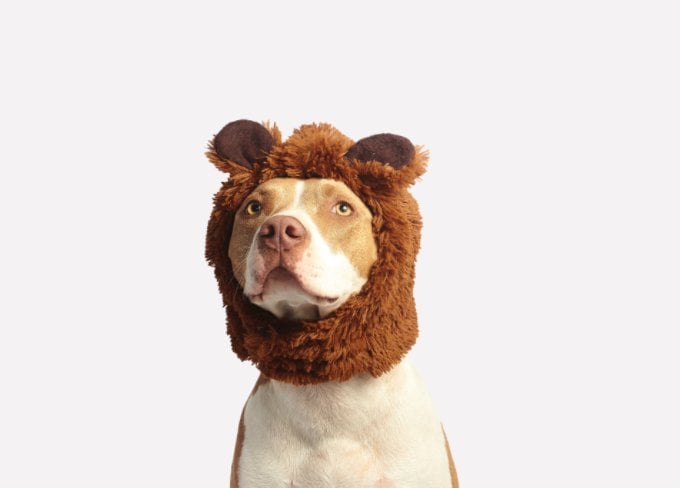
With our AI background eraser, you can effortlessly erase backgrounds from any type of image. Whether it’s a portrait, product image, handwritten signature, or even vector graphic, our tool can handle it all. In just a matter of seconds, you'll make image transparent with a clean PNG background that is ready to be seamlessly incorporated into any design or project.

Original image
Remove background

Add new background

Create promotion poster


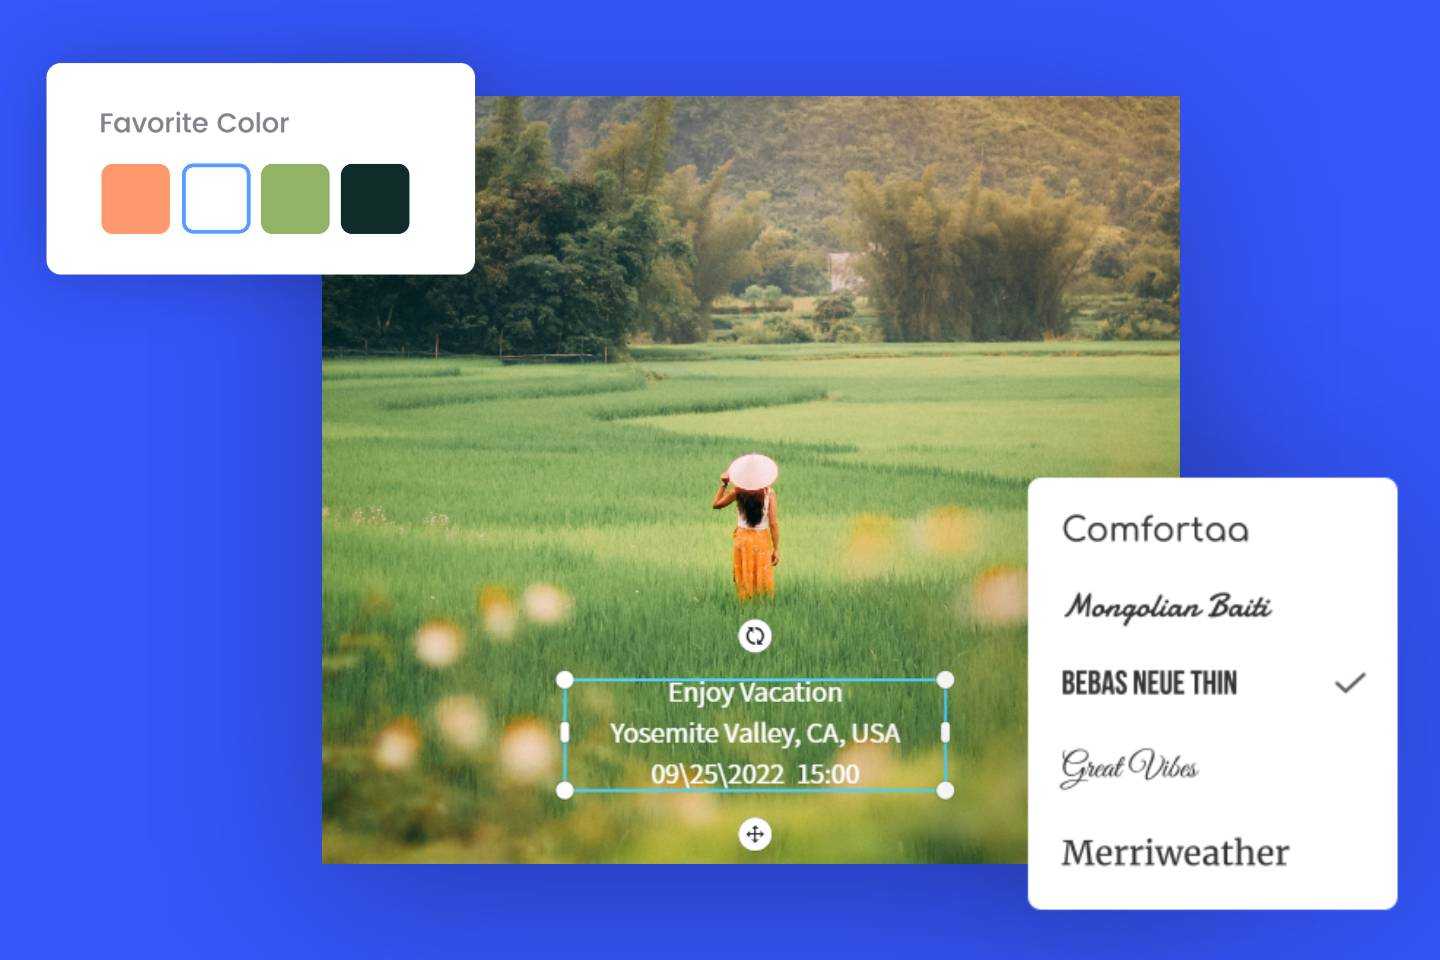
Change Photo Background, Color, and Beyond
Photo Background Editing Made Easy
With our online background remover, you have precise control to edit photo backgrounds.
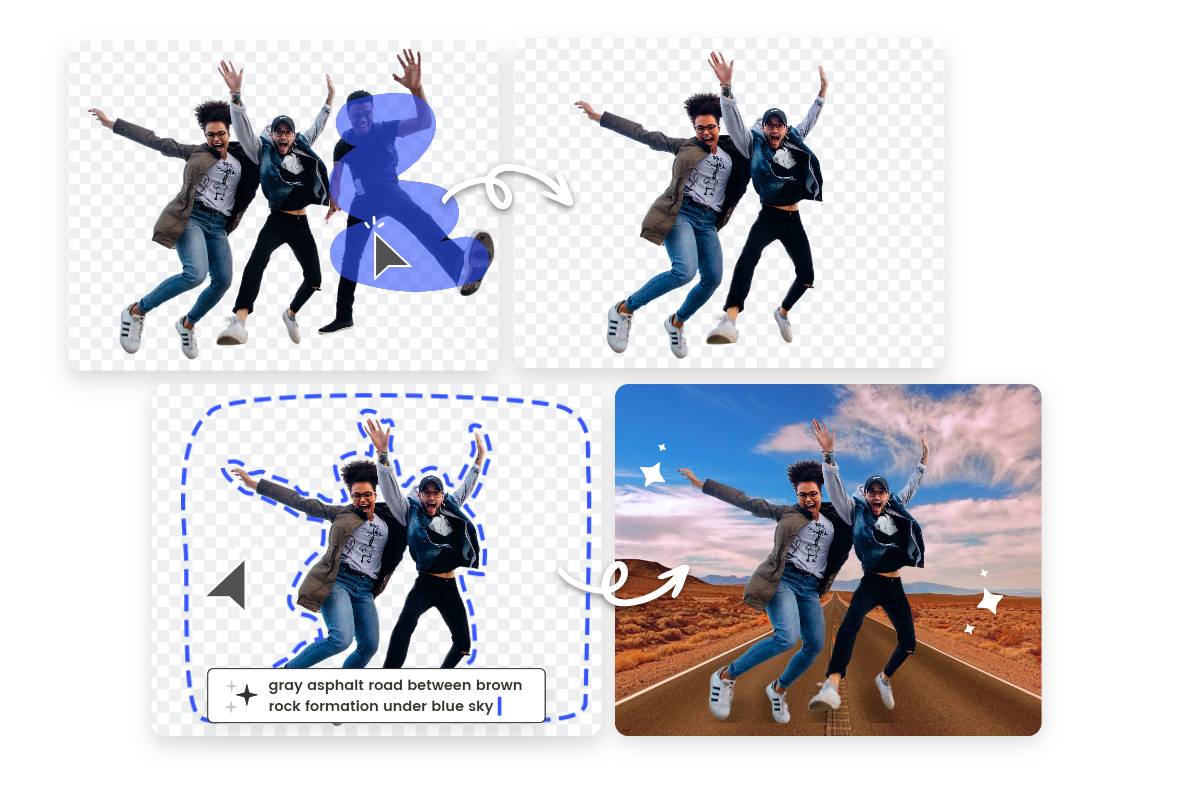
Magic Brush: Refine your background to perfection. Easily remove or restore components in image backgrounds.
Blur Background: Automatically identify subjects in your image and apply background blur to highlight the main focus of your photo.
AI Background Editing: Create new elements in backgrounds or modify existing ones with the power of AI.

Versatile Image Background Remover for All Occasions
Our background remover online is tailored to meet both personal and business needs.
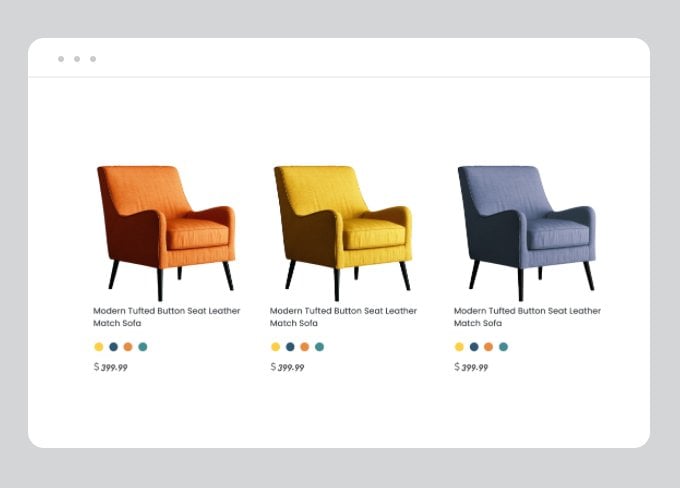
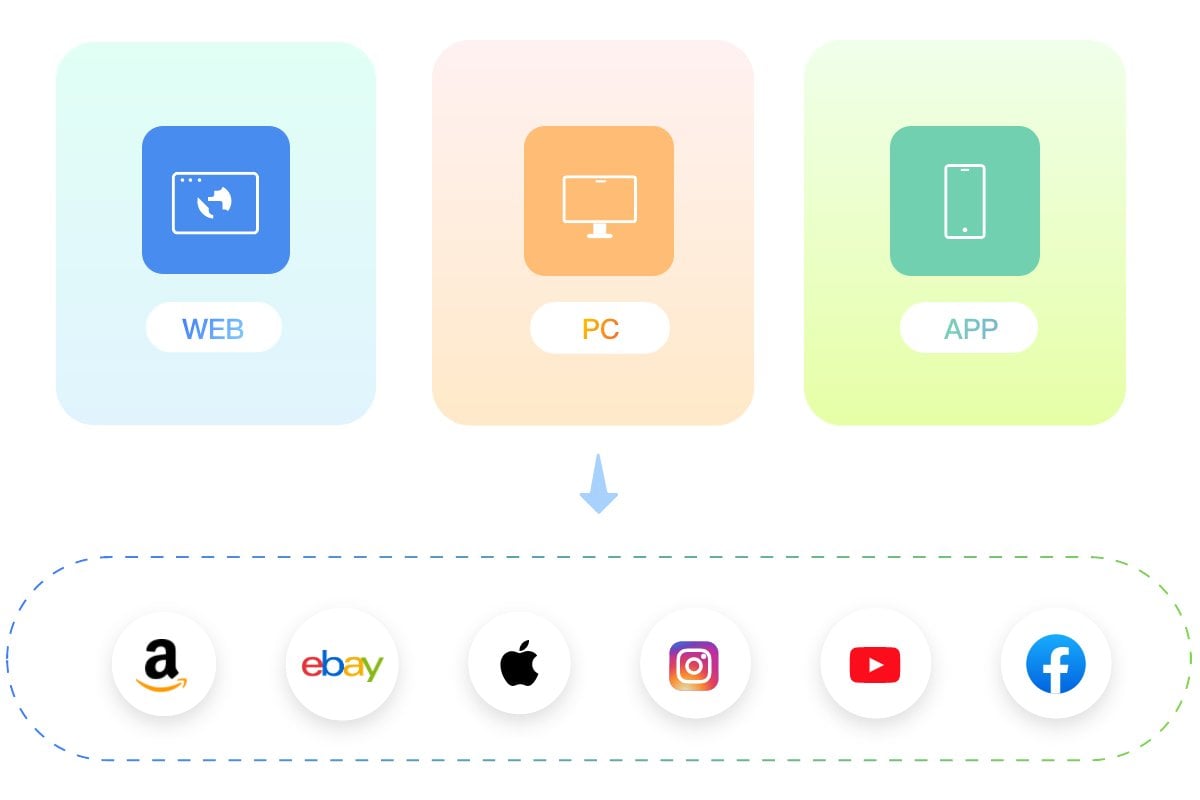
E-commerce: Remove distracting backgrounds to create clean and consistent product imagery for Amazon, eBay, Shopify, and more.
Social Media: Effortlessly remove image backgrounds and add new backgrounds for eye-catching profile pictures, posts, and stories.
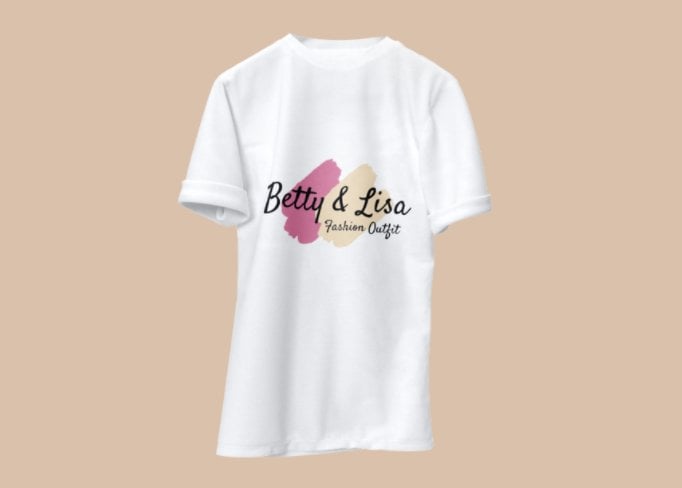
Marketing: Remove background from logo and save it in a transparent PNG for seamless integration into marketing materials.
Speed Up Your Workflow

Fun to Create Cool Designs
How to Remove Background from Image?
Click the "Upload Image" button to upload images or drag and drop the images to start removing background.
Our AI background eraser will remove background from picture automatically and instantly.
Download the image in PNG format and keep a transparent background to keep editing.
Fotor Background Remover Reviewed By
Discover how Fotor’s background removal tool has been featured in leading publications.

Why Choose Fotor to Remove BG?

Instant Background Removal

High-Quality Result

Easy Background Editing
Background Remover FAQs
Is the Fotor background remover free?
Can I remove photo background on phone?
What image formats does Fotor bg remover support?
What types of images can Fotor background remover handle?
How to make an image transparent?
How to remove white background from image?
How to change the background of a photo?
Remove Bg Features Recommendation


Remove Image Background
Open any image and get transparent background in seconds.
Fotor trusted and loved by
+550M customers trust Fotor worldwide
Your
Visual Studio