How to Edit Pictures on iPhone: Overall Guides
Summary: This is a post that shares how to edit photos on iPhone to create amazing pictures with your iPhone’s in-built Photos app and the powerful third-party iPhone picture editor app.


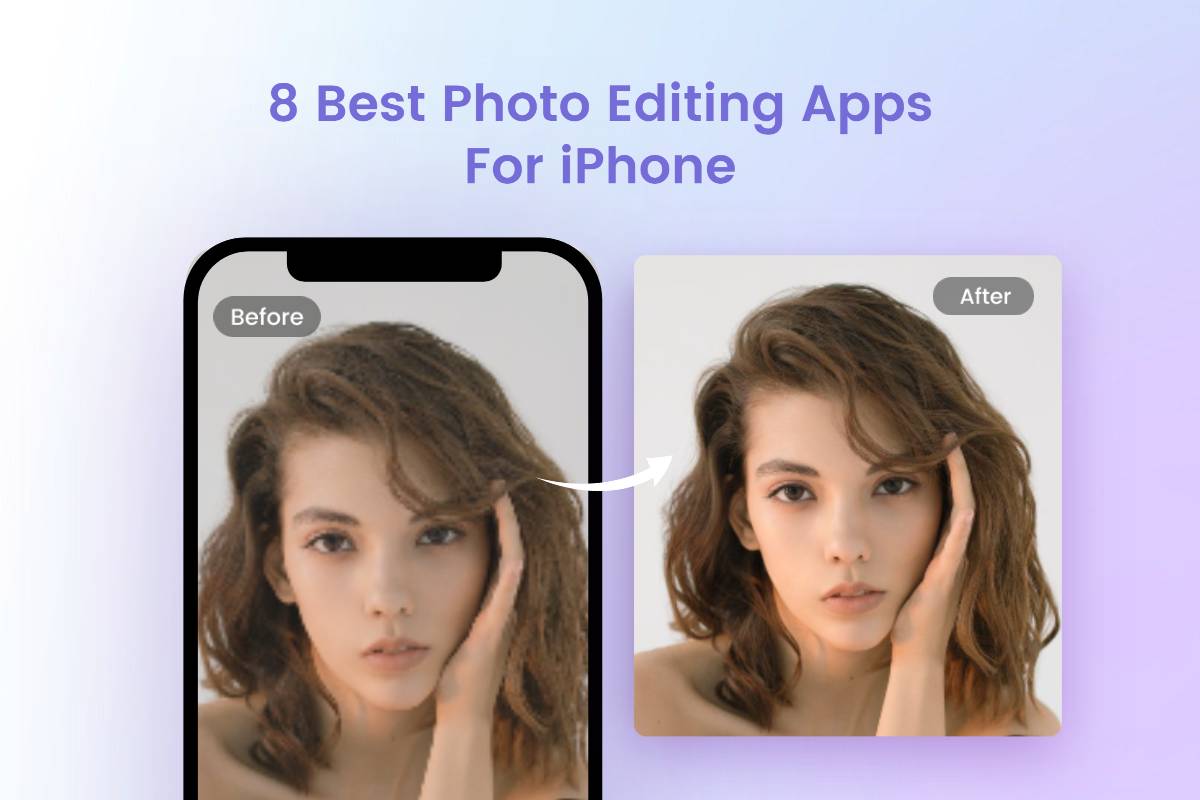
Not satisfied with the pictures shot by your iPhone? No worries, iPhone allows you to use its Apple photo editor in the Photos app. There are a variety of tools that you can use to edit photos on iPhone, such as iPhone photo effects, crop tool, background remover, and much more.
Whether you are editing portrait or landscape photos, the iPhone photo editor will get you all covered. In this blog, we’ll explore how to edit pictures on iPhone, where you will know detailed tutorials on every iPhone photo editing aspect in the iPhone Photos app and a third-party photo editor for iOS. Let’s dive in and enrich your iPhone picture editing knowledge now!
How to Edit Pictures on iPhone with Photos App
After photographing a picture or a clip of video with your iPhone, you can make it perfect by editing photos on iPhone with its in-built Photos app. Once you have tapped the “Edit” icon on the screen, you will see lots of photo editing options for you to use. If you are not clear about these tools, keep reading our iPhone photo editing hack tutorials to help you edit pictures on iPhone!
1. Adjust Photo Light and Color
iPhone offers you multiple choices for you to adjust photo brightness and color. Whether you want to brighten images or darken images, Apple photo editor meets all your requirements. More than that, you can handle the image exposure, shadow, and contrast beautifully with the basic photo adjustment options.
- Tap the “Edit” icon to open iPhone photo editor.
- Swipe left under the photo, and you will see lots of adjustment options for you to use, including “Exposure”, “Brilliance”, “Highlights”, Shadows”, “Contrasts”, “Brightness”, and much more.
- Choose any one photo editing tool you need to edit a picture on iPhone and slide the bar to adjust the final effect.
- Preview and tap “Done” to save your photos.
2. Apply Filters to Photos
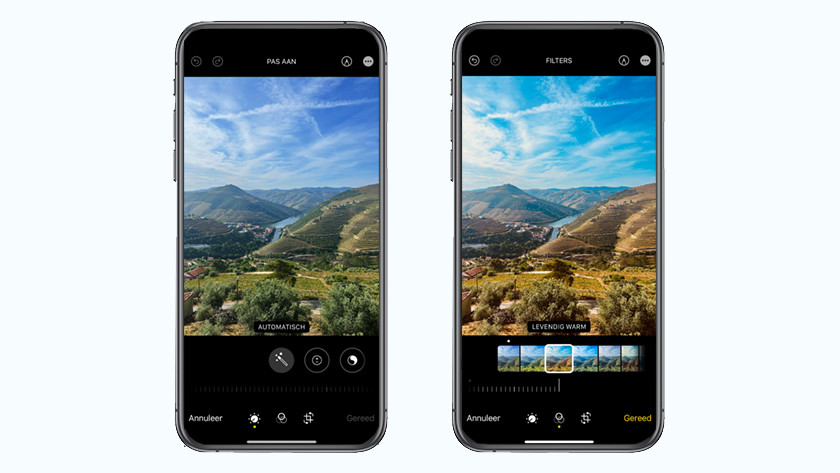
Moreover, there is a variety of photo filters for you to use in the iPhone Photos app, including “Vivid”, “Vivid Warm”, “Vivid Cool”, “Dramatic”, “Mono”, “Silver Tone”, and much more. You can take advantage of it to catch the trend of iPhone filter hack on Tik Tok. Here is how to use the iPhone photo filters:
- Tap the “Edit” icon to switch to the Apple photo editor.
- Tap the icon made with three circles, and you can see the iPhone photo filters and effects mentioned above.
- Tap a filter you want to apply to your photos and slide the bar to adjust the iPhone filter settings as needed.
- Preview and tap the “Done” icon to save your images.
3. Straighten, Rotate, and Flip Pictures
Meanwhile, you can use the iPhone photo editor to correct orientation from landscape to portrait to make sure your images always look best. Here is how to rotate photo on iPhone:
- Open the iPhone Photos app, and scroll the screen to choose the image that you want to rotate.
- Tap the “Edit” icon on the right top of the screen, and tap the third icon next to the “Done” icon.
- Find and tap the second rotate icon on the left top of the screen.
- Tap the icon to rotate photos on your iPhone until you find the best angle for your image.
- Tap the “Done” icon to save your rotated image.
Besides, next to the rotate image icon, you can find the icon that you can tap to flip images on iPhone.
- Select the picture you want to flip on your mobile phone.
- Tap "Edit" in the top right corner of the screen.
- Tap the image editing icon in the bottom right corner of the screen.
- Tap the "Flipper" image icon at the top left of the screen to mirror images as needed.
- When finished, tap "Done" in the bottom right corner of the screen.
4. Crop and Resize Images
If you are not satisfied with the image sizes, you can crop pictures on iPhone or resize them as needed. iPhone offers you free image cropper and image resizer for you, and you can enjoy its various options when you crop photo on iPhone. Check out how to resize images & how to crop photos on iPhone below.
- Tap the image and find the “Edit” icon on the upper-right corner of the screen.
- Tap it and select the third icon at the bottom of the screen.
- Find the third gray rectangular icon on the top of the screen and tap it.
- You will see lots of options to resize and crop photos on iPhone.
- Choose one image size ratio you want, and apply it to your images.
- After you have resized or cropped pictures on iPhone, tap “Done” to save your images to your iPhone.
5. Remove Image Background
With the update of iOS 16, you can easily edit background of photo on iPhone in the Photos app. You can remove image background or change image background with a few steps. Follow the detailed tutorials below to know how to remove background from picture on iPhone and how to change the background of a picture on iPhone free now.
- Open Photos to find the image you want to crop out the background.
- Press and hold the part of the photo that you want to keep and wait for the background remover in your iPhone or iPad to automatically separate your chosen subject from the background.
- Observe whether the aperture appears to completely enclose the subject of the picture.
- When you finish removing the background, you can move your finger away. At this point, a pop-up window of "Copy and Share" will appear, where you can share the latest transparent image with others or copy it to other software to change the image background.
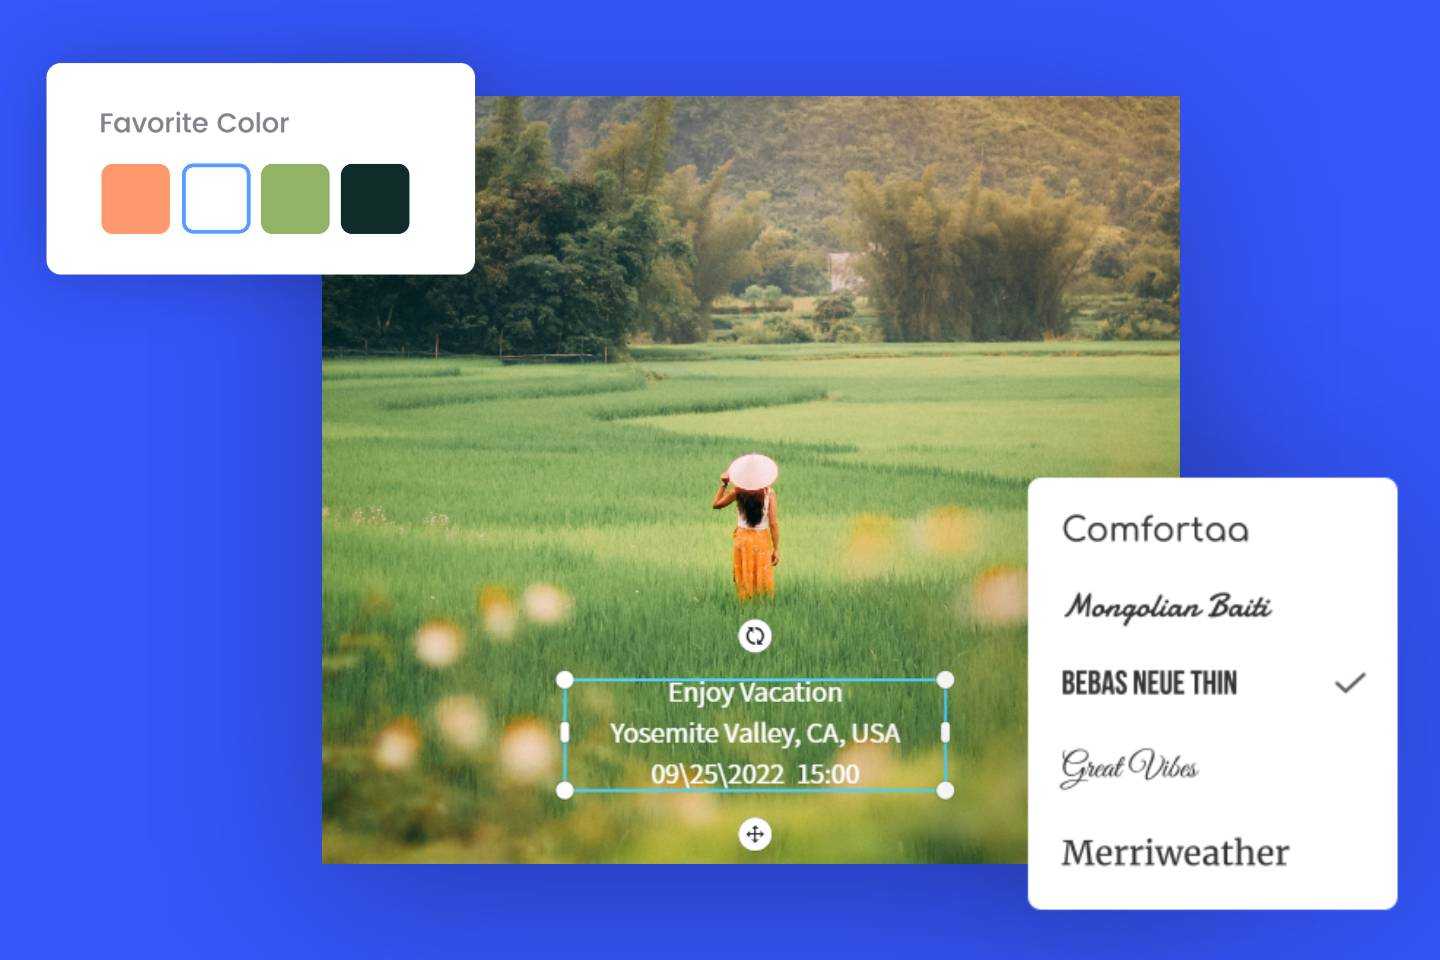
6. Write and Draw on a Photo

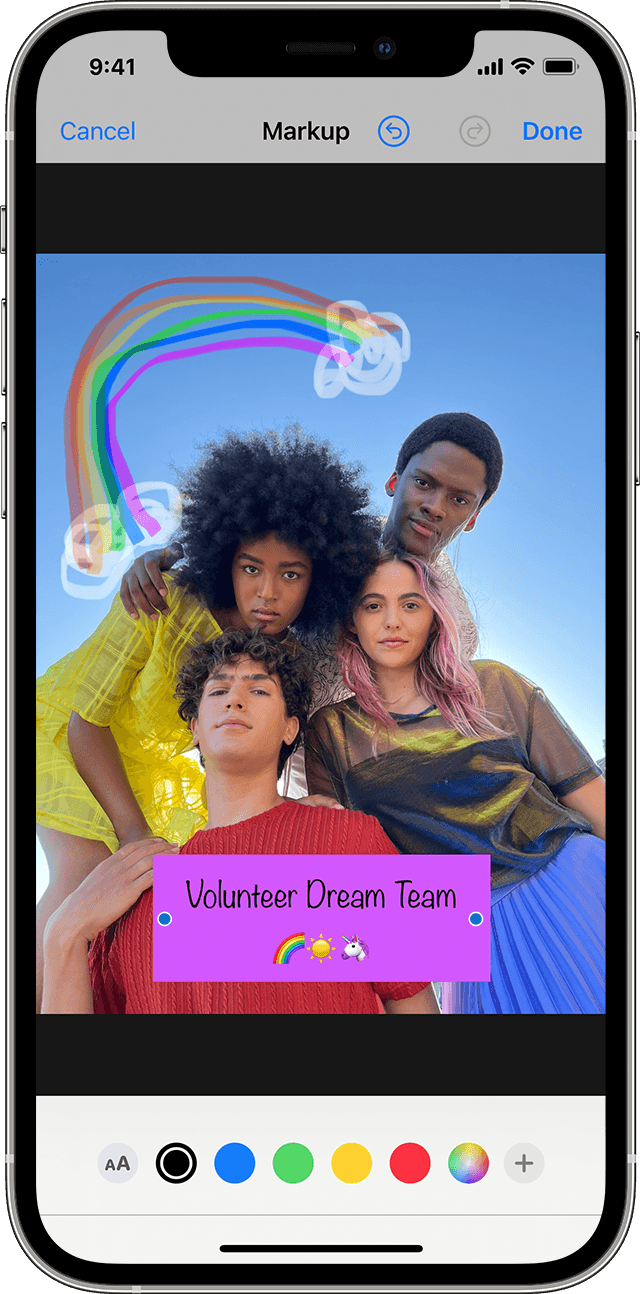
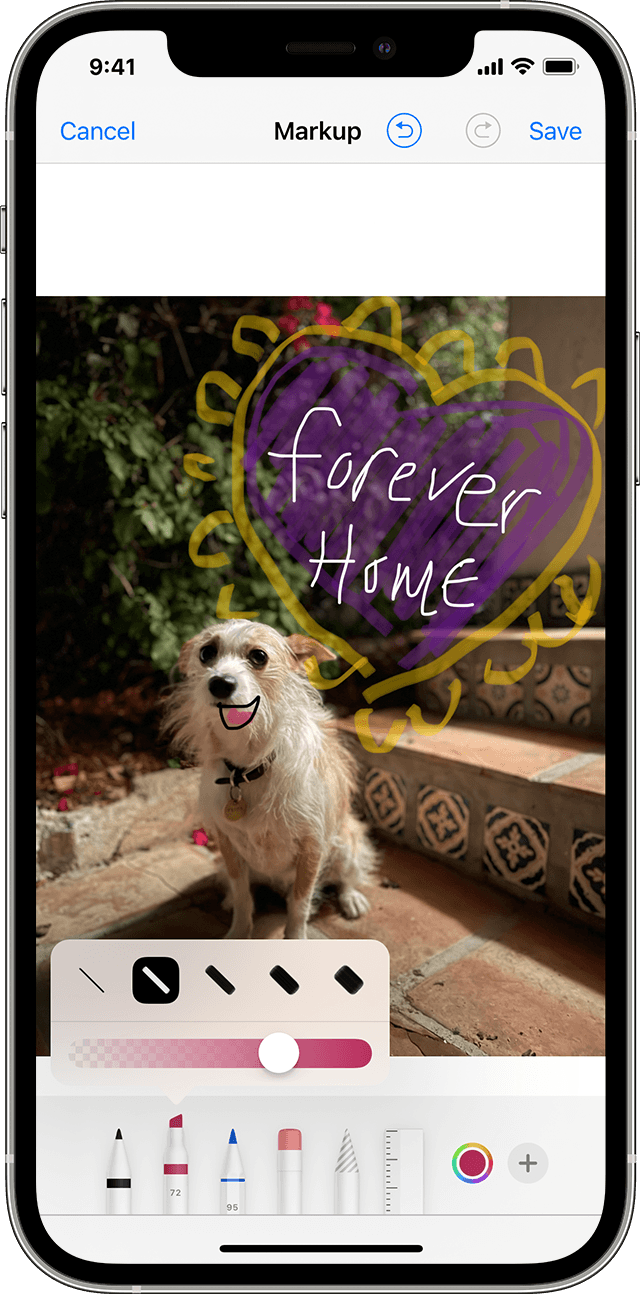
If you want to add a personal touch to your images, such as signature, date, handwritten scripts, and much more, you can use the iPhone’s in-built pencil to draw and write something on top of pictures. Here’s how:
- Tap the “Edit” icon and find the icon that looks like a pencil on the upper right corner of the screen.
- Tap it and choose the drawing tools you need. You can use a pencil to watermark your photos on your iPhone, or you can draw some paintings for your own images. Moreover, you can add a signature, caption, text, shapes, and emojis to your images on iPhone and iPad.
- Preview and tap “Done” to save your images once you are satisfied.
7. Copy and Paste Edits to Multiple Pictures
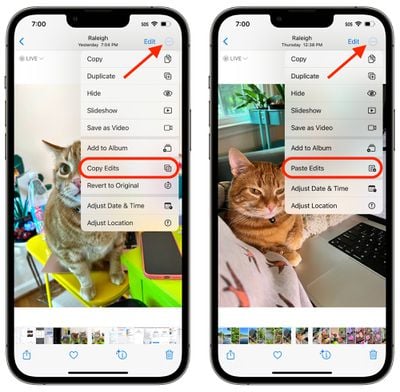
After you have applied the Tik Tok photo editing hack or formula, you can copy the photo edits you’ve made in the iPhone photo editor to other images. Thus, you can batch edit photos on iPhone.
- Open the iPhone Photos app, and find the image that you have edited in Apple photo editor.
- Tap the three-dots icon next to the "Edit" icon, and you can see the "Copy Edits" option.
- After copying the edits, repeat the step 2 to find the "Paste Edits" option and apply the formula.
Here is another way to copy and paste edits in Photos app
- Open the iPhone Photos app, and find the image that you have edited in Apple photo editor.
- Tap “Edit”, then tap the icon with three dots on the upper right corner of the screen.
- Tap “Copy”, and exit to find the image to that you want to apply the photo editing hacks and formula.
- Repeat the second step, and tap “Paste Edits” to apply the formula.
- Preview and tap “Done” to save your images.
8. Make Photo Collages on iPhone
Similarly, with the update of iOS, you can make a simple photo collage in the Photos app. Check out how to make collages on iPhone and iPad below:
Before opening the Photos app, you should set the photo grid shortcut in the Shortcuts app. Here is how to set a photo grid shortcut, which means you can make a photo collage on iPhone without the third-party photo grid app. Check the tutorials below:
- Tap the “Gallery” icon and search the “Photo Grid”.
- Tap it and tap the “Add Shortcut” option, and then you can find it on your own shortcuts.
- Then open it in the Shortcuts, and tap the three-dots icon to open the detailed information page.
- Tap the central icon on the bottom of the screen to make it show in the share sheet.
- Save your sets, and you can make photo collages in your Photos app.
Then, check out how to make photo collages on iPhone and iPad:
- Open the Photos app, and open the image you want to use as the photo grid material.
- Tap the “Share” icon and scroll down the screen to find the “Photo Gird” option.
- Then you can choose other photo collage materials.
- After that, tap “Add” to save your photo collage to your iPhone Photos.
9. Edit Live Photos on iPhone

You can edit the live photos shot on iPhone with the photo editing tools. Besides basic photo editing adjustments, it’s also easy to change the key photo, trim the live photo length, or mute the sound of your live photos.
Follow the photo editing tutorials above to edit your live photos, including crop, resize, remove the image background. If you want to do something extra as mentioned, check out how:
Change the key photo:
- Tap “Edit”, then tap the first live photo icon.
- There will be several image frames that you can tap to make key photo in the framer viewer.
- Tap the frame you like and make it the key photo.
- Tap “Done” to save your images.
Trim the live photo length:
- Tap “Edit”, then tap the first live photo icon.
- Slide the frame viewer from right to left to trim the length.
- Tap “Done” to save your images.
Mute the live photos:
- Tap “Edit”, then tap the first live photo icon.
- Tap the yellow speaker icon to mute the live photo.
- Tap “Done” to save your images.
How to Edit Photos on iPhone with Third-Party App
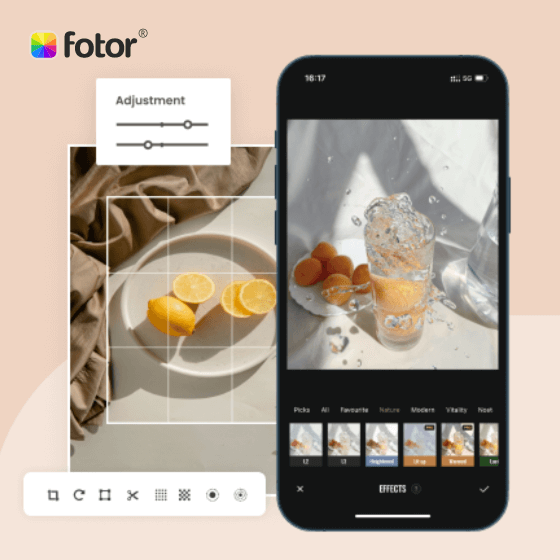
When you find iPhone photo editor in the Photos app cannot meet your demands to create stylish images, you can try some professional photo editor apps for iOS. Here you can use the Fotor app to take your photo editing to the next level with its comprehensive photo editing tools.
Offer more advanced photo-editing features, such as One-click enhance, HSL, Color balance, and Dehaze.
Various creative design templates with themes, covering different kinds of occasions.
Rich in elements and resources, more than 100 stylish effects and filters, updated weekly.
Fotor, a popular photo editing brand, allows you to edit pictures on iPhone and iPad with its powerful photo editor app. In the Fotor app, you can find every photo editing tool you need, covering the background remover, image cropper, image resizer, and much more.
Different from the iPhone picture editor, you can enjoy more photo editing tools. You can make photo collages on your iPhone. There are more than 10 photo grids for you to use for your own images and product photography.
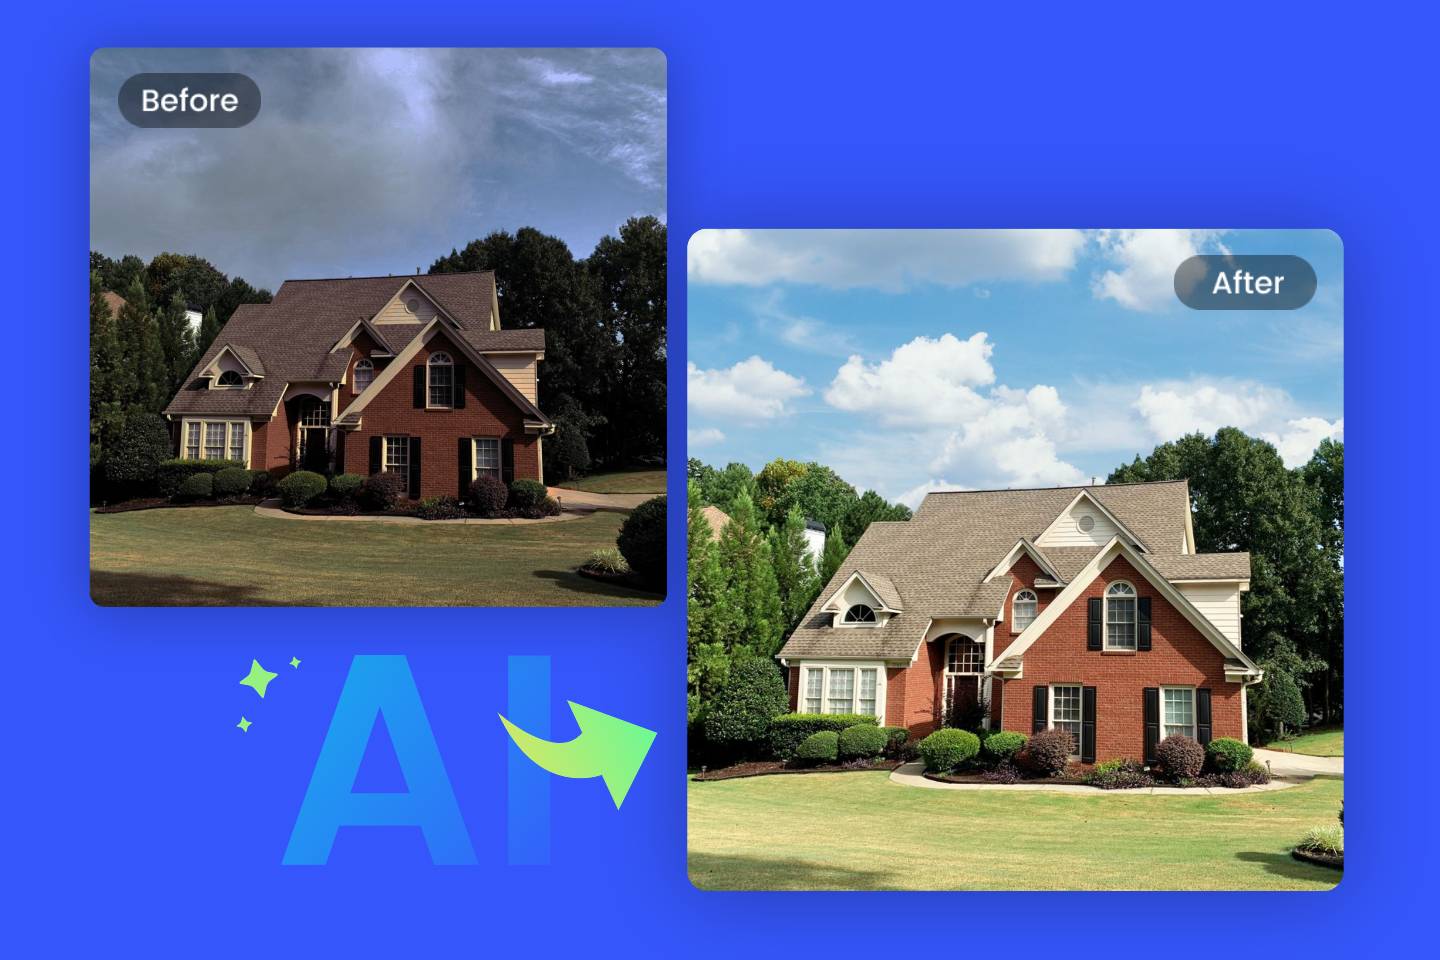
Fotor photo editing app allows you to use its prominent one-tap enhance tool to increase photo resolution, make blurry pictures clear, sharpen image detail, and colorize photos automatically.
Moreover, you can blur images without using the Portrait mode on your iPhone. You can find four blur images tool, including circle blur, linear blur, ellipse blur, and its newly released AI focus to blur images or blur backgrounds. And all the blur effects can be adjusted to fit your need.
There are many other stunning photo editing tools for you to explore in Fotor’s photo editor app for iOS. You can download it and start to edit pictures on iPhone and iPad to create something amazing!
Conclusion:
In this blog, we have shared how to edit pictures on iPhone with our detailed photo editing tools for you to check. You can use the iPhone’s in-built photo editor to adjust image color, crop and resize images, rotate and flip images, remove image background, and much more.
However, if you want to enjoy more photo editing tools, you can use the professional photo editor app for iOS, because you can find comprehensive photo editing tools to take your images to the next level compared to the pre-set iPhone photo editor. Hope you find this blog helpful!