Bring you the best content to spark your inspiration.
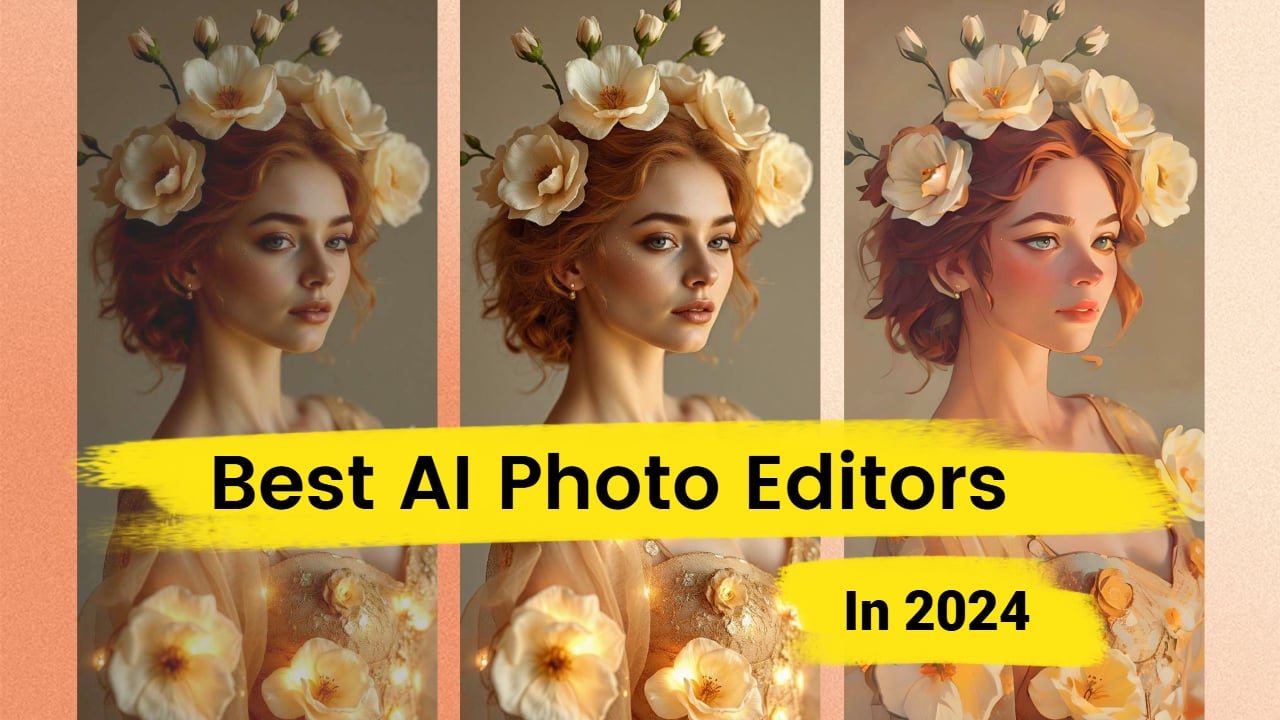
Learn how to edit your photos like a pro.
Everything you should know about design.
Supercharge your business and expand your online presence.