Rotate Image Online for Free
Use Fotor's free image rotator to adjust image rotation to any degree you want. Slightly straighten images or rotate photos 90°, 180°, or 270° to restore the correct orientation.

Click or drag an image here to edit
Click or drag an image here to edit


Fotor trusted and loved by
Learn about Fotor's upload formats and requirements. See how we use your content in our Privacy Policy.
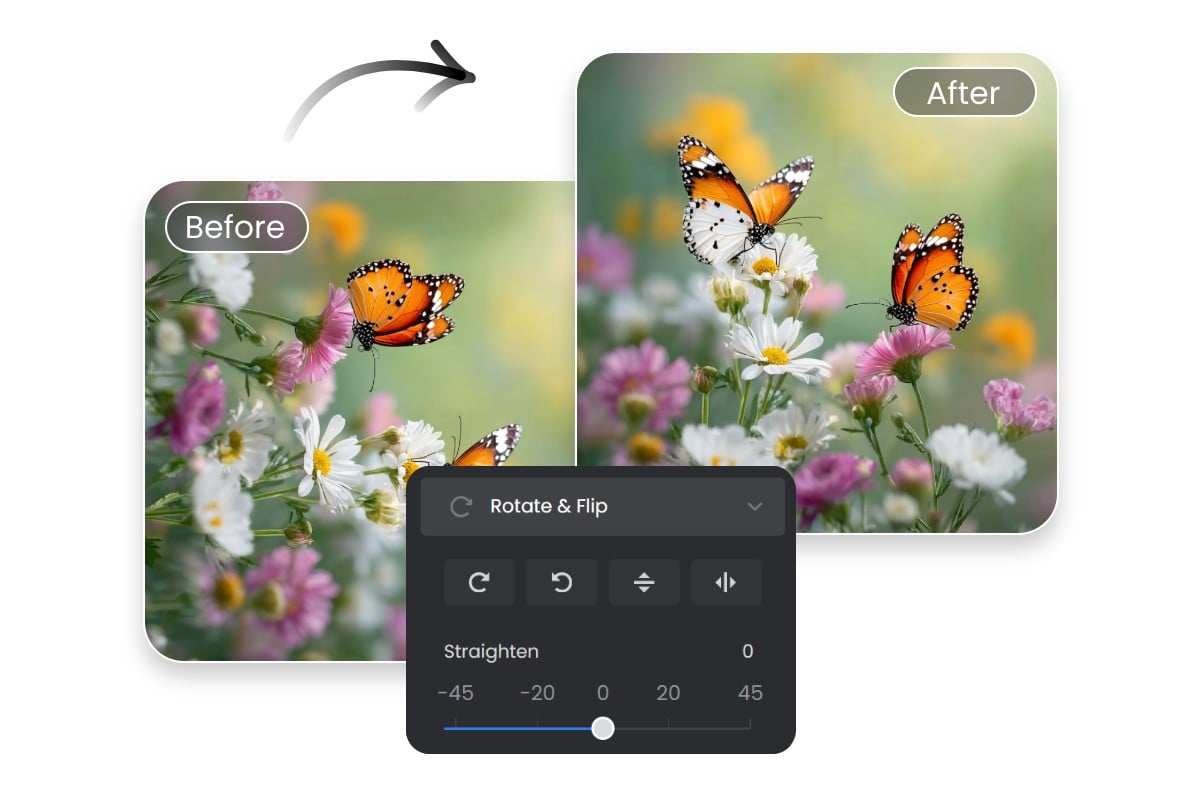
Rotate Images 90° 180° or 270° to Fix Sideways Photos
If a photo appears sideways or upside down after uploading, a quick rotation can fix it instantly. With Fotor's image rotator, you can rotate pictures 90°, 180°, or 270° to restore the correct orientation. It's useful for smartphone photos, scanned documents, or images imported from different devices.
Tips about common rotation angles:
⭐️ 90° – Fix sideways photos
⭐️ 180° – Correct upside-down images
⭐️ 1–5° – Straighten crooked horizons

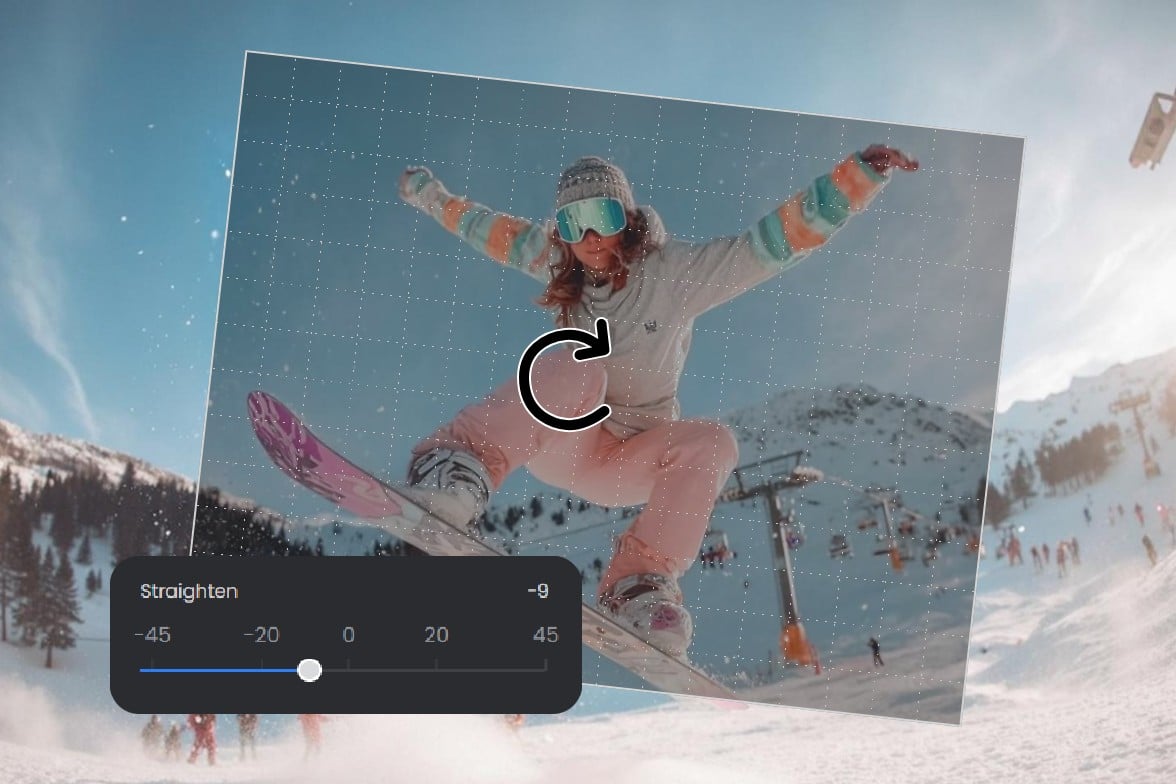
Fine-Tune Image Rotation to Straighten Crooked Photos
Sometimes a photo looks slightly tilted even if the orientation is correct. Fotor's image rotation editor lets you rotate images by small angles to straighten crooked horizons or adjust alignment. It's helpful for landscape photos, product images, or scanned files where precise positioning makes the image look cleaner and more professional.
Use Cases of Online Image Rotator
With our online image rotator, you can easily rotate images to correct orientation, straighten horizons, and enhance photograph composition.
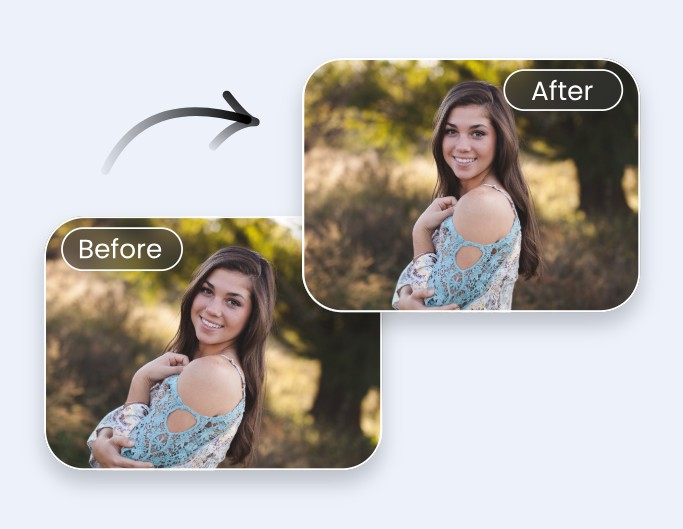
Correct Camera Tilt
Straighten horizons and correct skewing or misalignment photographs.
Fix Perspective Distortion
Rotate photos to correct converging lines. Make objects appear less distorted.

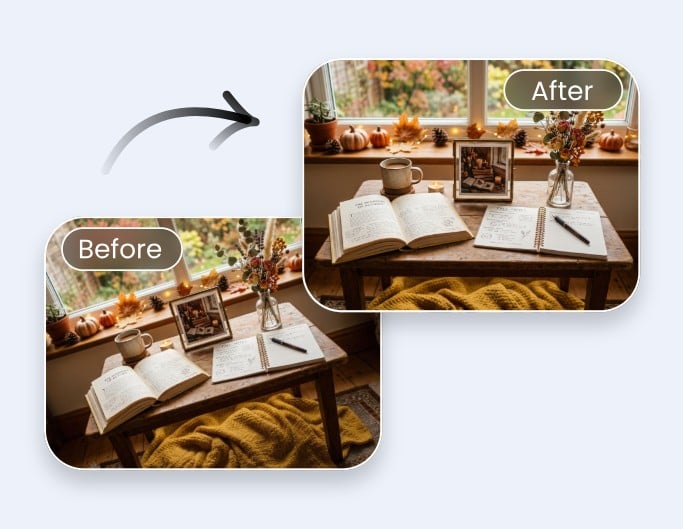
Enhance Composition
Improve aesthetics and bring your images into focus with the perfect rotation angle.
Why Choose Our Image Rotator?
![Free image rotator icon]()
Free to Use
Sign in to your account to access the image rotator and export your rotated photos without requiring a paid subscription.
![Customizable rotation options icon]()
Customizable Rotation
Effortlessly rotate images by specific degrees or angles as you want. Fix tilted or skewed images without hassle.
![Mobile friendly icon]()
Mobile Friendly
Seamlessly rotate photos on iPhone, Android, or any mobile device anywhere on the go.
![No watermark icon]()
No Watermarks
Images rotated with Fotor can be saved without watermarks, so your final photo stays clean and ready to use.