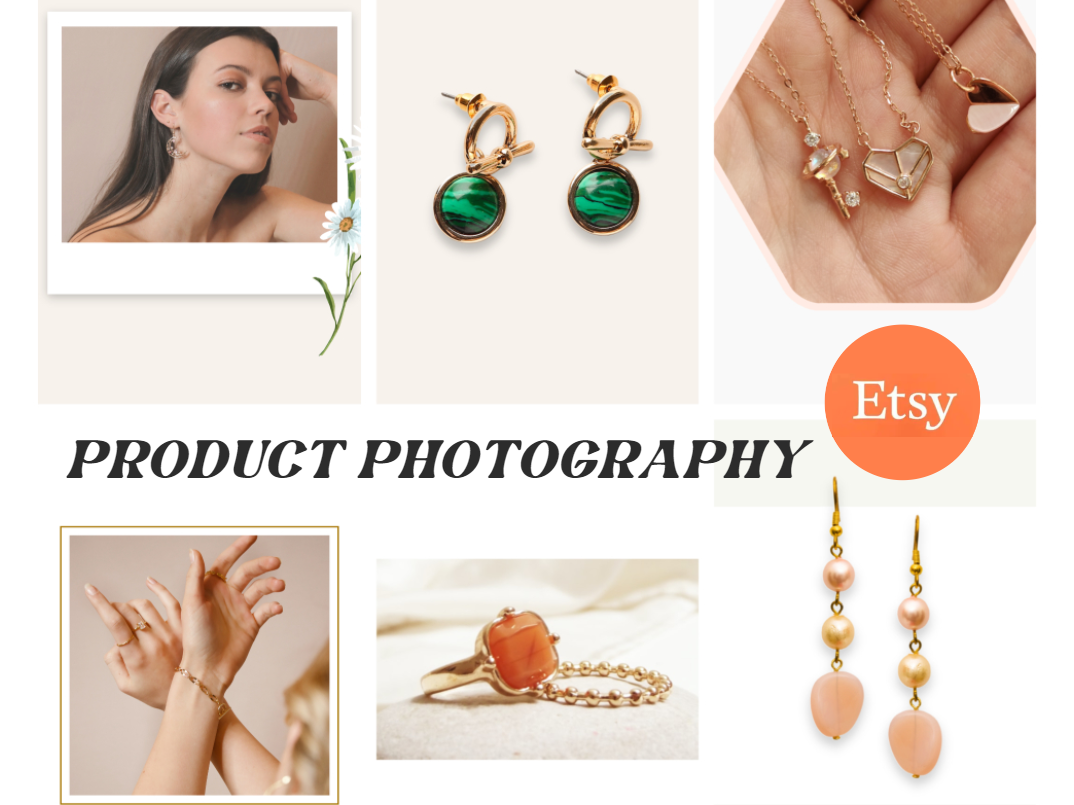
Good Product Photography Guides: Setups & Tips & DIY Product Photos
Summary: This is a post sharing how to take good product photos. We will share some essential product photography setups, tips, and some product photography DIY ideas for you to have nice product shots.
Successful marketing and more sales cannot be achieved without good product photos. Shooting good product photography can help attract more customers, increase conversion rates, and create a positive impression of your brand. Also getting high-quality product photoshoots does not have to be expensive or complicated if you get to know more tips and tricks for taking amazing shots.
In this article, we will share how to take good product photography, including sharing essential setups and product photography tips and tricks, which make your products stand out and get more sales easily and quickly! We'll also discuss how to edit and DIY product photography for maximum impact easily when selling your products online. Let’s roll!
How to Shoot Product Photography: Setups & Tips
For beginners, you need to explore and create the most revealing scenes for your product shots, as well as understand the characteristics of your product. Yet product photography is not something that can be done in a casual place.
High-quality product photography requires careful planning and preparation, including equipment, environment, lighting, and other details. Coming up next, you will know how to build a perfect product image shoot environment with the following necessary product photography settings.
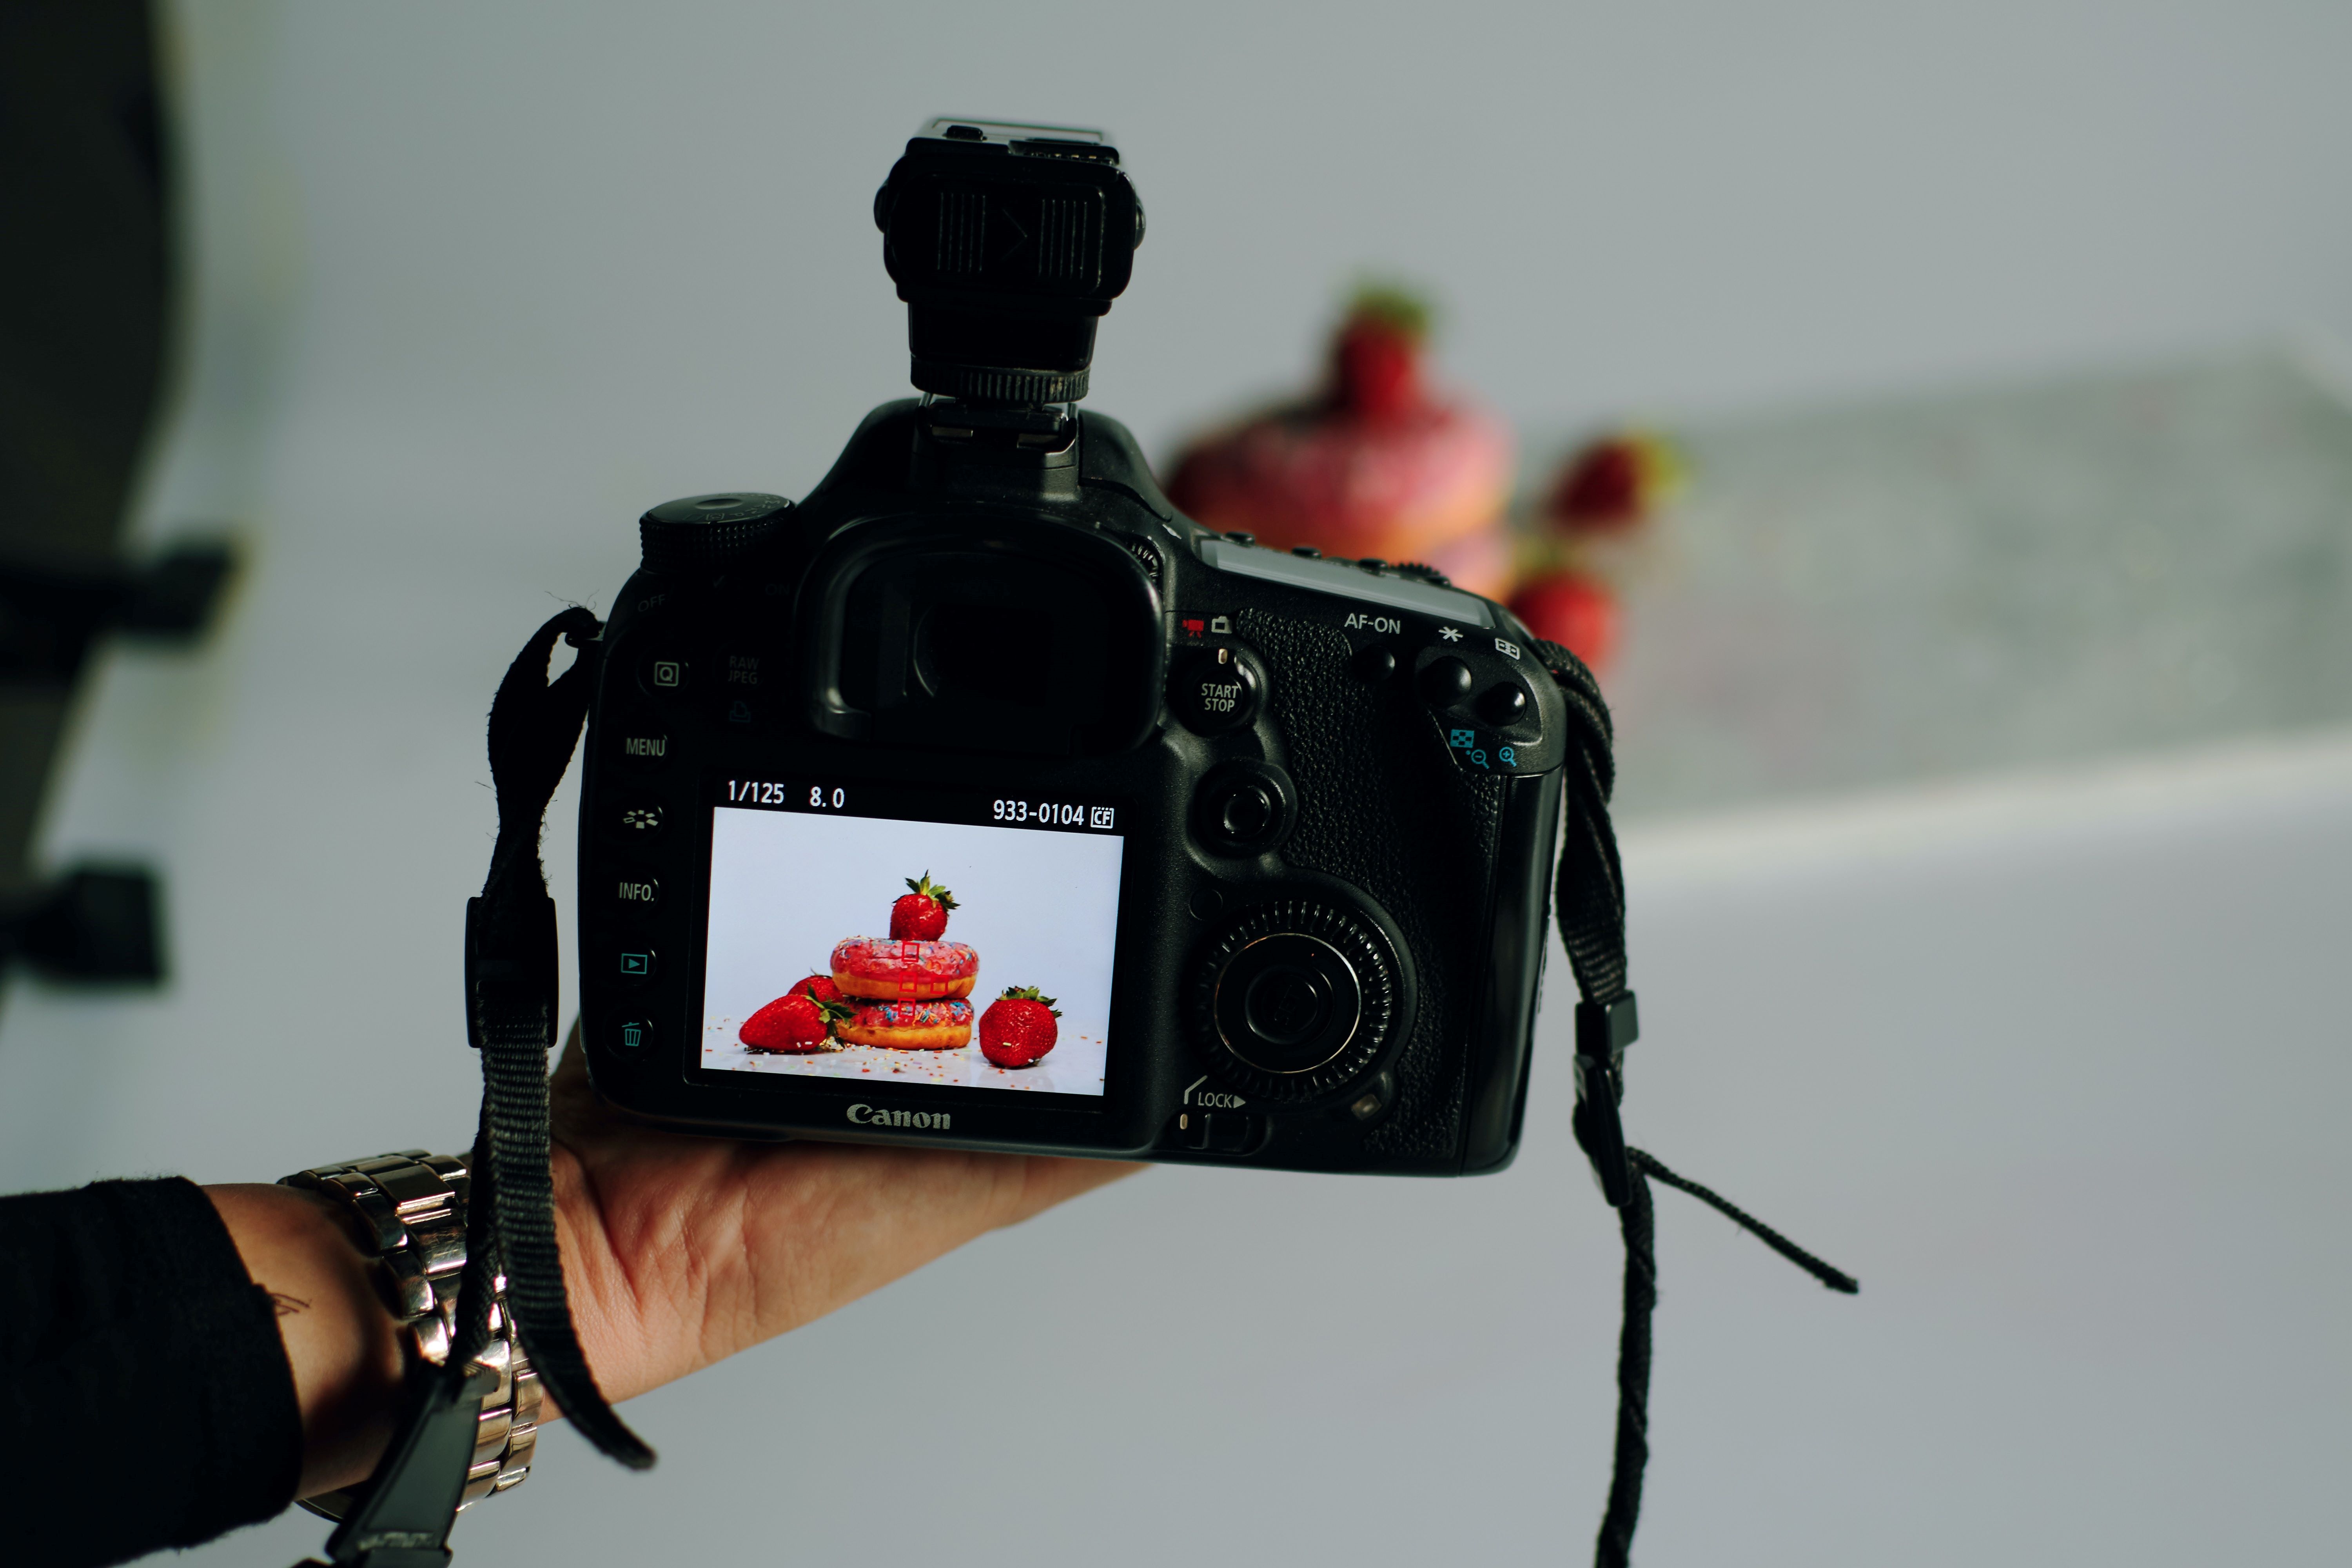
1. Set up Your Camera
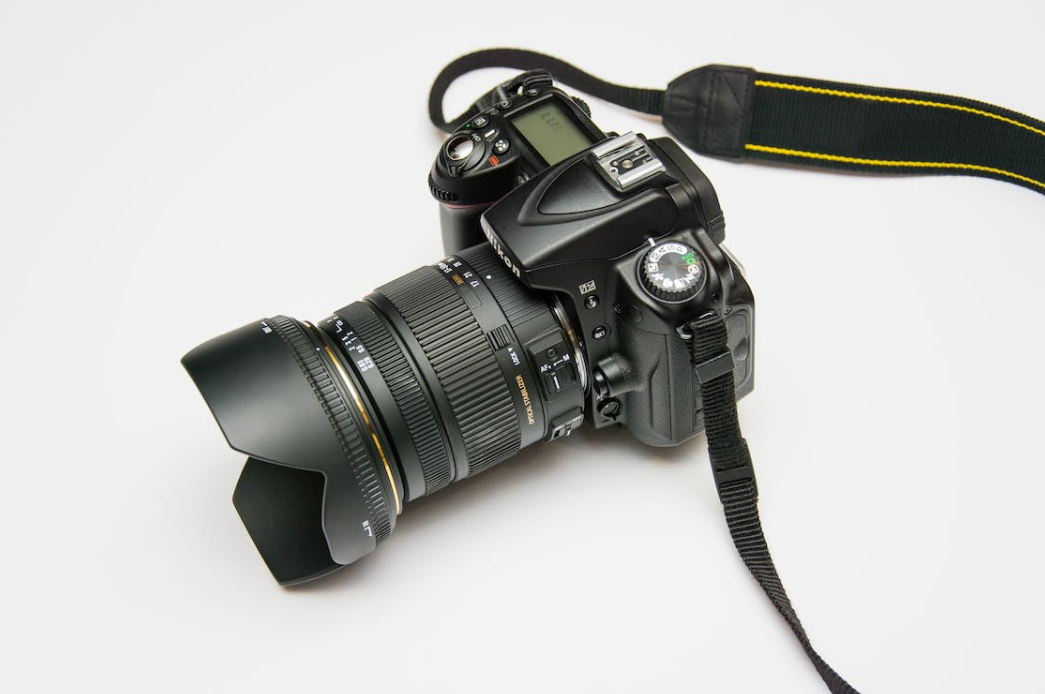
Maybe you're thinking about which model of camera you should use to get a blockbuster-quality product picture. Maybe you think a popular DSLR camera will make it, but the truth is that you don't have to get one just for shooting unless you have a good budget, otherwise you can do it with your smartphone.
Possessing a good product photoshoot is not directly determined by a device, but there are many factors that compose a good product image, including the angle of the shot, lighting, props, the frame, and the post-processing of the image. So, you can get a high-quality product photography by mastering other controllable variables or influencing factors.
If you happen to have a camera on hand, then you can read some of the product photoshoot tips we've shared with you below, and learn to understand what is the most appropriate lens when you're shooting. Read on.
1. Focal length: The focal length will affect the effect of the product pictures you take. Generally speaking, long focal lengths are more likely to produce a blurred bokeh effect because they compress the distance between the subject and the background, causing the background to become blurred and the subject to be highlighted.
2. Aperture size: The larger the aperture is, the more likely the background will be out of focus. You need to decide your aperture size based on the entire composition of the product shot you are photographing.
2. Prepare a Tripod
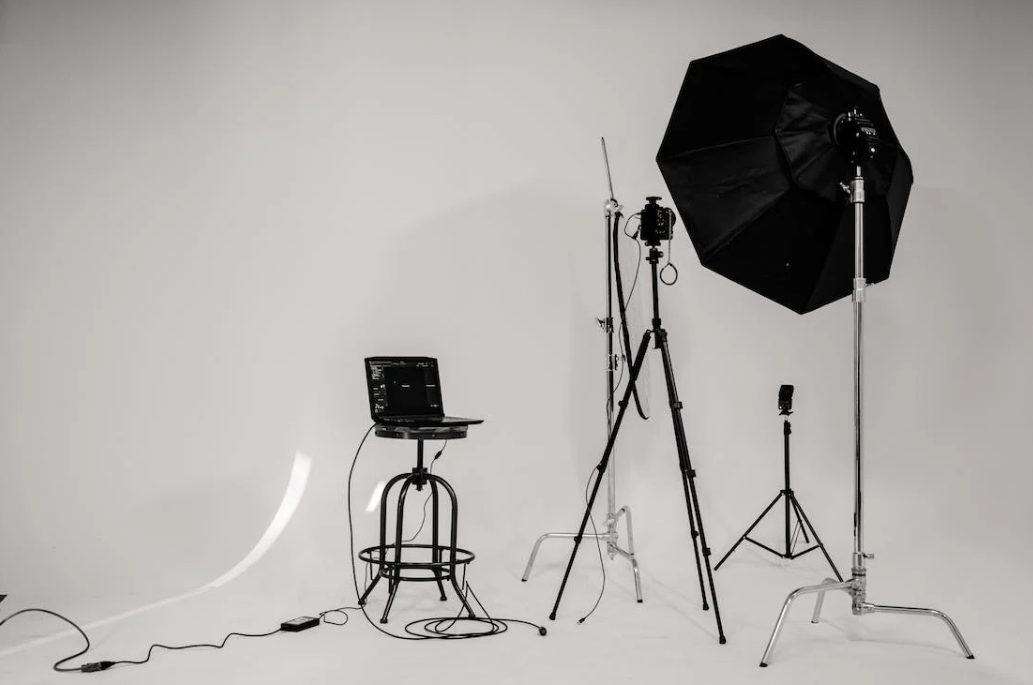
Above we have mentioned that focal length has an impact on the effectiveness of product photography, so be sure to choose the right focal length according to your product photographing needs. Usually, you need a tripod to help you get a perfect focal length.
Generally speaking, you don't need to use the autofocus function provided by the camera when taking professional product pictures, because the camera doesn't recognize what you need to highlight the subject and you don't have to keep moving the shooting point to focus.
Therefore, you can prepare a tripod to help you fix the product photo shooting distance, and then through your manual selection of the appropriate focal length easily obtain a perfectly focused product shot.
3. Get a Clean or White Background
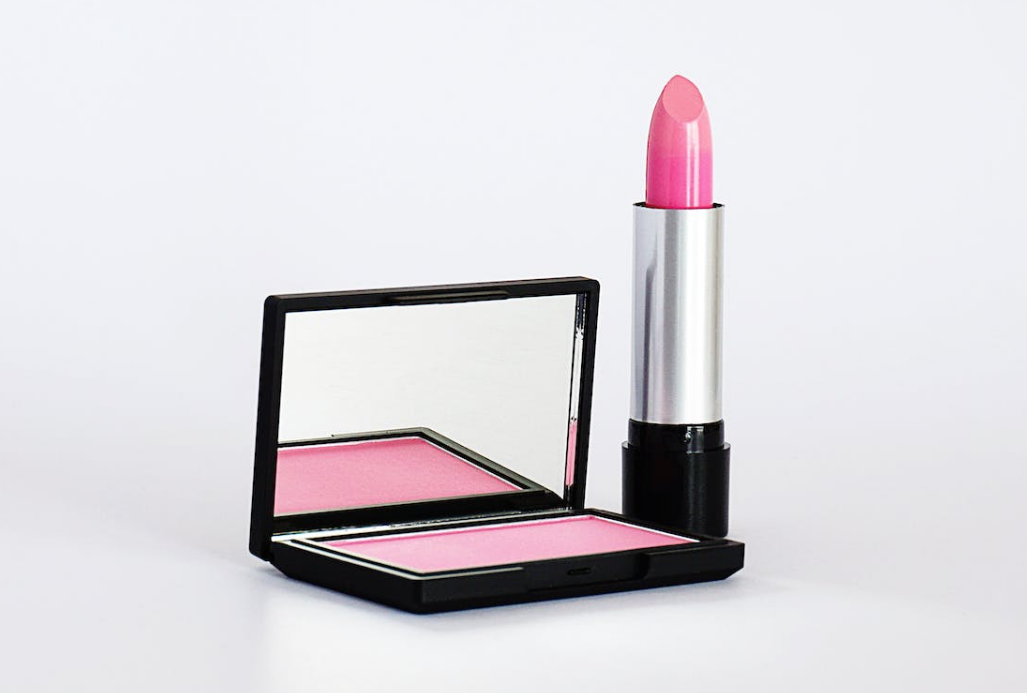
Usually, white background is the most ideal background color for photography. First of all, this is because white color can highlight the product itself instead of distracting the consumer's attention. It is also because many e-commerce platforms including Amazon, Shopify, and Etsy require a white background for their product images.
You can use a white wall or a large bed sheet to help you simply frame a basic white background. Or buying a cheap white sweep online is also a great option. Still, you can get a plain white background with image procession.
4. Get Enough Lights
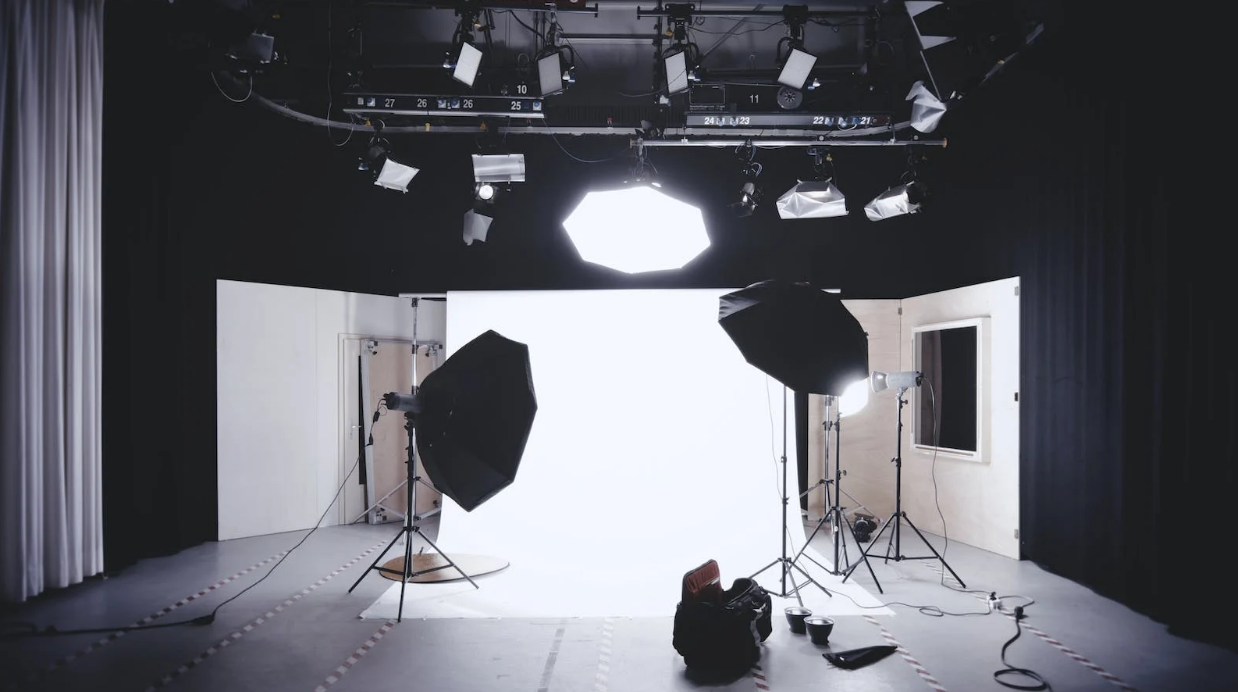
Light has always been an important factor in a good photogram. There are generally two kinds of light, natural light and artificial light, and they generally complement each other in product picture shooting. Normally, you should first consider natural light as the primary and artificial light as the secondary.
You can choose to shoot in a place with good natural light, and the most ideal shooting place is usually by the window. But what you need to know is that the light will change with time, and the source of light is different for every quarter of an hour, so you need to keep adjusting the shooting position.
5. Use Bounce Cards
A white bounce board will play an extremely important role in your product photoshoot. It improves and balances the product to get light just as much as a black bounce board.
When your lighting is not able to fully reflect the characteristics of a particular detail, you just need to use a white bounce board to project the existing light to where you need it to highlight it and eliminate unwanted shadows.
Similarly, using a black bounce board will deepen the shadows of the photographed product if you keep adjusting the angle and position of the projection.
If you combine the two, you may get more ideal lighting conditions to highlight the features of your product and also achieve better composition. You can achieve this directly by using white printing paper or by purchasing a bounce board online.
6. Take Product Photos Now
Now you have finished all the preparations to stay ready for the product photogarphy, it's time to take out your styling products! No matter what kind of products you have, your product photo should show the product detail, so you can come closer to your procust or give it a short focal length.
When you are photographing, you should make sure that the whole product got enough light because light will make your product detail visible. And you have to adjust the distance between the camera and the product in order to get the proper focal length to have the best visual effect. Still, you have to move around to find out the best position to show what's your product best features that will help you present your products.
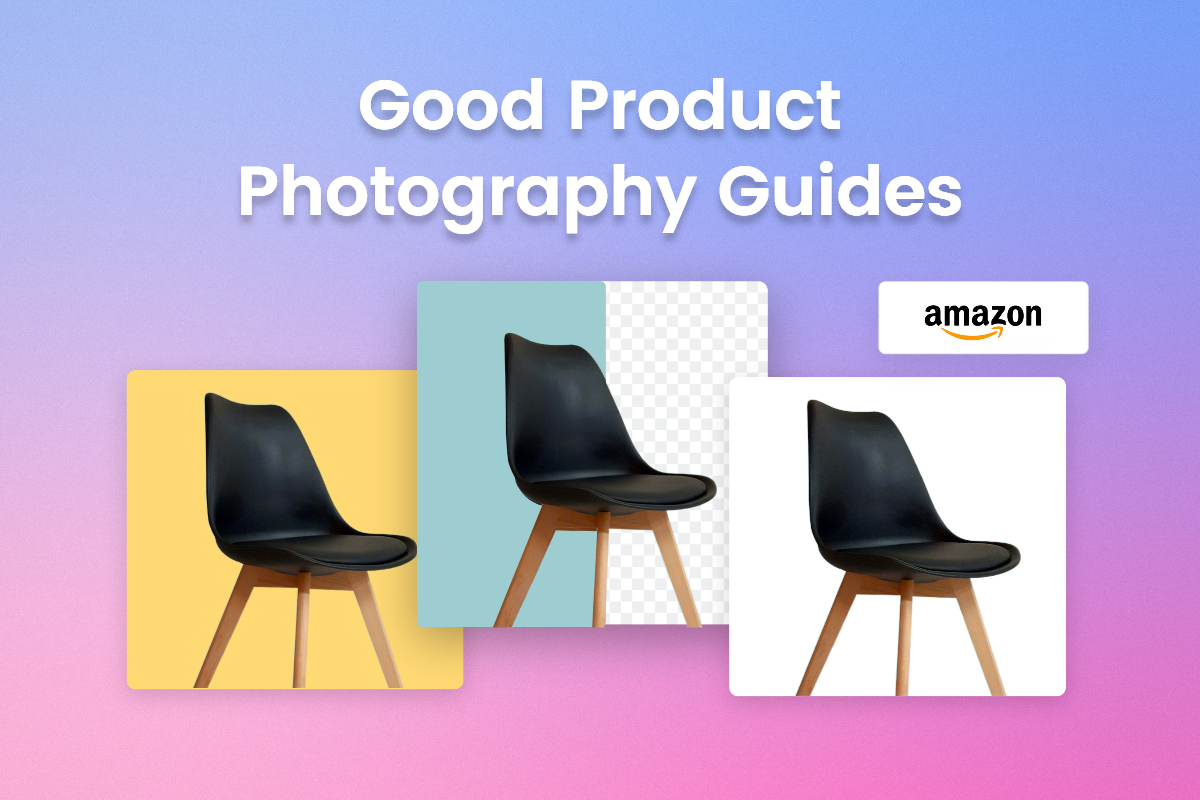
DIY Product Photography Backgrounds to Boost Sells and Fit E-Commerce Platforms
You've realized the importance of backgrounds for product photography. Besides structuring a basic background color by yourself, you also need to perfect your product image by editing and processing the image details. The original white background is not exactly plain white, it may have visible lines, textures, shadows, etc.
Now you can use online background remover to help you process product image backgrounds if you don't know how to use Photoshop. Fotor's background remover is a very useful tool to add white backgrounds to your product images.
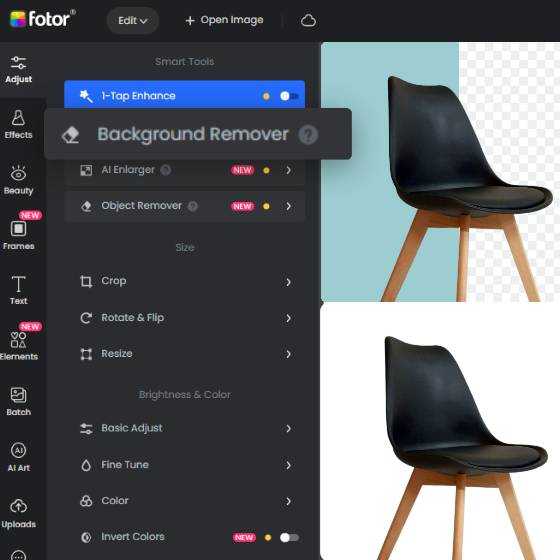
Fotor's background remover makes your product photography brilliant by changing the background color to conform to the e-commerce platform requirements.
AI removal background in seconds
Rich background color support
Multiple image format downloads
Based on powerful AI technology and trained by millions of product images, Fotor's background remover for e-commerce can quickly help you remove unwanted photo backgrounds, while also supporting you to change the photo background color or directly use the background image material provided by Fotor itself to complete the replacement of product photo backgrounds in one place.
Here’s How to Add White Background to Product Photo in Fotor:
- Open Fotor’s AI background remover and upload your product image.
- Wait a few seconds, and your unwanted image background will be removed by Fotor’s AI eraser.
- Click “Change Background Color” on the left menu bar. You can pick up the white color on the default color palette.
- That’s it. Now you have the plain white background product photo without shadows and glares.
Conclusion:
In this blog, we have shared how to have nice product photography. You have to prepare some product photography setups and learn some tips to have the perfect product photoshoot composition and frames.
Especially you should pay attention to the product photo background because of its importance and e-commerce platform requirements. You can make use of the online image background remover to add a plain white background to the product image easily and quickly. Hope you find this blog helpful.