


AI Product Design for Free
Transform your product design creation or sketch drawing into real life with Fotor AI product design generator in seconds.
Free for everyone to explore the future of product design.

Make Digital Product Design with AI from Text
Tell Fotor about your product design ideas, your dreamed AI product designs are at your fingertips. With the AI image generator, you can simplify the product design process by describing the product design you want our AI to realize for you. Wait a few seconds, you can get AI-generated product designs with ease.
3D Product Design Generated by AI
Now you don’t have to search for 3D product design software, because Fotor offers you the 3D mode to choose from when you are creating AI product designs. Easy to make a 3D product design with AI and to see whether the digital product design effect conforms to the product design specifications or not.

Professional Product Packaging Design
Applied AI in designs, our AI design tools saves your time and budget for professional product design companies or designers. Just tell Fotor your product design sketches of the product packages, and our AI product design tool will plan for your product package designs and the pattern background you need to create the best product design online.
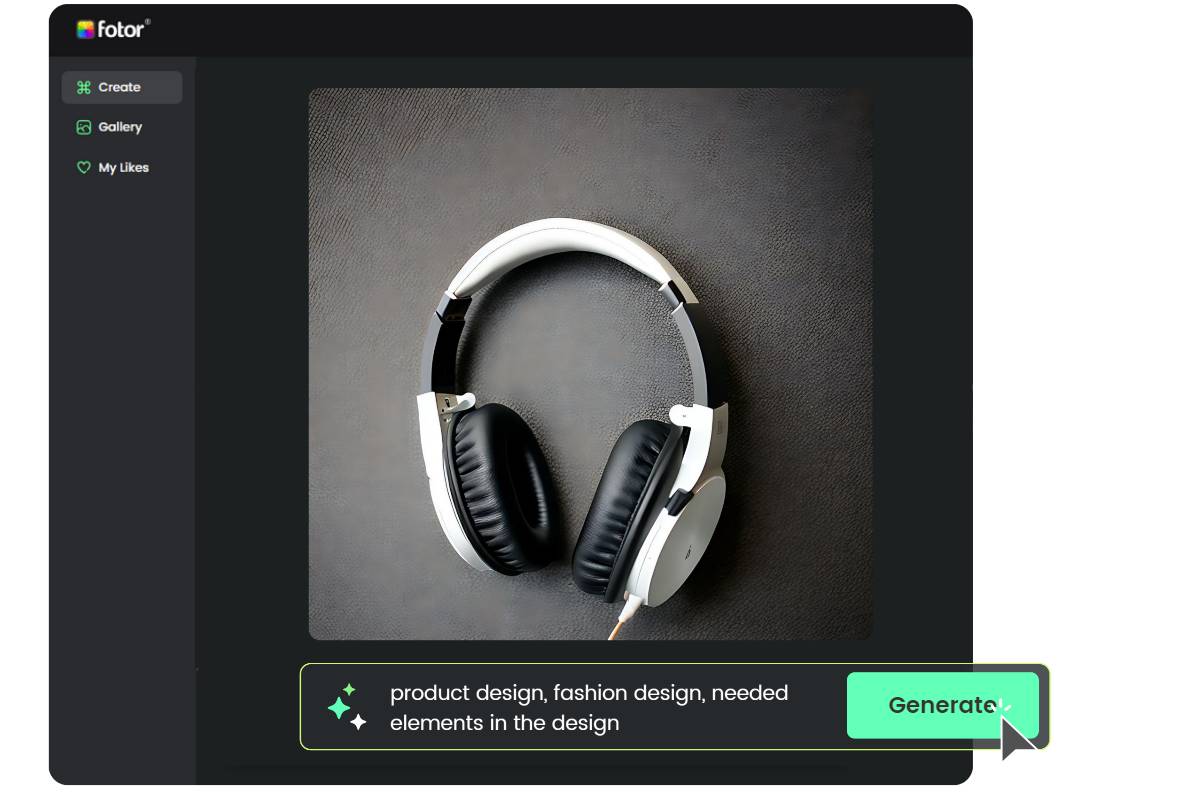
How to Design a Product with AI?
- Click the “Generate AI Product Design” button to get started.
- Enter descriptions for the wanted product design in the text bubble.
- Click “Generate” and choose “From Text” mode on the left toolbar once you have finished your descriptions. Remember to describe as detailed as you can to get the best product designs.
- You can adjust the number and style of the AI-generated product design images on the right menu bar.
- Click the download icon to save your 3D product design photos.
Get Inspired by AI-Generated Product Design Examples
There is no need to use product design software for quick design creation if you have AI design to assist you. From industrial product design to fashion design, our AI-generated product images can meets all your demands in seconds!
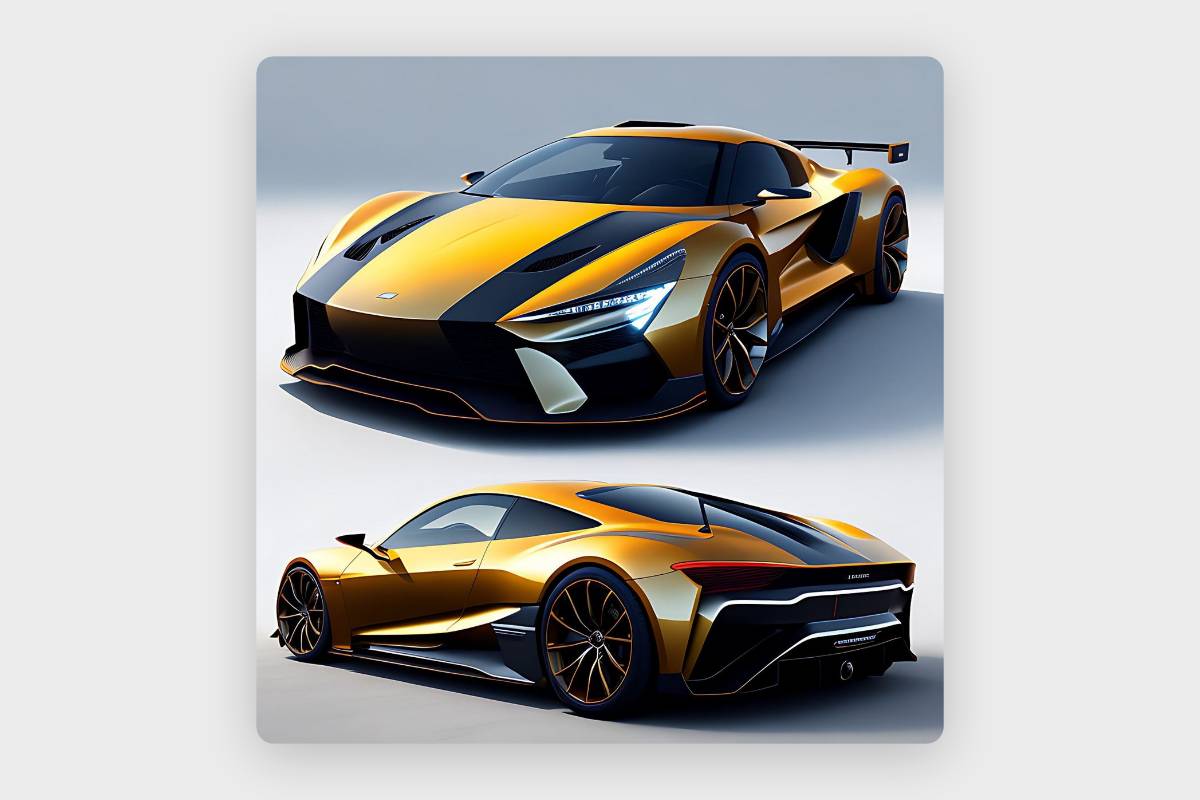
AI in Car Design
AI tells what the product design trends in the car industry in the future: breathtakingly futuristic.

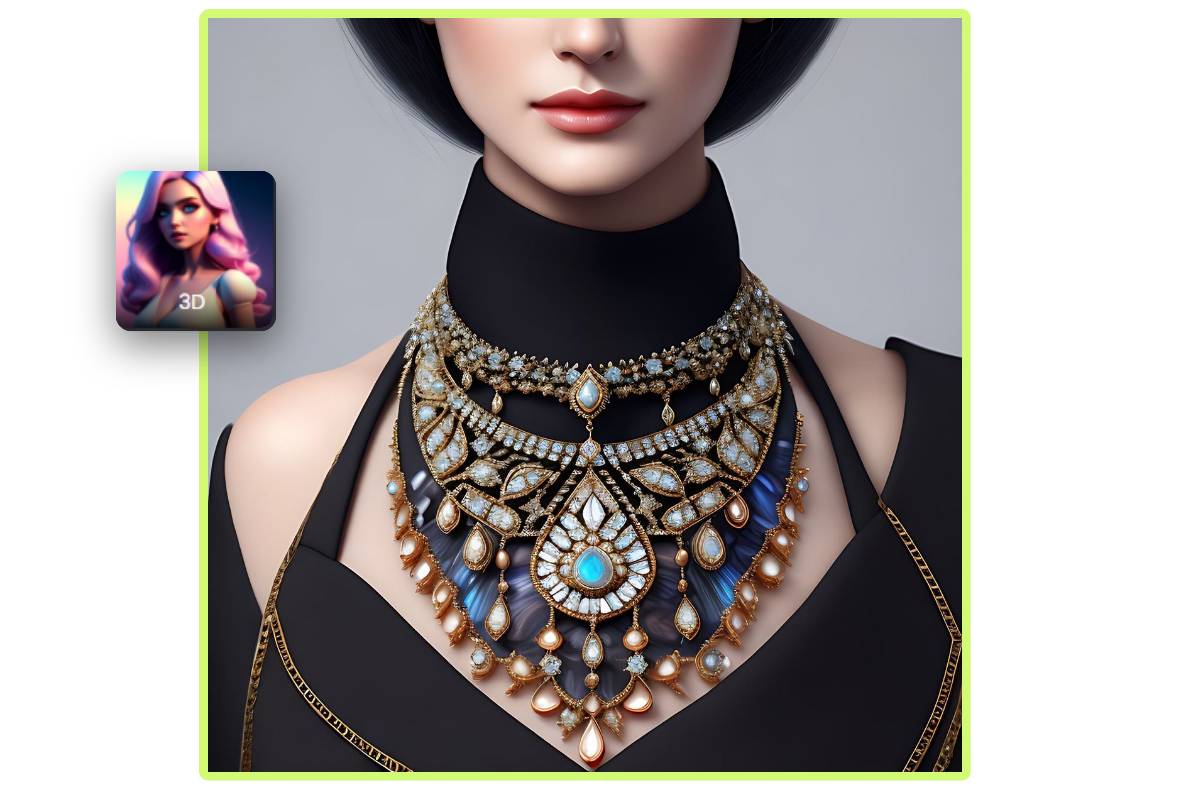
AI in Jewelry Design
Fotor’s AI product design generator helps you catch the next wave-- AI jewelry design, creating luxurious and revolutionary product design.

AI in Dress Design
Professional AI dress design platform for every designer to generate the most innovative product design with the help of AI.

AI in Shoe Design
Stand out from the shoe design with our AI product design tools. Easy to have shoe design creation full of originality and creativity.

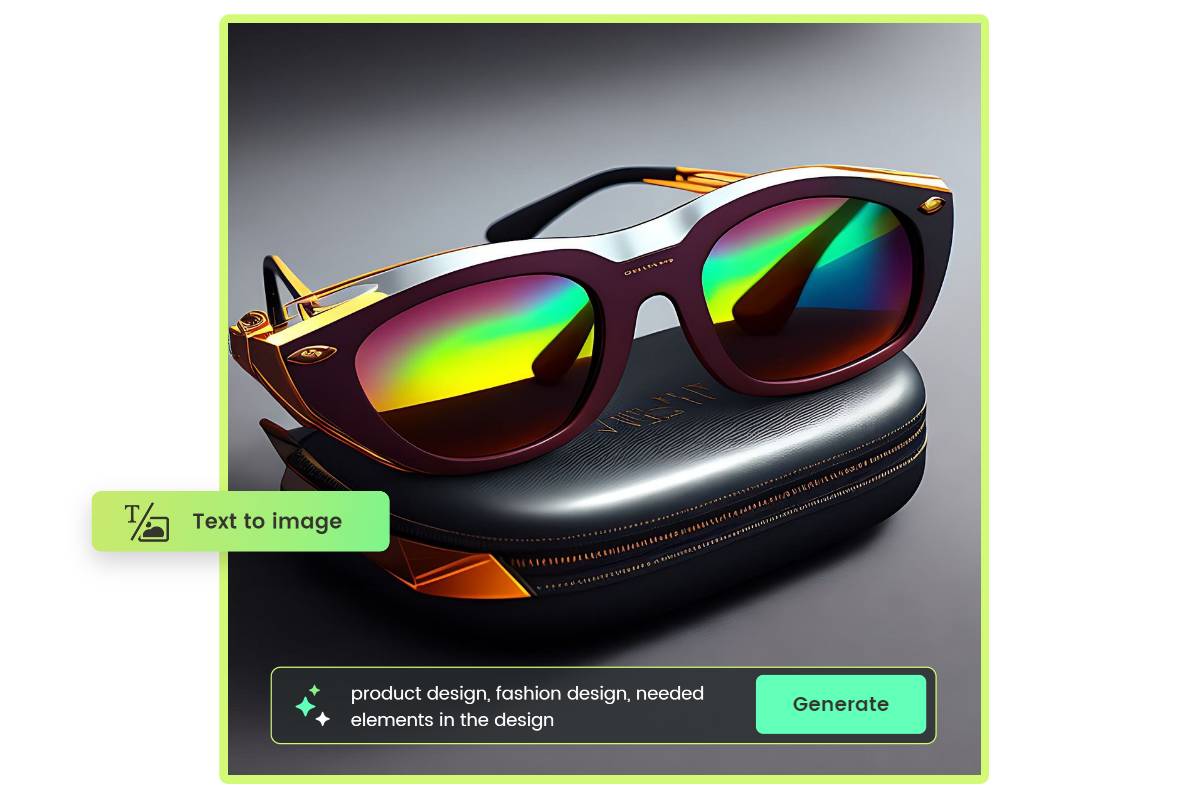
AI in Sunglasses Design
Turn your sunglasses design ideas into reality with Fotor’s AI product designs. Free to make digital sunglasses design that wins over popularity.

AI in Bottle Design
Get unique product design ideas for your wine or perfume bottles in minutes using our online product design generator.