Free Online Passport Size Photo Maker
Use our passport photo maker with preset sizes that meet any country's requirements. Instantly make passport size photo using automatic cropping out and background change.

Make Passport Size Photo With Presets Effortlessly
Convert photos to passport size in one click. Our passport size photo maker offers presets that meet passport photo requirements of different countries. Just upload your photo to Fotor's photo editor and choose the passport photo size you need. We will automatically resize and crop your photo to meet strict biometric standards (such as 2x2 inches or 35x45mm), ensuring your application is never rejected due to size errors. No editing skills are needed.
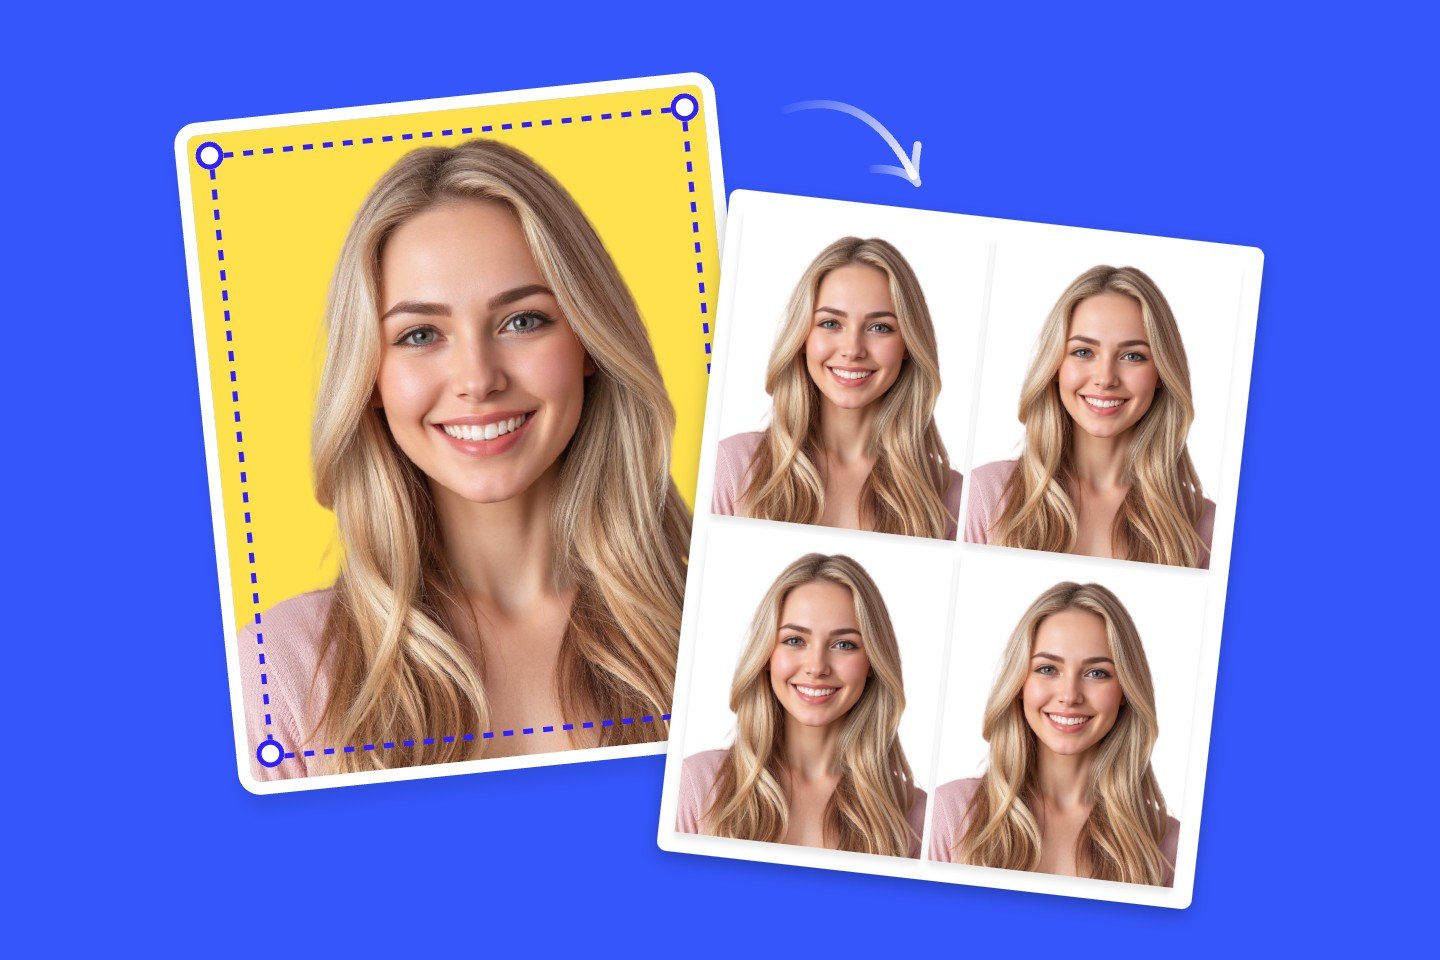
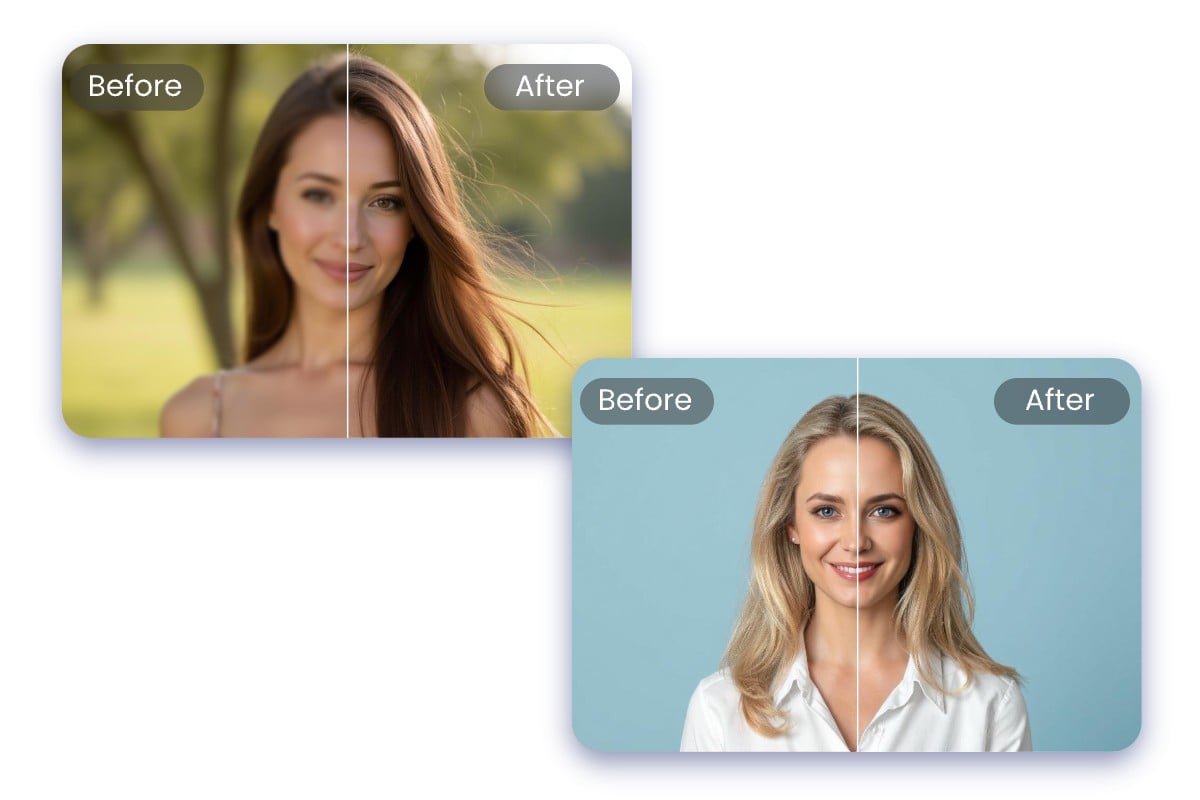
Create Passport Picture with White Background Online in 1 Click
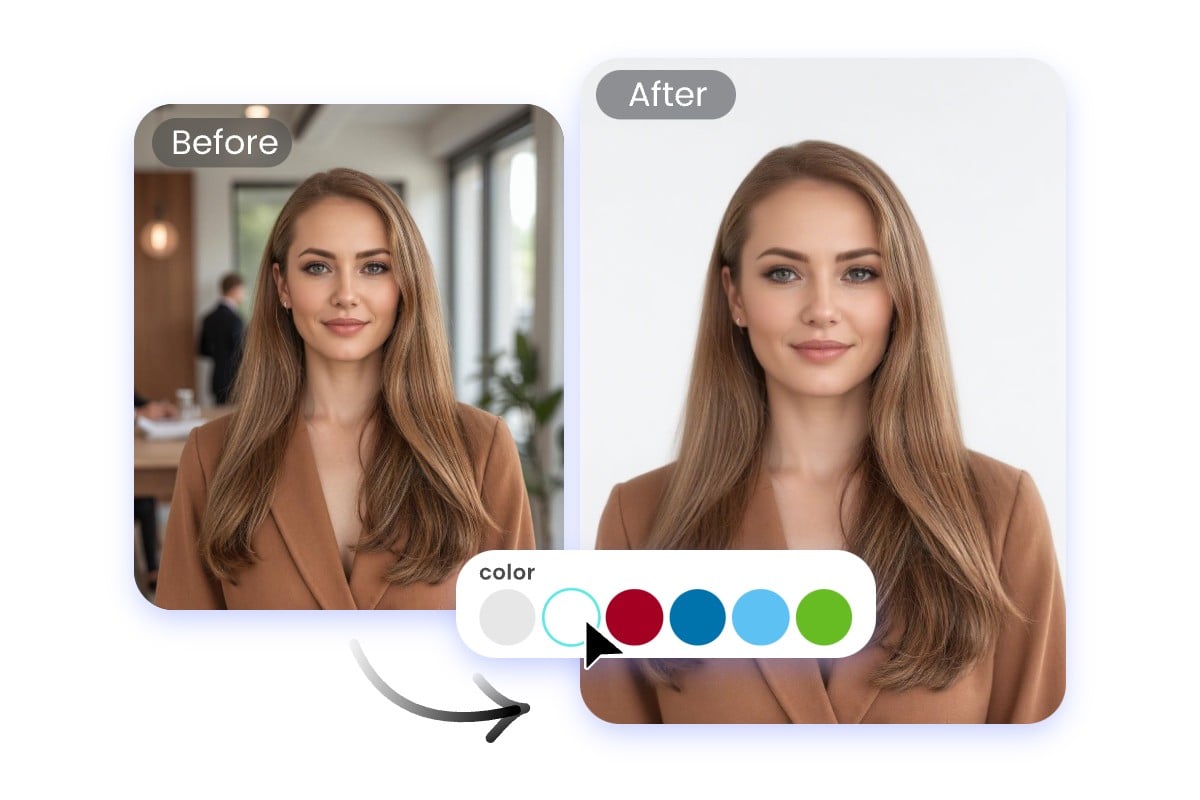
Don't have a white wall? No problem. Our passport photo maker can automatically detect your face, crop it, and place it on a white background. Our advanced AI model can capture all the fine details, even a loose string of hair.
Fotor allows you to change the background color at will. No manual editing or advanced photo skills are needed. So you can choose the right color depending on your destination country.
Get Passport Photo Layout for Online Submission and Printing
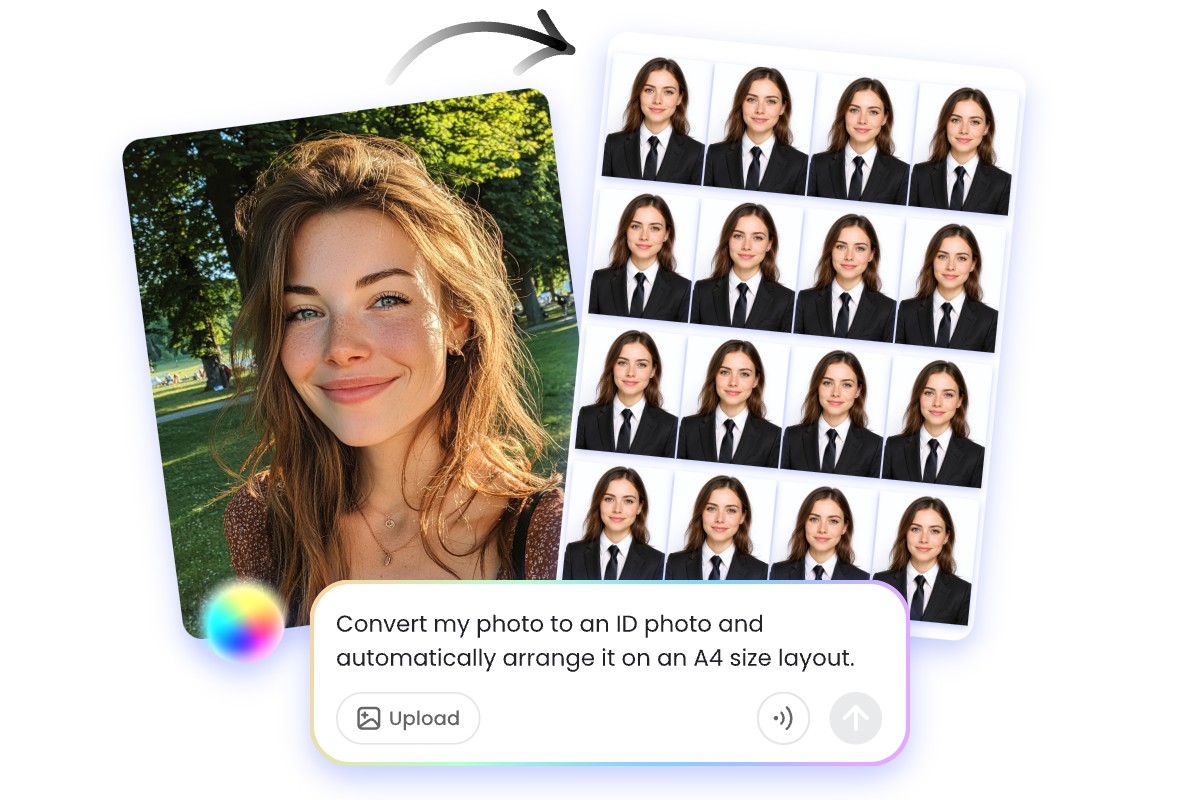
Our passport maker makes passport photo preparation easier, faster, and more cost-effective. You can download a high quality image file for online use or generatea standard 4R (4×6 inch) print layout with 6–8 photos arranged neatly on one sheet. If needed, you can also use our AI clothes changer to change clothes into formal attire. Effortlessly make passport pictures in one place.
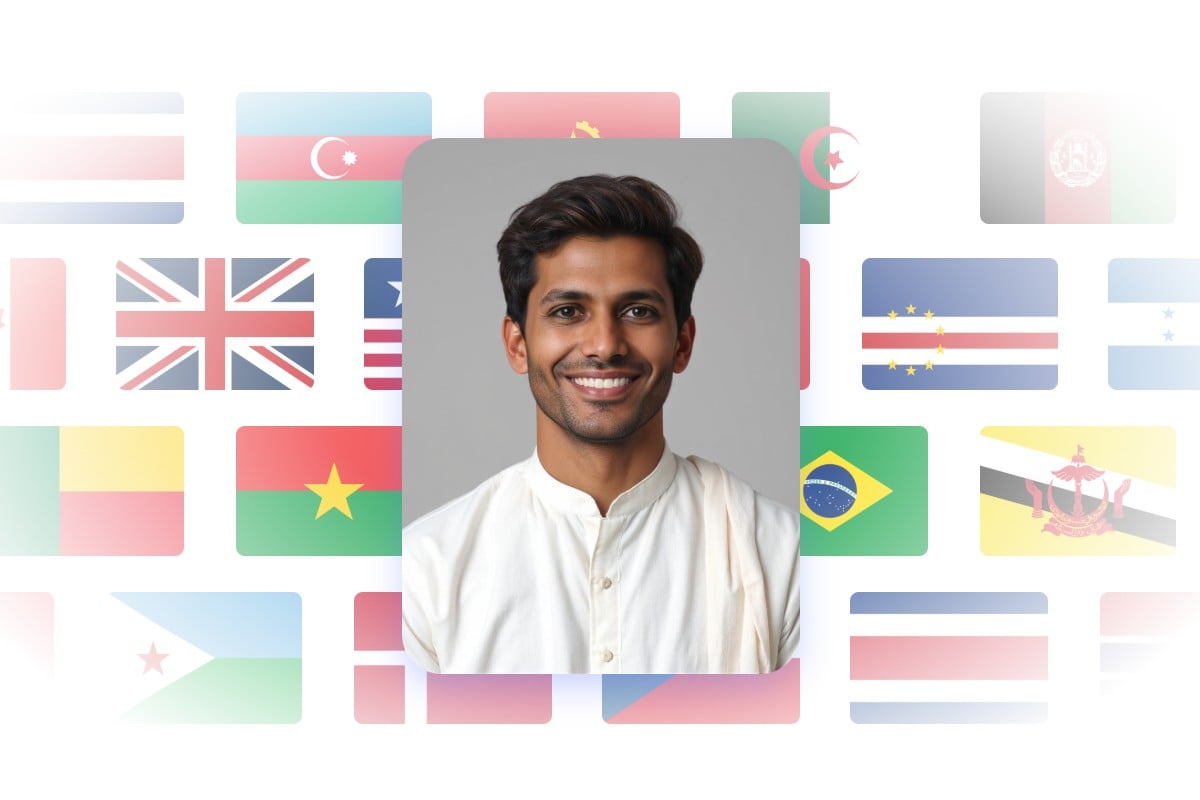
Convert Photo to Passport Size Suitable for Any Countries
The right dimensions are essential for passport applications. Fotor’s passport size photo converter automatically resizes your photo to meet official dimensions—perfect for passport, visa, and other ID needs.
We support all major countries’ passport photo specs—including the US, UK, Canada, India, Malaysia, and more. You don’t need to research sizing guidelines anymore.
All-in-One Passport Photo Editor
Make passport size photo that you can submit with confidence. Fotor offers a complete solution for editing passport photos online.
Head Size & Alignment: Effortlessly adjust your head size and alignment to meet official passport submissions.
Glass Glare & Facial Expression Fix: Remove glasses glare and adjust improper facial expressions to avoid common passport photo rejections.
Lighting & Color Enhancement: Automatically balance brightness and contrast for clear facial visibility
Why Choose Fotor Passport Size Photo Converter?
![Gradient purple clock icon]()
Make Passport Photos at Home
With our passport size photo maker, you can create a compliant passport photo with the perfect size and background color from home using your phone or camera.
![High quality icon]()
Printable Sheet Export
Effortlessly generate standard 4x6 inch (4R) sheets with 6-8 passport photos perfectly arranged for easy printing.
![Safe and secure]()
Guaranteed Privacy
Your privacy is our priority. We will not share your personal information with third parties
![Edit images in bulk]()
Multiple Country Sizes Supported
Easily convert a photo to passport size for the USA, UK, EU, India, and more countries.