7 Tips for Real Estate Photography: Boost Your Sales
If you're in the business of buying or selling properties, you know how crucial it is to make a captivating first impression. In today's competitive real estate market, professional real estate photography play a pivotal role in attracting potential buyers and generating sales. But, how to take real estate photos?
In this article, we'll walk you through the prep and tips for taking real estate photos. Whether you're a real estate agent, a property developer, or simply someone looking to sell their own home, these tips will empower you to create visuals that command attention and boost your sales.
What is Real Estate Photography?

Real estate photography refers to the specialized practice of capturing high-quality photographs of properties, including homes, apartments, commercial buildings, and land, for the purpose of marketing and selling them. It involves showcasing the key features, architectural details, and unique aspects of a property through visually appealing images.
Real estate photographers use various techniques such as composition, lighting, and post-processing to highlight the property's best attributes and create a professional real estate photograph that entices potential buyers. These photographs are typically used in online listings, brochures, advertisements, and other marketing materials to promote the sale or rental of real estate properties.
Preparing for Real Estate Photography
Before you start real estate photography, it is needed to prepare some basic and necessary equipment, they are the key to taking good real estate photos.
1. Best Real Estate Photography Camera
To excel in real estate photography, it is essential to possess a camera capable of manual shooting. An ideal choice would be either a DSLR or mirrorless camera equipped with a crop or full-frame sensor. Your selected camera should offer the flexibility to attach accessories like a cable release, flash, various lenses, and wireless triggers. For cameras with cropped sensors, a lens within the 10-22mm or 12-24mm range would be well-suited, while a lens around 16-35mm would be suitable for full-frame sensor cameras.
2. Best Real Estate Photography Lens
A wide-angle lens is invaluable when it comes to capturing confined spaces, as its unique optics have a tendency to create an illusion of increased roominess. Optimal choices for wide-angle lenses include the Nikon AF-S 16-35mm f/4G and the Canon EF 16-35mm f/4. Another notable option to explore is the Sigma 12-24mm f/4 Art Lens, widely regarded as the current industry standard. Sigma offers mounts for both Nikon and Canon cameras, so it's worth considering them before making a purchase.
For those with a more generous budget, investing in a tilt-shift lens is highly recommended. This lens type is particularly suitable for residential photography as it effectively mitigates the distortions that may arise with wide-angle lenses. Although tilt-shift lenses tend to be pricier than their regular counterparts, you might find affordable options in the used market.
3. Don't Forget the Tripod
Utilizing a tripod provides stability to your camera, preventing any motion blur from affecting your images. Additionally, it assists in maintaining consistent perspectives throughout your shots. By setting it up at a fixed height, you can ensure that all your images will have the same height.
In addition to the above basic equipment, you can also prepare other equipment according to specific needs, such as flashlights, light adjusters, flashlight brackets, etc. Finally, don't forget to bring chargers, spare cameras in case of accidents.
Real Estate Photography Tips
1. Do a Walk-through
Spend a brief period of time exploring the house prior to the scheduled property photography. For real estate agents, this will provide an opportunity to familiarize yourself with the property's layout, amenities, and other details. As a homeowner, it will help you identify any unexpected issues that could disrupt the shoot.
2. Prepare a Professional & Standard Shot List

Knowing what to shoot is essential for professional real estate photography and you need to determine the function of the room before shooting. The following is a standard list of what to shoot for your reference:
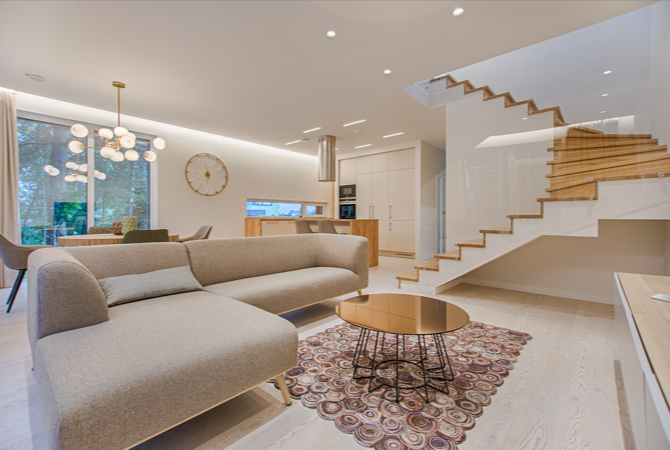
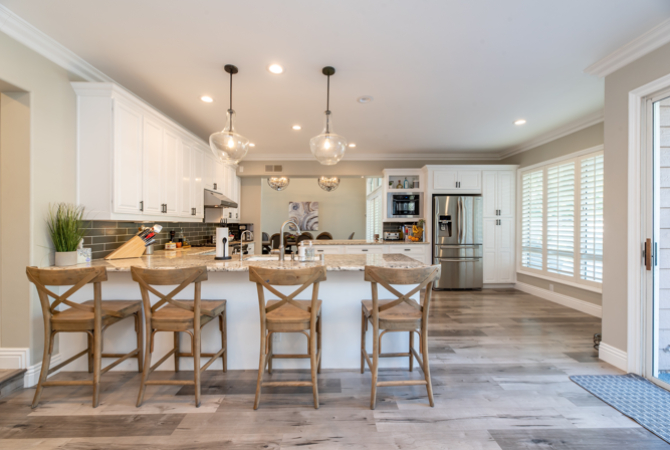
- Two wide-angle shots of each living room, room, and kitchen.
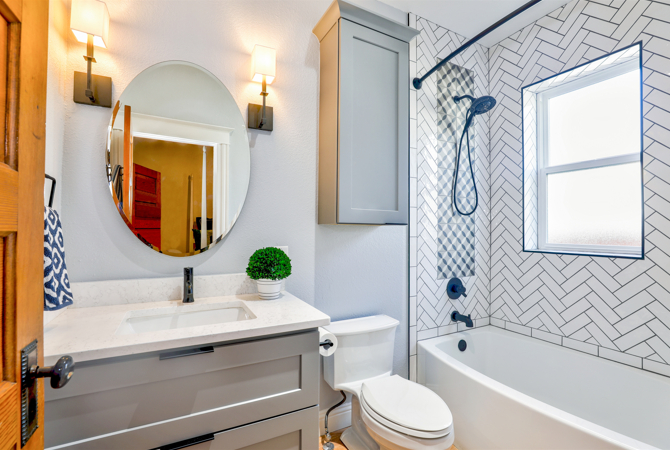
- One photo of the bathroom.
- One to three photos of the backyard, unless it has some unique features.
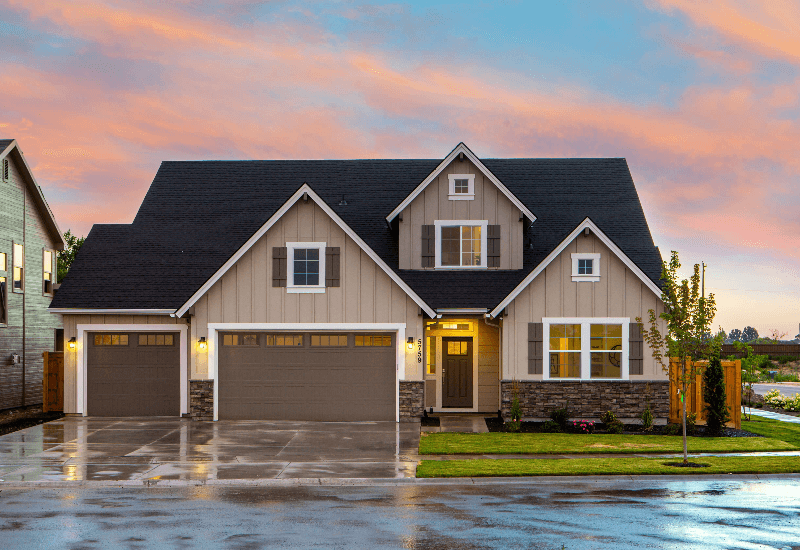
- One or two photos of the front of the house.
- One photo of each feature, such as the laundry room, garage, or food pantry.
3. Keep the Room Tidy

Ensuring a neat and organized environment is a crucial aspect of real estate photography that should never be disregarded. Maintaining cleanliness is essential to enhance the overall quality of your house photography and create a favorable impression for potential buyers. To achieve an appealing aesthetic, it is advisable to avoid clutter and the presence of unnecessary small items. These items, although seemingly insignificant, can inadvertently draw attention away from the key features of the property you are capturing.
4. Shoot in Good Light
Opt for the optimal timing to capture real estate photographs, typically during the period from 4:00 - 5:00 p.m., when abundant natural light is available without being overly harsh.
In the scenario where the property lacks sufficient windows or proper illumination, it is advisable to address this issue by utilizing artificial lighting. Switching on the interior lights within the room or utilizing a pre-prepared flash unit can significantly enhance the lighting conditions.
However, it is crucial to note that if the light bulbs in the property have varying color temperatures, it is best to deactivate them and rely solely on the flash unit. This precautionary measure ensures a consistent and visually pleasing outcome in real estate photography, as warm incandescent and cool fluorescent lights do not blend well together within the same frame.
5. Keep the Camera Straight to Prevent Distortion
By keeping the camera perfectly level, you can avoid unwanted distortions that may cause vertical lines to appear tilted. Even a slight tilt upwards or downwards can lead to noticeable distortions in the vertical lines, creating an unappealing effect. Therefore, it is crucial to pay attention to the camera's alignment during the shooting process.
To achieve this, we suggest using a reliable tripod or making use of the Live View feature on your camera, which displays a virtual horizon.
6. Real Estate Drone Photography
With the advent of technology and the accessibility of drones, real estate agents are now able to capture breathtaking footage from previously unattainable angles. The ability to offer potential buyers a bird's-eye view of a property allows for a more comprehensive and immersive experience. Whether it's showcasing the sprawling landscapes, highlighting unique architectural features, or capturing the surrounding neighborhood, drone photography provides an unrivaled perspective that traditional methods simply cannot match.
7. Edit Your Real Estate Pictures with a Real Estate Photo Editor

Professional all-in-one photo editor. A wide range of advanced built-in AI photo editing features is provided, allowing you to easily create professional real estate photos.
After completing your real estate photography, it is necessary to utilize a photo editor to further refine and improve the captured images. Achieving perfection in every picture of a house can be challenging, but with Fotor's professional AI real estate photo editor, you can accomplish this without the need to hire an expensive graphic designer or photo editor.
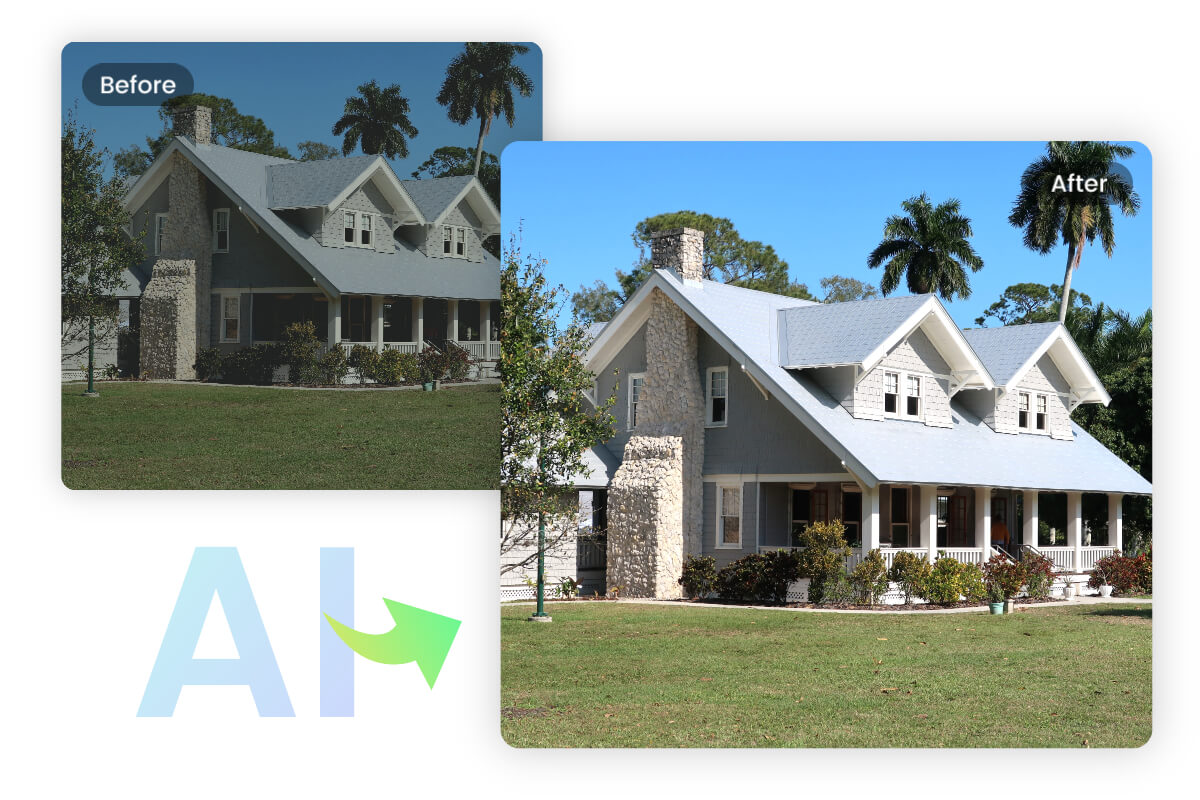
Fotor provides a wide range of powerful and user-friendly editing options that allow you to optimize your house photos effortlessly. With just a single click, you can enhance the lighting and color of your photos without the need for manual editing. The object remover tool enables you to eliminate any clutter from your images, and you can also change the background or even replace the sky. Additionally, Fotor offers editable preset templates for real estate flyers and brochures, making it easy for you to create professional marketing materials that can boost your sales.
Final Words
With above valuable resources at your disposal, you are well-equipped to showcase your real estate photography skills and impress clients with a professional and eye-catching portfolio. Grab your camera now, apply these tips, and watch as your real estate business thrives with the power of outstanding photography!