


What is The Difference Between Editing and Retouching?
| Feature | Photo Editing (The Foundation) | Photo Retouching (The Professional Finish) |
| Focus | Enhancing the overall image. | Refining specific details for perfection. |
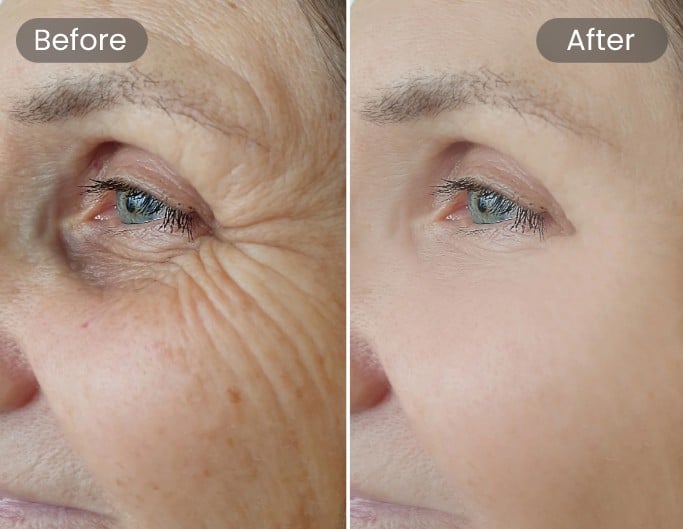
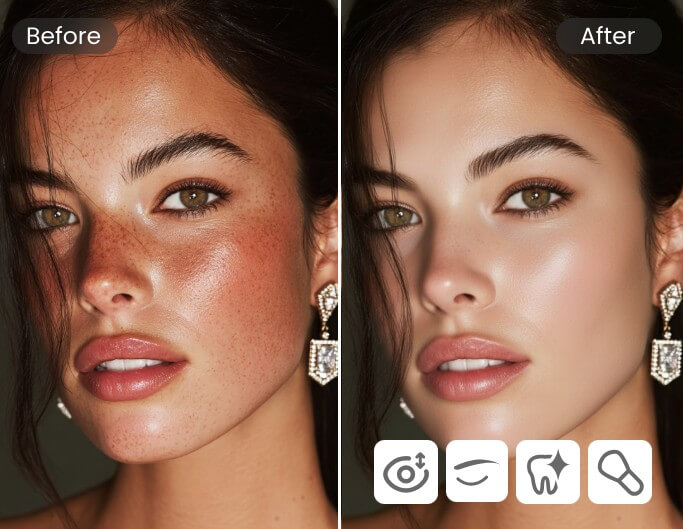
| Key Actions | Cropping, Resizing, Color Grading, Rotation. | AI Skin Retouch, Wrinkle Remover, Object Removal, Body Shaping. |
| Effort | Quick, global adjustments. | Traditionally time-consuming (Now instant via AI). |
| Goal | Setting the tone and composition. | Meeting high-end professional standards. |
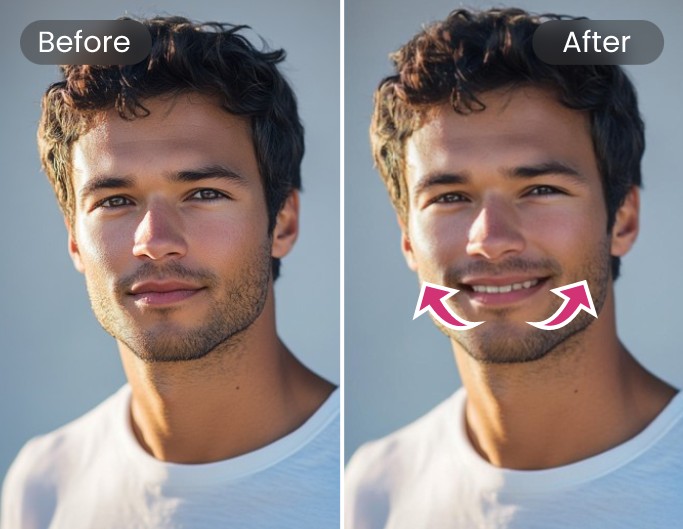
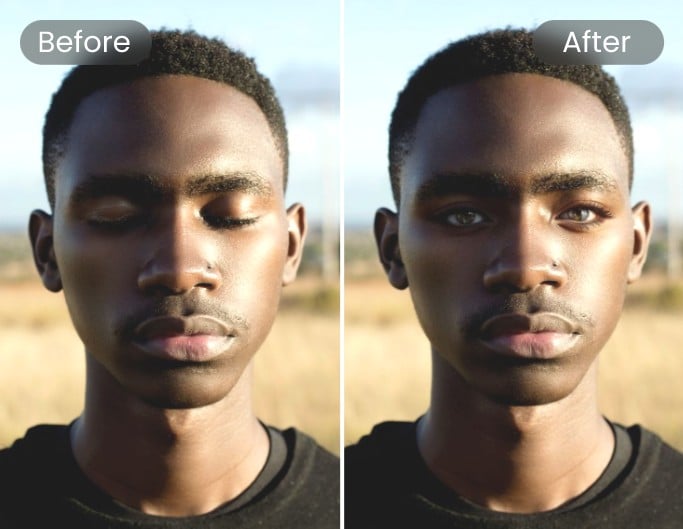
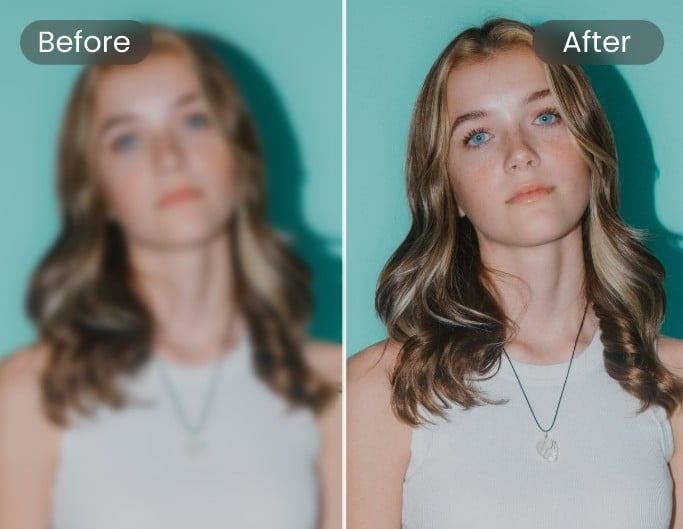
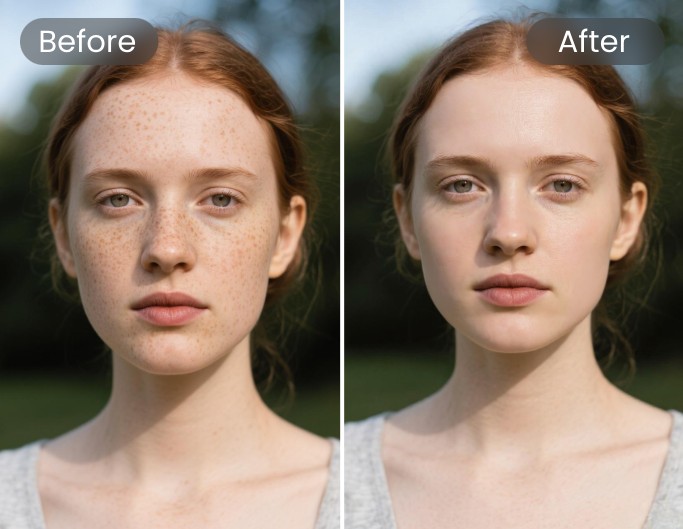
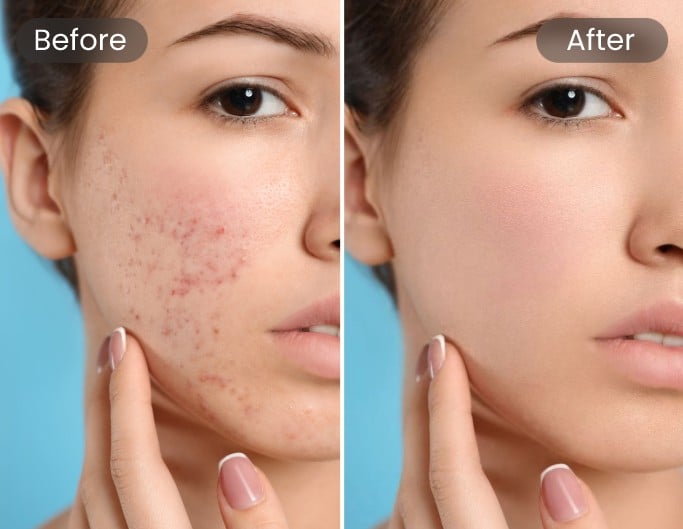
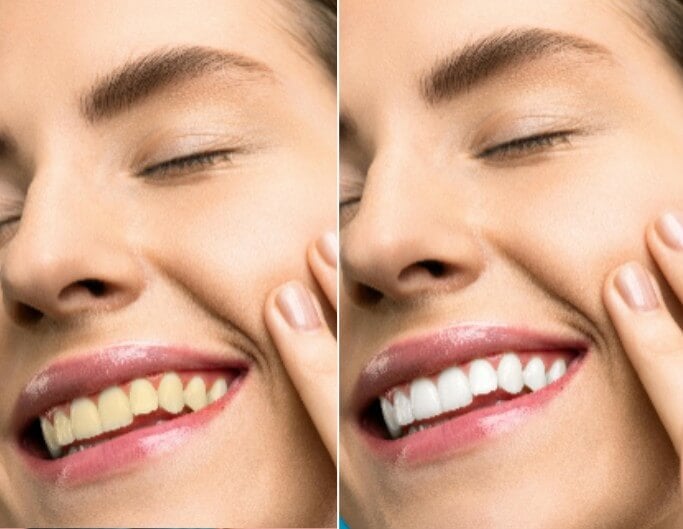
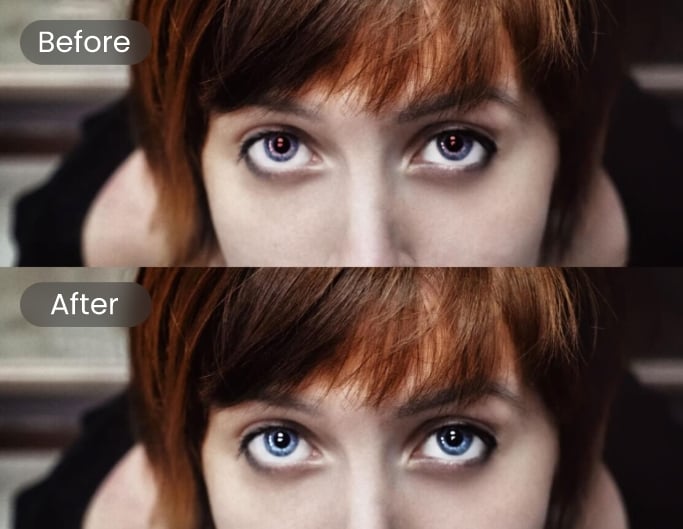
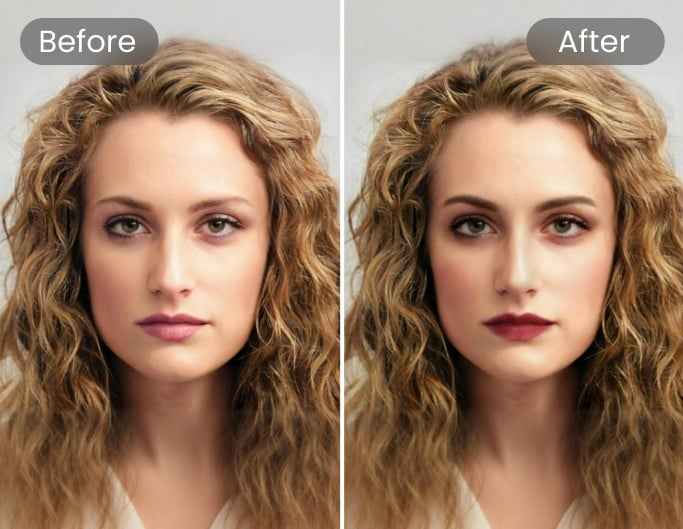
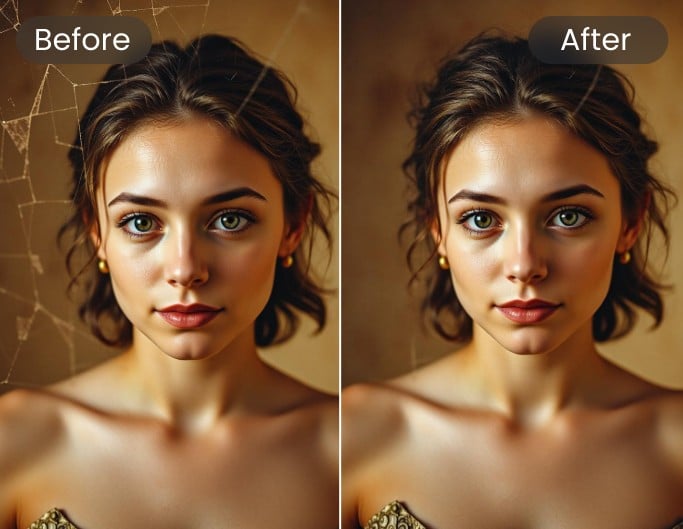
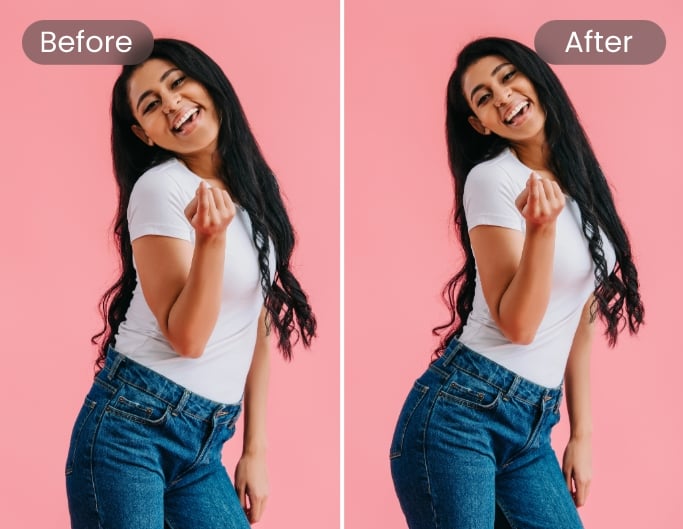
Both general and AI retouching features are included to meet your different needs. Compared with editing, traditional photo retouching is more time-consuming. However, our photo retouch tool can help you touch up your photos with minimal effort and in a flash.