How to Edit Photos in Photoshop (Step by Step Guide)
Summary: In this post, we mainly show you 7 steps on how to edit photos in Photoshop. Plus, an online tool is also here to help you quickly and easily edit images in Photoshop.
Photoshop is one of the most powerful photo editing programs. You can edit your photo to be a stunning photography work with the best tools in Photoshop.
But for beginners, it may be tough work to photoshop pictures since you don’t know how to properly use these professional and intricate features.
Luckily, now we’ll show you 7 simple steps on how to edit photos in Photoshop. With the 7 steps, Photoshop editing has never been easier. Let’s get started.
How to Photoshop A Picture: Using 7 Steps
Step 1: Import the Image
Before starting to edit a picture, first, you need to import your image in Photoshop. This step is simple: press Command+O(Mac) or Control+O(PC) on your keyboard to directly open your image into Photoshop from your computer. Optionally, you can click the “open” button on the Photoshop home page.
Step 2: Crop and Straighten Your Image
Since you have imported the image, now let’s see how to do basic editing to your picture. You can crop and straighten your image.
First, let’s learn how to edit a photo in Photoshop with the “Crop” tool:
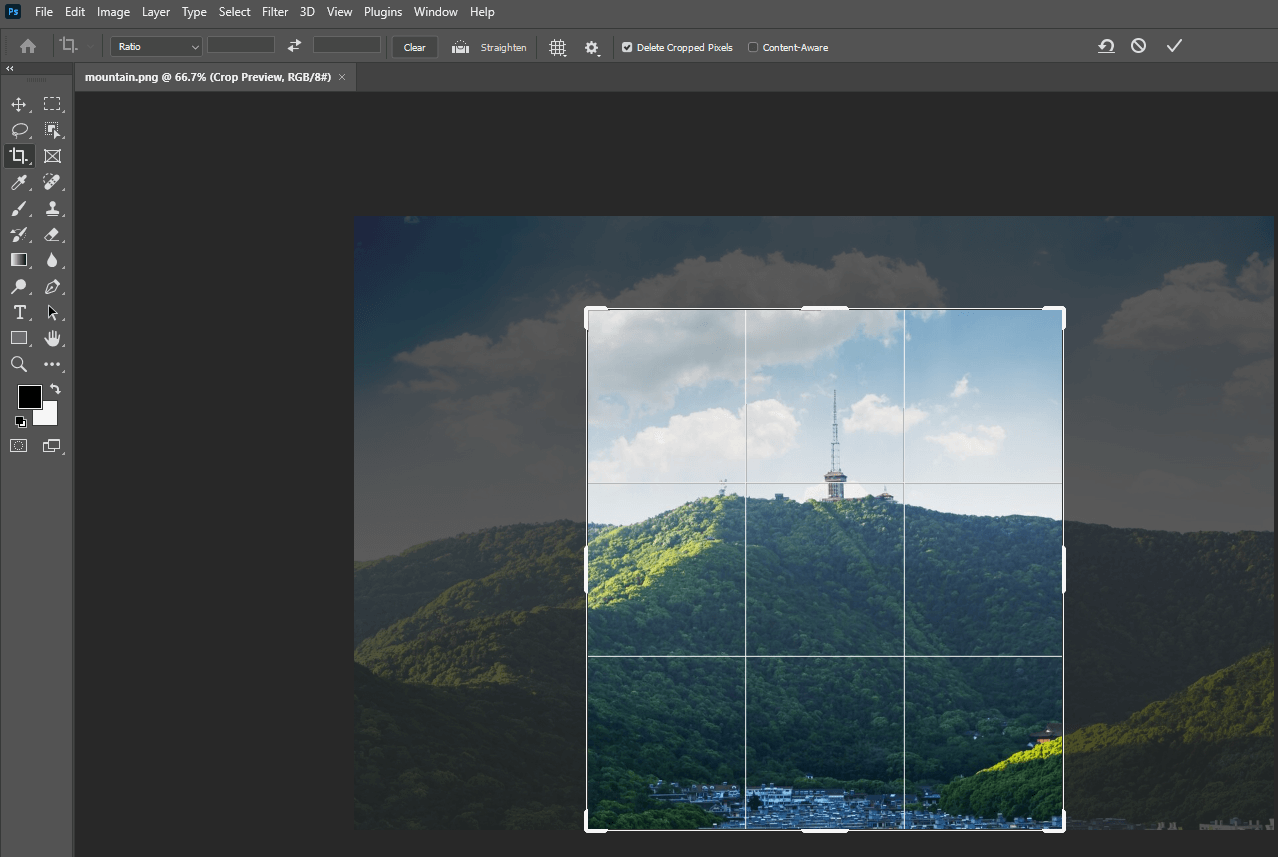
1. Click the “Crop” tool in the tools panel. Soon a crop box surrounds your image, and you can resize the picture by dragging the corner or the edge.
2. If you want to crop your photo to the desired dimensions, you can slide down to choose a present-size template or just enter the dimensions in the boxes to the right of the menu.
3. Once done, click the “checkmark” button in the control bar to commit your new crop.
Second, learn how to edit a photo in Photoshop with the “Straighten” tool:
1. Click the straighten icon in the options bar
2. Click and drag to draw a line on that portion of your image that you want to make an instruction for straightening your image. You can draw a line to make it straight in a horizontal direction or in a vertical direction.
3. Once done, press the “enter” button on the keyboard to save this change.
Step 3: Adjust the Color and Lighting
After the basic Photoshop editing, now you can make further edits to your photos. Let’s see how to edit photos in Photoshop by adjusting the color and lighting.
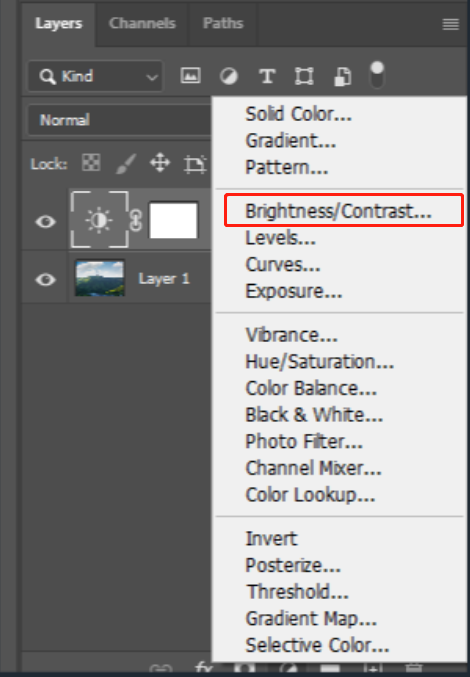
1. Click the half-white circle at the bottom of your layers panel, and choose brightness contrast. In the properties panel, you can click the auto button to have Photoshop automatically adjust the brightness and contrast of your photo.
2. Optionally, you can manually drag the sliders according to your preference. You can see the before and after comparison by clicking the visibility icon to the left of this adjustment layer.
3. Then you can correct the color of your photo. Add a hue saturation adjustment layer, and in the properties panel, drag the saturation slider to the right until the image looks good to you.
4. Once done, click OK.
Step 4: Remove Unwanted Objects
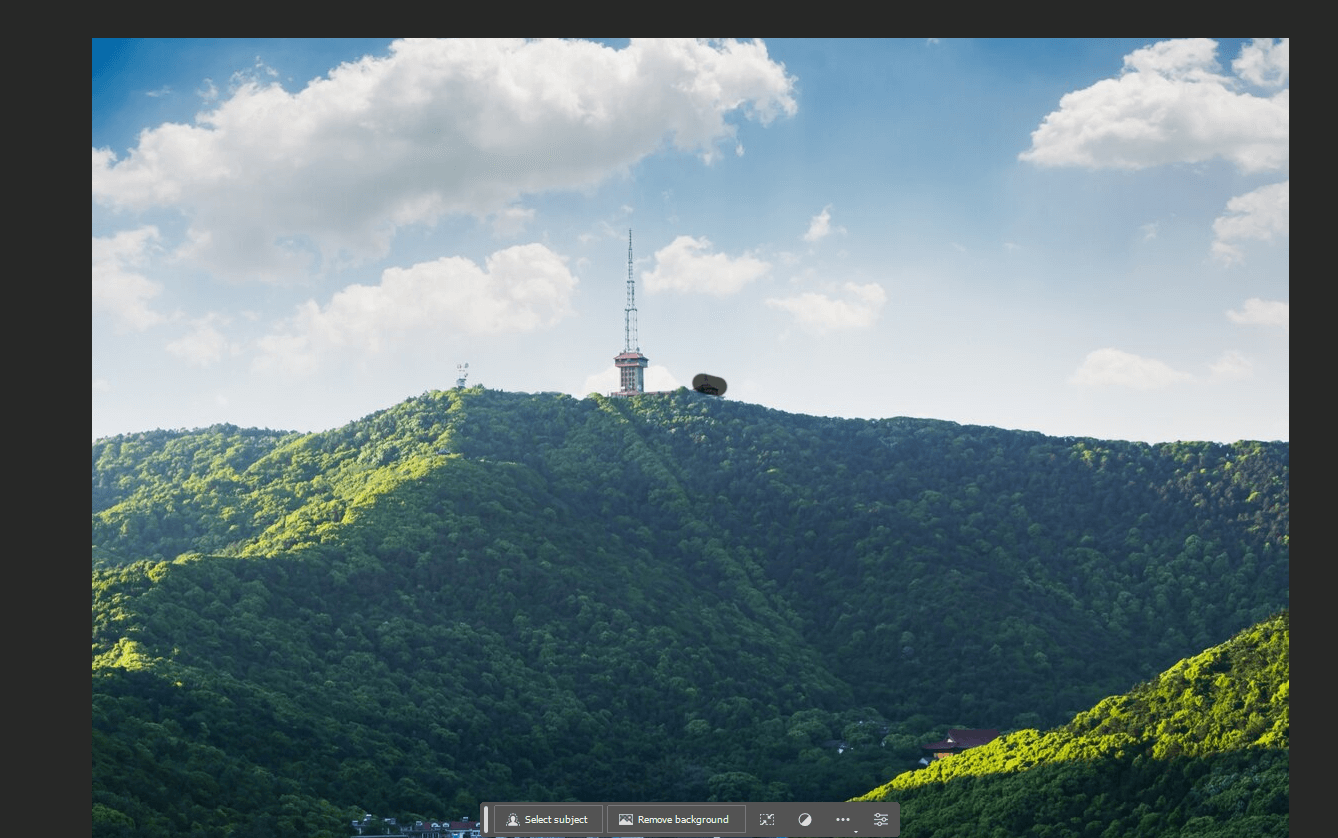
First, zoom the image by pressing and holding the Cmd key on a Mac or Ctrl on Windows and then tapping the Plus key on the keyboard. Once zoomed in, you can drag the mouse and locate the area where you want to remove unwanted objects.
Second, let’s apply the “Spot Healing Brush Tool” since it’s easy to use and it’s best for removing small objects from your photos.
How to edit a picture in Photoshop with the “Spot Healing Brush” tool?
1. Choose “Layer”> ”New”> ”Layer” and enter “spot healing” into the name box and click OK.
2. In the tools bar, click the Spot Healing Brush, and in the options bar, set the “type” to “Content-Aware”. Don’t forget to turn on Sample All Layers.
3. Put your cursor on the item you want to remove and click. Then Photoshop will quickly remove the item.
4. Once done, drag the mouse to go to other areas. You can click and drag this tool to the target area to remove the unwanted objects one by one.
5. Click OK to save your changes.
Step 5: Add Filters to Your Image
Now let’s move to adding filters to your photo to make your picture has tactile appeal.
How to Photoshop pictures by adding filters?
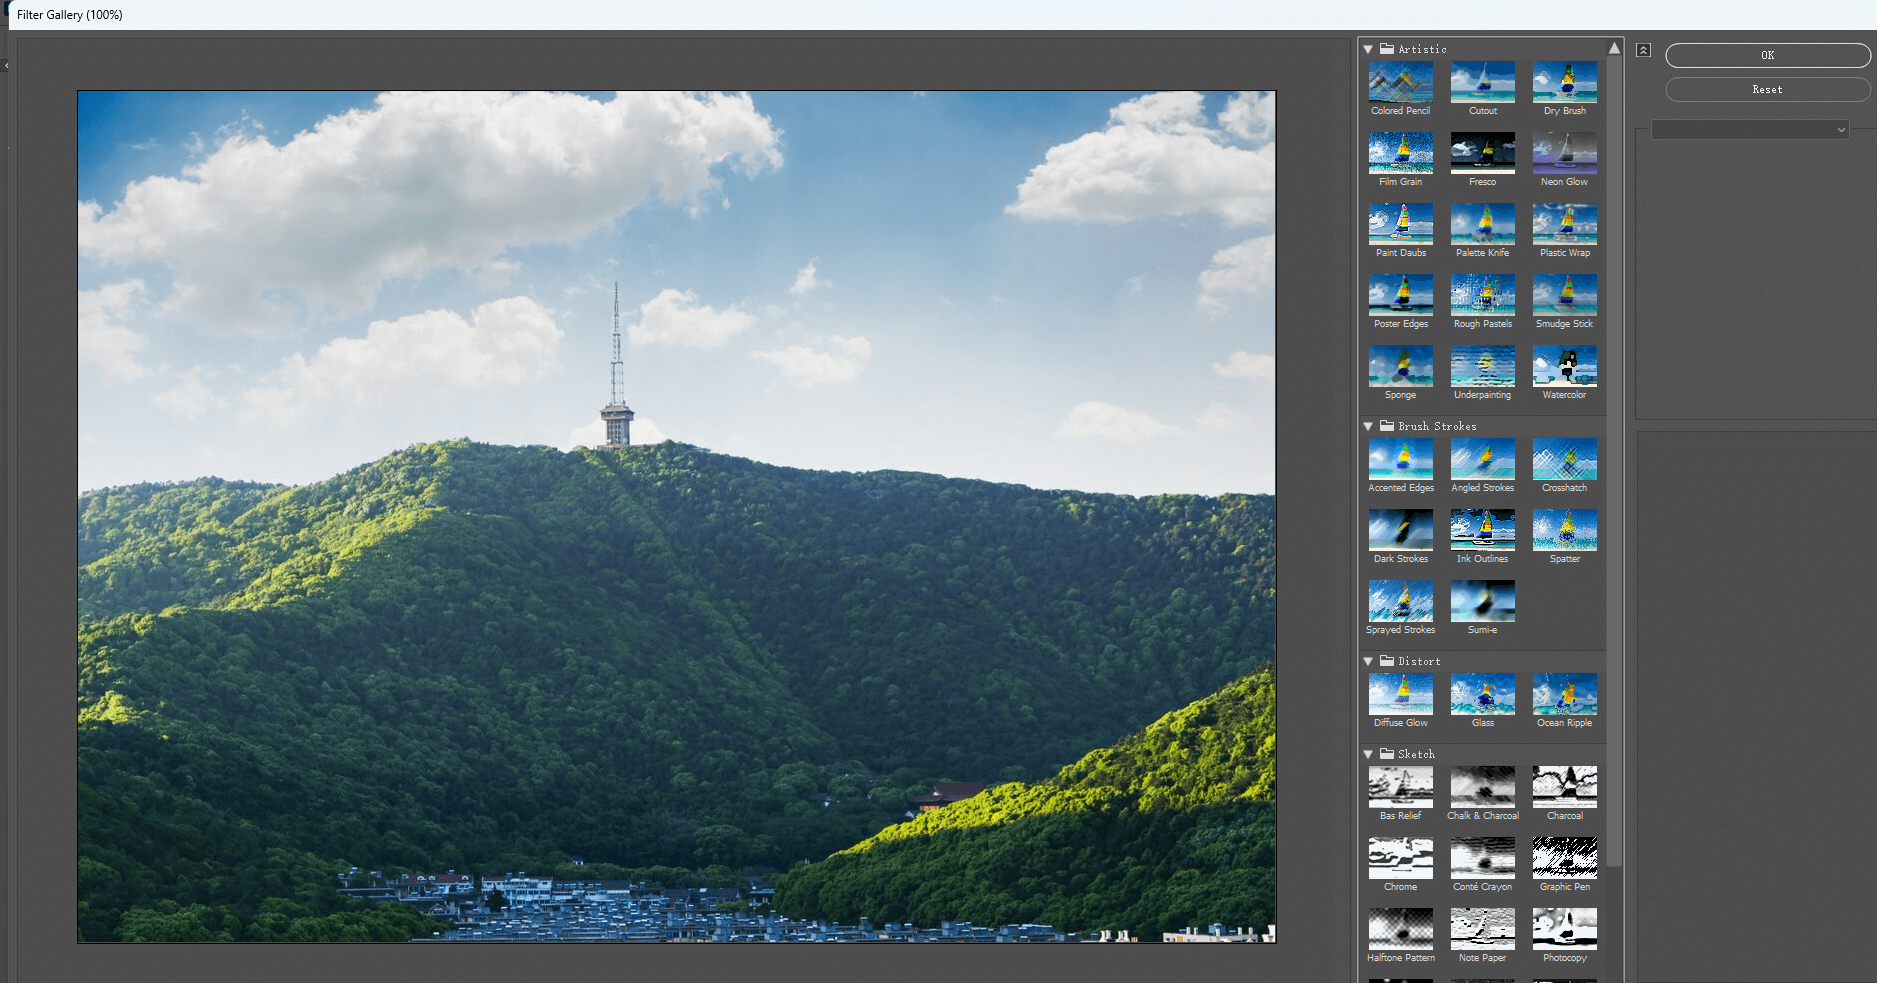
1. Click “filter” on the top menu bar, and then choose “filter gallery”. Here you can see lots of filter types, including Artistic, Brush Strokes, Distort, Sketch, Stylize, and Texture.
2. Choose a type you like and click on it.
3. In the window to the right, you can adjust the filter settings to make the filter better match your original photo.
4. Once you get the good effects, click OK and apply the filter.
Step 6: Sharpen Your Image
Sharpening in Photoshop increases the contrast at image edges, making in-focus areas of a photo look sharper. To emphasize the edges, Photoshop lightens the light pixels and darkens the dark pixels. Sharpening your image in Photoshop is easy since there is a built-in filter: the smart sharpen filter.
How to edit a photo in Photoshop with the “Smart Sharpen Filter”?
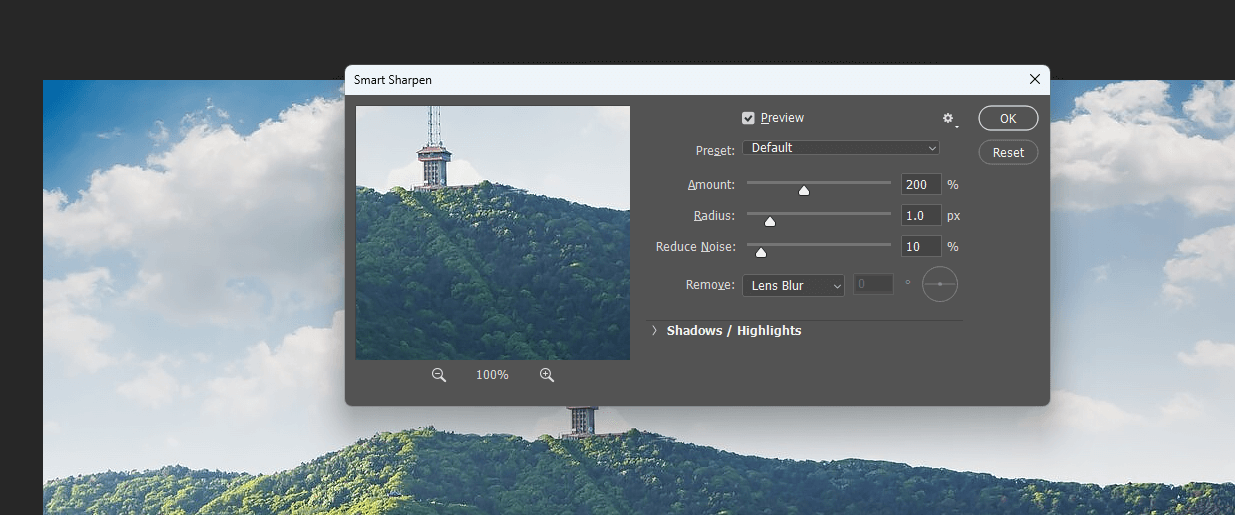
1. Click “filter” on the top menu bar, then choose “Sharpen” > ”Smart Sharpen”. On the pop-up window, you can see a preview of the image on the left, on the right you can adjust the values to sharpen your image.
2. Set the “preset” menu to “default”, and then adjust the sliders according to your liking. The first slider is Radius. Keep the setting low for the best results. Then drag the second slider: “Amount” leftward until the sharpening looks good to you. The third slider: “Reduce Noise” can help you get rid of the luminance noise in the red, green, and blue color channels.
3. When everything looks good, click OK and Photoshop sharpens the image.
Step 7: Export the Image
Now we come to the final step in your editing process, that is, export your photo. Go to “File”> ”Save As”, and then choose your desired file name and a location on your computer to save your photo. Pay attention: You need to change the format from Photoshop to JPEG. Then click “save” to export your image as a JPEG file.
How to Edit Pictures With An Easier Tool: Fotor
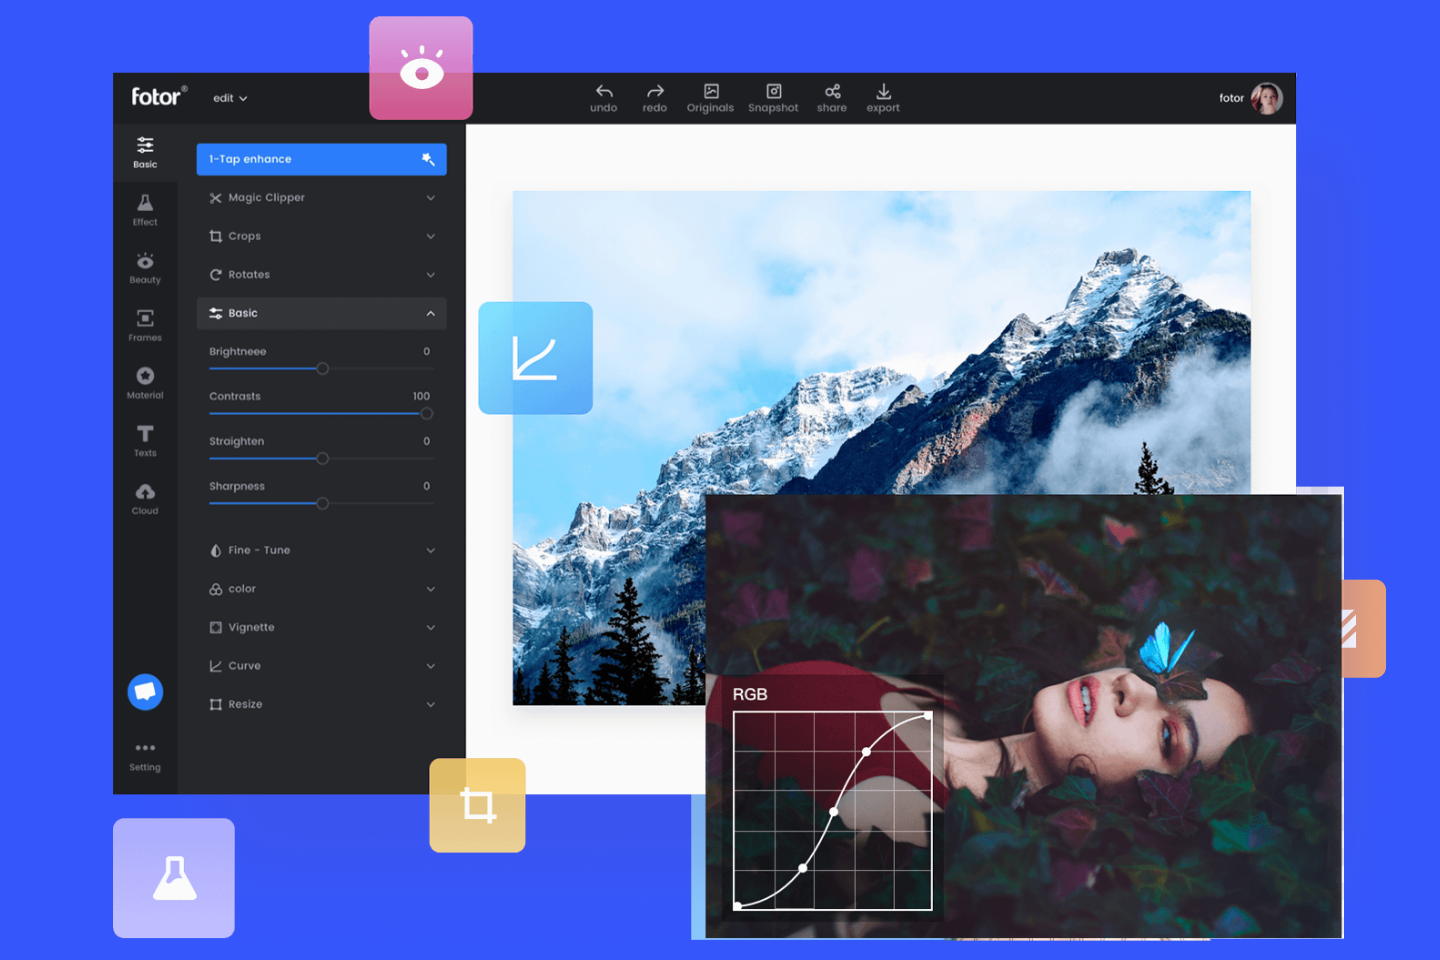
Use Fotor to easily and quickly edit your pictures. With a wide collection of photo editing features, you can edit your pictures to next level in just seconds.
The above step-by-step guide on editing photos in Photoshop may be instructive. But for some people, Photoshop is not the best choice to process their photos, because they may be not familiar with Photoshop or just don’t need to follow such complicated steps when doing basic editing to photos.
For such people, we recommend using an online photo editing tool: Fotor, since it can help you edit your photos more easily and quickly. Let’s see how to edit a picture in Fotor:
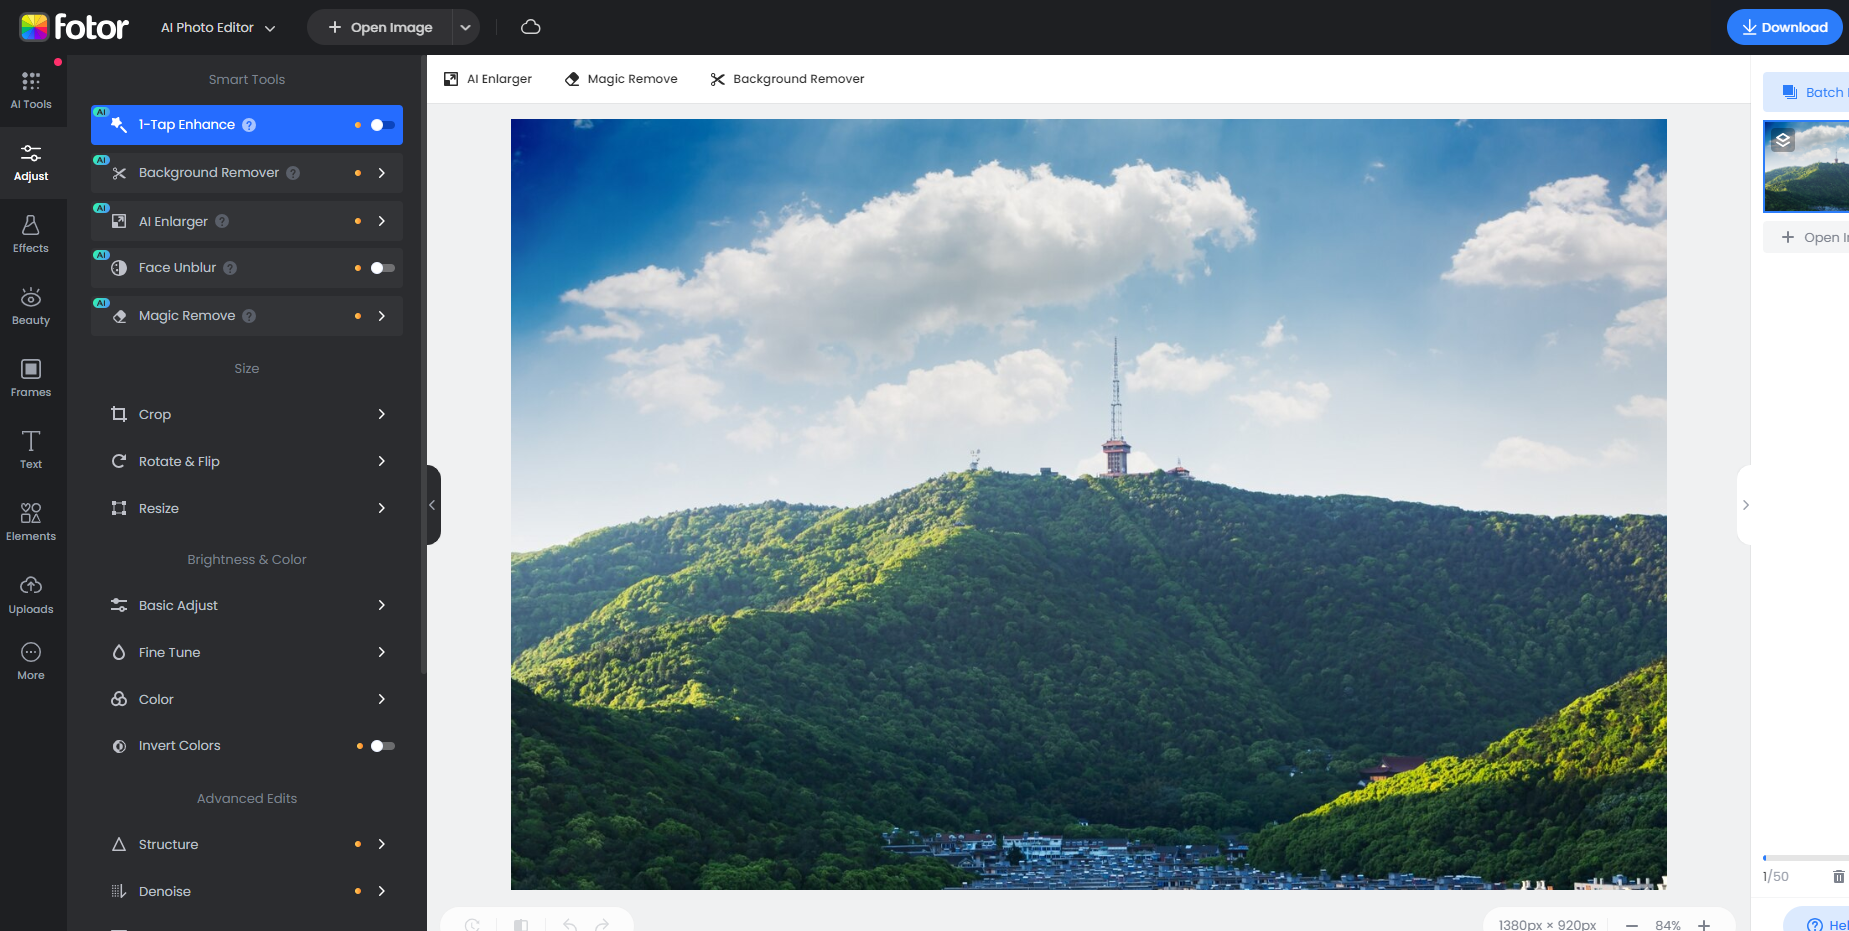
- Open Fotor on your computer, click “edit a photo” and upload the image you want to edit.
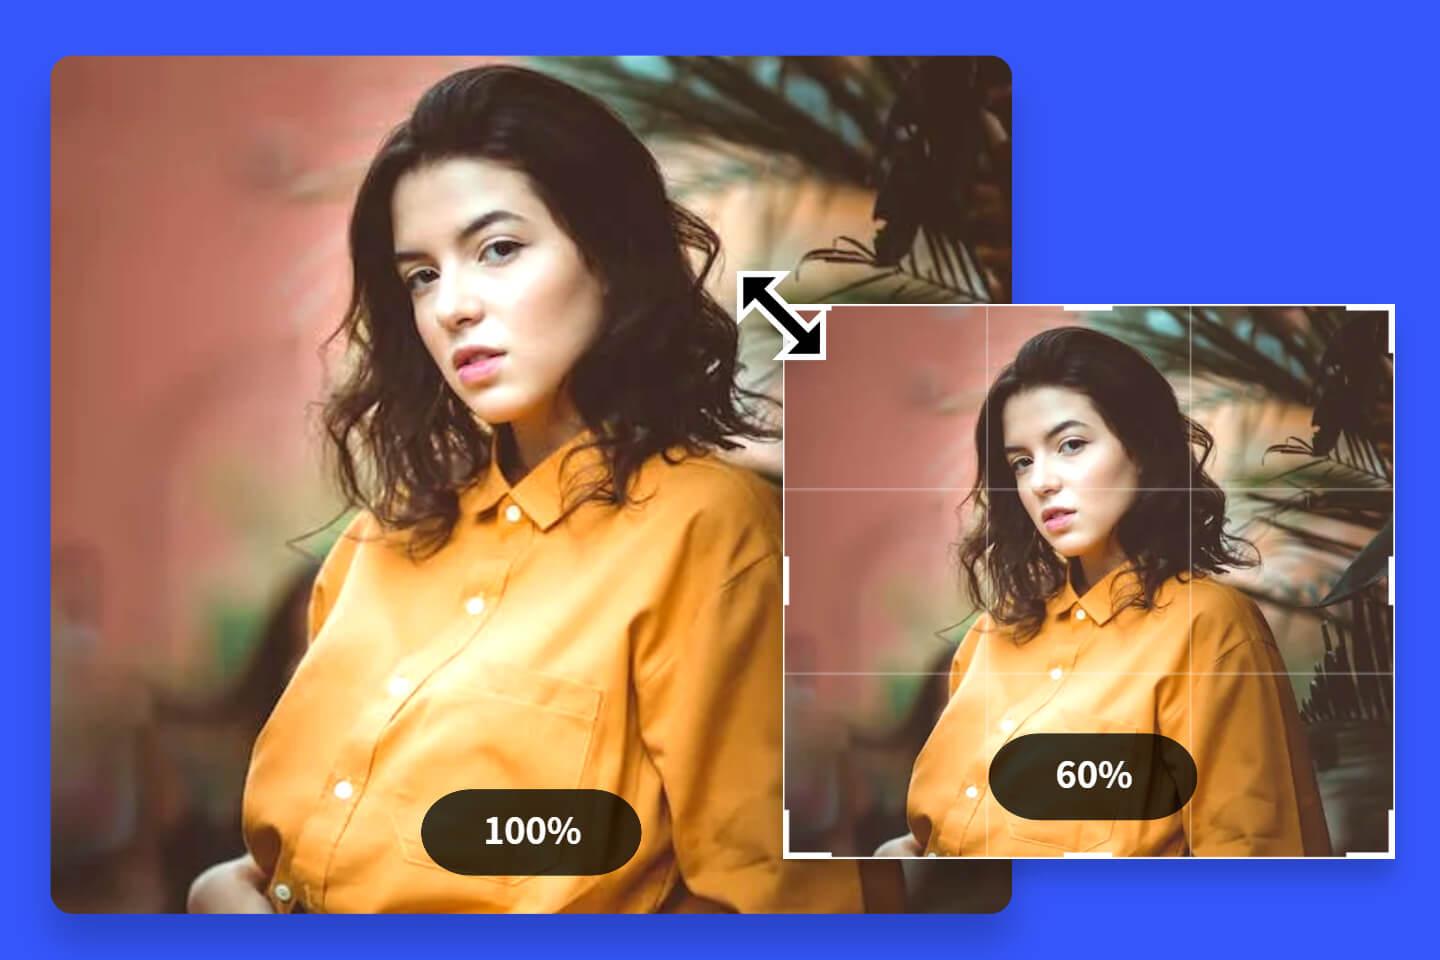
- Now you can edit your picture with basic photo editing tools. The first is “Crop”, you can crop your images either by entering the desired dimensions in the boxes or choose the present size templates. Second, you can use Fotor’s image resizer to change the picture size. Input the target dimensions in the boxes or just use percentages. Once done, remember to click “Apply”.
- Then you can adjust the brightness and color of your picture, click “Basic adjust”, and drag the sliders of “Brightness”, “Contrast”, “Saturation”, and “Sharpness” one by one until the picture looks good to you.
- Slide down you can find advanced edits like “Structure”, “Denoise”, “Vignette”, and more. Choose to apply them or not according to your needs.
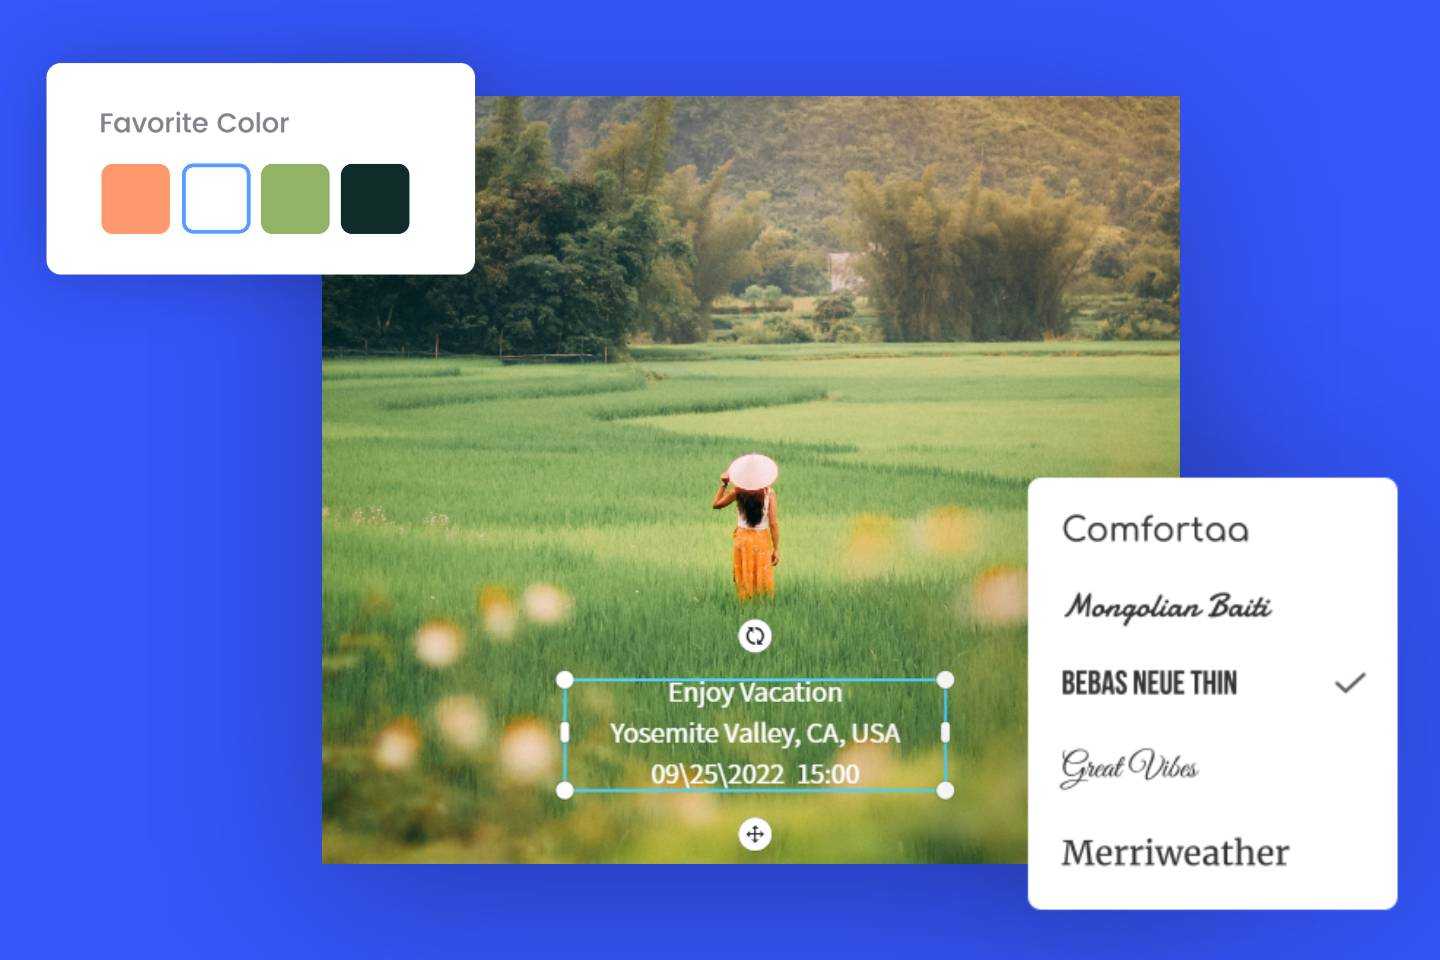
- Now choose the “Effects” tool on the tools bar. You can see lots of amazing photo effects, choose one effect or filter you like and apply it to your picture. When you click on a photo filter, below you can adjust the slider of “Intensity” to get the best result.
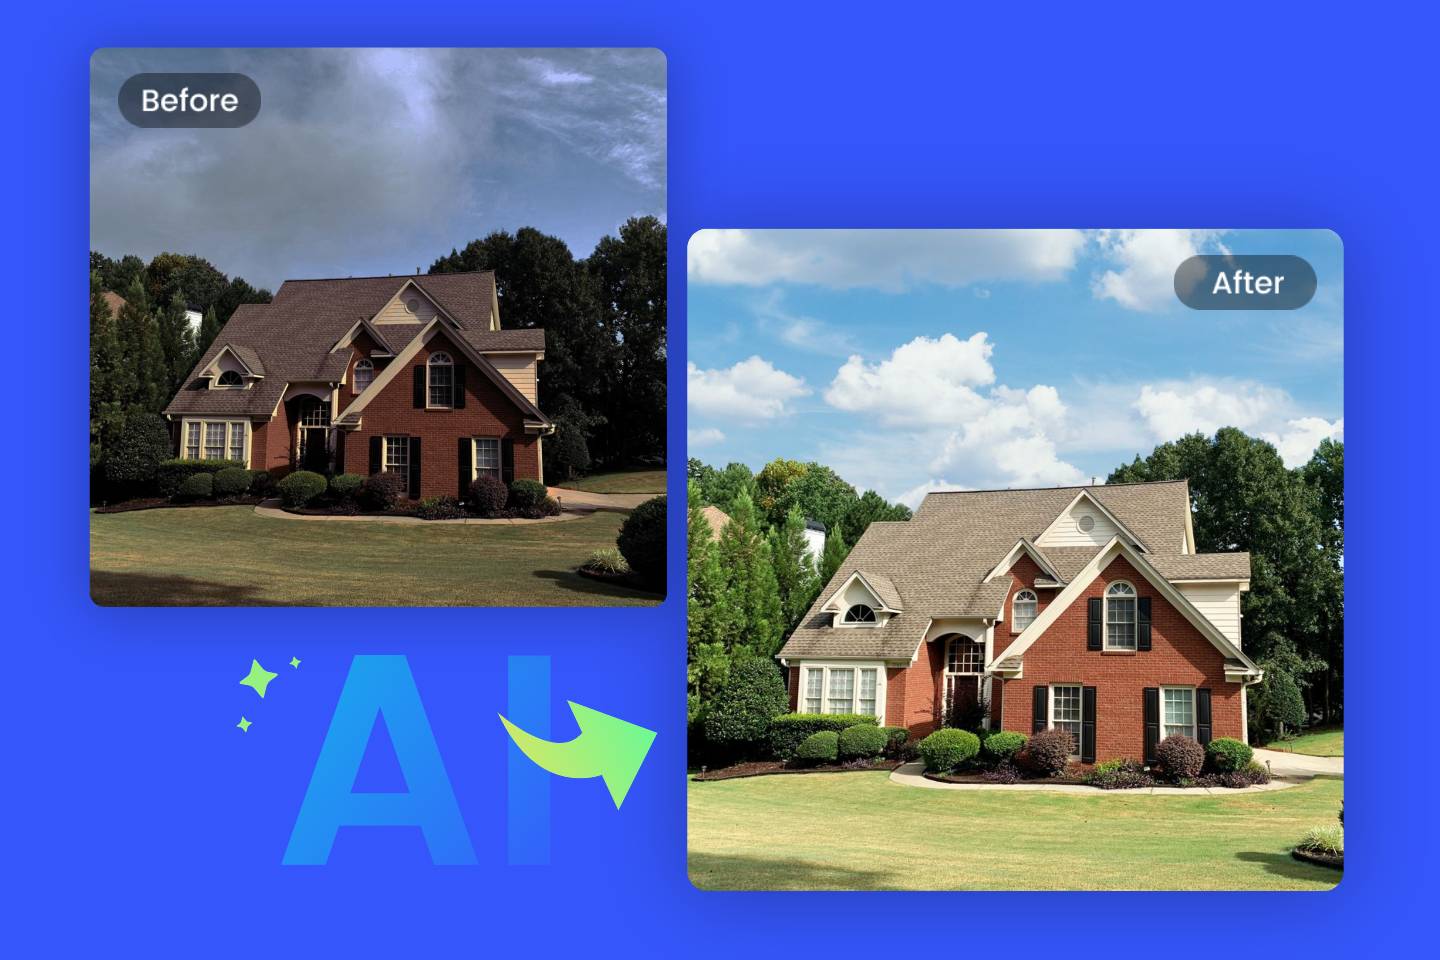
- Plus, you can choose “AI tools” to edit your picture to the next level. Use “AI Photo Enhancer” to upgrade your picture with just one tap, since AI will automatically correct the lighting and color, sharpen images, upscale images, and repair blurred photos to improve image quality. Furthermore, you can choose to apply “Magic Remove” to quickly remove unwanted objects from your picture.
- Once done, click “download” to save your edited picture as a high-quality JPG or PNG file format.
Conclusion
In this blog, we have shared 7 simple steps on how to edit photos in Photoshop. You can process your photo to be a stunning work by following these detailed steps. Plus, you can edit your images more easily and faster with an online photo editing tool: Fotor, if you are a Photoshop beginner and there is no need to make troublesome editing.