Image Cropper: Crop Images Online for Free
Instantly crop images online with Fotor's lossless technology. Perfectly fit social media sizes and irregular shapes needs. Your privacy is protected with browser-side encryption.
▷ Crop images with custom sizes and preset aspect ratios
▷ Crop photos into circle, heart, square, and more shapes
▷ Support batch crop multiple photos
▷ Export high-res images without watermarks
How to Crop an Image Online Without Losing Quality?

1. Upload an image
Click the “Crop Image Now” button to upload your file. Fotor supports high-resolution uploads up to 60MB for professional precision.
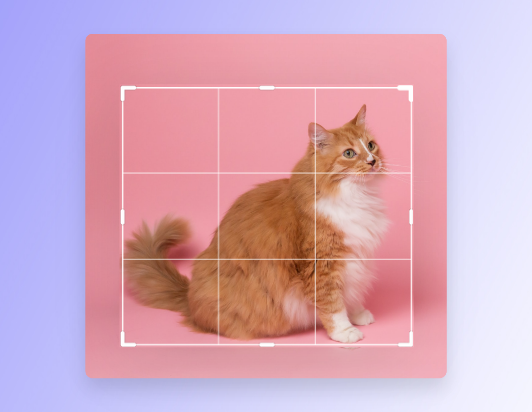
2. Crop an Image
Crop your photo using our advanced interpolation technology to ensure zero quality loss. Drag handles, select presets, or manually enter pixel values for exact dimensions.
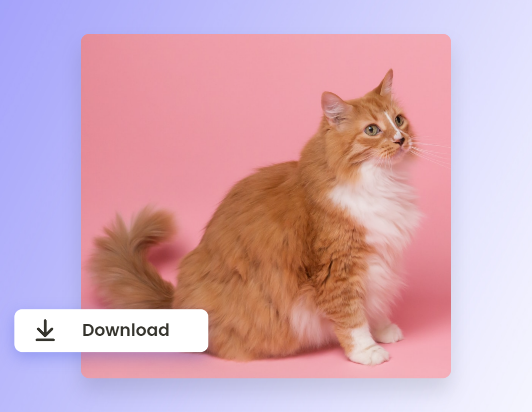
3. Lossless Export
Download your cropped image instantly in high-resolution JPG or PNG. Fotor ensures no watermarksare added, preserving your photo's original clarity.
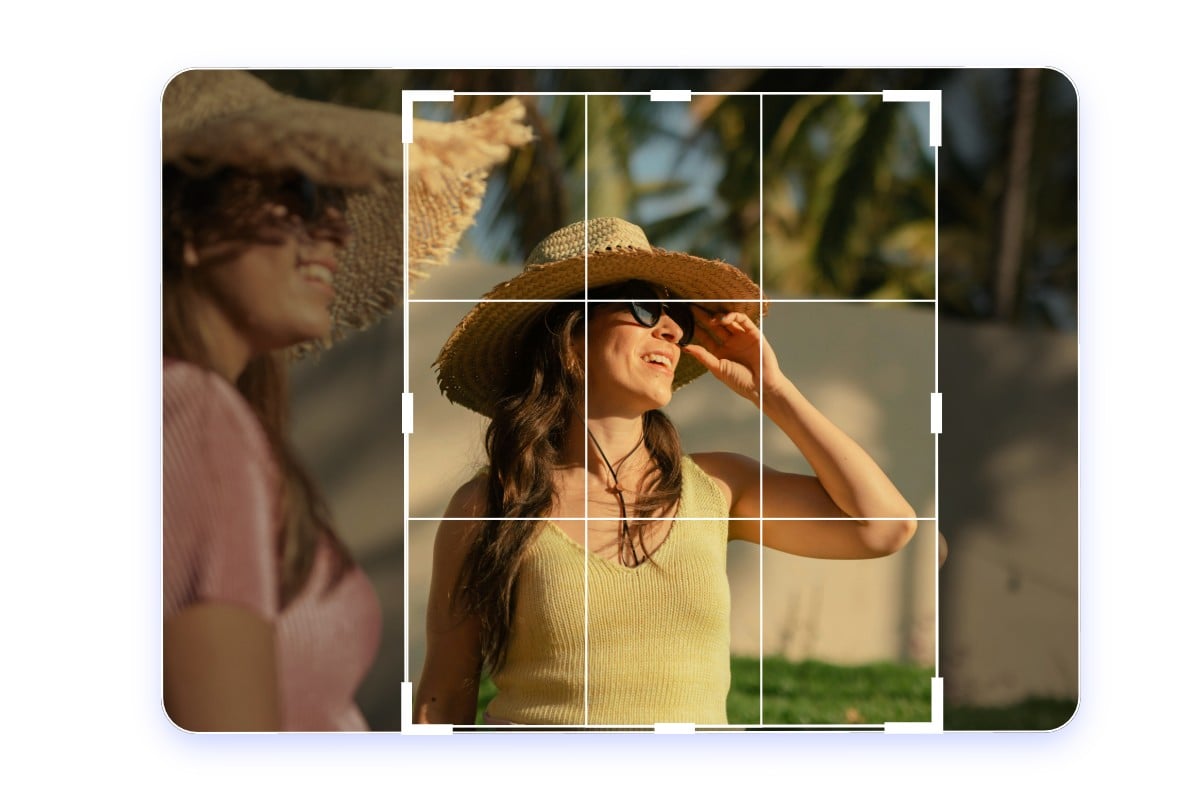
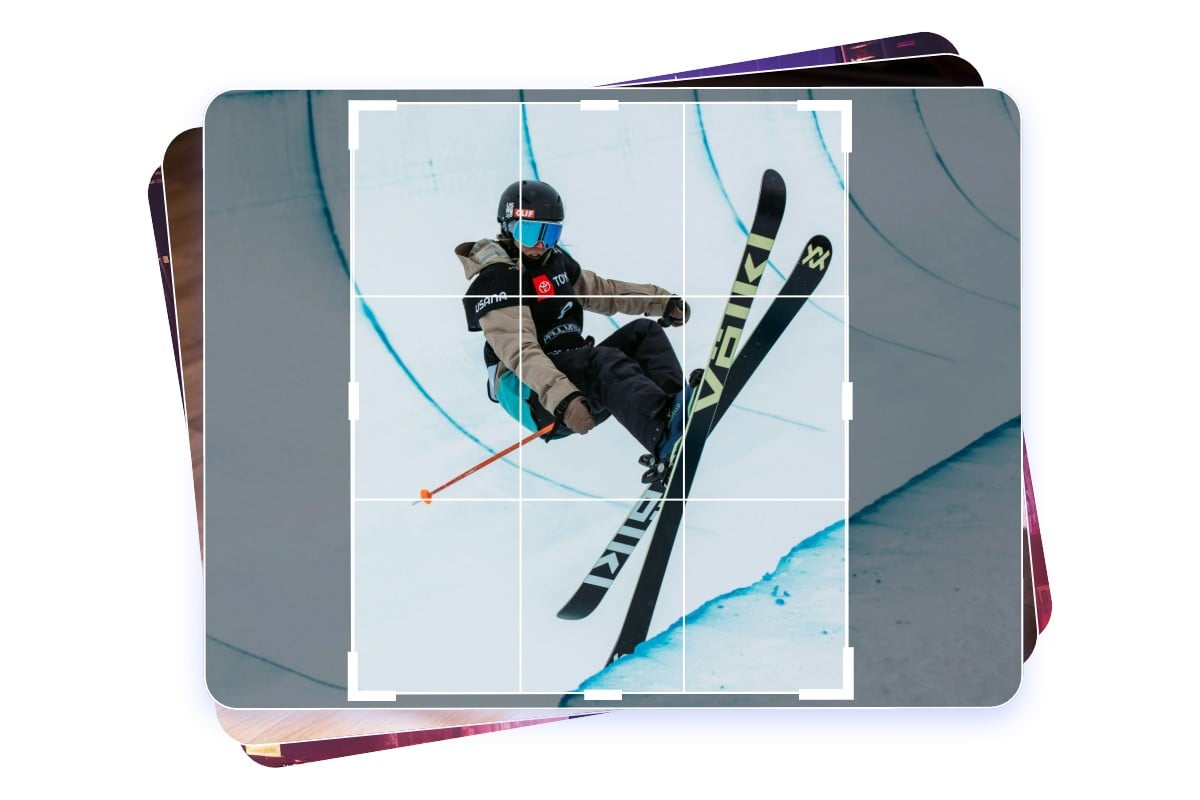
Effortlessly Crop Out Unwanted Parts of Your Image
Did you snap a shot and find unwanted parts in your photo? Cropping an image is a great way to remove unwanted objects from photos. With our image cropper, you can crop the image, quickly adjust the perspective, or drag any corner of the cropping box to easily remove unwanted parts. Fotor provides pixel-perfect precision for high-resolution images up to 8192 x 8192px, giving you full control over the rule of thirds and creating stunning visual effects.
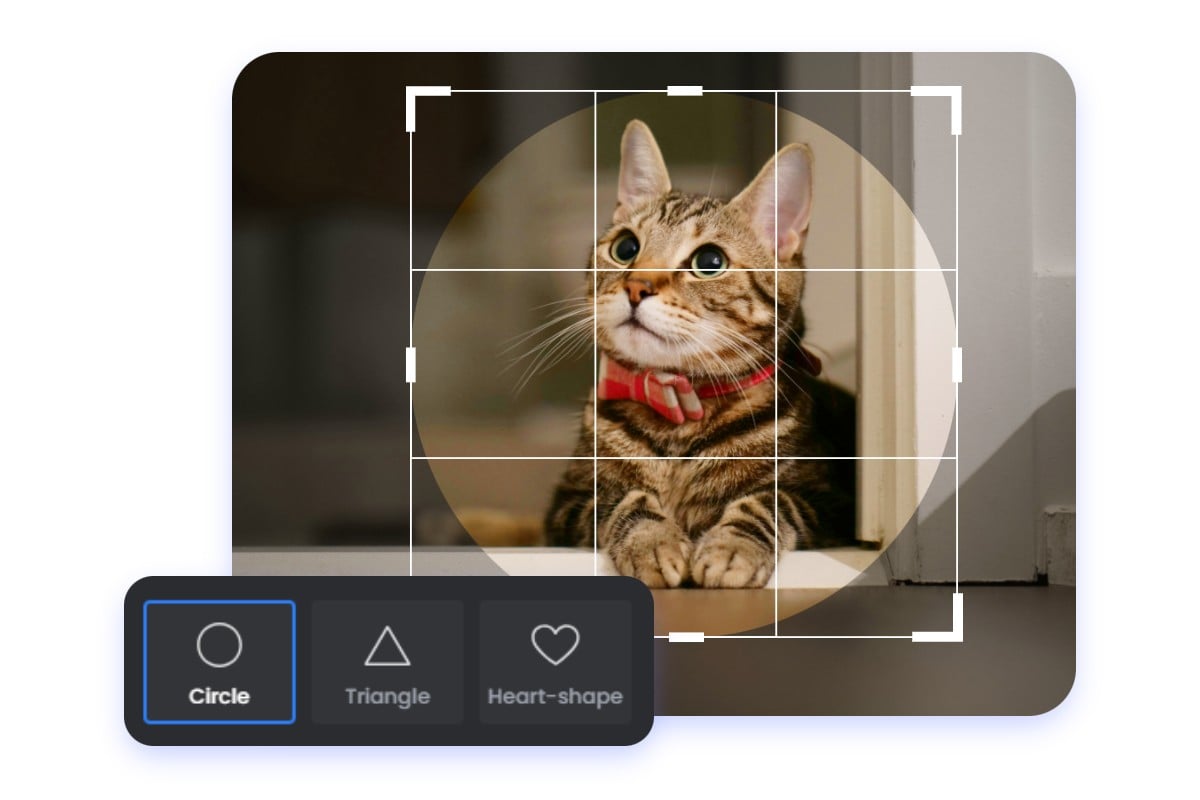
Crop Images into Irregular Shapes Online
Our photo cropper not only allows you to crop images into standard rectangles but also supports cropping images into irregular shapes. You can easily crop your image into a circle, heart shape, triangle, or any other unique form to match your needs. It’s perfect for the latest profile picture trends, including circle masks for LinkedIn and creative frames for Discord or Instagram Stories, helping you achieve a personalized visual effect.
Easily Crop Photos to a Specific Size
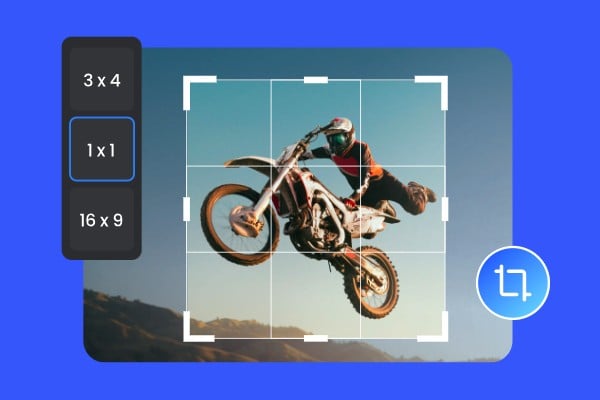
In addition to the traditional method of manually dragging the cropping box to crop your image, our image cropper streams the image post process and comes with a variety of preset cropping ratio templates. Streamline your post-processing with precise pixel entry. Manually enter width and height values for exact web specifications, or use our aspect ratio calculator for consistent results, ensuring your image meets exact dimensions.
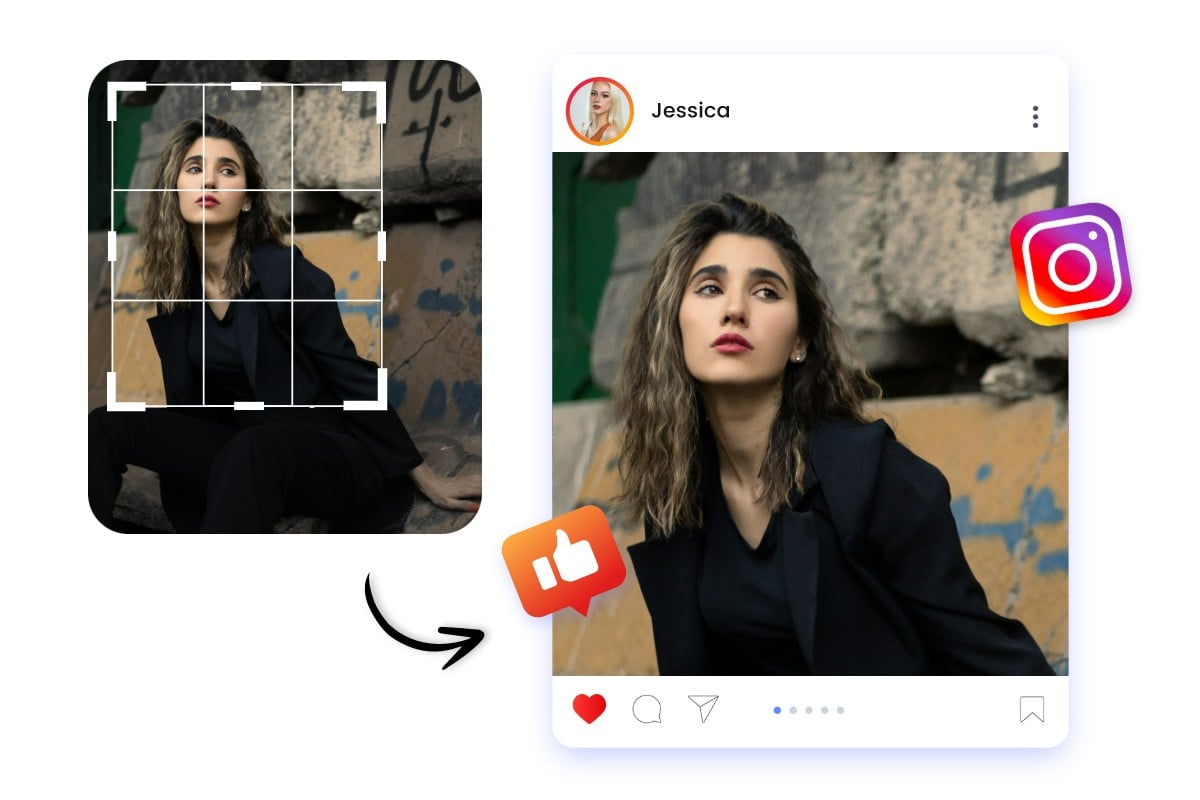
Crop Pictures to Perfect Social Media Sizes
Worried that your image size doesn’t fit and affects your social media display? Fotor picture cropper is fully updated for the latest social specs, including Instagram 3:4 expanded tall posts, TikTok safe-zone framing, Facebook, and YouTube. Whether it’s a cover, banner, post, or emoji, you can easily crop your image to ensure a perfect, engagement-optimized display on social media!
Batch Crop Multiple Photos at Once
Cropping a large number of images can be tedious and time-consuming. With Fotor’s image cutter, you can batch crop images up to 50 photos simultaneously with a single click! Simply drag your photos into Fotor, select the aspect ratio or dimension you want, and Fotor will handle the rest. Ideal for e-commerce listings and high-volume social media management, you can also fine-tune the crop for each image if needed.
Why Choose Fotor’s Online Image Cropper
![easy to use icon]()
Easy to Use
No complicated skills needed; you can easily crop your images by manually dragging, entering pixel parameters, or selecting from preset size options.
![high quality icon]()
No Quality Loss
Advanced interpolation technology preserves metadata and pixel integrity, keeping original clarity and EXIF data when exporting high-resolution JPG or PNG files.
![No watermarks icon]()
No Watermarks
No watermarks are added, ensuring a clean, uninterrupted image crop.
![Safe]()
Privacy Protected
Files are processed locally and auto-deleted within 24 hours to ensure your total data security.
![all in one platform icon]()
Updated Social Presets
Optimized for latest platform standards including Instagram 3:4 and TikTok safe-zone vertical feed layouts.
![Multiple images icon]()
Batch Efficiency
Boost your productivity by cropping up to 50 high-resolution images simultaneously with one single click.