Free AI Photo Enhancer Online
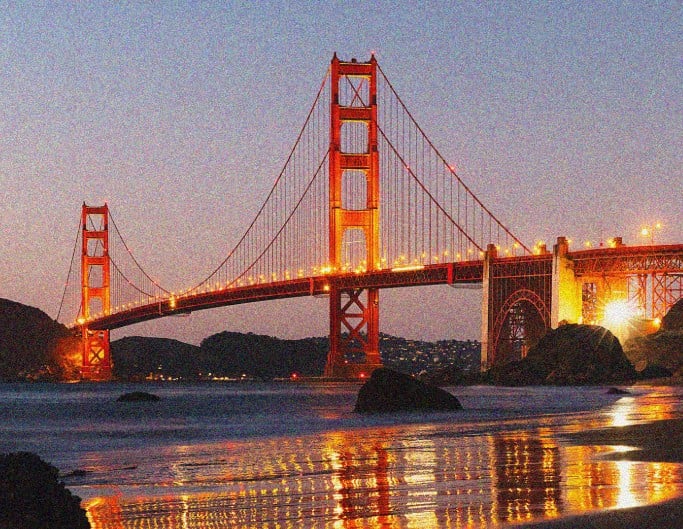
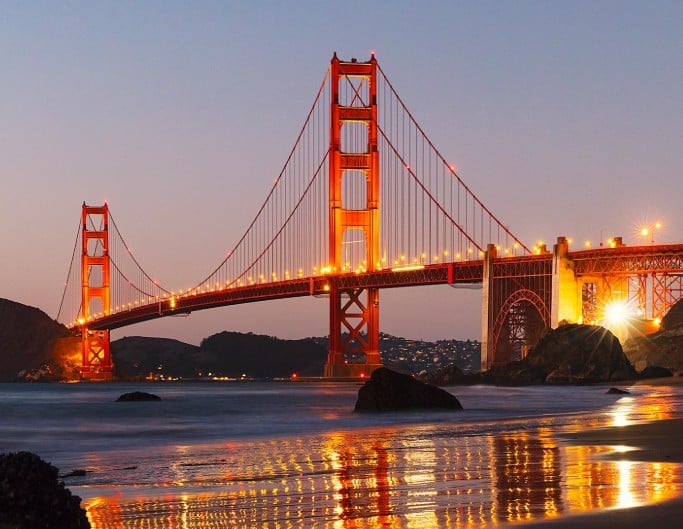
Fix blurry, noisy, or low-resolution photos in seconds with Fotor’s free AI photo enhancer. Enhance and upscale images automatically — perfect for e-commerce, social media, printing, and more.


Upload or drop your image here

Rating on Capterra
How to Enhance Photo Quality in 3 Easy Steps

1. Upload Your Photo
Click the "Upload Image" button to upload the photo you want to enhance. Supports JPG, PNG, JPEG, HEIF, HEIC, WEBP, and other image formats.
2. Let AI Enhance It
3. Download Enhanced Photo
Everything You Need to Enhance Image Quality with AI


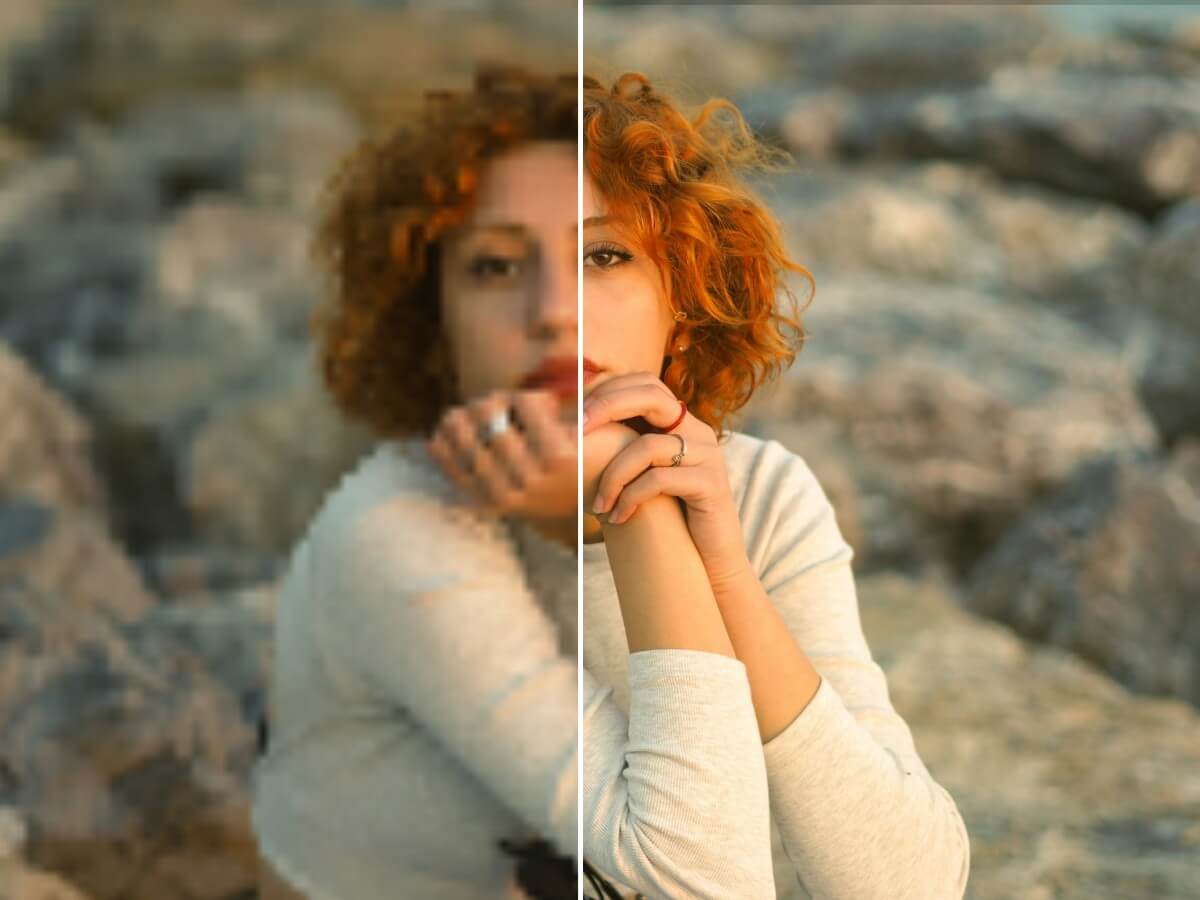
Remove Blur
Unblur images and unblur text in one click. Fix motion and focus blur, restore sharpness, and make photos and documents clear and easy to read again.

Sharpen Details
Make blurry or slightly out-of-focus photos cleaner and sharper by enhancing edges and fine details for a crisp finish.
Remove Noise
Clean up grainy photos while keeping important details sharp. Perfect for night shots, low-light images, or high ISO pictures.

Increase Image Resolution
Upscale your images to HD, and even higher resolutions up to 4K or 8 K, while keeping details sharp and natural — no blur, no distortion.
Fix Pixelation
Turn blocky, low-resolution photos into smoother, clearer images by removing pixelation and restoring detail and texture.


Enhance Color & Contrast
Boost colors and improve contrast to create more vibrant, well-balanced images with richer visual depth.
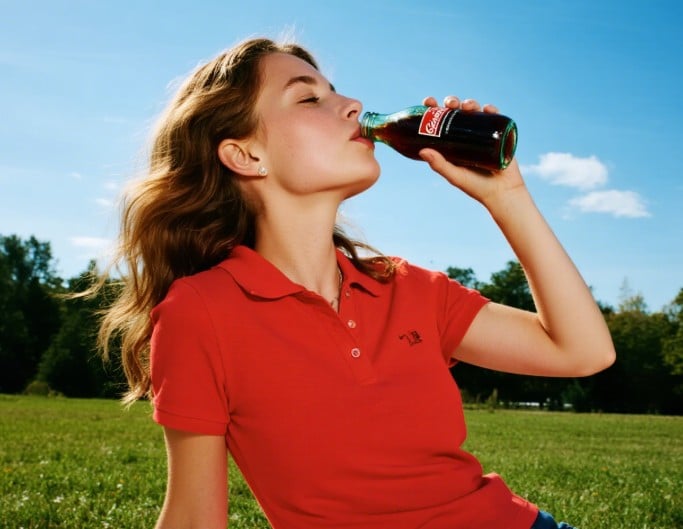
Adjust Brightness & Exposure
Fix photos that are too dark or too bright in one click. Automatically balance light and exposure to create a more natural, true-to-life look.
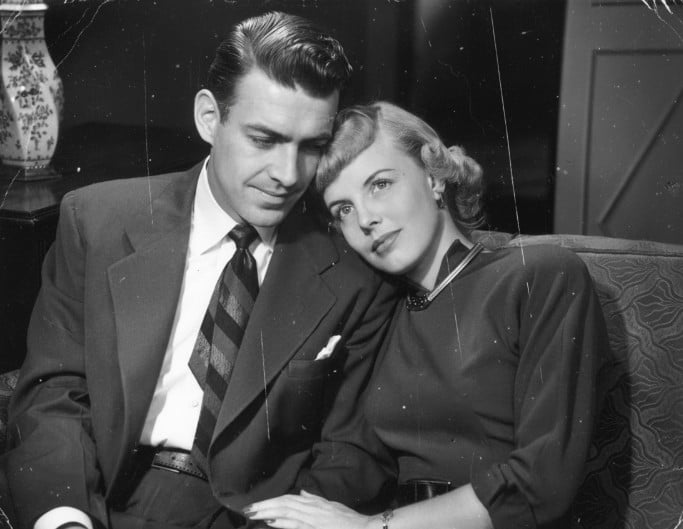

Restore Old Photos
Bring damaged or faded photos back to life. Repair imperfections and restore clarity in old photos while preserving their original details.
AI Image Enhancer for Every Use Case

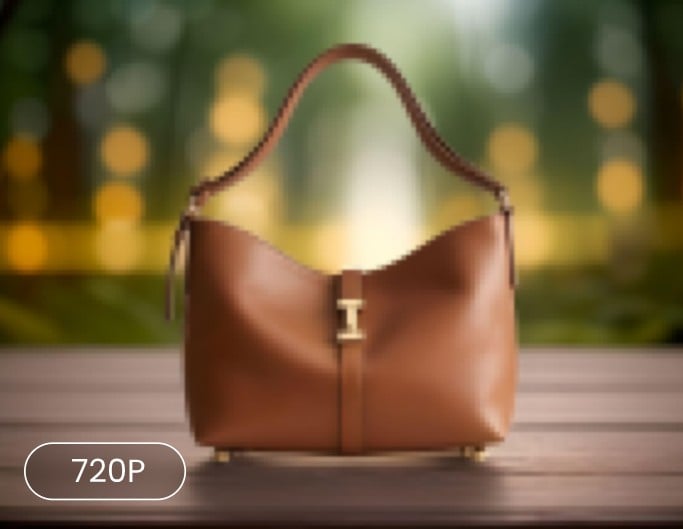
Create High-Converting Product Photos for E-commerce
High-quality product images help attract attention and build customer trust. Improve clarity, refine colors, and enhance details so your products look polished and professional—optimized for Amazon product listings, thumbnails, and detail pages, eBay item listings, and Shopify product pages—helping you stand out and drive more clicks and purchases.
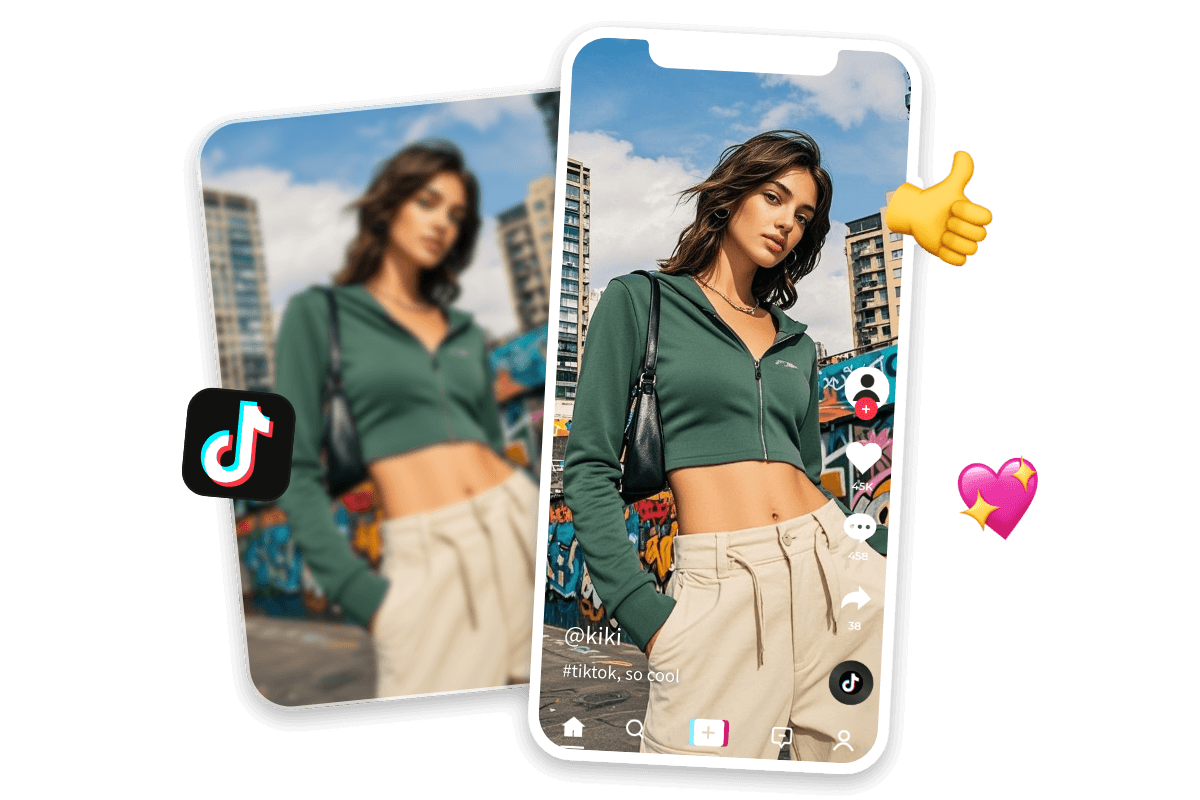
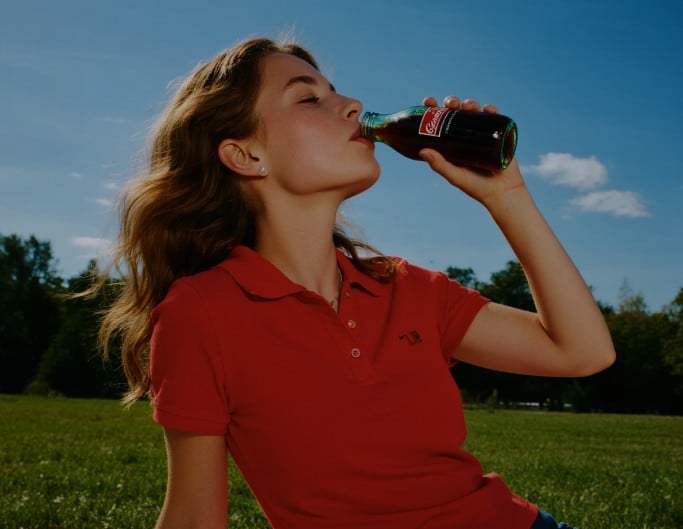
Optimize Photos for Social Media Sharing
Blurry or dull photos can ruin a great moment. Enhance your images in one click to make them crisp, vibrant, and ready for platforms like Instagram, TikTok, Facebook, and YouTube—optimized for Instagram feed posts, stories, and Reels, TikTok covers, Facebook posts, and YouTube thumbnails, keeping your visuals clean, consistent, and eye-catching.
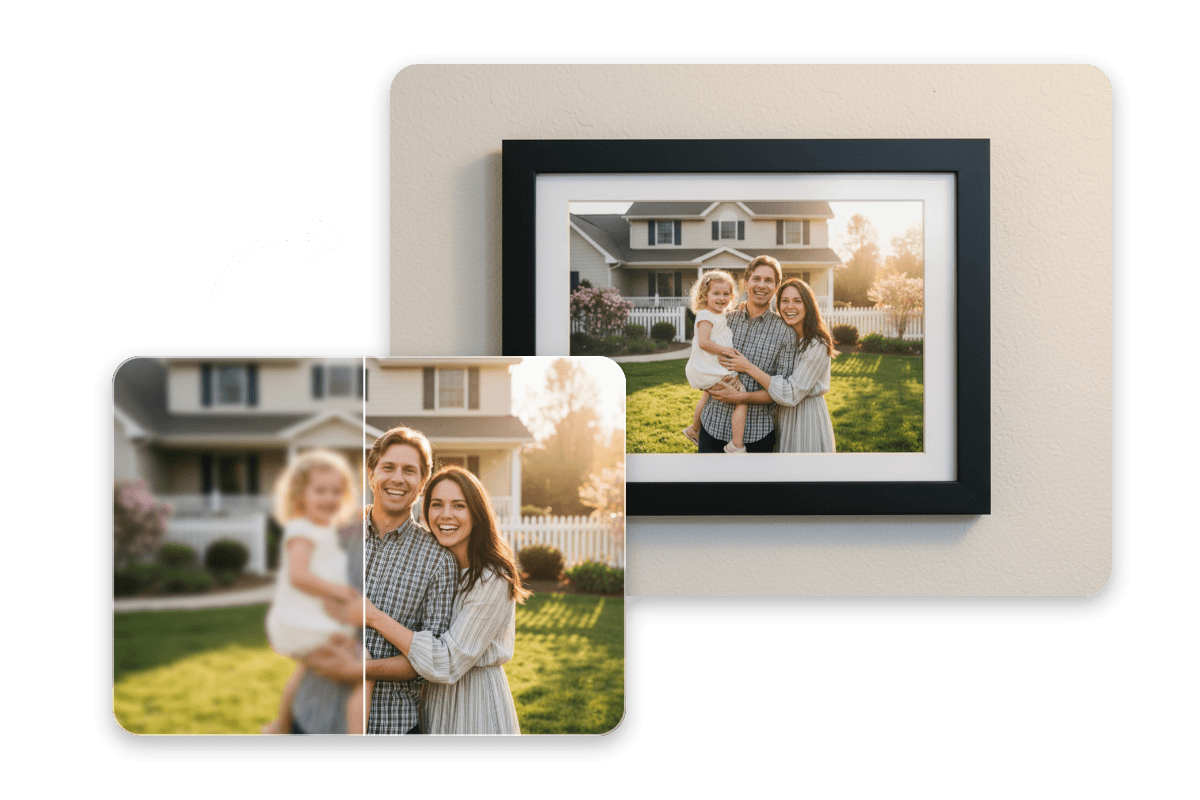
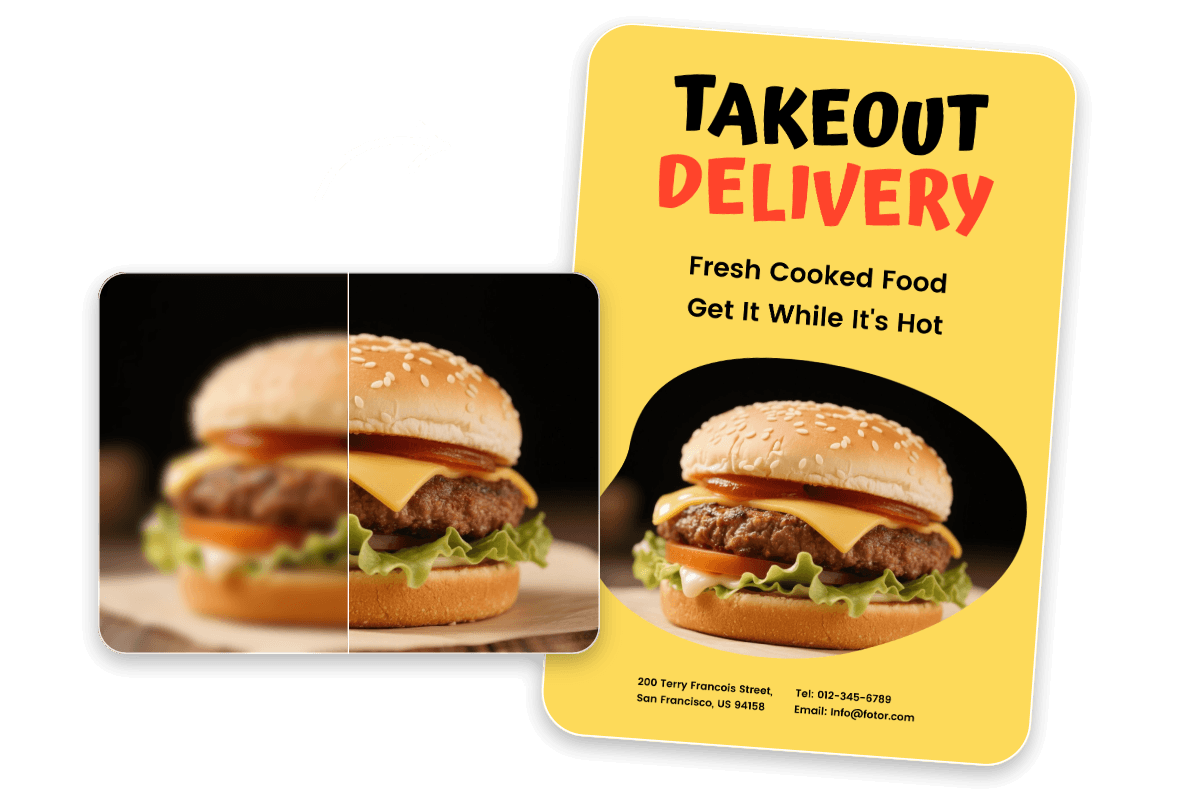
Prepare Photos for High-Quality Printing
Printing requires sharp detail and accurate tones. Enhance and upscale your images so they stay clear, natural, and free from blur or pixelation—even when enlarged for photo books, posters, canvas prints, flyers, or framed prints.
Elevate Images for Brand Marketing
Strong visuals strengthen your brand presence. Enhance resolution and clarity to create polished, consistent images across digital ads, social media campaigns, website banners, product packaging, and promotional materials—helping your brand look more professional, recognizable, and impactful.
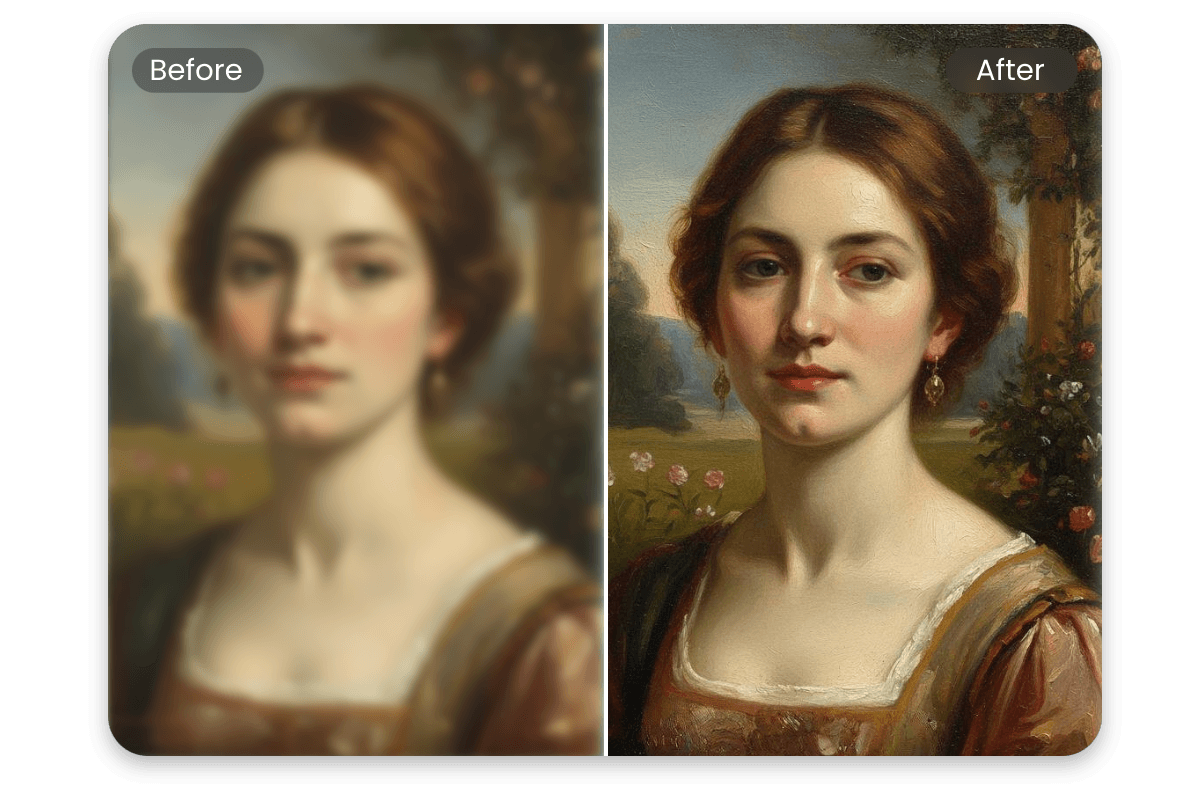
Restore & Preserve Archival and Historical Photos
Historical records, archives, research photos, artworks, and cultural relics often suffer damage or fading. Our AI image enhancer restores clarity and recovers details in old family photos, scanned documents, historical archives, paintings, and museum collections—preserving their visual and informational value for research, education, and display.
What People Say about Fotor AI Photo Enhancer

If you have a photo and need it to look perfect everywhere from LinkedIn to your website, Fotor AI image enhancer is just that friend who quietly fixes everything for you without taking much time or effort.
As one of the best AI image enhancer tools for beginners, Fotor's AI image enhancer is designed to make professional-grade image restoration and enhancement accessible to everyone, leveraging cutting-edge deep learning to transform blurry or low-quality images into high-definition masterpieces in seconds.
Fotor’s Photo Enhancer is a one-tap tool that automatically enhances images by adjusting brightness, contrast, saturation, and sharpness to improve overall photo quality.
Why Fotor is the Best Choice for Photo Enhancement
![Ai powered enhancement icon]()
AI-Powered Enhancement
Use advanced AI and smart algorithms to analyze image content and automatically enhance image quality.
![Hd icon]()
Lossless Quality
Enhance your images while preserving the original content and details, ensuring no loss in image quality.
![Cross devices icon]()
Cross-Device Use
Enhance image quality anytime, anywhere—online in your browser, on desktop software, or via the Fotor mobile app.
![Privacy icon]()
Privacy & Security
Enhance photos safely and privately, with all images processed securely and protected from unauthorized access.
![No watermark icon]()
No Watermarks
Enhance pictures does not add any watermark to your images, allowing you to enjoy a clean and uninterrupted picture quality enhancement.
![Batch enhancement icon]()
Batch Enhancement
Fotor’s batch photo enhancer lets you enhance up to 50 images at once, saving time and boosting efficiency.