Free AI Headshot Generator
Transform your selfies into professional headshots with Fotor’s online AI headshot generator. Create realistic business headshots for resumes, company profiles, and personal branding in seconds.
✅ Create Headshots Online ✅ Various Templates ✅ Export HD Results

Private & secure. Files auto-deleted within 24 hours.
Private & secure. Files auto-deleted within 24 hours.


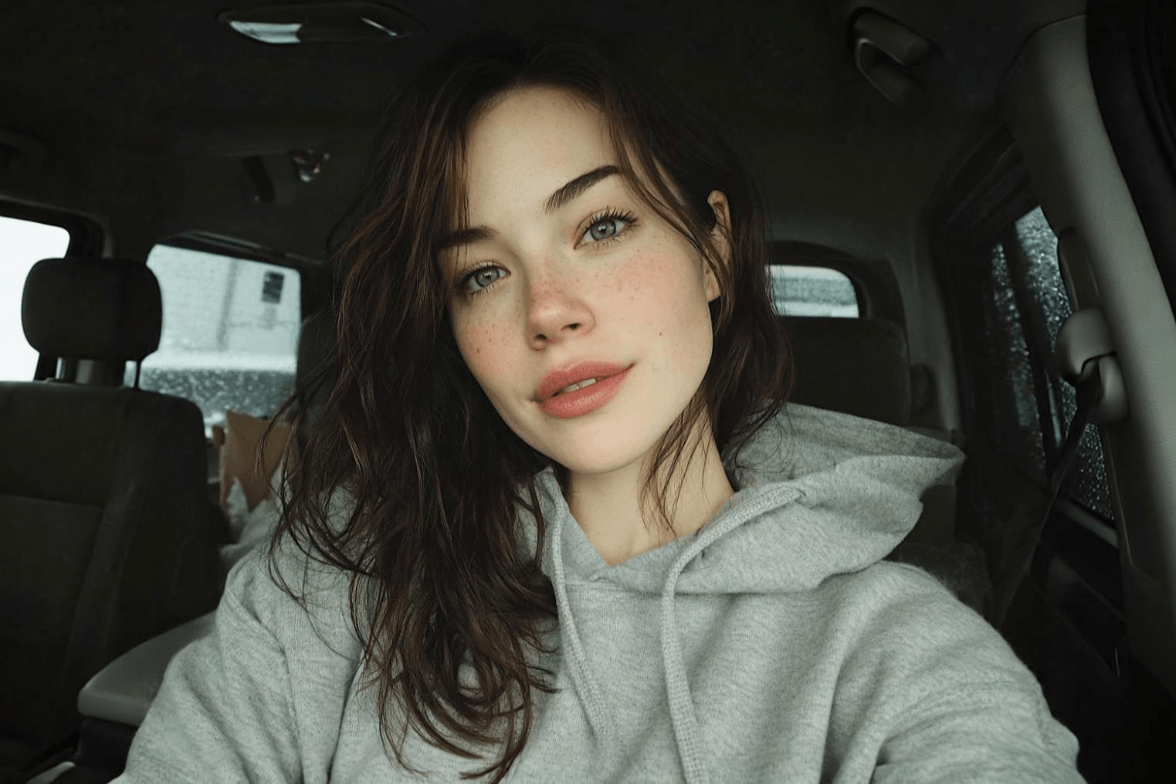
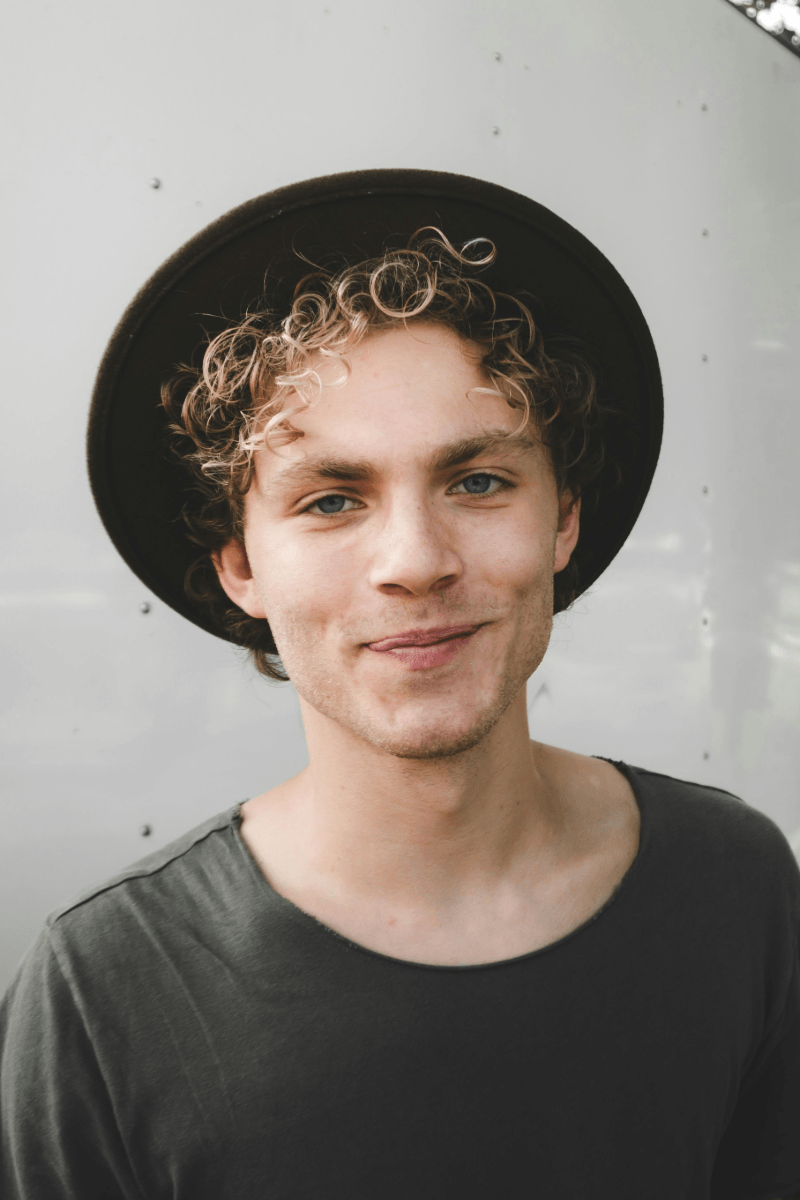
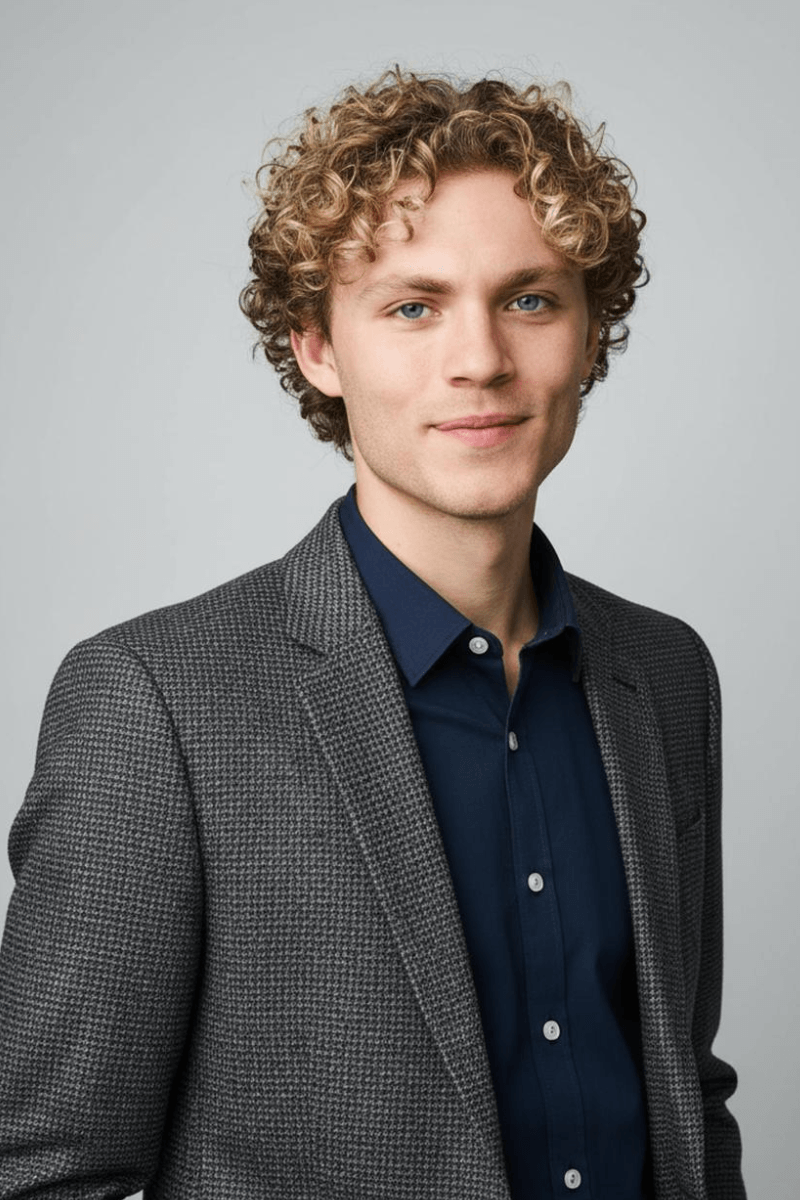
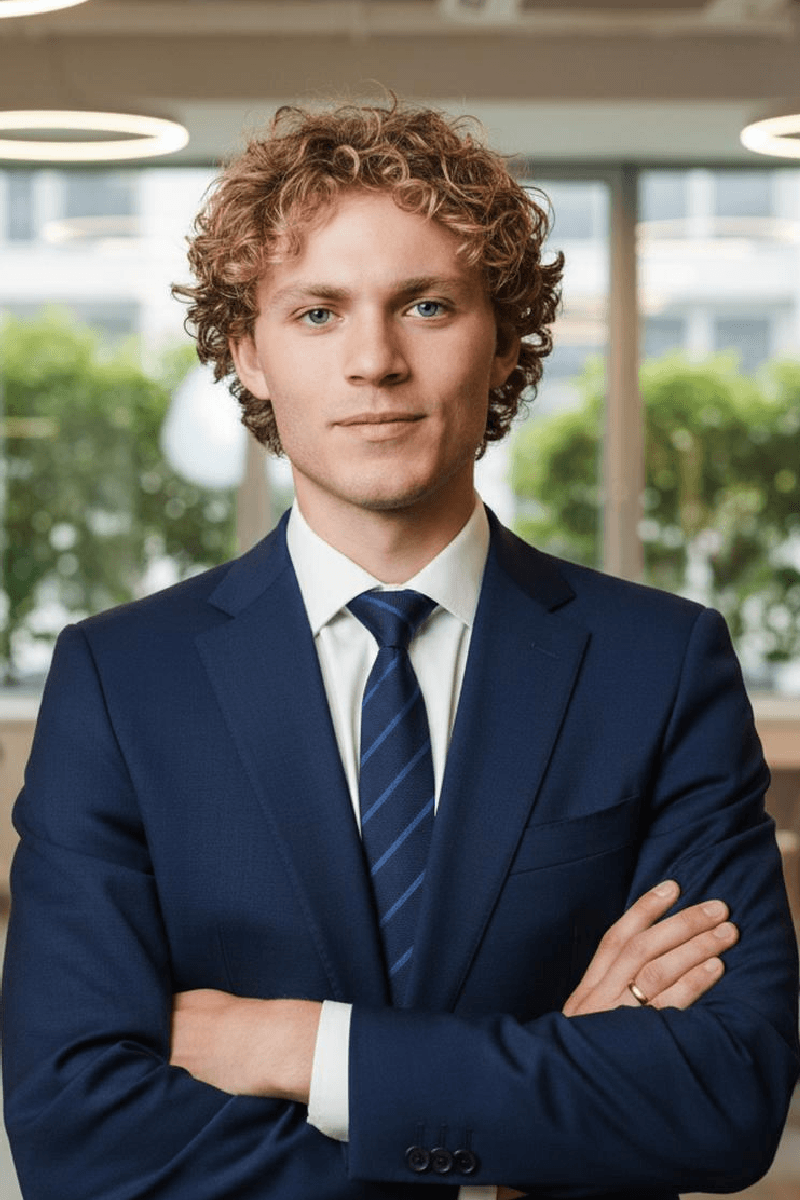
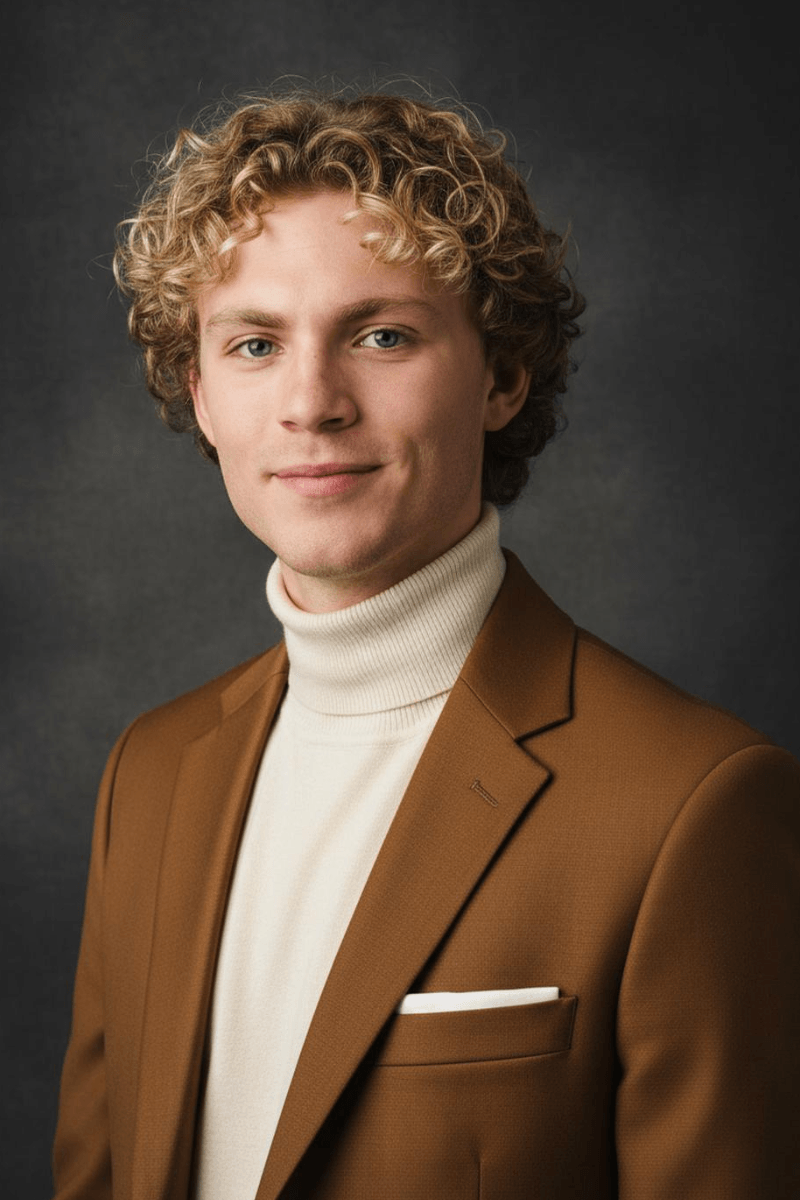
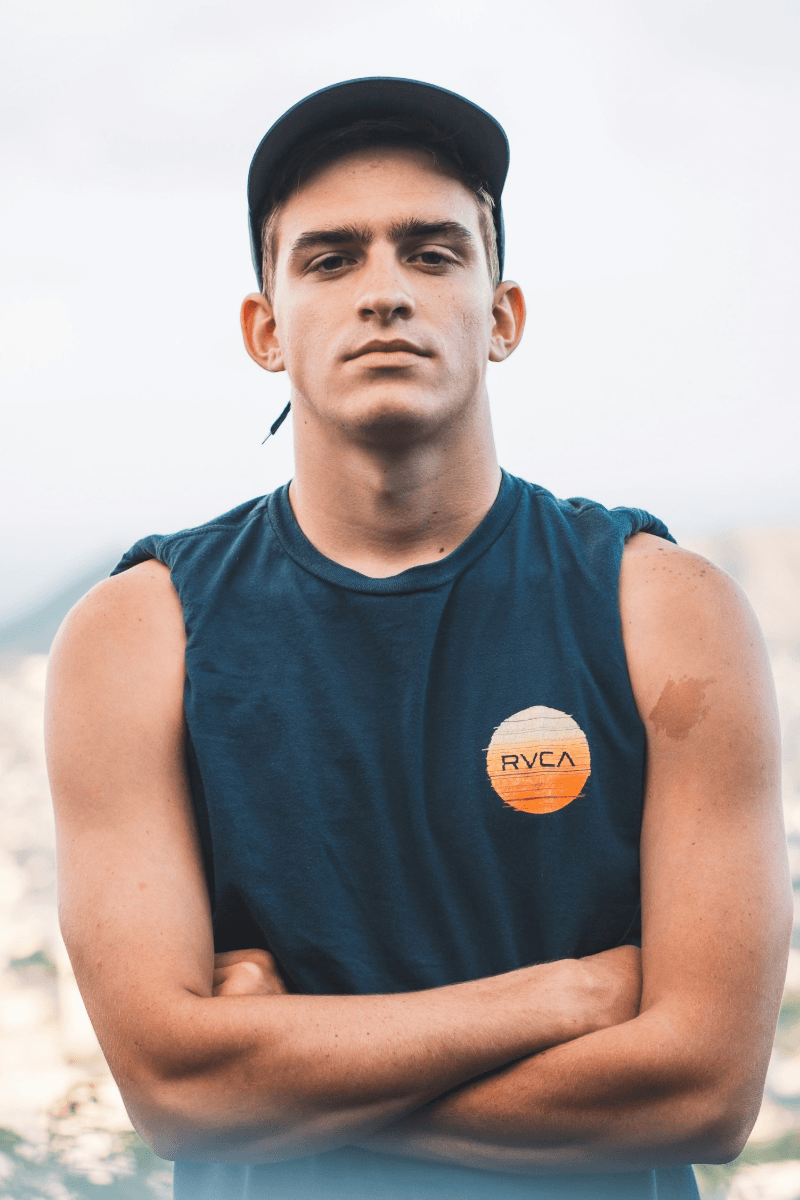
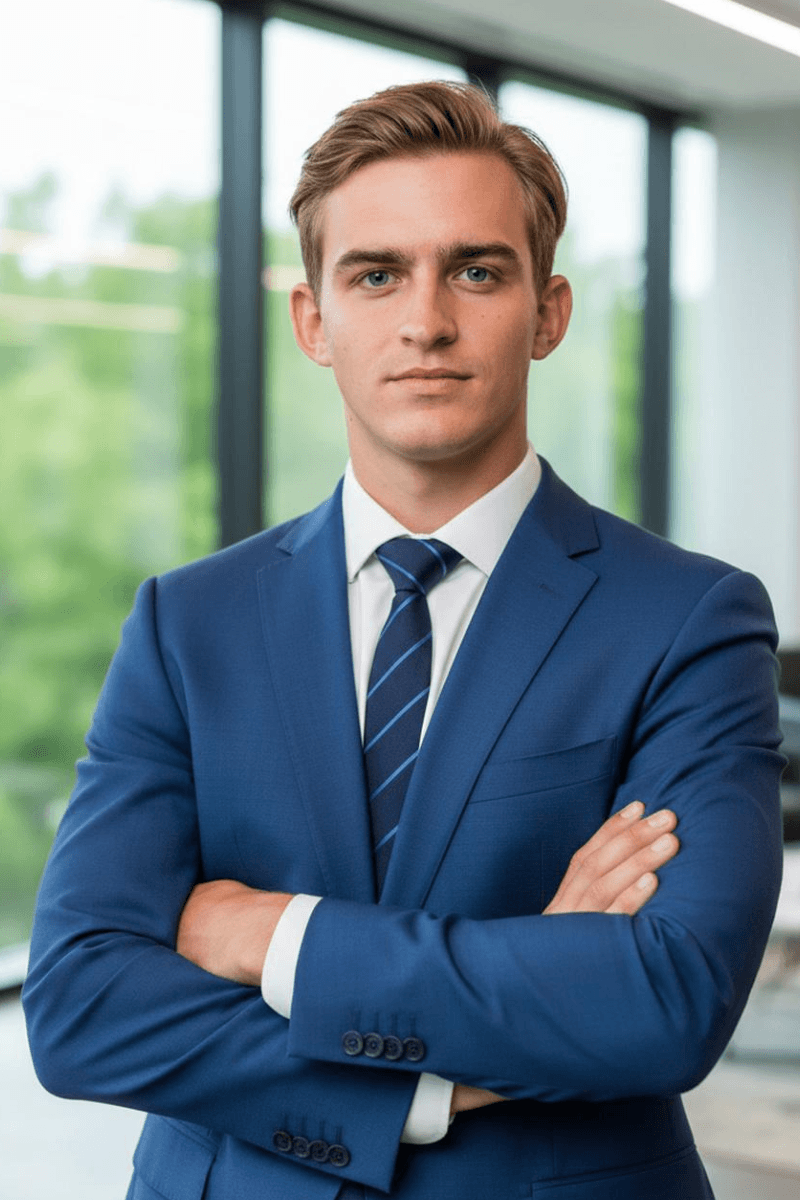
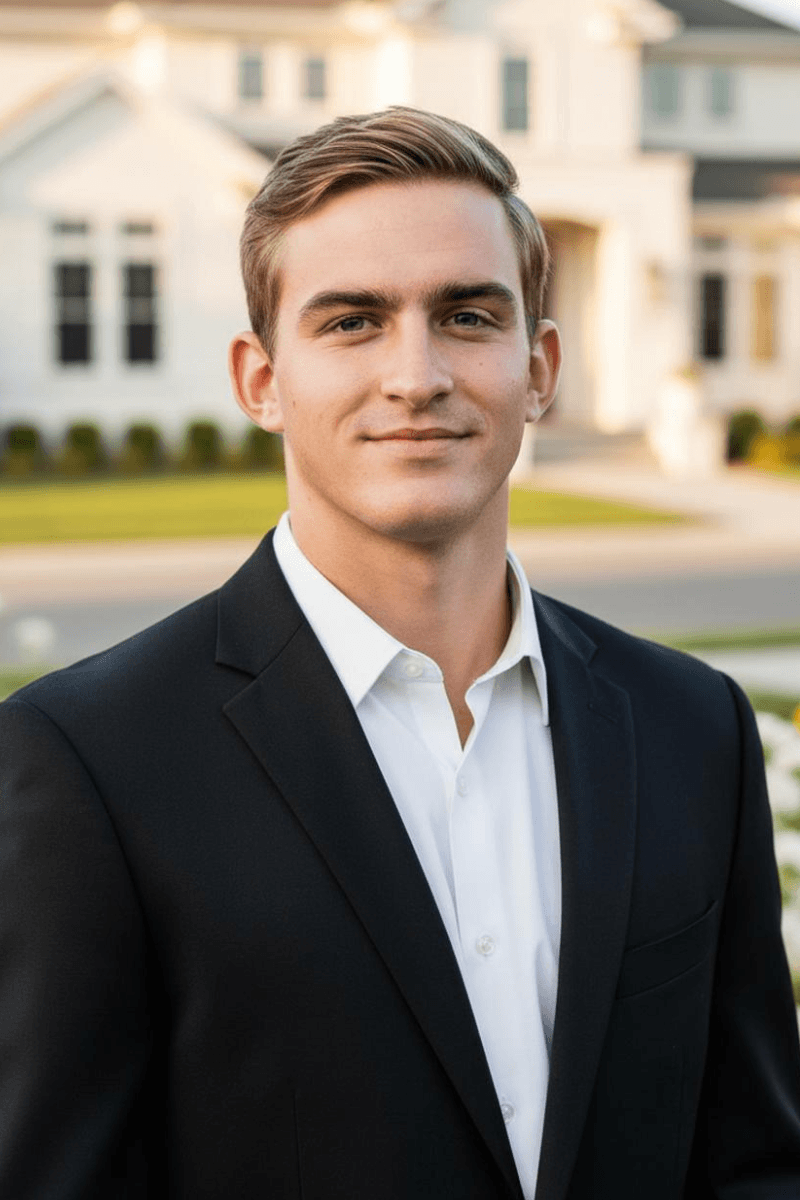
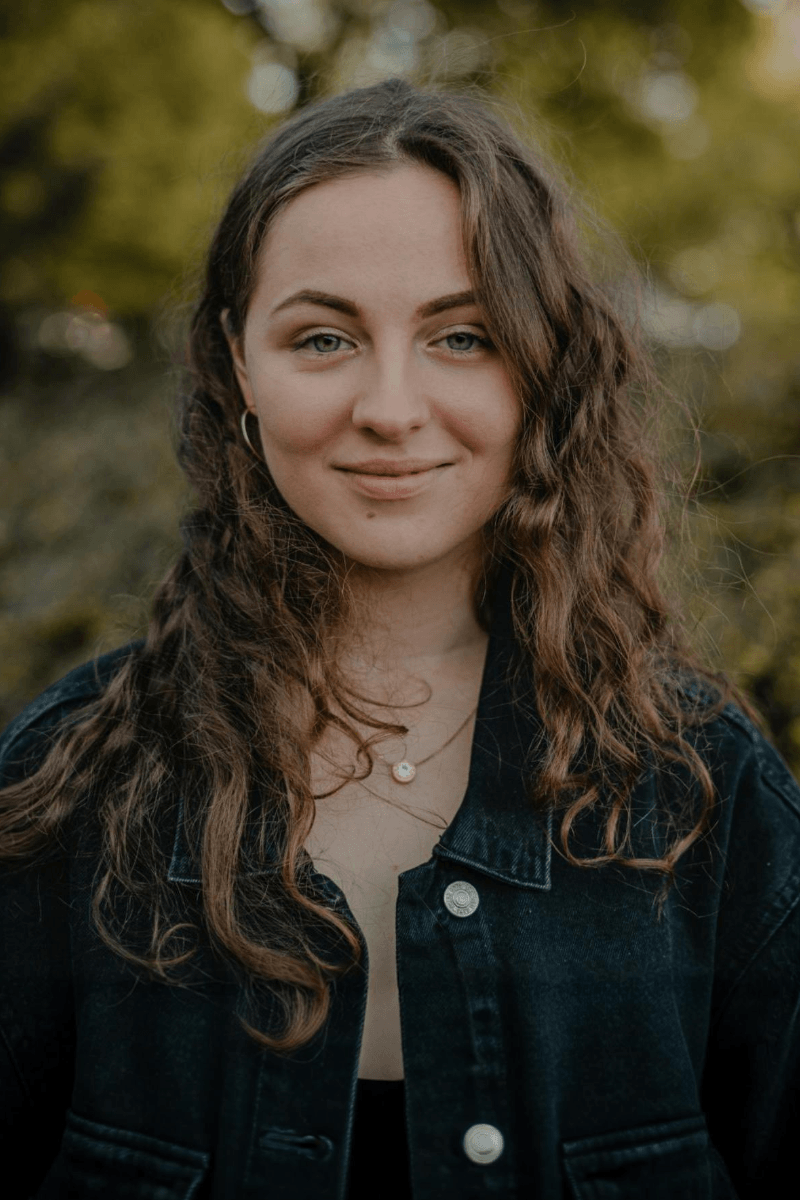
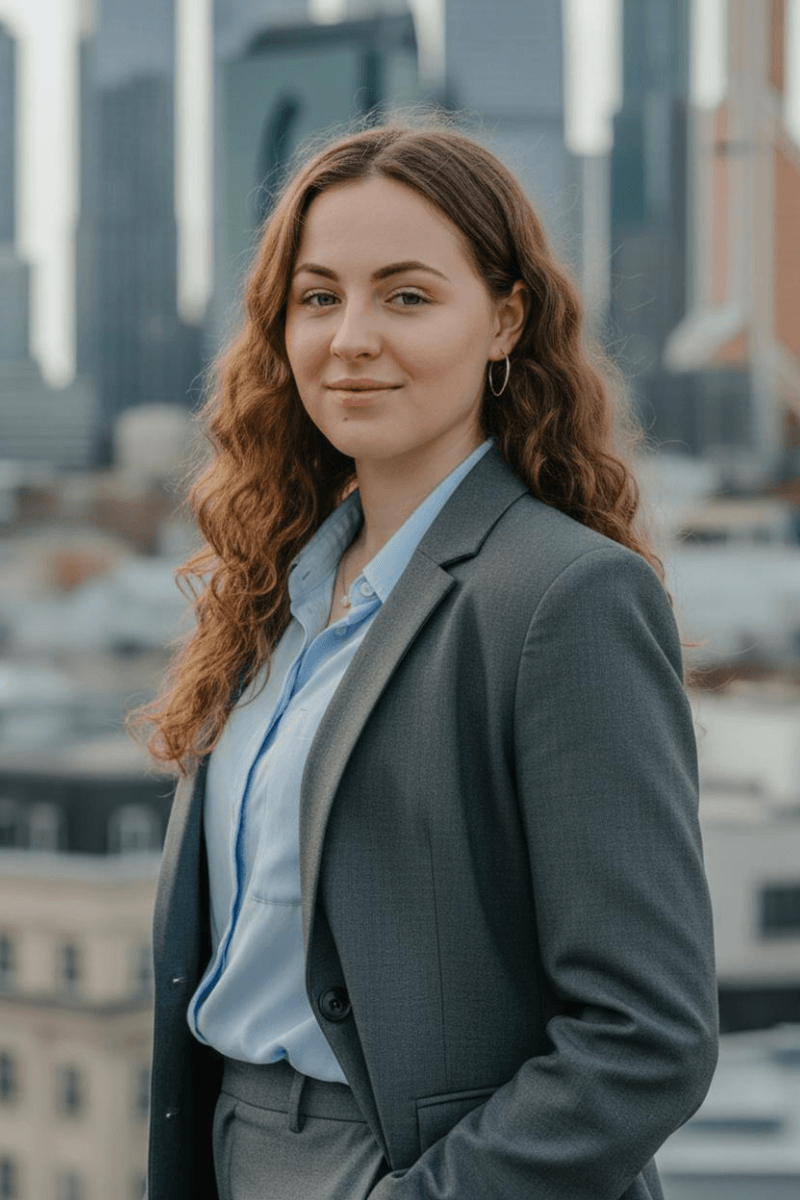
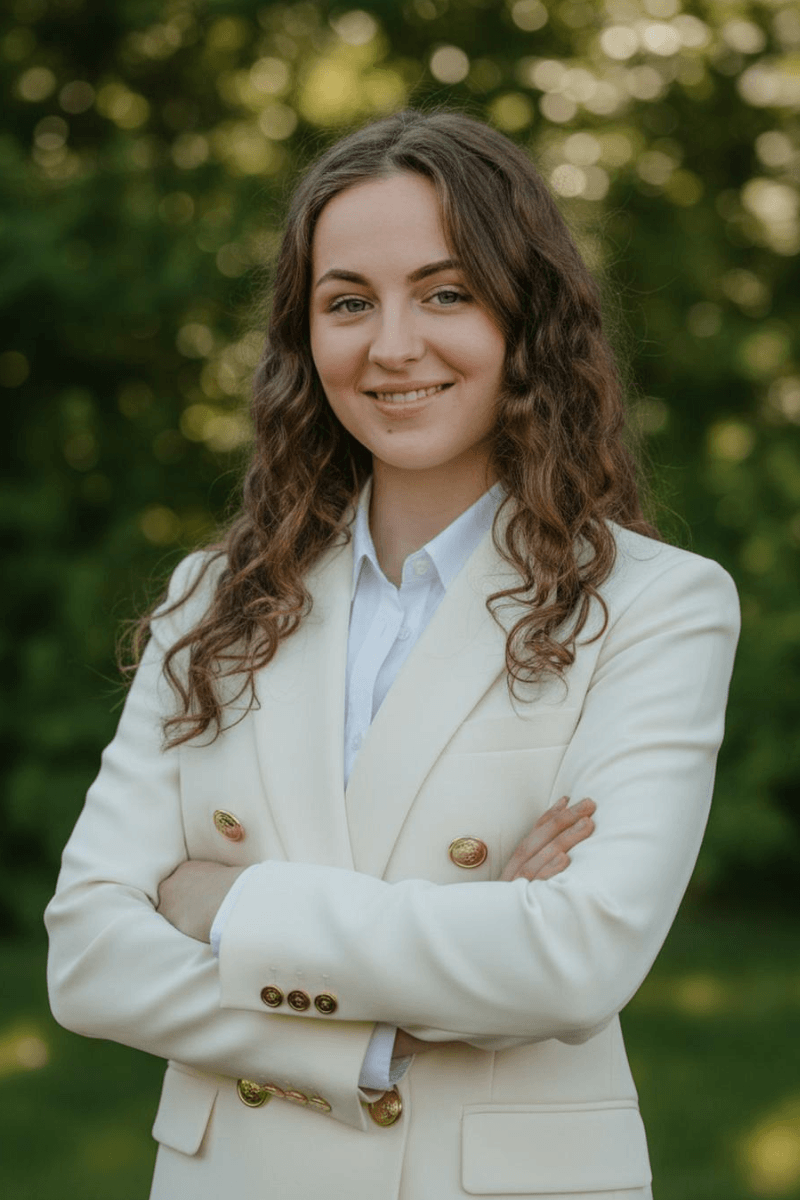
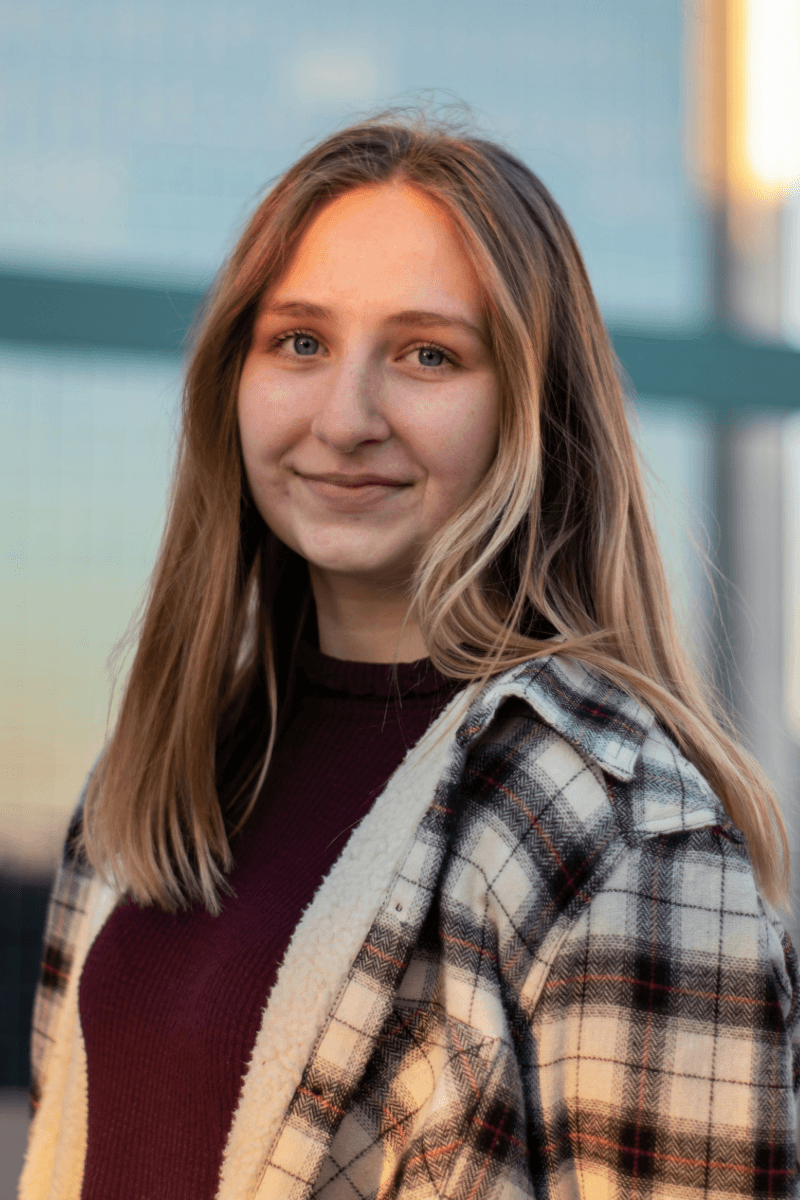
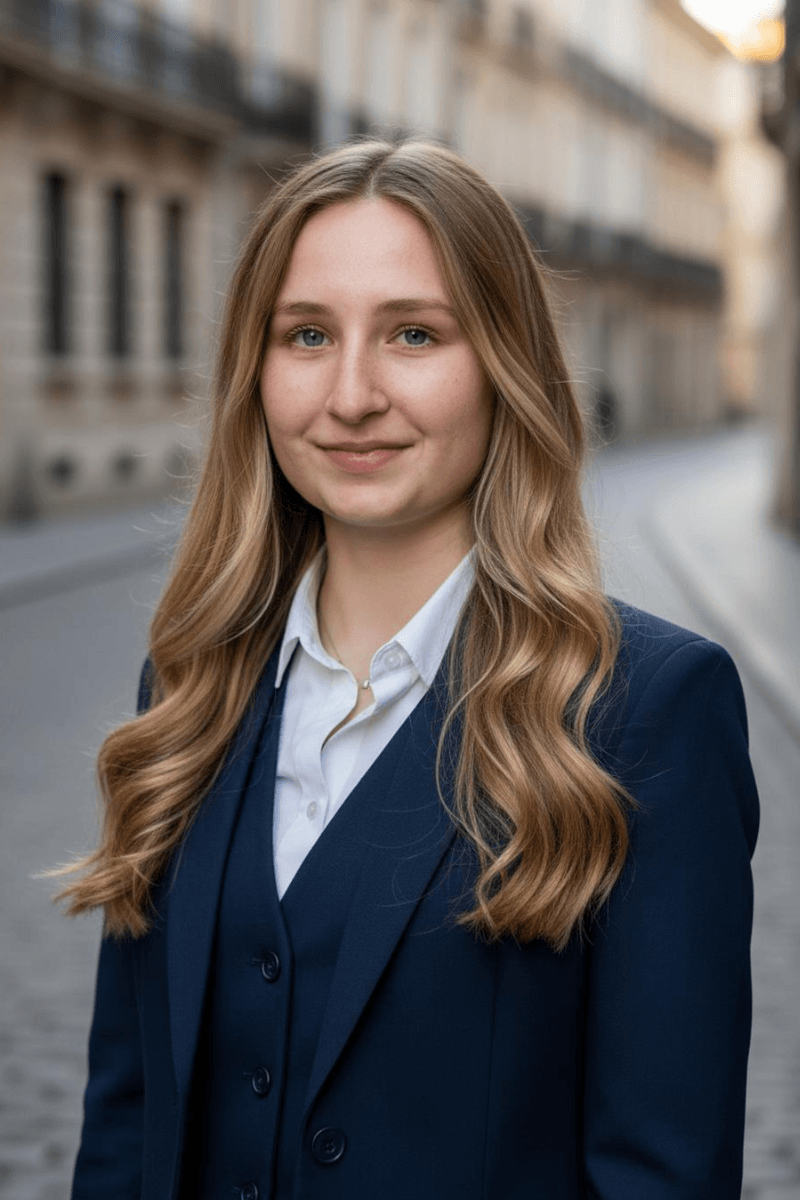
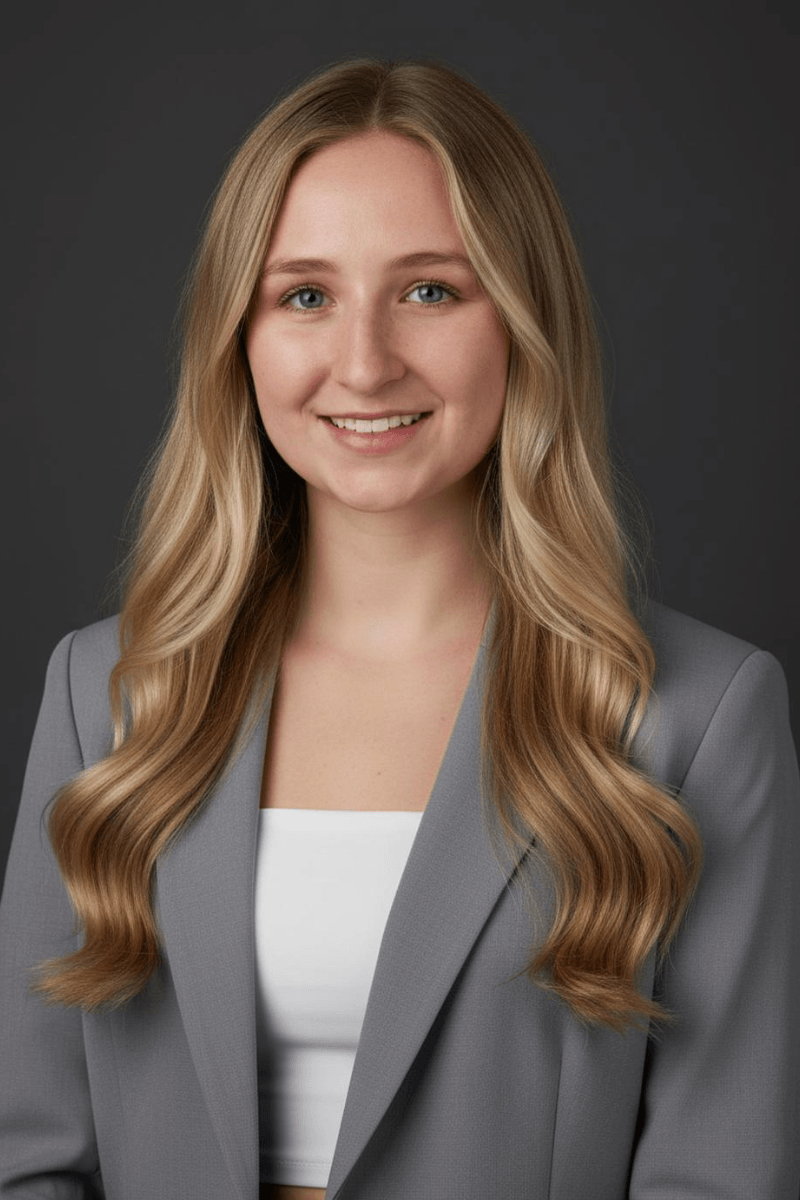
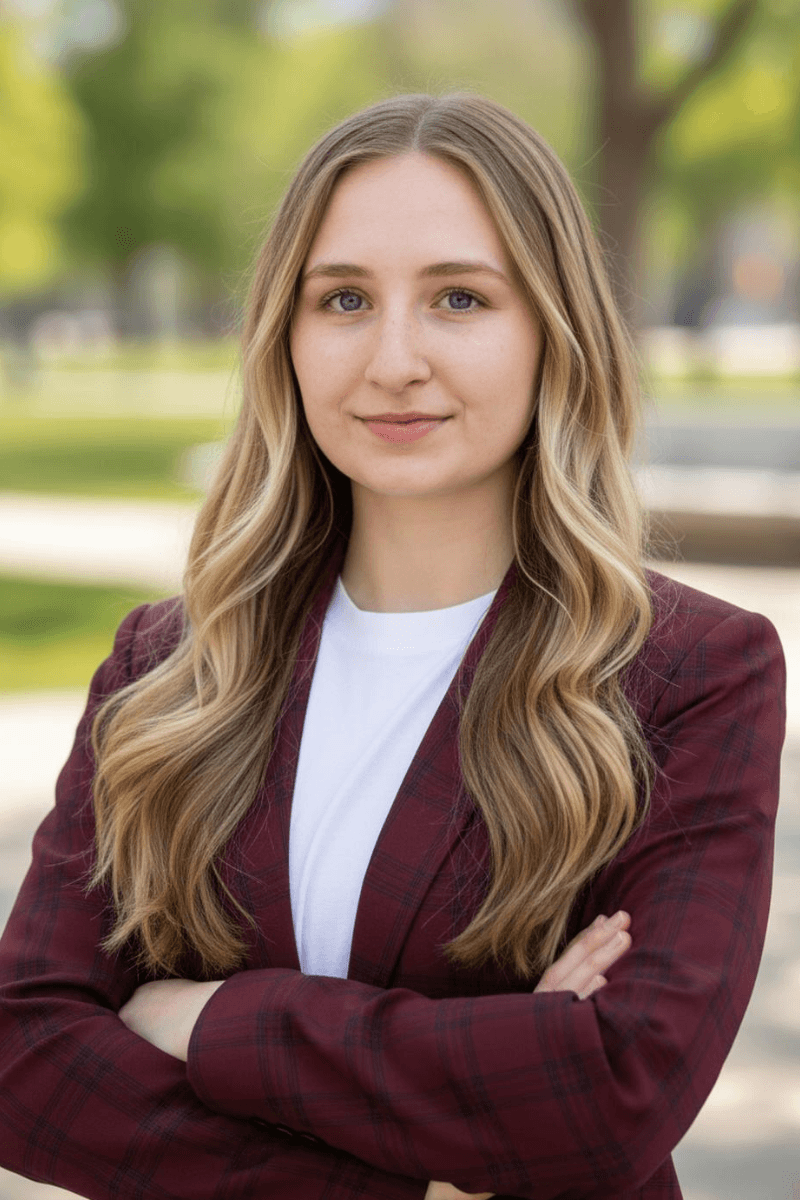
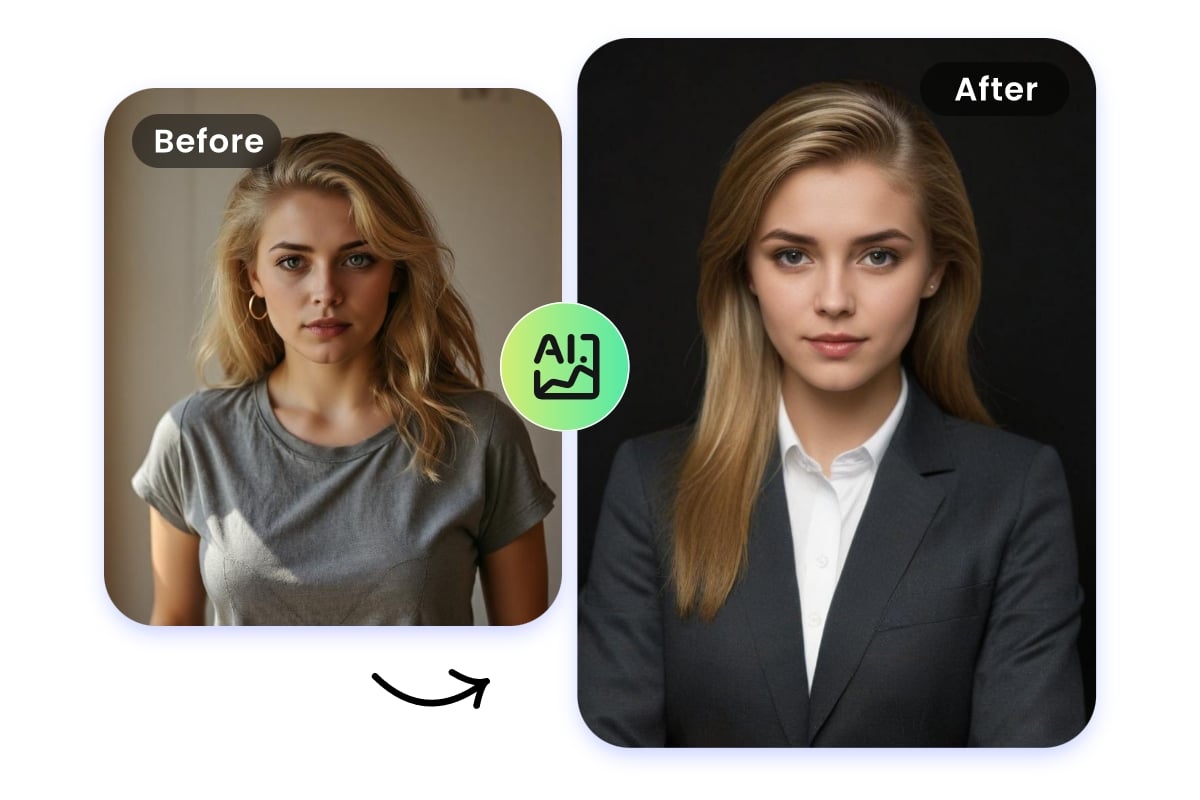
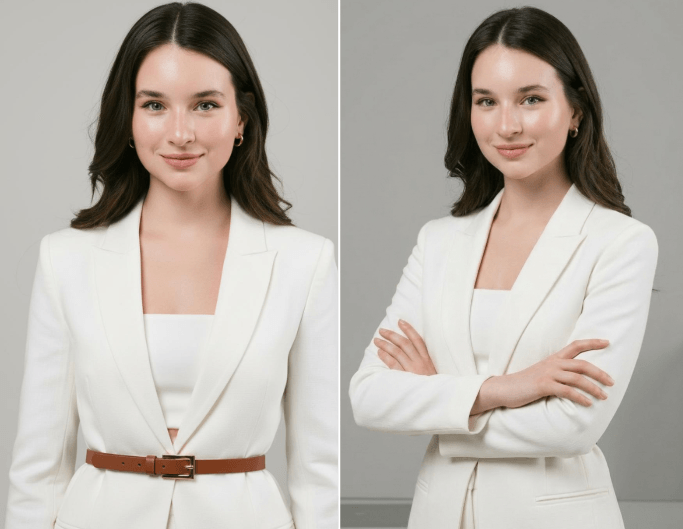
Before & After: Real AI Headshot Transformations
See the difference we makes: everyday selfies become realistic headshots in seconds. Compare before and after to check how AI headshot maker refines lighting, background, and composition for bussiness photos.


Why Do You Need Fotor’s Headshot AI Generator?
![Resolution increase icon]()
Studio-Quality AI Headshots
Generate realistic headshots with natural lighting and polished backgrounds, just like a studio photoshoot.
![Realistic AI smile generator]()
Multiple Portrait Styles
Create corporate portraits, modern profile photos, or clean business images suitable for resumes and company websites.
![Data security guaranteed]()
Safety First
We prioritize your data security: All uploaded photos are automatically wiped from our encrypted servers within 24 hours.


How to Make a Professional Headshot?
- Click the “Generate a Headshot” button below. Then, select Male, Female, or Non-Binary to get started or create headshots for kids as desired.
- Choose 3~10 AI headshot styles that you like. Fotor will automatically detect the details of your face and generate vivid and good-looking AI headshots within seconds according to the style you choose.
- Next, upload one of your life photos or selfies.
- Finally, preview and download the generated AI headshots for resumes, social media profile images, and more.
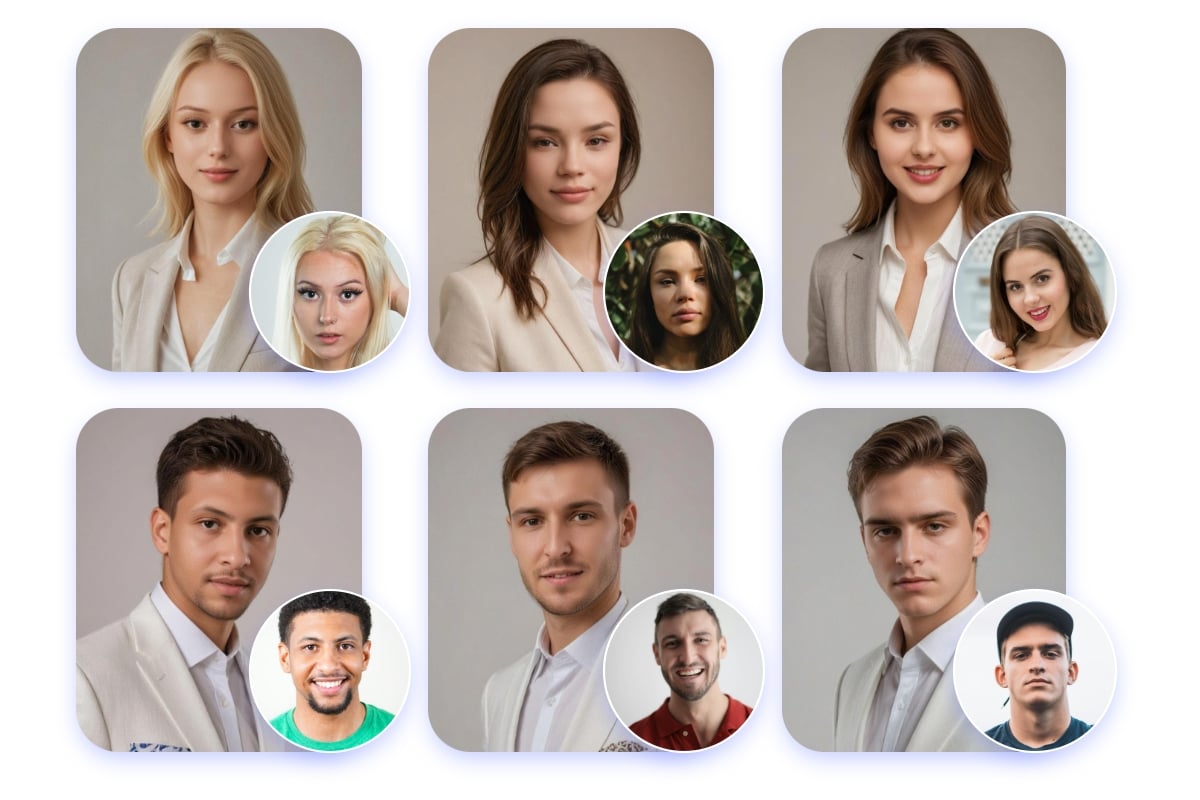
Generate AI Headshots from Your Photos
Transform your everyday selfies into business-ready headshots in 10 seconds without the typical $200 studio fee. Instead of basic filters, our model analyzes over 200 facial data points to map your authentic likeness. We automatically optimize the lighting, sharpen the focus, and upgrade the background, giving you a realistic photo without the cost or hassle of a real photoshoot.
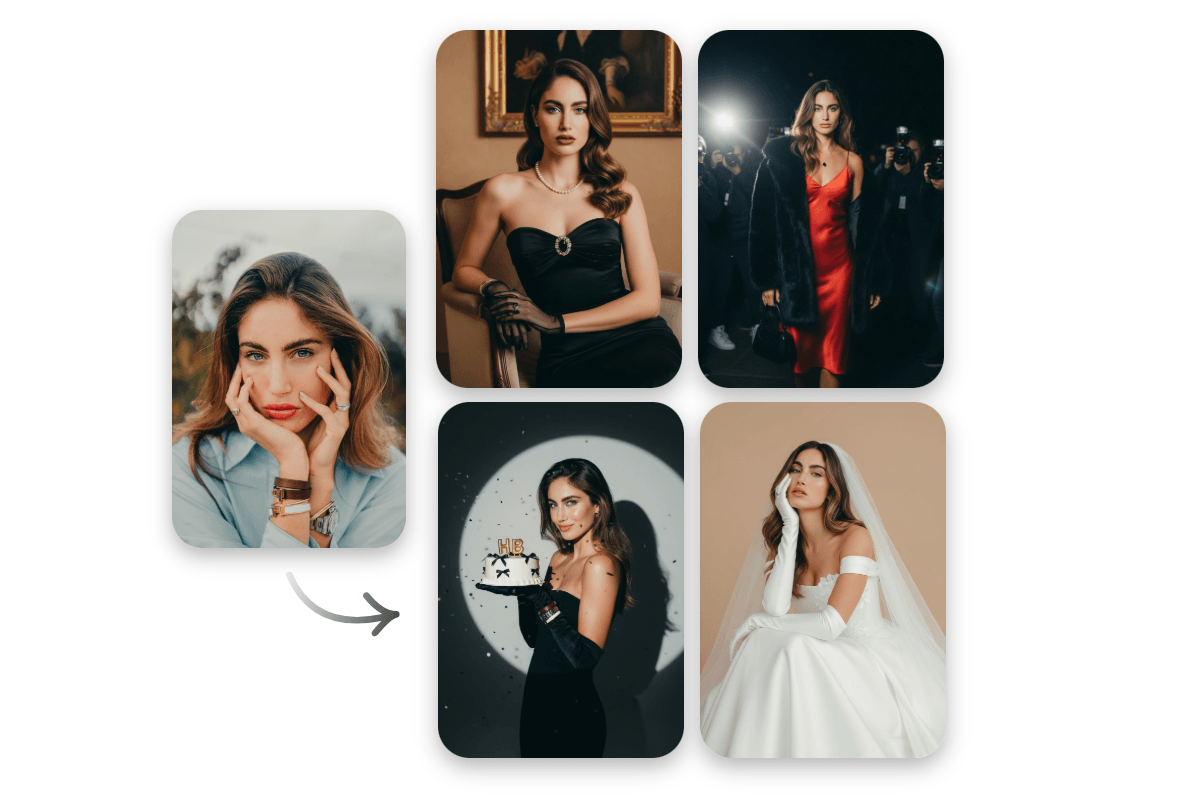
Explore Diverse Built-in Headshot Styles
Fotor offers dozens of built-in, recruiter-approved templates. Whether you need a high-contrast ID photo with a neutral grey backdrop, a vibrant "Creative" vibe for your design portfolio, or a clean "Real Estate" profile, you can instantly select a pre-set style that elevates your professional presence.
AI Headshots for Teams and Corporate Profiles
It creates consistent, polished AI headshots for your team members. Showcase professionalism across company profiles and team pages while saving time and photography costs. Ideal for enterprise directories and startup team pages.
Customize Your AI Headshots
Adjust hairstyles, backgrounds, outfits, and expressions to match your professional or creative needs. Tailor each AI headshot to reflect your personal or brand style with no effort.
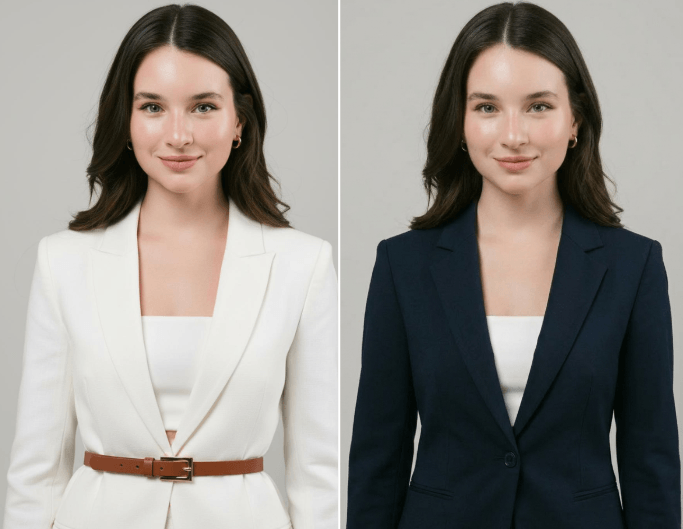
Change Headshot Outfit
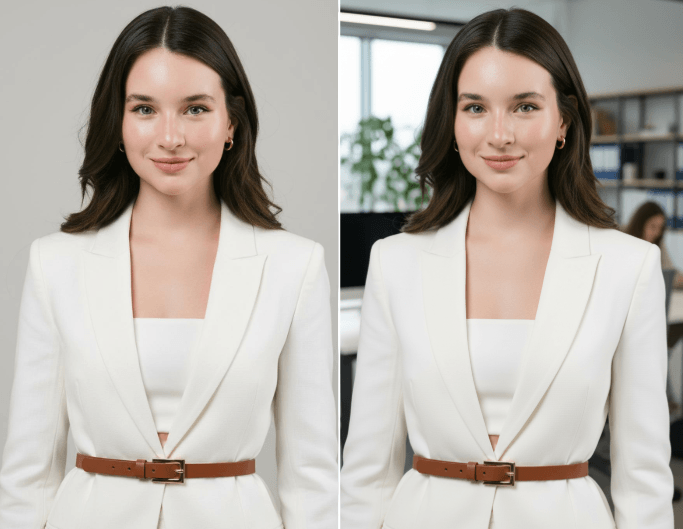
Change Headshot Background
Change Photo Pose
Where You Can Use Your AI Headshots
Create professional AI headshots that fit every aspect of your career and digital presence. From resumes, business cards, and email signatures to LinkedIn profiles, social media, and team pages, Fotor makes it effortless to present your best self online and offline.
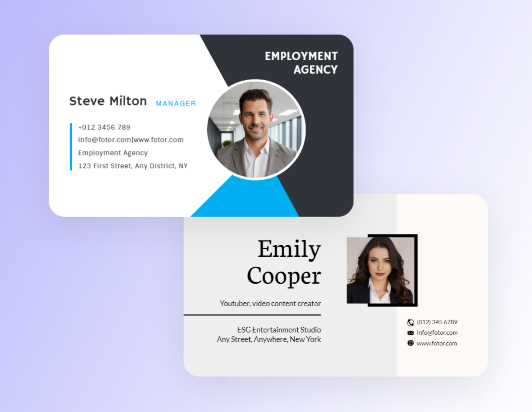
Business Card
Make every networking opportunity count with a high-impact portrait for your next AI business card.
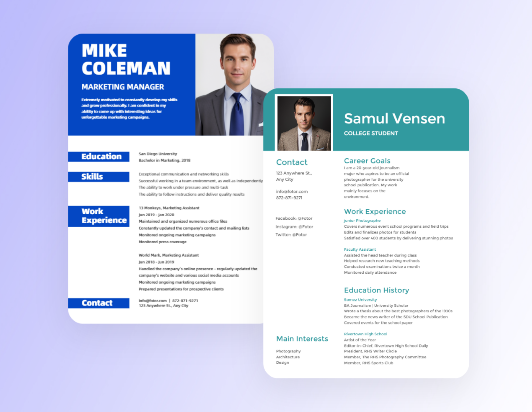
CV/Resume
Land more interviews with a polished, recruiter-approved photo that highlights your competence and professional edge.

Email Signature
Build immediate trust in every correspondence by adding a human touch to your business email signature.
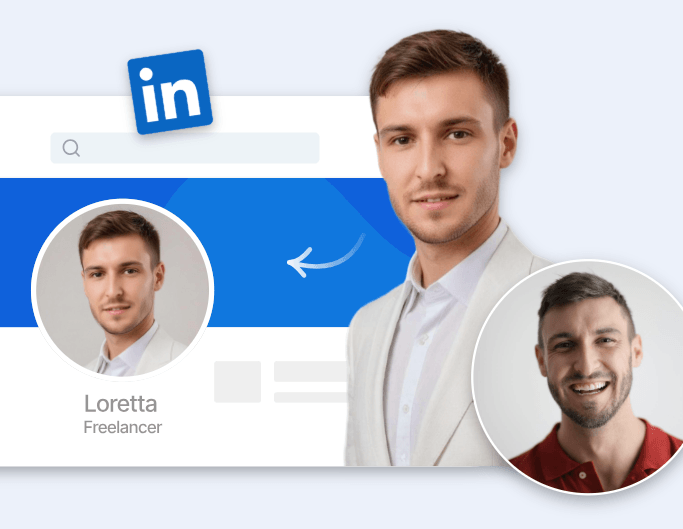
LinkedIn Profile
Strengthen your personal branding with a sharp LinkedIn headshot that attracts top recruiters and peers.
Real Reviews From the World

I am loving it. Recently, I was on the hunt for a tool to transform my not-so-great images into stunning ones. Luckily, I found Fotor. The headshot it made is so awesome! I only need to upload my photos, choose the styles I like, and then it will generate a headshot like a photo studio. Everyone you have to try it once!
This is too good not to share! I was on the lookout for a way to make my average photos more professional. Fortunately, I came across Fotor. Super easy steps: Upload, select styles, and get studio-quality results instantly. It's a game-changer—don't miss out!
Turn any photo into a professional profile picture for LinkedIn, Instagram, Facebook, and other social networks. Always up for new technology and embracing changes. Make your AI Headshot today!
Trusted and Loved by Millions of Global Creators
Learn more about Fotor's upload formats and requirements. See how we protect your content in our Privacy Policy.