Free Object Remover
Remove objects from photos online in seconds with our free AI object remover. Automatically remove people, text, watermarks, date stamps, and any other unwanted things to create professional images in a snap.


Drag image here or click to upload
Drag image here or click to upload


3s
Average Removal
4.6★
Rating on Capterra
95%
Accuracy
How to Remove Objects From Photos?

1. Upload a picture
It's a breeze to remove unwanted objects from photos using Fotor's AI object remover. Firstly, upload the picture you want to edit into Fotor.

2. Select & remove unwanted object
Use the brush tool to paint over the object you want to remove, and Fotor will automatically analyze and erase the selected object from your photo within seconds.
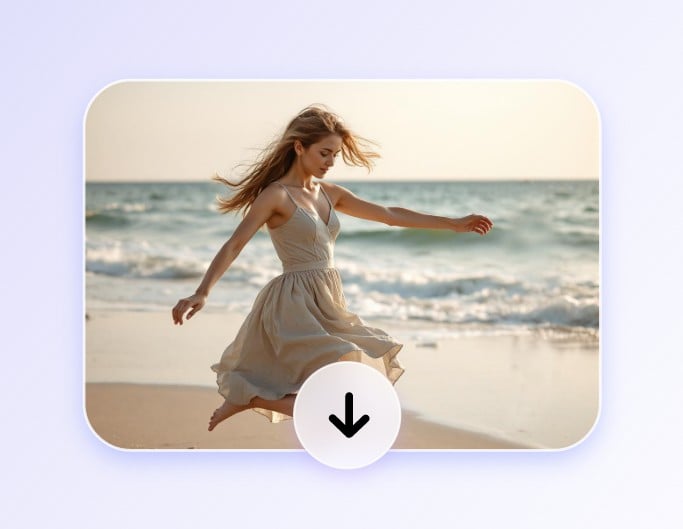
3. Download your image
You can edit your image further as needed or click the “Download” button to export your new image in high resolution. It's that easy!
Automatically Remove Objects from Photos in Seconds
Spending hours manually removing objects from photos in Photoshop can be time-consuming. Our AI object remover makes this process much easier. Just brush over the unwanted objects, and Fotor will automatically erase them from the photo. You don't need any photo editing skills. Within just a few seconds, you’ll get a clean and flawless photo ready to share.
Explore the Power of Our AI Photo Eraser
Our AI-powered photo eraser is able to remove a wide range of objects- people, text, skin defects, background clutter, and a whole lot more. Whether you need to cleanup pictures for personal needs or enhance professional images for business purposes, our photo eraser is the perfect solution for all your image editing needs. Effortlessly create distraction-free photos and restore your image to perfection.
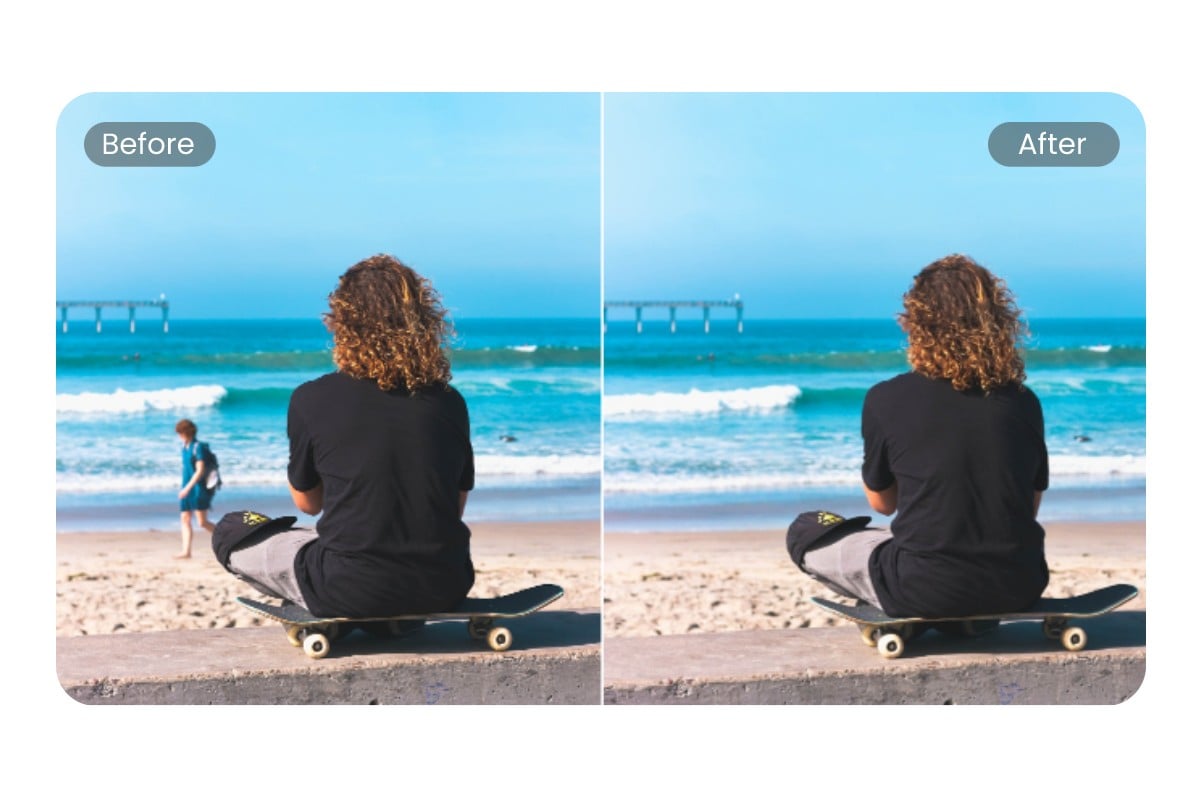
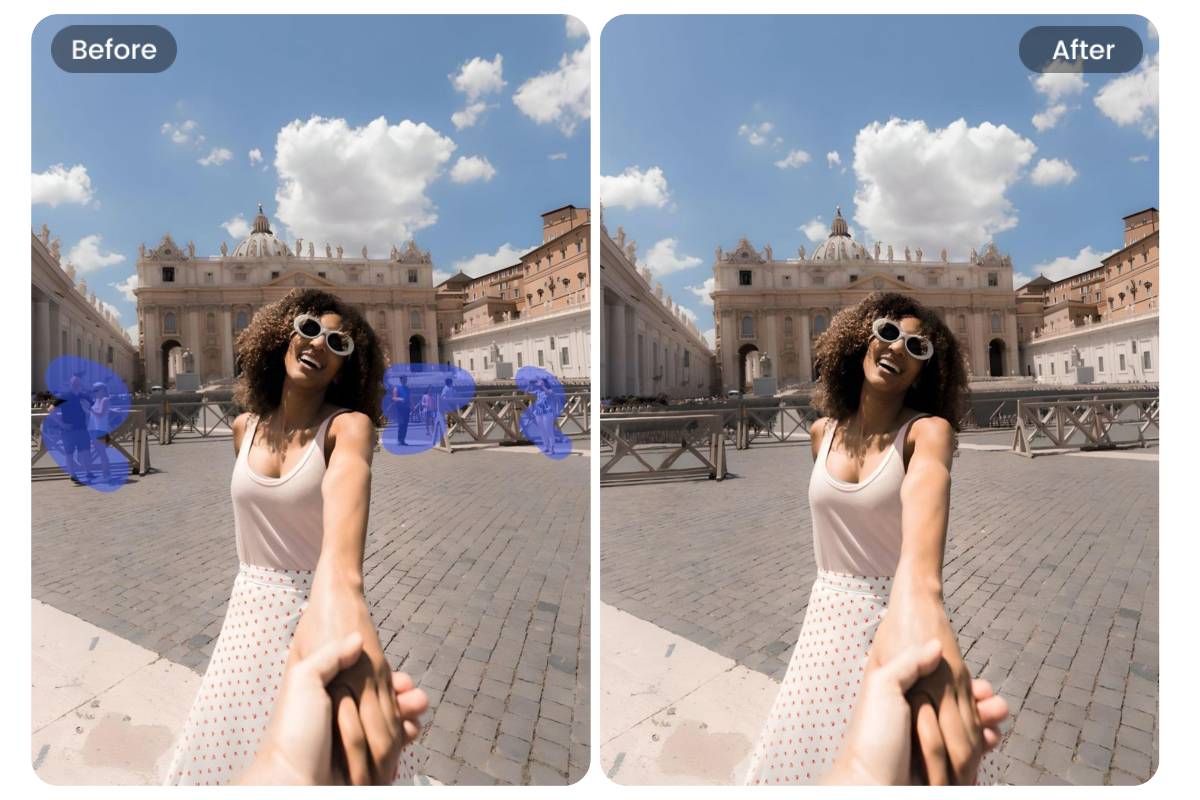
Remove People from Photos
Never let unwanted photobombers ruin your photos again. Our photo eraser tool makes it quick and easy to remove people from photos. Whether it's a random passerby or a crowd of tourists, we can remove the person from a photo online for free in an instant. Edit someone out of a photo now with Fotor! Effortlessly remove any undesired people to create the perfect shot.
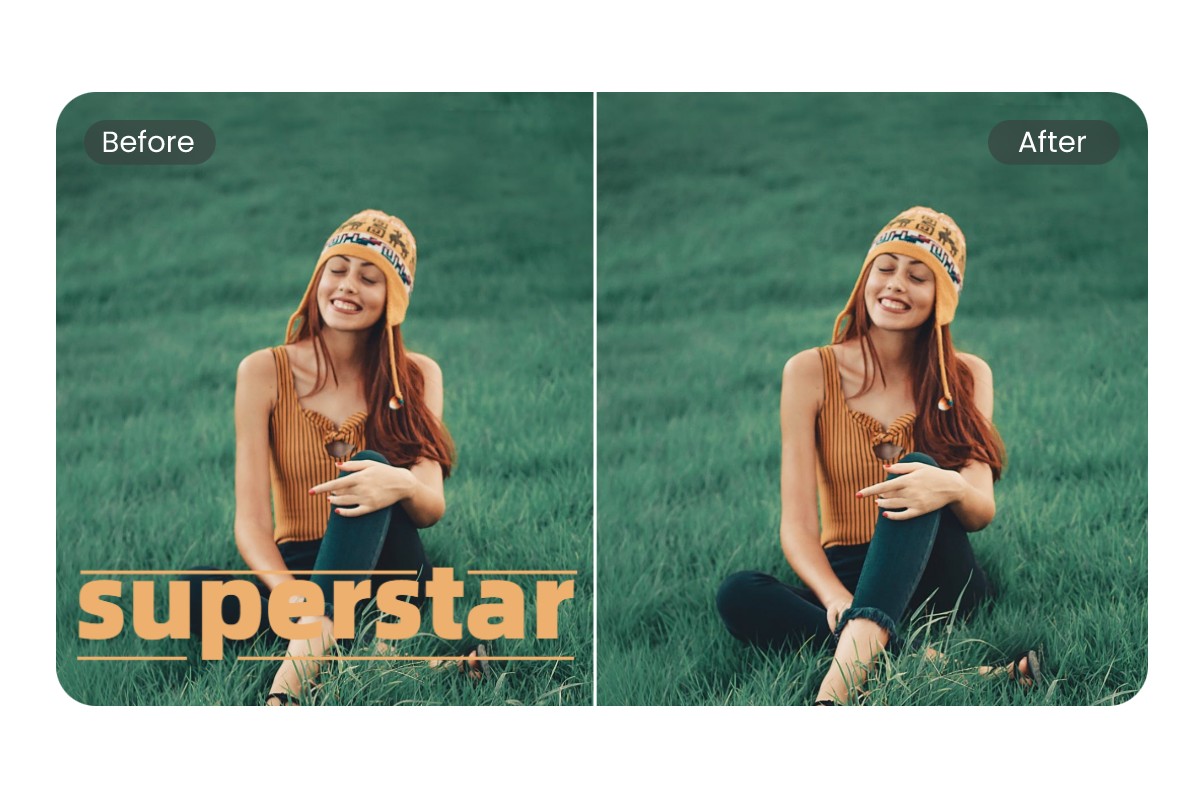
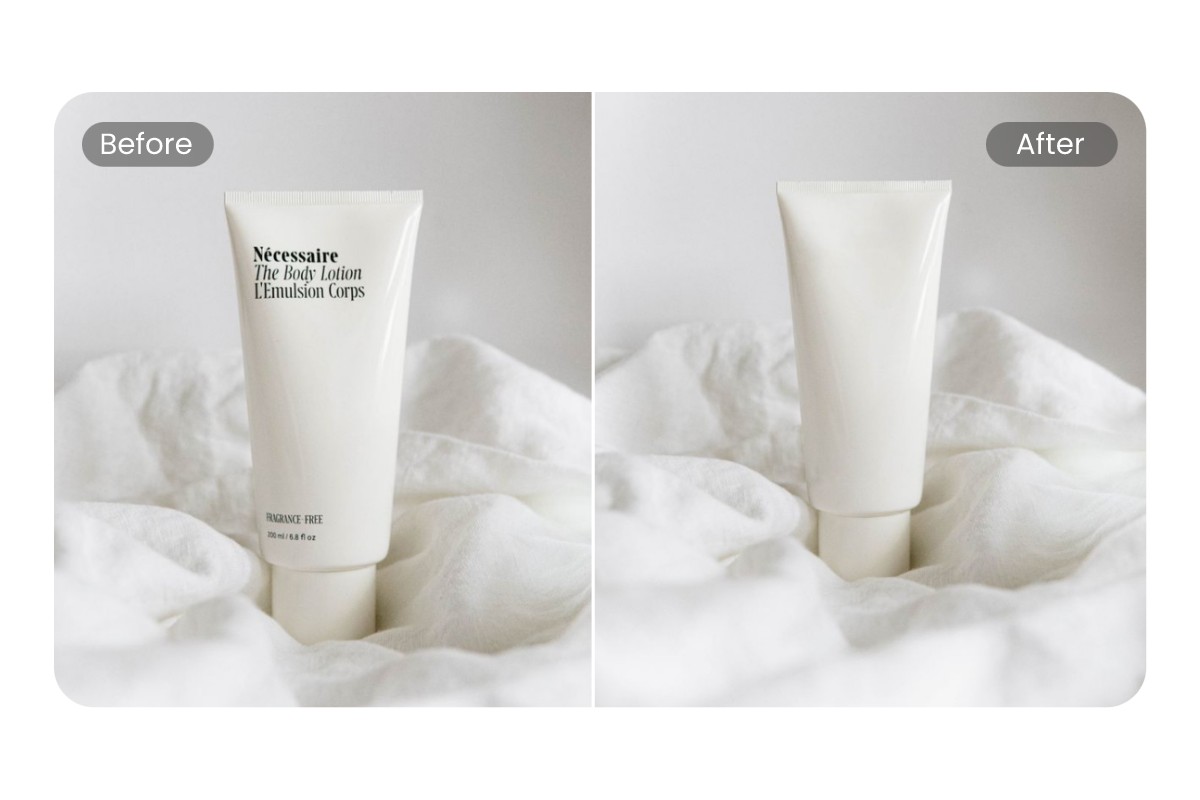
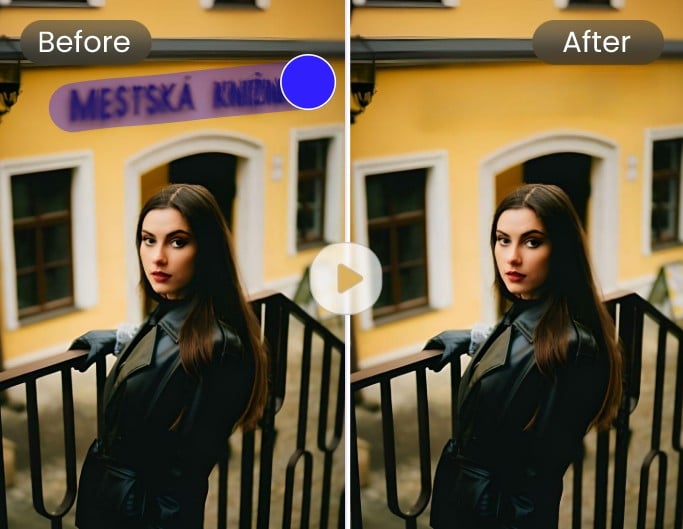
Remove Text From Images
Besides removing objects from images, our AI object remover is highly effective at removing text from images as well. Using this AI text remover from image files, you can remove slogans, headings, tags, date stamps, captions, and any text from images without altering the original background. Easily restore the original appearance of your image without any distractions.
Erase Distracting Watermarks
Is there a distracting watermark on your shot that steals the thunder? Take it easy to remove any unwanted object from photos for free in Fotor. No need to clean up pictures with complicated operations or retake the shot. You can remove watermarks from photos with simple clicks. Select the watermarks, click Apply, and Fotor will give you watermark-free feedback at a lightning-fast speed.
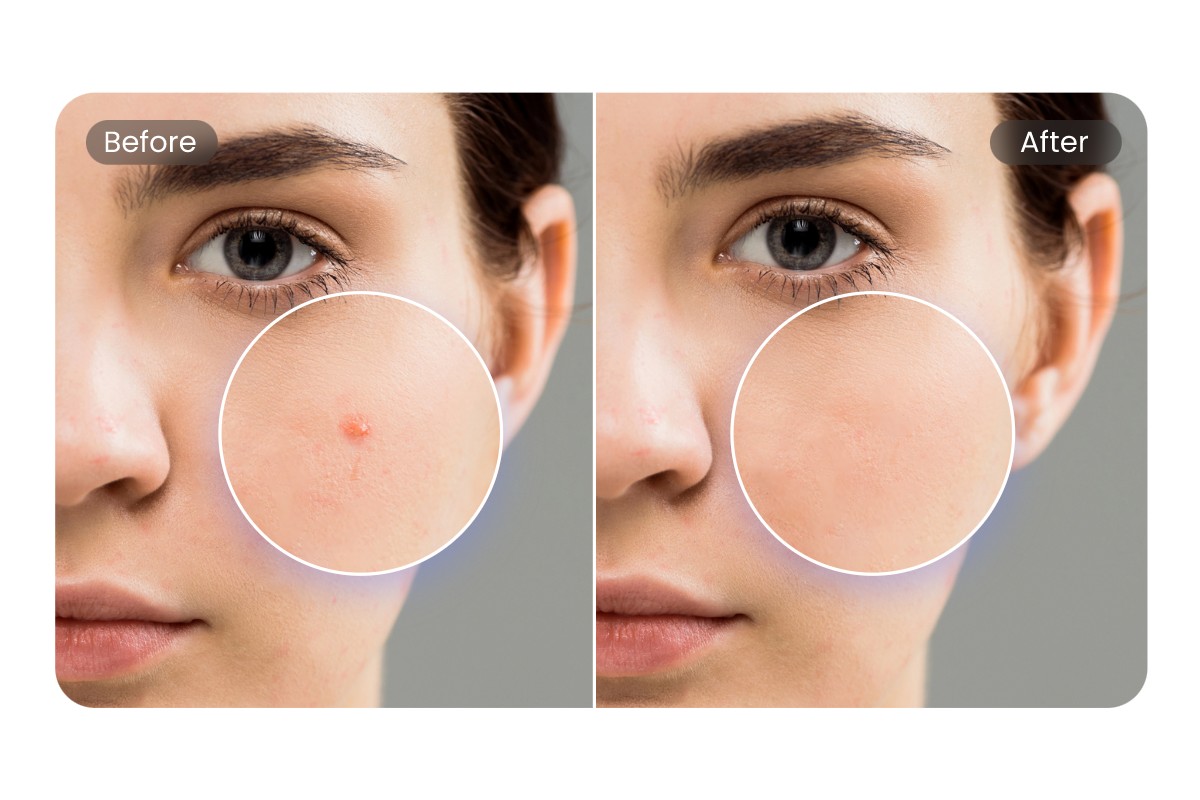
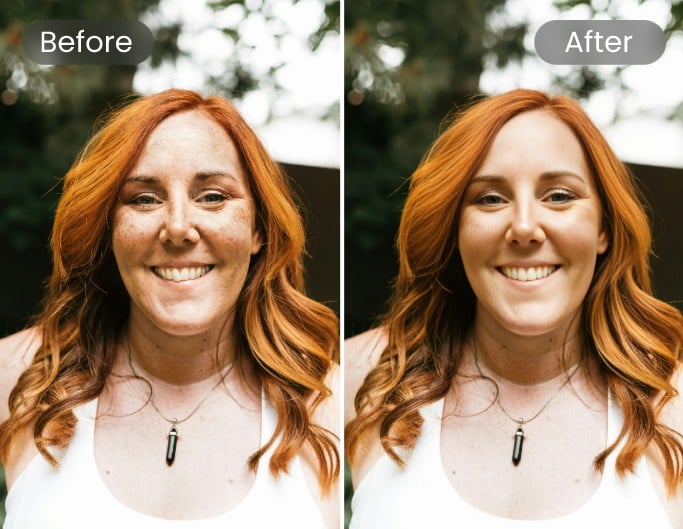
Remove Skin Imperfections from Pictures
Remove blemishes, pimples, wrinkles, scars, and any other skin defects in simple clicks. Plus, with a suite of portrait editing tools, you can fix red eyes, whiten teeth, and even apply digital makeup to elevate your portraits to new heights. Get cleaning pictures now with our face editing tools.
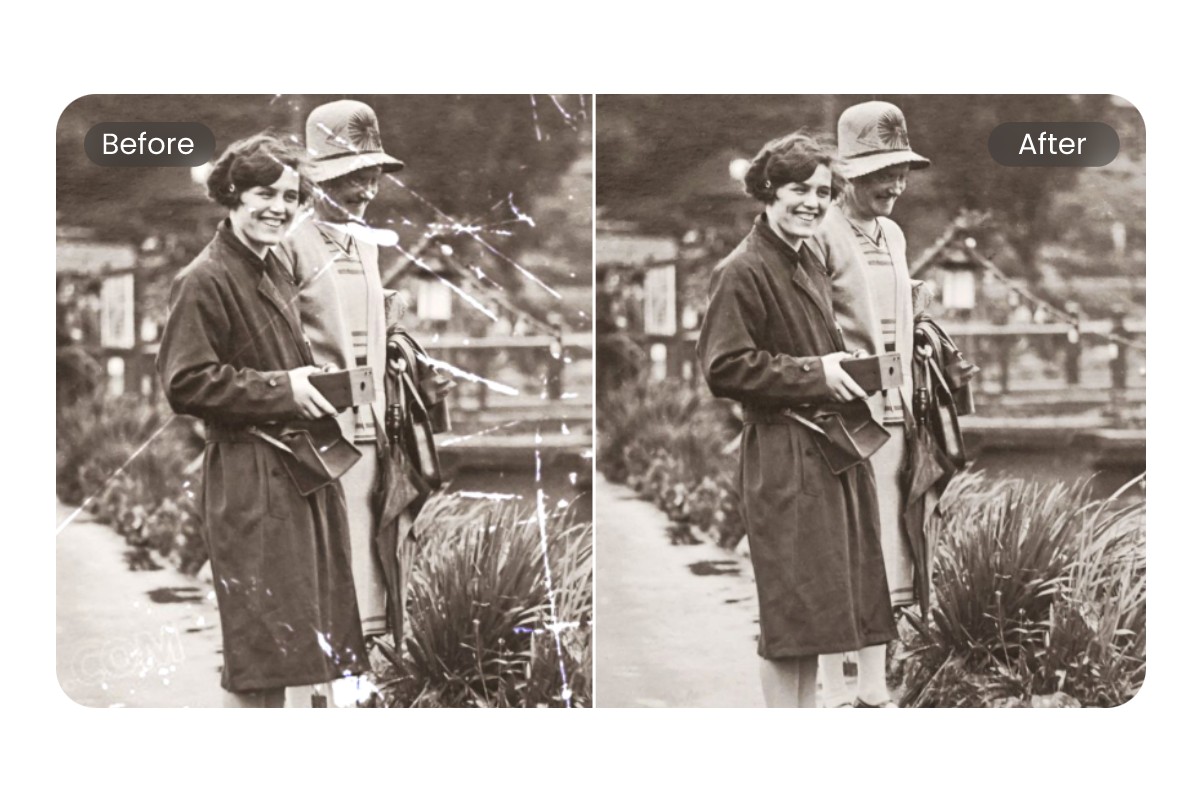
Repair Defects on Old Photos
Don't let time fade your memories. Use our object remover to quickly get rid of scratches, tears, spots, and stains from your treasured old photos to bring them to their former glory. In addition to removing objects from photos, Fotor lets you colorize old photos with a single click. Experience the power of AI and witness how effortlessly you can restore photos online.

Remove Confidential and Sensitive Details
Before sharing photos publicly, use our object remover to erase any sensitive details like street signs, license plates, names, phone numbers, and more to protect your private information. Remove unwanted objects from photos for free online with Fotor to censor images and protect privacy.
High-Quality AI Object Removal with Image Integrity
Our AI object remover from photo tool delivers fast and accurate results while maintaining image integrity. Powered by cutting-edge artificial intelligence technology, Fotor will analyze the textures and patterns surrounding the objects you want to remove, and then recreate the removed area seamlessly using image inpainting techniques. Also, your image will maintain the original clarity and quality after the object removal process. Get flawless results with minimal effort!
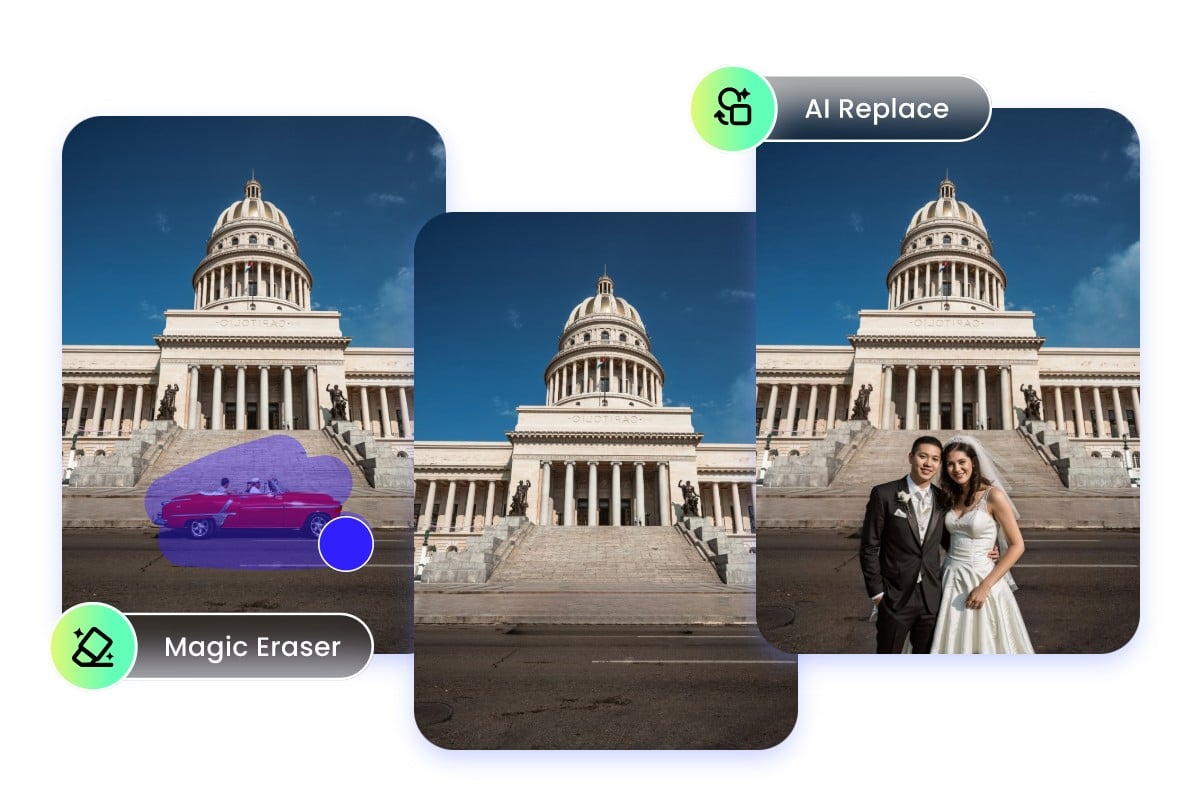
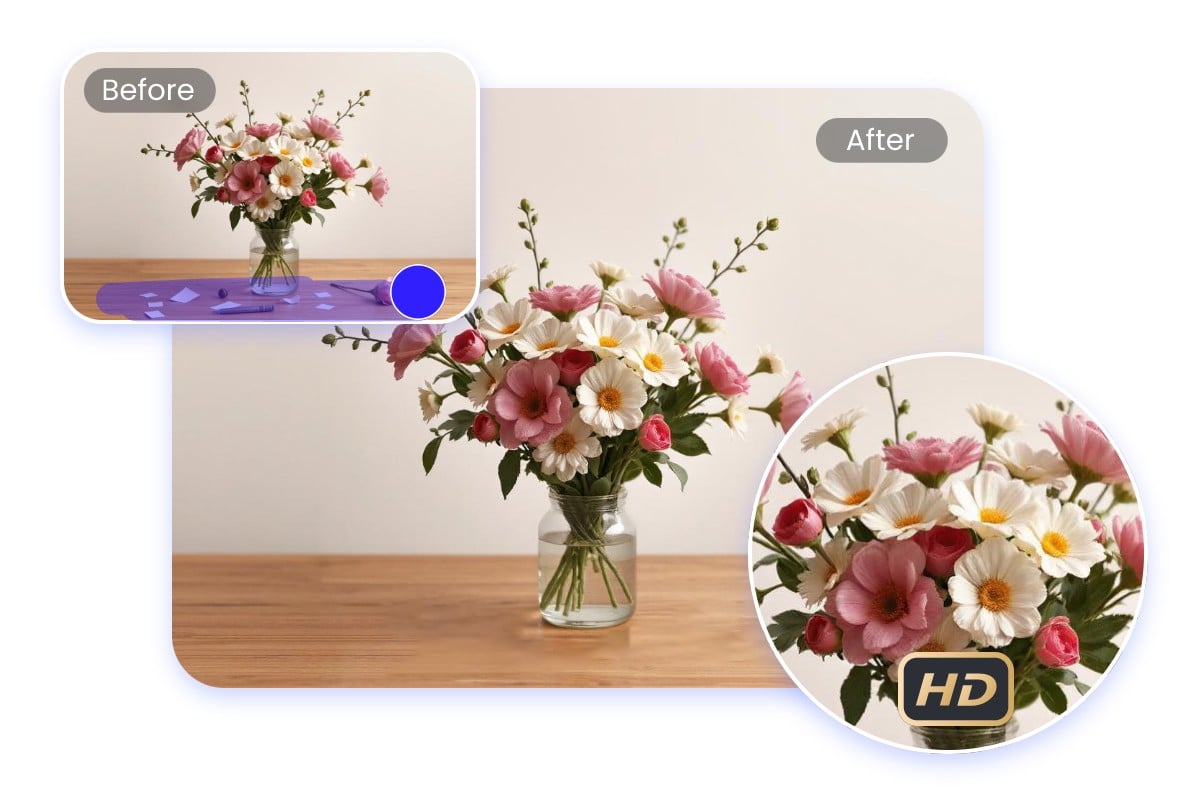
Remove Unwanted Objects with AI Generative Fill
What sets our object remover apart from other tools is its ability to not only remove unwanted objects from photos and videos, but also replace them with whatever you desire. Simply mark the object you wish to remove and enter a short text prompt describing what you would like to replace it with. Our object remover will generate a realistic and precise AI image replacement automatically. Try out Fotor today and experience the next level of generative AI photo editing for yourself.
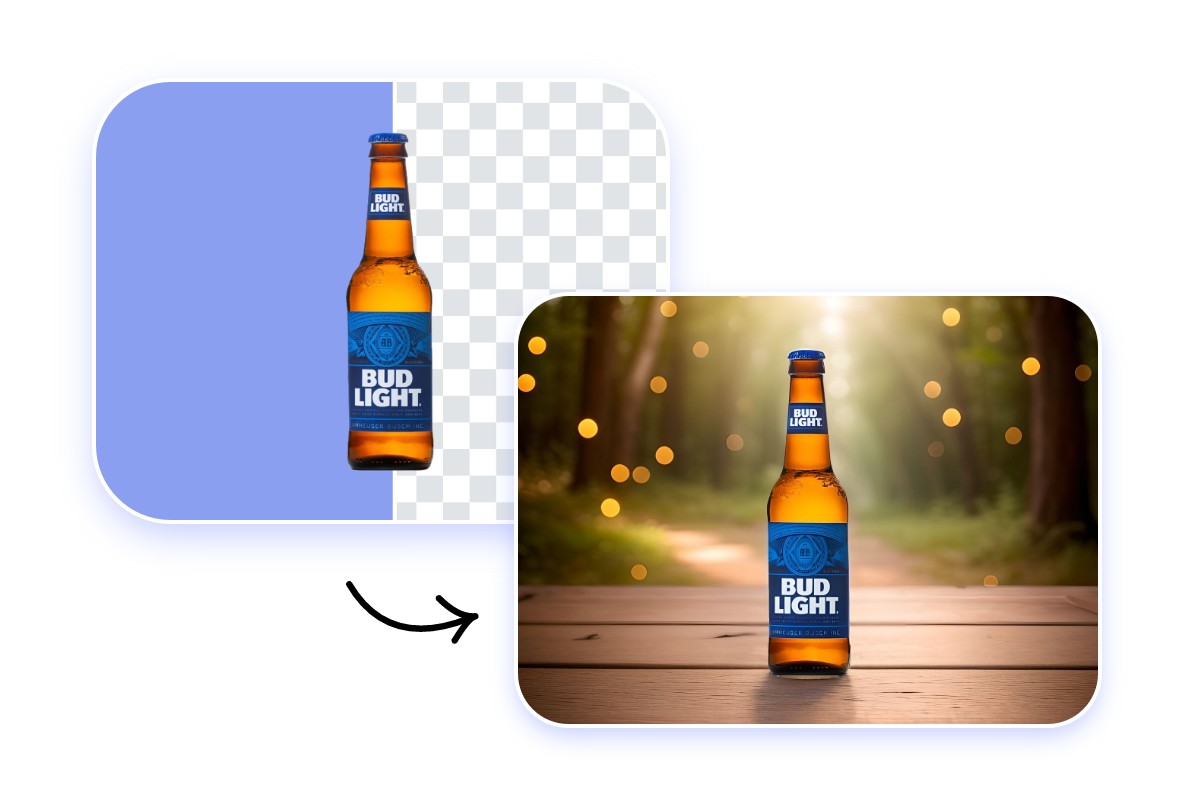
Remove the Clutter in the Background or Change BG
Fotor not only provides an AI photo eraser that features in removing things from pictures, but also enables users to extract the foreground objects from the background, make the BG transparent, and change a new background for the subjects. The background remover and changer tool of our all-in-one photo editor can accurately recognize and differentiate picture subjects from the backdrop, making it easy to erase cluttered scenes in an instant. Remove backgrounds from images effortlessly with Fotor!

AI Magic Photo Eraser App on the Go
Looking for the best AI app for removing objects from photos? Lucky you are. You can not only access Fotor's website to clean up people, text, watermarks and other unwanted objects from pictures online, but also download the image object eraser app of Fotor on iOS and Android systems. It is easy to remove items from pictures beyond the restrictions of time, devices, and operation systems.
Get Rid of Unwanted Items for Any Purpose

Retouch Product Images for e-Commerce
Easily remove distracting elements and add a white background to create a clean and focused look for your product images. Save time editing product images for your online store or social media platforms, and create stunning visuals that attract attention and drive sales.
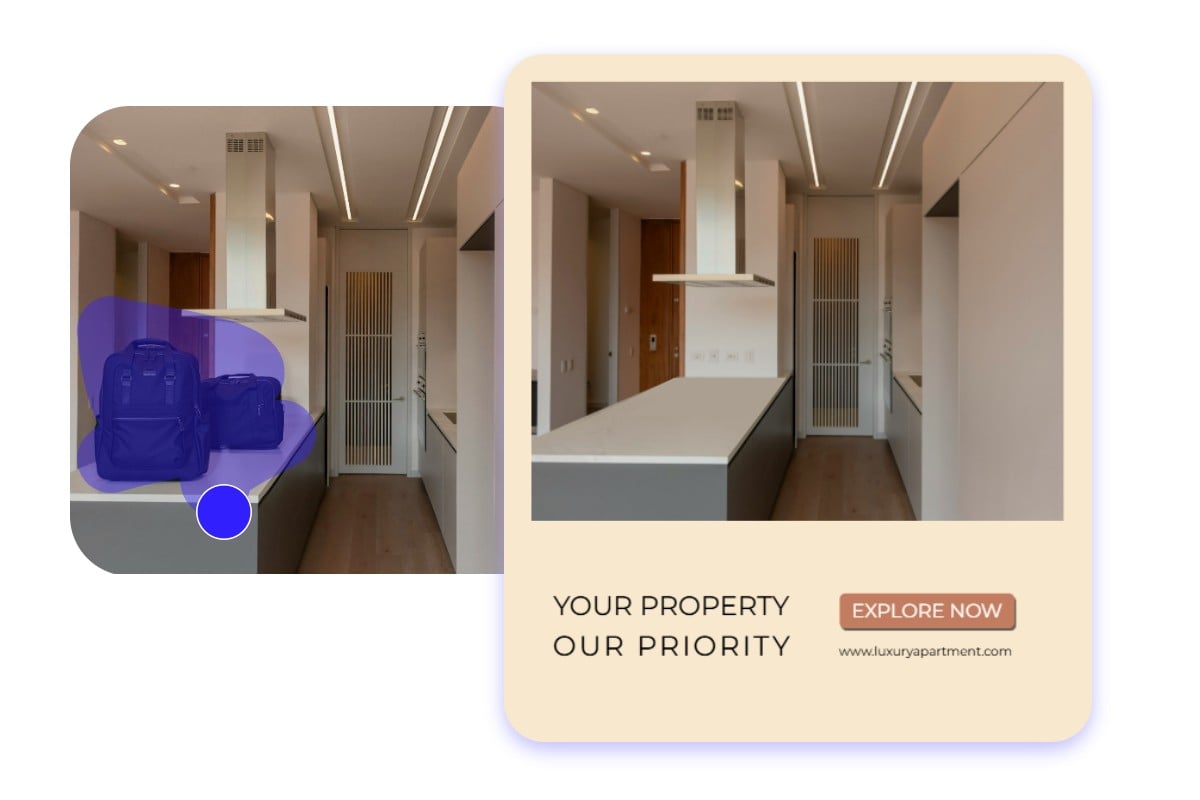
Clean Up Real Estate Imagery
Remove unwanted objects, furniture, trashcans, power lines, or plants to clean up your property photos for real estate marketing. Showcase your properties in the best light to capture attention and attract potential buyers and renters.

Picture Object Remover for Social Media
Troubled by cluttered backgrounds or foreground objects in your images? No worries. With Fotor, you can easily get rid of unwanted stuff in your images. Whether you are an illustrator, designer, or photographer, you can erase unnecessary parts of photos without breaking a sweat.
Discover More Online Tools
Video Object Remover
Erase unnecessary objects from videos with our AI video object remover in a snap.

Photo Editor
Use our all-in-one photo editor to crop unwanted items out of your photos, resize images, change colors, etc.
Portrait Retouch
Remove glasses, wrinkles and blemishes, smooth skin, and more with portrait retouching tools.
Why Choose Fotor to Erase Object From Photo?
![Gradient purple ai icon]()
AI Technology
Instantly erase unwanted objects from photos with cutting-edge AI technology. No manual editing or technical skills are needed at all.
![Gradient purple badge icon]()
Accurate Removal
Our object remover ensures accurate and seamless object removal. Clean up a picture with ease.
![AI Photo Editor App]()
Mobile Friendly
Edit on the go with our free app for iOS and Android. Remove unwanted objects from photos anytime, anywhere.
![Icon for easy to use]()
Easy to Use
This easy object remover takes only three steps to clean up your picture: upload, select, erase, done!
![Fast to use icon]()
Quick Processing
No need to erase unwanted stuff using the Brush and Content-Awarre tools manually, Fotor will give you an instant result.
![Free to use icon]()
Free Download
Our online image object remover is free to use, enabling you to download a clean image without costing a penny.


Review from Trusted Sites

Fotor is a great tool for making quick changes with just a click. Email marketers, bloggers, and social media content creators will appreciate the ease of use when it comes to retouching portraits, removing unwanted objects from a background, and batch editing multiple photos for consistency across platforms.
Fotor’s AI object remover makes it easy to remove unwanted objects from photos, and its online photo background editor allows you to change backgrounds and apply other beautiful scenes.
Fotor finely tunes your images with the help of AI enhancement features and offers users professional results. The AI image enhancement tool is loaded with a wide range of tools like AI enlarger, Magic remove, 1-tap enhance, Background remover, and more. Even beginners can easily navigate through this software, thanks to its user-friendly interface.