Mirror Image Online Free: Flip Photos Vertically or Horizontally
Try Fotor’s online mirror image converter to easily reverse an image or turn a picture upside down with just one click. Fix inverted selfies or create perfect symmetry art in one click. No Photoshop skills required.


Drag image here or click to upload
Drag image here or click to upload


Fotor trusted and loved by
Learn about Fotor's upload formats and requirements. See how we use your content in our Privacy Policy.
What We Have Accomplished

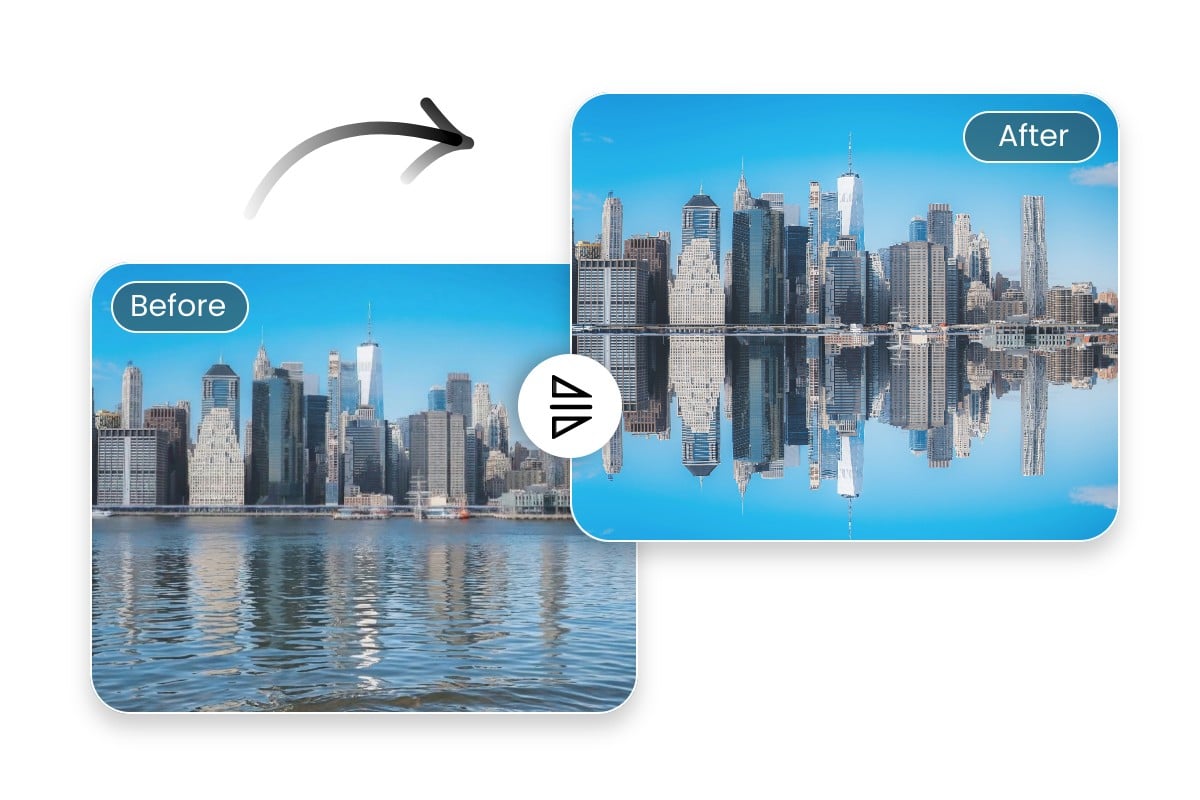
Mirror Images Vertically and Horizontally
Our practical picture mirrorer enables you to flip your photo left-to-right (horizontally) or turn it upside down (vertically) in a flash with just one click. Simply upload your image, go to the “Rotate & Flip” section and then press one of the “arrow flip icons” to apply a vertical or horizontal mirror effect to it. No complex Photoshop skills are needed.

Image Flipper to Fix Inverted Selfies
Restore the natural orientation of your selfies with our photo mirror tool. Selfies taken with front-facing cameras are often mirrored by default, which can make text or a clothes logo appear backward and facial features look slightly unfamiliar. With our image flipper, you can quickly reverse your selfies and correct the directions to make them match how others actually see you.
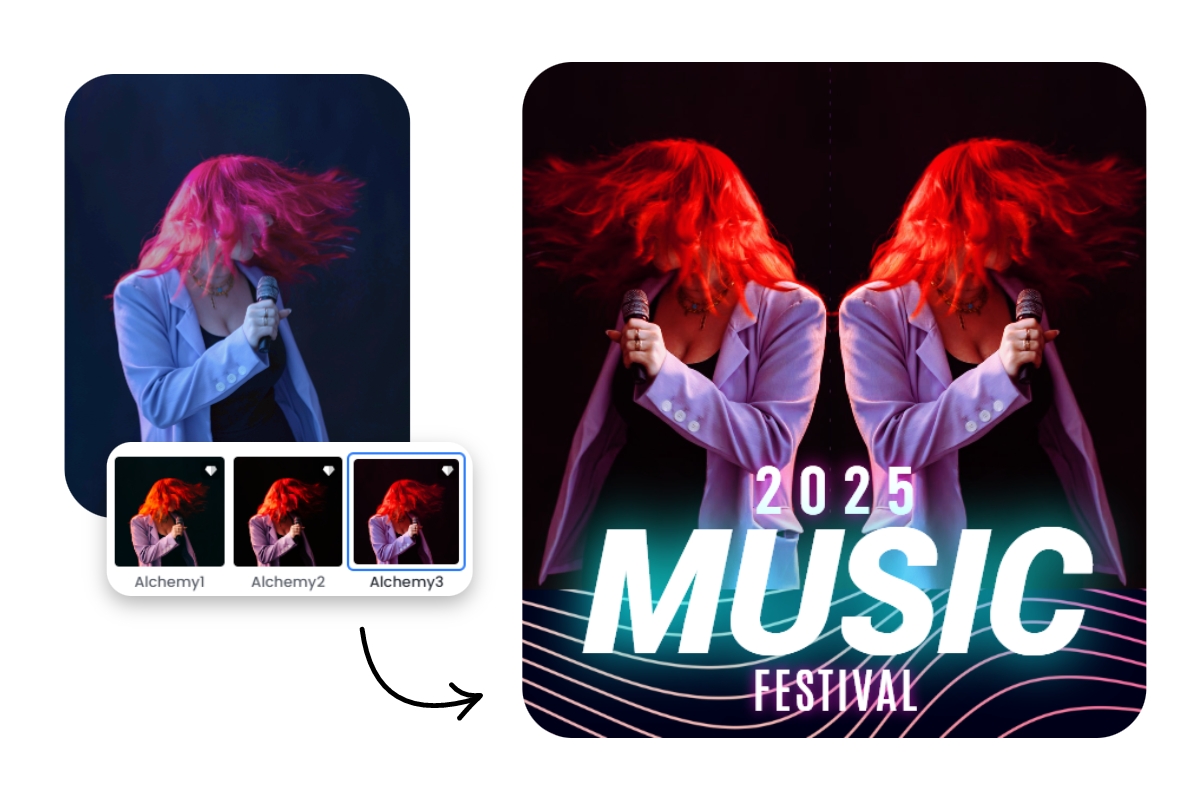
Ideal Mirror Filter to Create Stunning Symmetry Art
Use our mirror image photo editor to generate your own symmetry art. Just flip your portrait photos horizontally or turn your landscape visuals upside down with one click to apply a mirror or reflection effect to them. Then, make a photo collage of both visuals in our photo editor to create one-of-a-kind symmetry art that highlights shapes, patterns and colors in a striking new way.
More Reasons to Mirror Photo
Mirroring an image is a simple yet powerful way to change photo orientation, improve composition and adapt visuals to fit naturally into various creative projects. Try our image mirrorer to enjoy the fastest

Product Listings
Correct the directions of your product images to fix the visual inconsistency in listings.
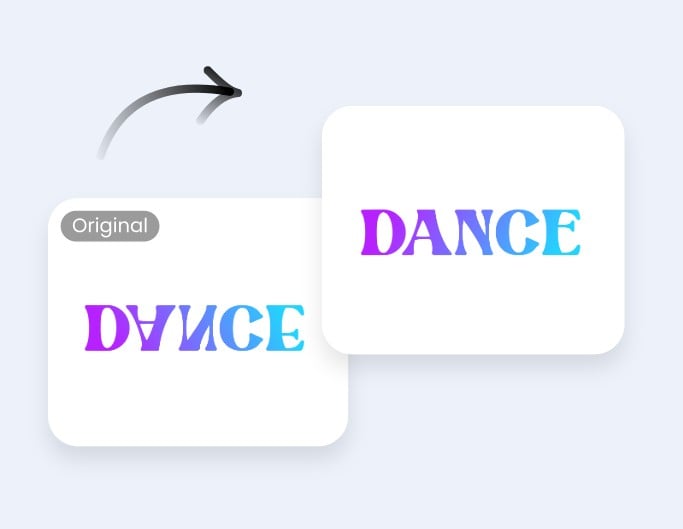
Text Orientation Correction
Change the backward or inverted text in your photo with one click for a better viewing experience.
Creative Design Assets
Conveniently mirror your logos, icons, brand text, etc., and use these reversed images as your special design assets for your poster, banner, business cards and more.
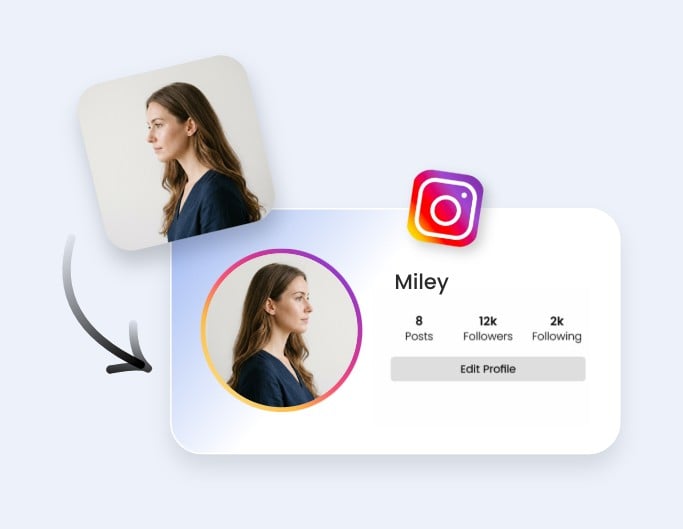
Artistic PFPs
Apply a mirror image effect to your portrait photo and make a unique symmetric profile picture for your social media channels.
Add Personal Touch to Your Mirrored Pictures
More than a mirror image maker, Fotor is also a useful AI photo editor. When you get an HD photo with a mirror view, you can further edit and personalize it without changing to another tool or interface. For example, choose from our diverse photo effects to beautify it, rely on our one-tap enhance tool to correct its color and improve its quality automatically with one click, add an exquisite border to decorate it and crop it to fit the size standard of your social media channel. How to customize the mirrored photo is totally your call.
Why Choose Our Mirror Image Tool?
![Easy to use icon]()
Easy to Use
Our image mirrorer boasts an intuitive interface and is easy to operate. You can get your image flipped horizontally or vertically with just one click. It is suitable for users of all levels.
![One platform editing icon]()
One-Platform Editing
In addition to image mirroring, we provide various editing tools to fine-tune your mirrored picture. Also, you don’t need to switch to another interface to undertake your editing.
![Safe]()
Guaranteed Security
Our picture mirrorer is completely secure. Progressive encryption technology is adopted to safeguard your data and information privacy. Besides, your files won’t be accessed until you sign into your account.
![Mobile app icon]()
Mirror Image App
On top of a web mirrorer, Fotor also appears as a mirror photo app compatible with both Android and iOS devices. Just enjoy convenient image mirroring on the go with Fotor.