Free Online Green Screen Photo Editor
Effortlessly remove and edit green screen backgrounds from your images with a single click.
Seamlessly integrate new backdrops to match any purpose or requirement, enabling swift customization for various occasions and creative needs.
Drag image here or click to upload
Drag image here or click to upload


Fotor trusted and loved by
Learn about Fotor's upload formats and requirements. See how we use your content in our Privacy Policy.
What We Have Accomplished
Powerful AI Technology to Remove Green Screen From Image
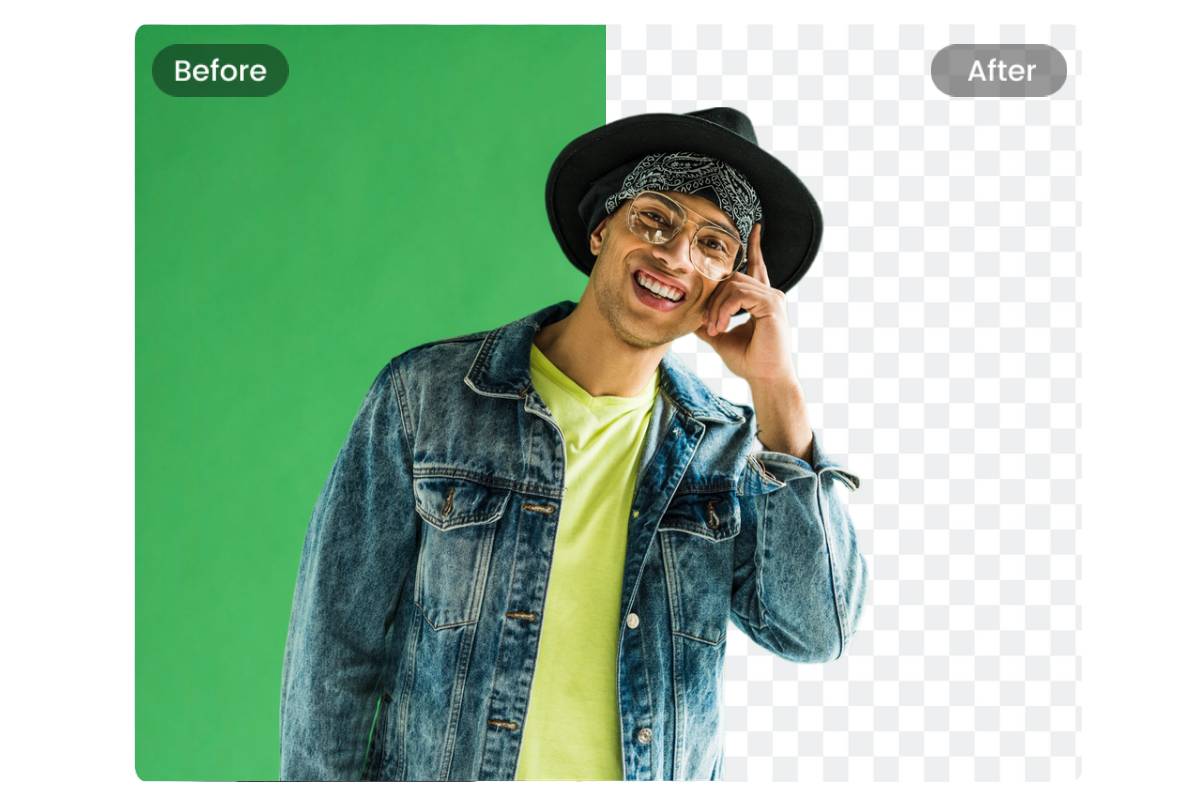
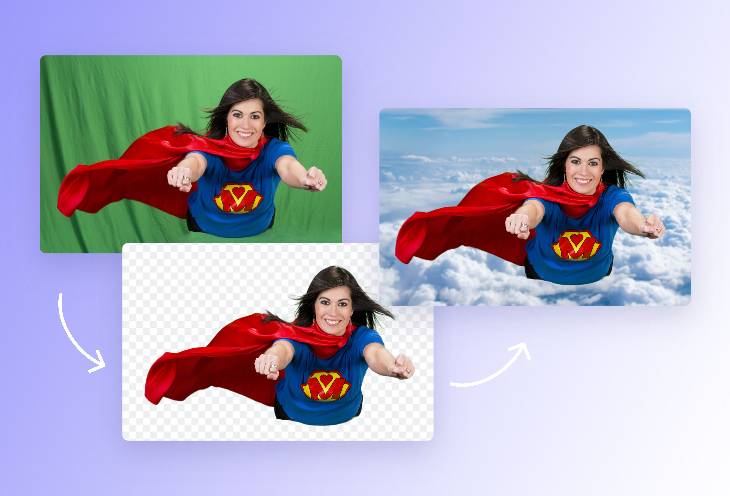
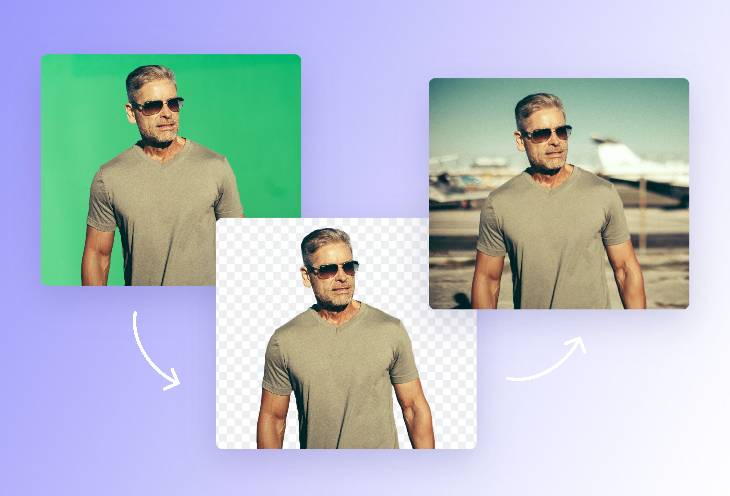
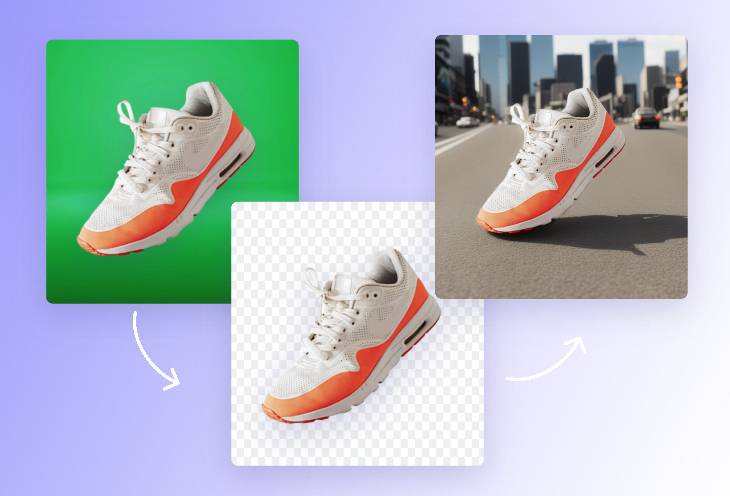
Our green screen photo editor, equipped with state-of-the-art AI technology, can automatically and intelligently detect the subject from an image, and extract it perfectly. Besides, our advanced spill suppression and edge refining features will ensure a smooth cutout without distracting green-glow edges. So, you can instantly remove green screen from image with one click.
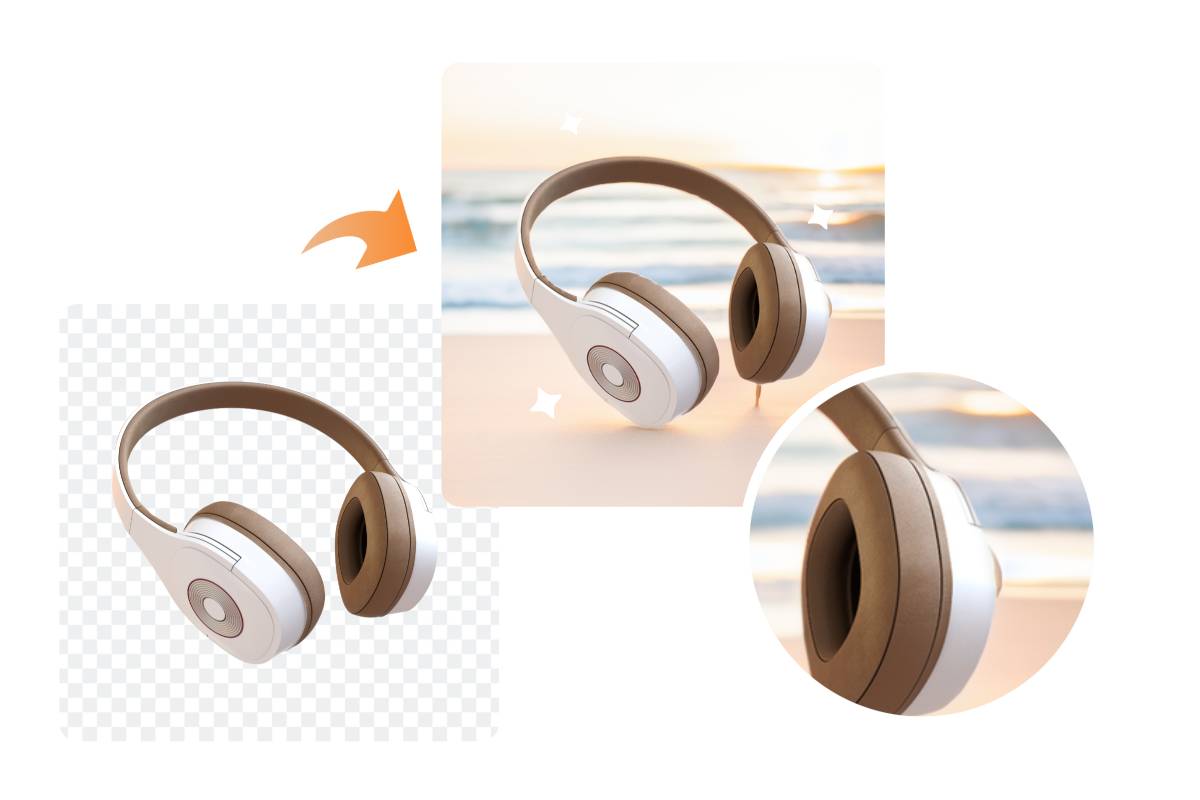
Effortlessly Replace Green Screens for a New Background
No need for chroma key anymore. Our green screen photo editor lets you remove photo background in one tap and allows you to change to a new background with a solid color. the preset backgrounds for different occasions or a custom background with your photos. Every detail and texture in the image will be preserved to maintain consistent character across all scenes.
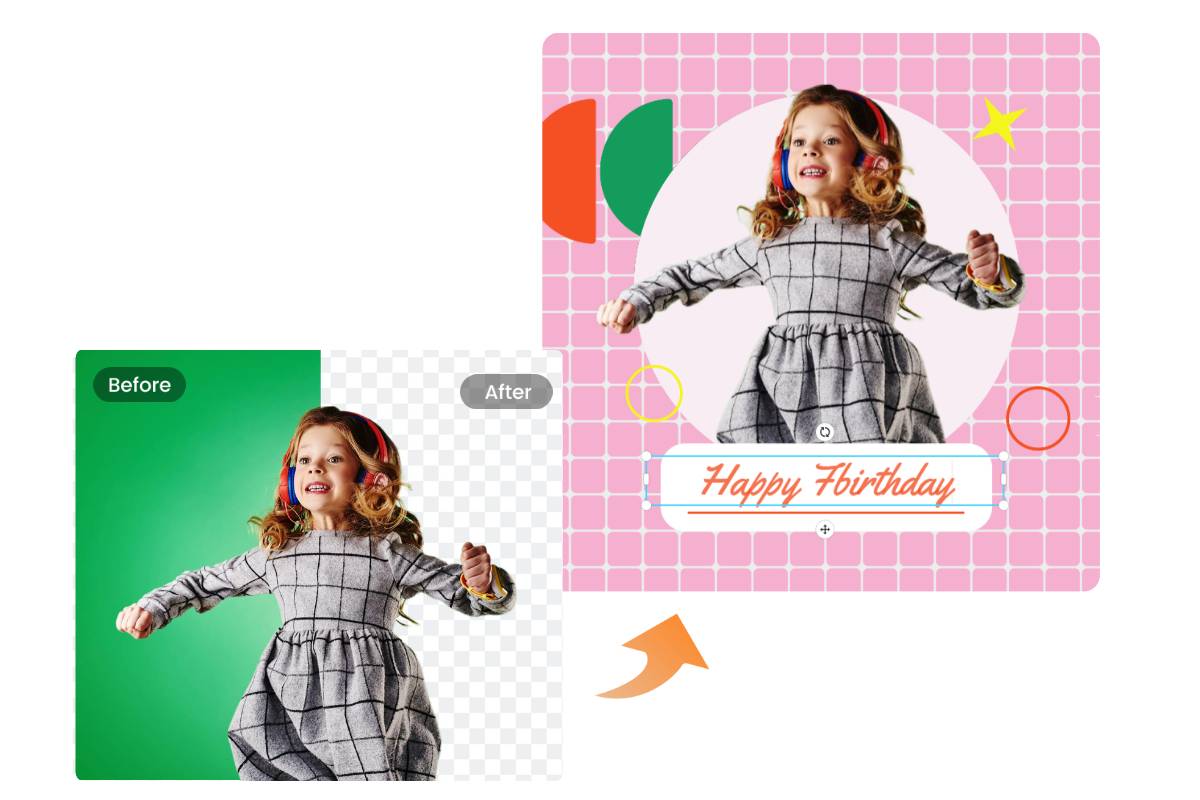
Freely Edit Green Screen Image to Create Stunning Designs
Fotor provides a wide range of AI and design tools, helping you to add personal and artistic touches to your photos. After removing the green screen, you can create a unique AI background for your transparent image. Then, add text and stickers, or apply aesthetic photo filters, etc., in our photo editor to maximize your graphic designs.
Online Green Screen Image Editor For Every Need
Whether you’re editing ID photos, social media thumbnails, cosplay pictures, TV/movie posters, or e-commerce product photos, our free online green screen image editor can assist you in removing the green screen from image and adding a new background or other design elements.
Cosplay Photography
Change the background of the cosplay photo and create a virtual backdrop to match the theme.
TV/Movie Poster
Make a custom background and design a visually stunning TV/movie poster to attract more audience.
E-commerce Product Imagery
Create virtual backgrounds to display your products and promote your brand awareness.
Why Choose Fotor's Green Screen Photo Editor?
![All in one AI editing tools]()
AI Background Removal
No manual edits needed, it offers an automatic and seamless background erase.
![Background library icon]()
Extensive Background Library
Explore a wide collection of preset background images. Add background to photos easily.
![High quality icon]()
High Quality Export
Our green screen photo editor delivers a crisp and HD output quality for every image.