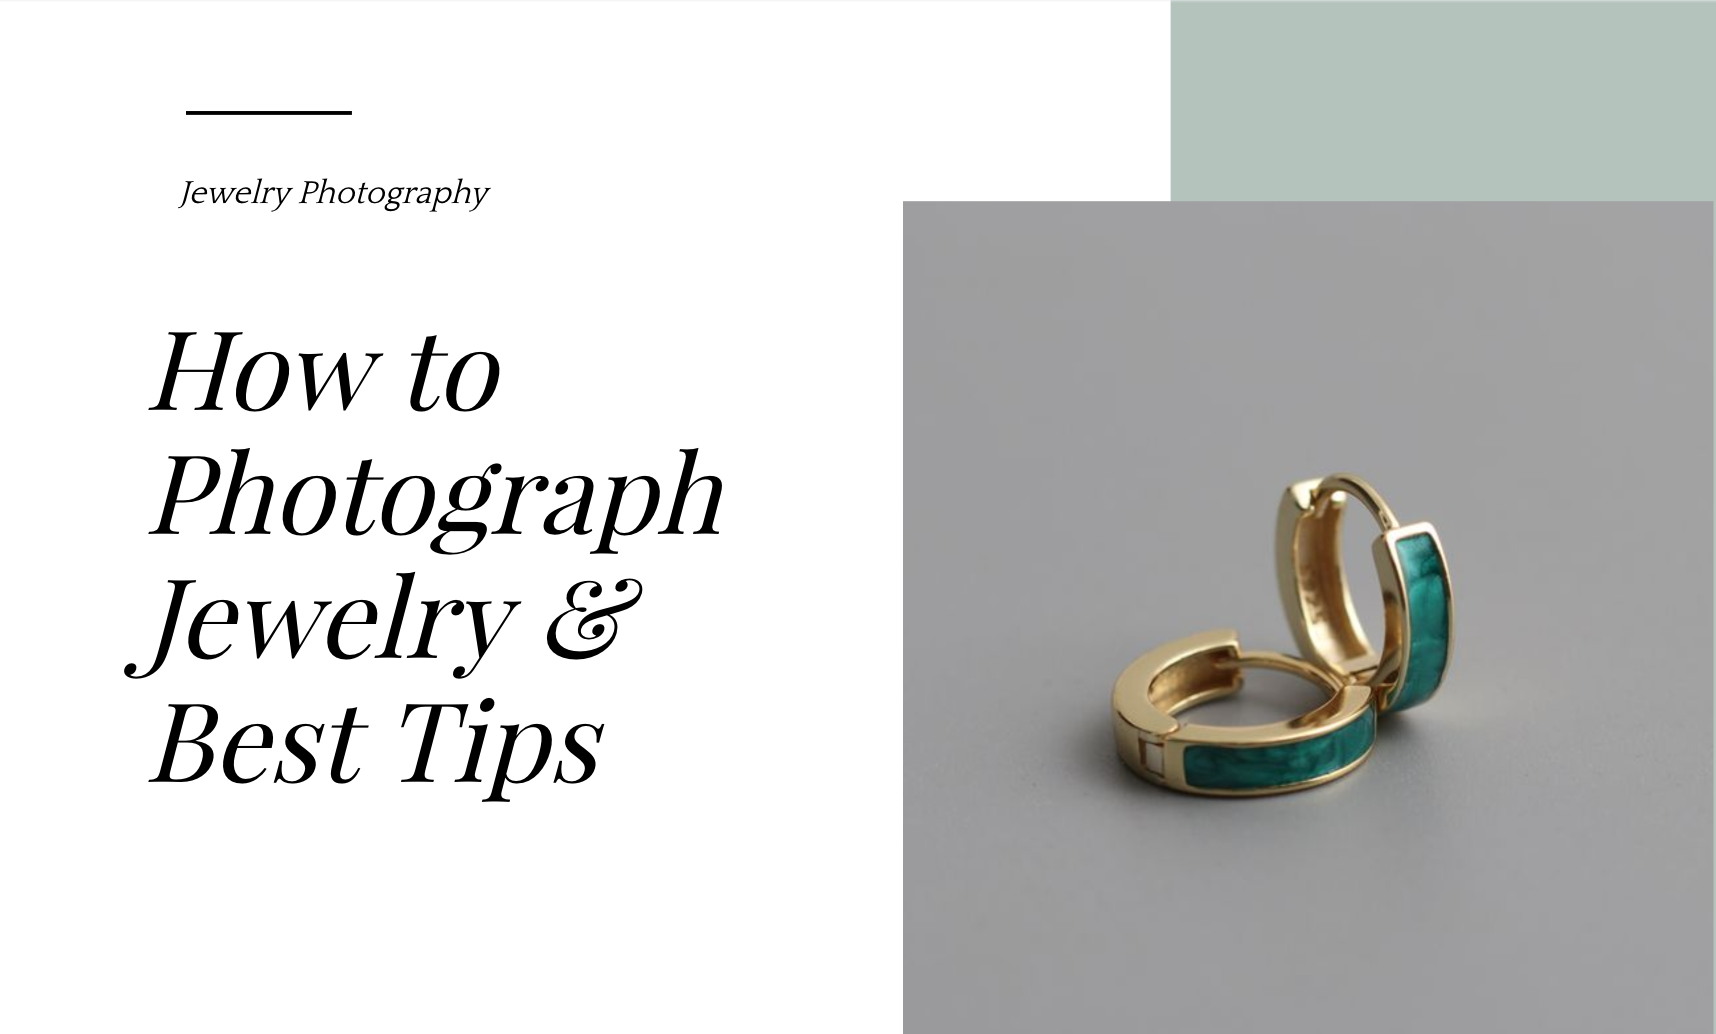
Jewelry Photography: How to Photograph Jewelry & Best Tips
Summary: This article is mainly talk about how to take stunning jewelry photographs that will wow your audience. Get the best tips and tricks on how to choose the right background, angles, and lighting for each piece.
Jewelry photography is a specialized field that requires a keen eye for detail and the right set of tools. With the right knowledge, you can create stunning photographs of jewelry pieces that will draw in customers and showcase the beauty of your products.
In this article, we'll discuss some tips on how to photograph jewelry, including how to photograph jewelry, the best backgrounds for jewelry photography, and other useful tips. We'll also discuss some of the most important factors to consider when photographing jewelry so you can create stunning images that will captivate viewers and draw in potential customers. Please read on to explore more about jewelry photo.
How to Photograph Jeweler?
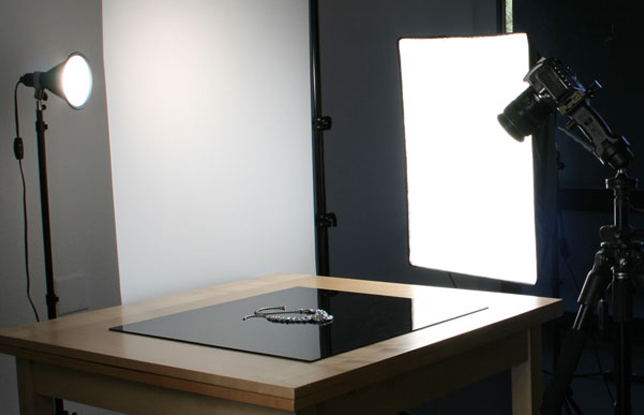
Before you officially get into the shoot, you need to do some preparation. You don't have to buy high-end equipment to take great jewelry photos. With a few essentials, you can create your own photography package and take beautiful pictures of your products. A camera, tripod, table, foam board and clamps are very important to help you be more comfortable with the photo taking process.
Once you've got your tools, it's time to create some photographic wonders. Here are the steps you should take when photographing jewelry
Put Your Table in the Right Place
If you need natural light, it's best to place your table next to a window with good natural light by placing your table at a 90-degree angle to the left or right of the window. If artificial light is needed, then place the table in a dark room so that outdoor light does not interfere too much with your artificial light.
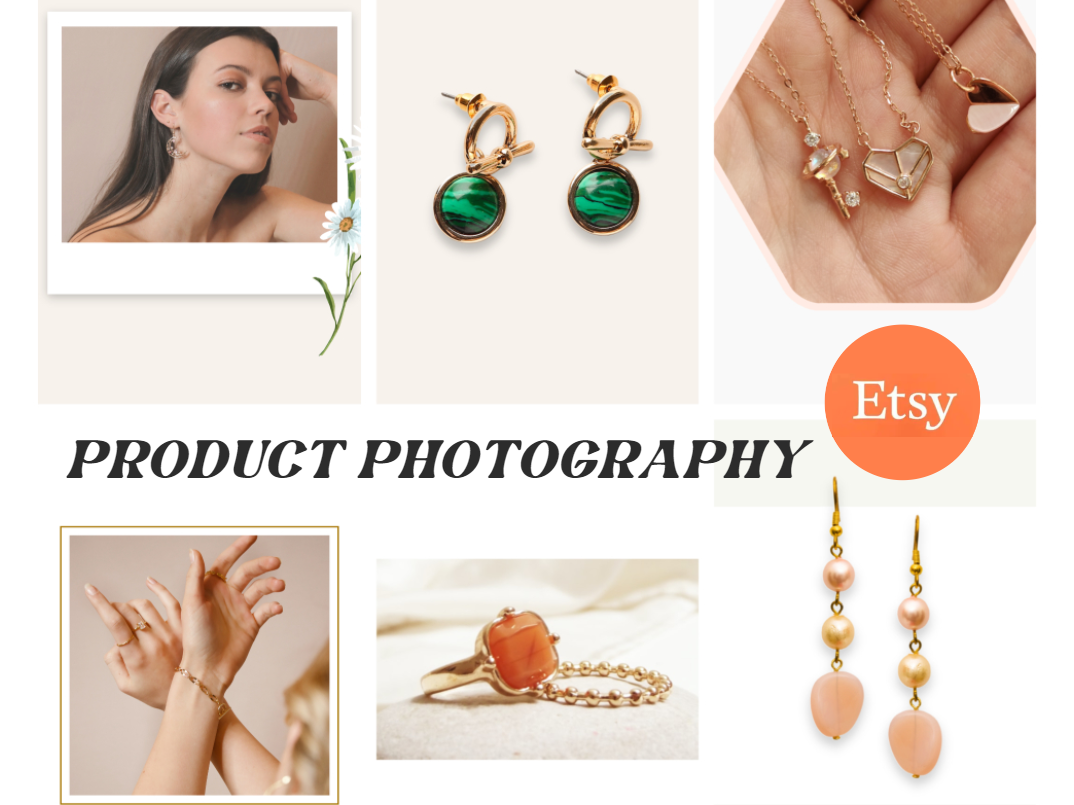
Styling Your Jewelry
If this is your first foray into jewelry product photography, then it's okay to stick with a white background. But know that you have complete freedom to experiment with creating striking images, and you can put your jewelry pieces on a variety of props to experiment with. Styling will depend on how you want to present your items. While there are several ways to do this, it's best to start simple and then create and test different styles over time.
Prepare Your Jewelry
Make sure to clean and polish your jewelry before you start shooting. Shooting with the proper lighting settings and level of detail with a digital SLR camera makes this necessary. Wipe down your jewelry every time you hold it. And after you wipe it down, place it in the center of a flat area of the sweeping surface. You can also leave some space to sneak your white reflector in later.
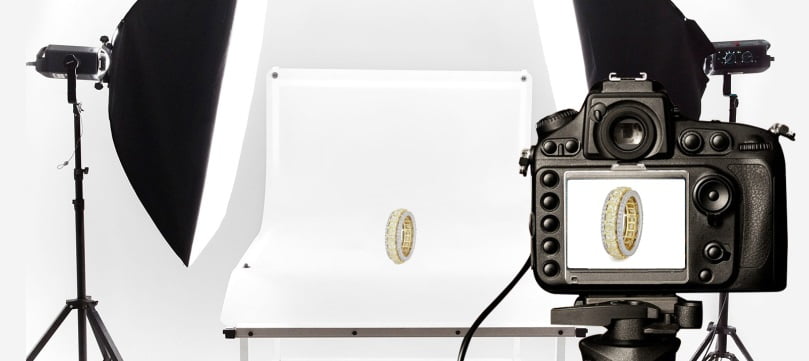
Set Up Your Camera
Your camera settings will have a huge impact on how your final photos turn out. You want to have at least one photo that is fully focused on the entire piece, not just one part. A high aperture and low ISO will help ensure that your photos are sharp and detailed so they can see exactly what they're getting.
Take the Photo
When you're ready to take a photo, keep your camera's position in mind. Keep it at an angle, pointing down at your jewelry. Be sure that all light sources are set to the same power level and that the frame is completely filled with light, otherwise you may have uneven highlights.
Retouching and Finalizing
Retouching is an important step that can give your final image extra oomph. If you're not familiar with photo editing, you may want to hire a professional, which can cost a lot of money. Here we recommend using an online image editing tool like Fotor, which has plenty of free resources to help you and offers a simple interface that is good for newbies.
Jewelry Photography Tips
Take photos with a consistent style. Establish some core guidelines for all your photos - and then stick to them. Keep track of things like your lighting, backgrounds, equipment placement, and camera settings. Experiment a lot with your pre-shoot, find the style that works best for you, and then execute it to reinforce your brand image. The more consistent your photos are, the easier it will be for customers to understand what your brand is all about, while your website will look cleaner and more professional.
Consider the percentage of props. Jewelry shoots are inherently creative to showcase jewelry, and if you use too many props in your jewelry photography, your visitors are likely to be distracted or even confused. This will take the shine off your work, especially if your props "take over" your jewelry.
Keep the background simple. Many videographers choose vibrant, rich backgrounds to accentuate the opulence of their jewelry, but this will only distract from your product and make it harder for your viewers to notice the details of the jewelry itself. The best approach is to use a plain white or black background. Not only is this visually best, but it's also easier for you to work with.
Backgrounds for Jeweler Photography
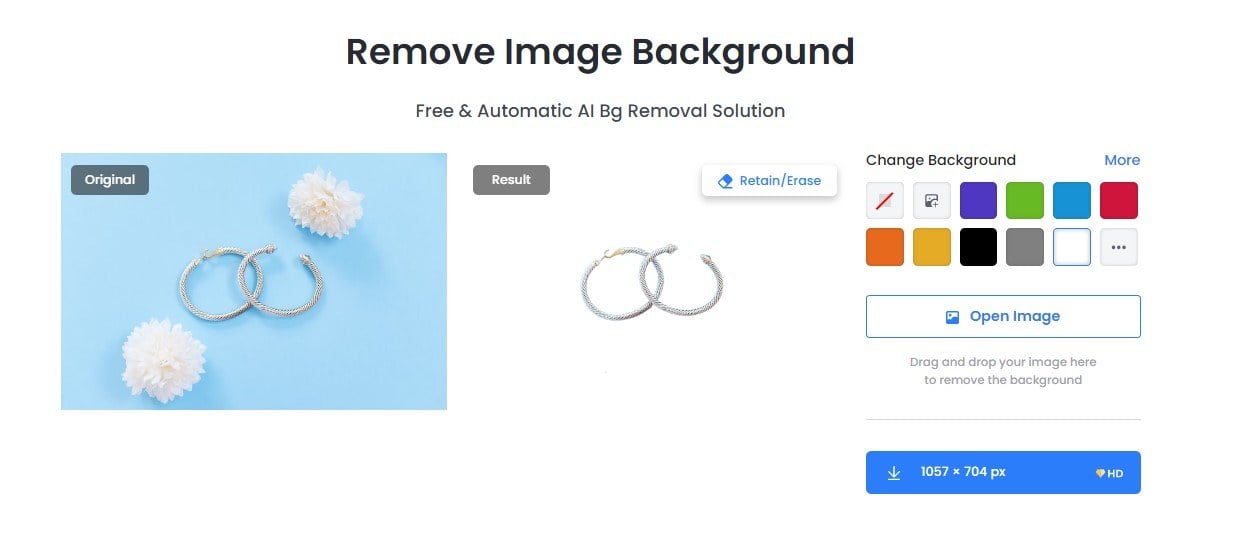
For jewelry photos that only need a solid color background to be displayed, we have a better solution here. You no longer need to spend a lot of time and effort to take a jewelry photo with a simple background, just seek the help of an online background remover to do it. Here, we recommend Fotor's online free background remover.
Powerful AI-driven editing tools like background remover, AI enlarger, object remover, one-tab skin retouch, AI art effects, etc.
Over 100,000+ ready-to-use templates and creative content for graphic design and photo collages.
Millions of HD stock photos for personal and commercial use.
Fotor's photo editing tools bring added value to our amazing AI technology. You can remove background or change the background of a photo in an instant. Fotor can automatically detect the subject from any photo at once and remove the bg in a smooth cut without any manual work. The ability to easily handle the complex edges of jewelry in seconds saves you time and effort. Then choose a different color background or you can upload the background you want so you can get a professional jewelry photo in minutes.
Here are the detailed steps on how to change the background of your photo with Fotor's background remover:
- Open Fotor’s online background remover. Upload jewelry image or drag and drop image to start remove background.
- Automatically remove bg in sn instant.
- Choose one background you like on left toolbar or upload your background image to canvas, adjust the size, position and other parameter of the jewelry photography to suit your taste.
- Save and download your jewelry image in suitable format.
Conclusion
Jewelry photography is an art form that requires a special set of skills and techniques. If you want to take beautiful photos of jewelry, you need to understand the basics of light, composition, and backgrounds.
In this article, we’ll discuss how to photograph jewelry effectively. We’ll look at tips for lighting, choosing the right backgrounds, and framing your shots. We’ll also provide some useful advice on how to use background remover to change the jewelry photography backgrounds. Hope this post will be helpful to you.