


Add Signature to Photo Online
Turn your handwritten signature into digital and add it to photo with Fotor’s photo editor in seconds.
Upload a signature to try it for yourself. Fast, simple and free!


Create Digital Signature for Different Usages
Why not try to use a digital signature instead of handwritten signature photos? Digital signature photos are more suitable for all kinds of document photos because of the transparent background.
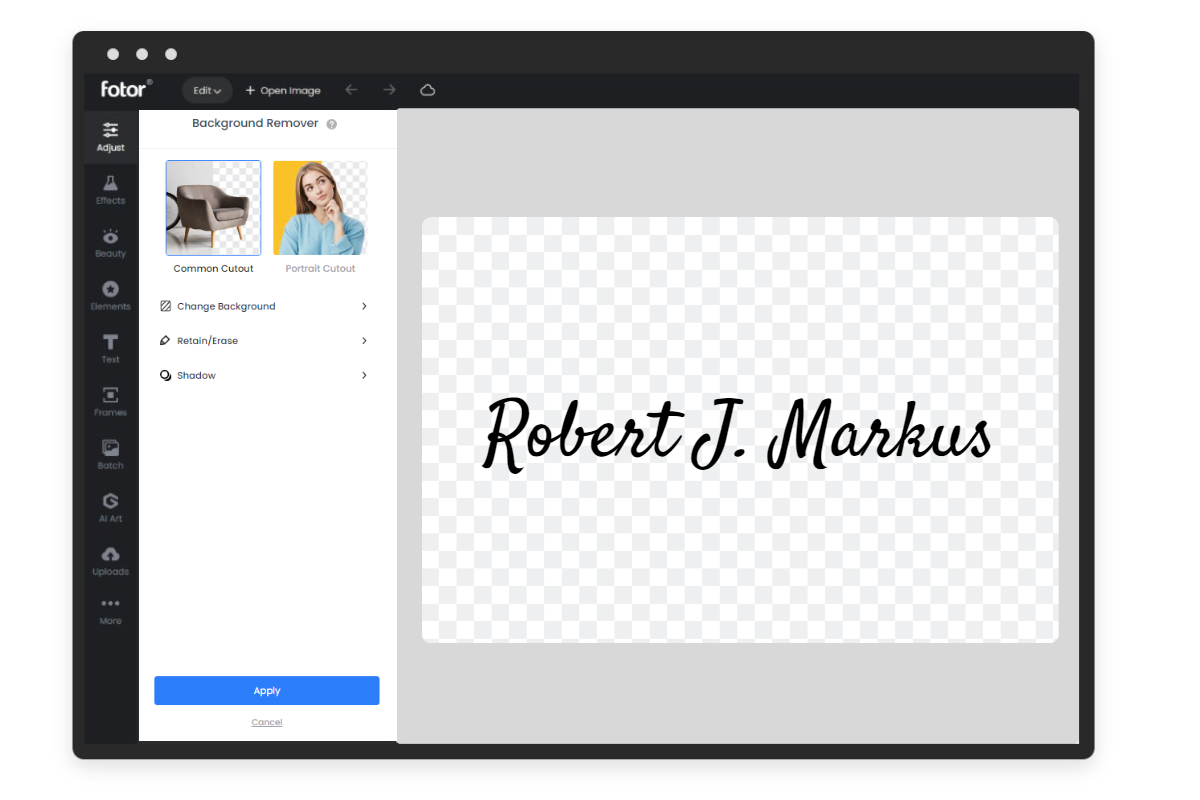
Fotor’s background remover can smoothly remove signature background into transparent in one click without any hassle. Try now to get your first digital signature.

Add Signature to Photo Easily
Powered by AI, Fotor can accurately identify your signature and extract a clean cut from the image, no matter how complex your signature may be.
Once you've finished making transparent background signatures, you can add them directly to your photos. Fotor's simple interface and newbie-friendly background remover allow you to add signage to photos without learning. Just upload or drag your photo to a layer of the canvas, place the signature in the right place, adjust the size and angle, and you will have perfect signage on the photo.

Download Your PNG Signature for Any Occasion
Not only can you create a signature photo in transparent PNG that can be used on a variety of background colors without looking out of place. You can also download it in PNG format to sign PDF documents, online forms, or even award certificates. Fotor's background remover will make your job and life easier!

More Than Just Add Signature to Image
Fotor is much more than just removing signage on pictures. You can use Fotor to make your work easier by creating professional and standard signature documents. The transparent background signature photo can be perfectly adapted to different backgrounds of documents or files.
Not only that, Fotor also supports adding signatures to images on mobile, which is as easy and convenient as online editing and you can get your signage photo anytime and anywhere.
How to Add Signature to Photo?
- Click “Add Signature to Photo” button to get started.
- Upload or drag and drop your signature image to canvas, and Fotor will automatically remove the background from signature in quick seconds.
- Download your transparent PNG signature image in high resolution file. Now you can freely add signature to any photo.