Watermark Maker Online for Free
Protect your work by creating and adding watermark to photos in the watermark maker from Fotor. Get free access to make custom watermark for photos, suitable and easy for all, including beginners!

Start with Various Watermark Styles That We Offer
There is a variety of watermark styles in Fotor’s online watermark creator, where you can easily find your wanted watermark. From the logo watermark to the custom watermark with signatures, our watermark maker covers them all!
Logo Watermark
Our watermark maker allows you to upload your logo to watermark photos for free. You can use our inbuilt transparent image maker to create transparent logo watermark for photos.
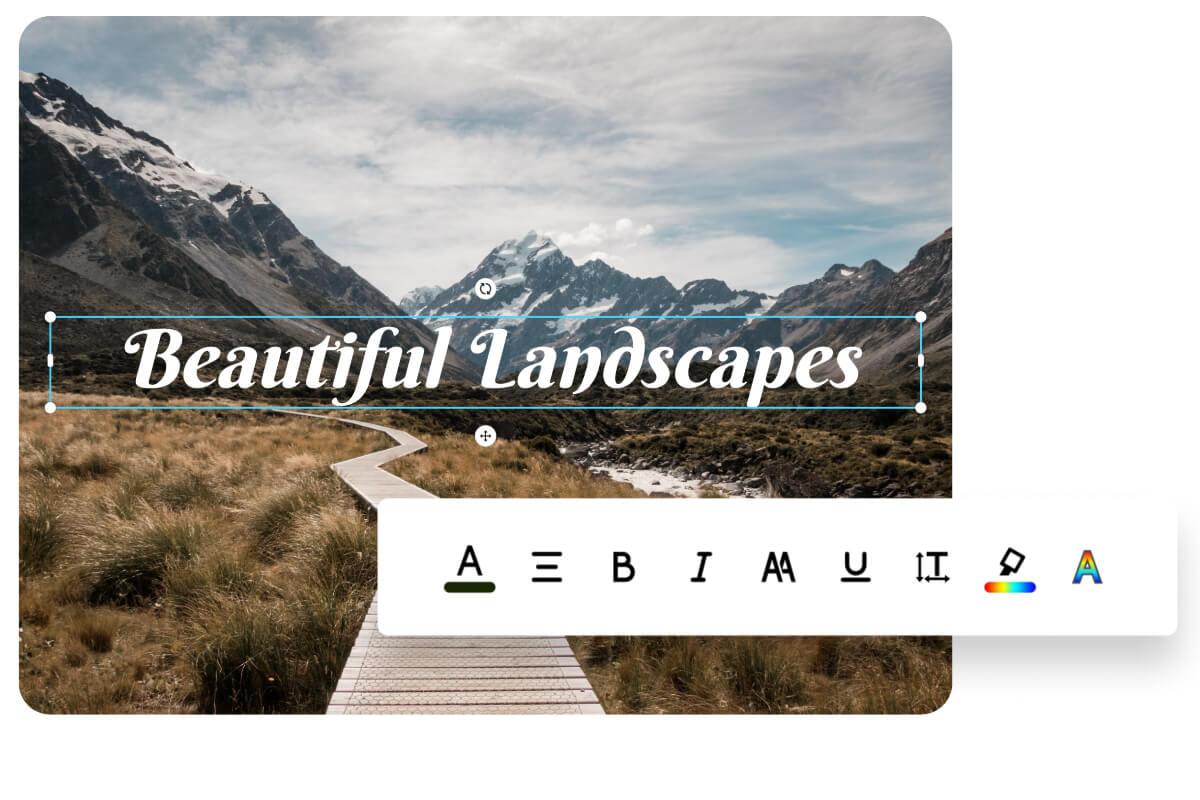
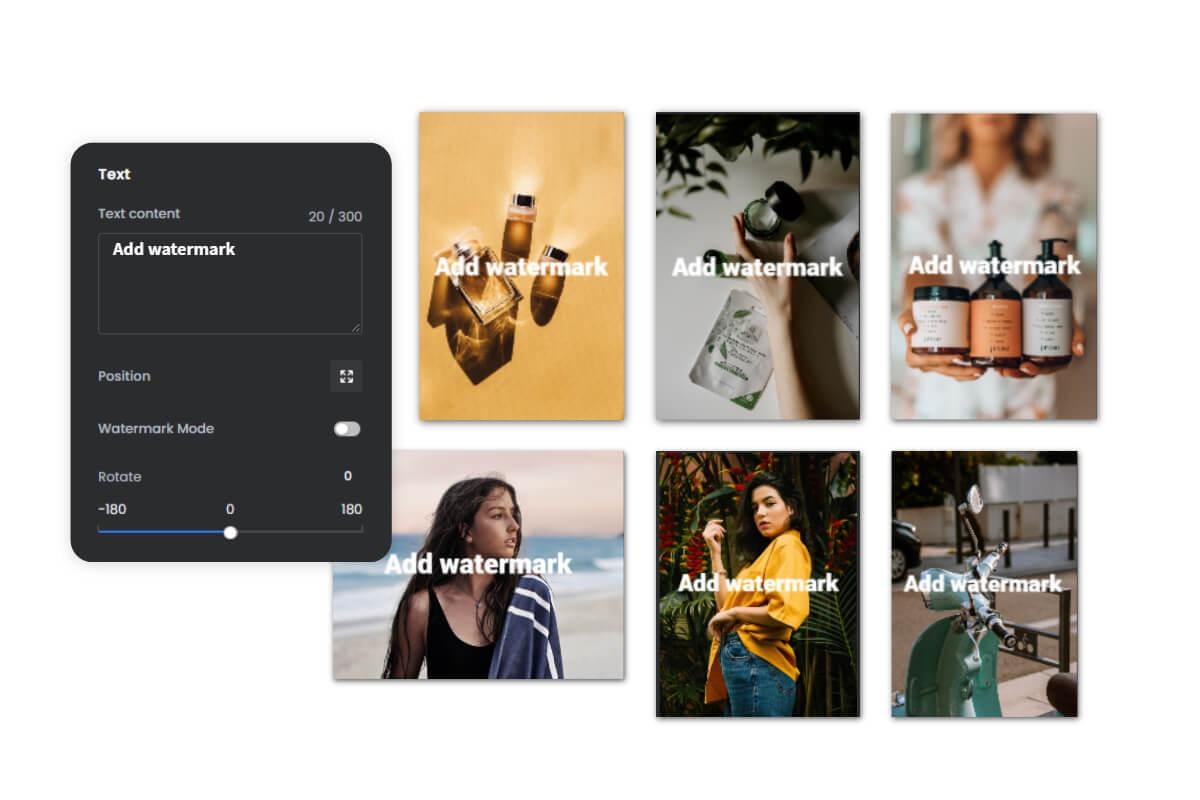
Text Watermark
You can add custom text as the watermarks for photos and other files in our watermark creator. You can adjust text watermark font, color, size, and transparency as needed.
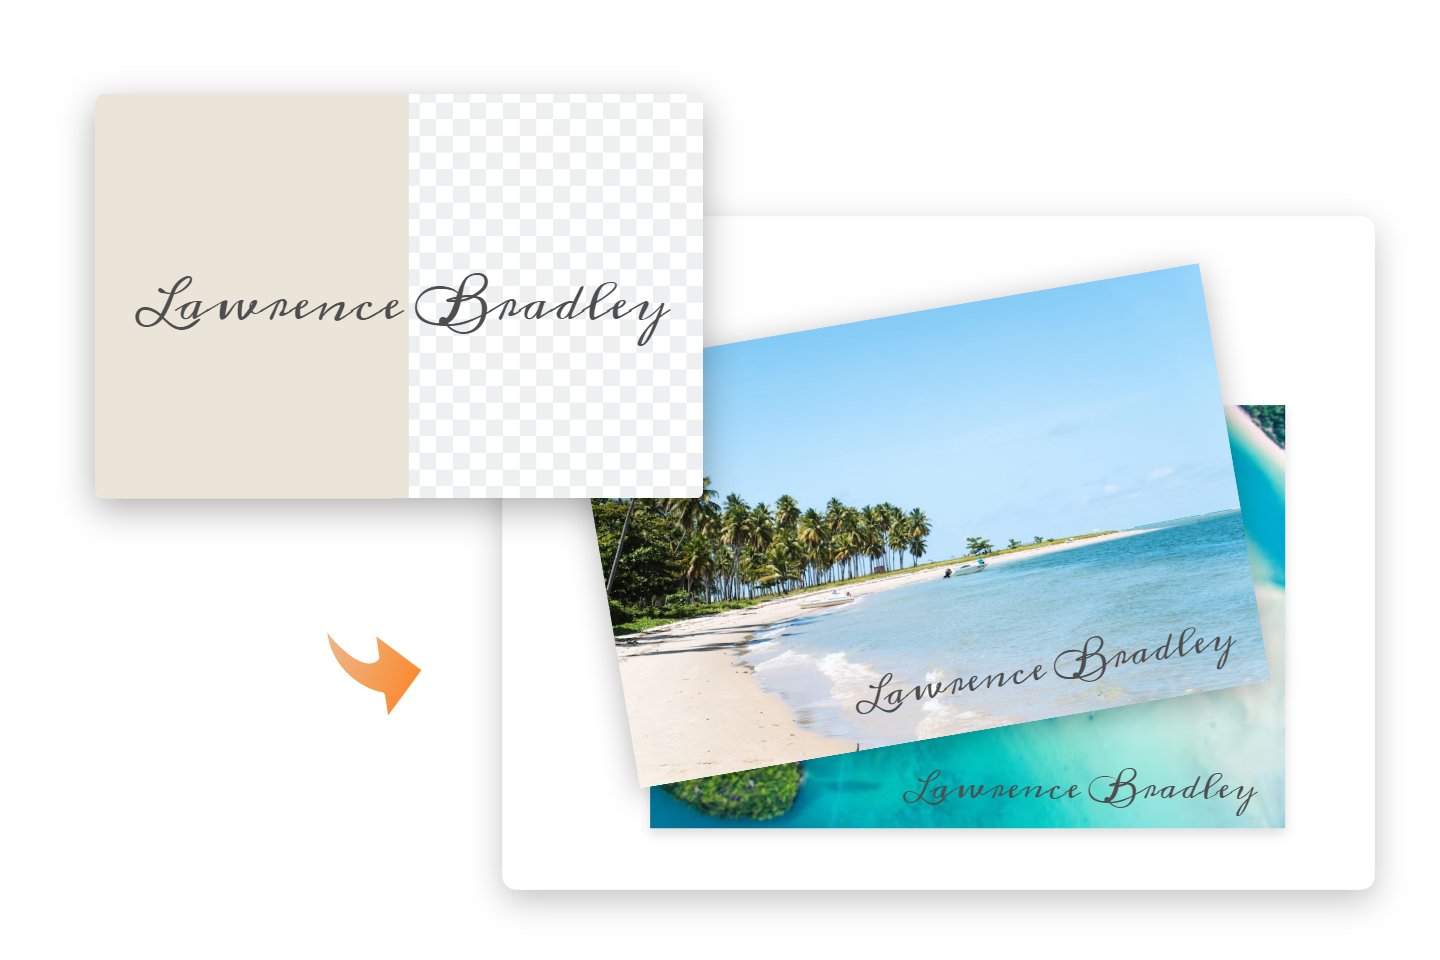
Signature Watermark
One of our prominent features is that you can use your handwritten signature as the watermarks for pictures to enhance file identity and recognition. You can remove background from sigature in our watermark maker and use it as the watermarks.
Easy-to-use Watermark Maker
Fotor's watermark creator is the ideal solution if you want to make a watermark online. With a friendly drag-and-drop tool and various resources, it helps you watermark images and protect your copyrights. Watermarking pictures has never been easier with Fotor.
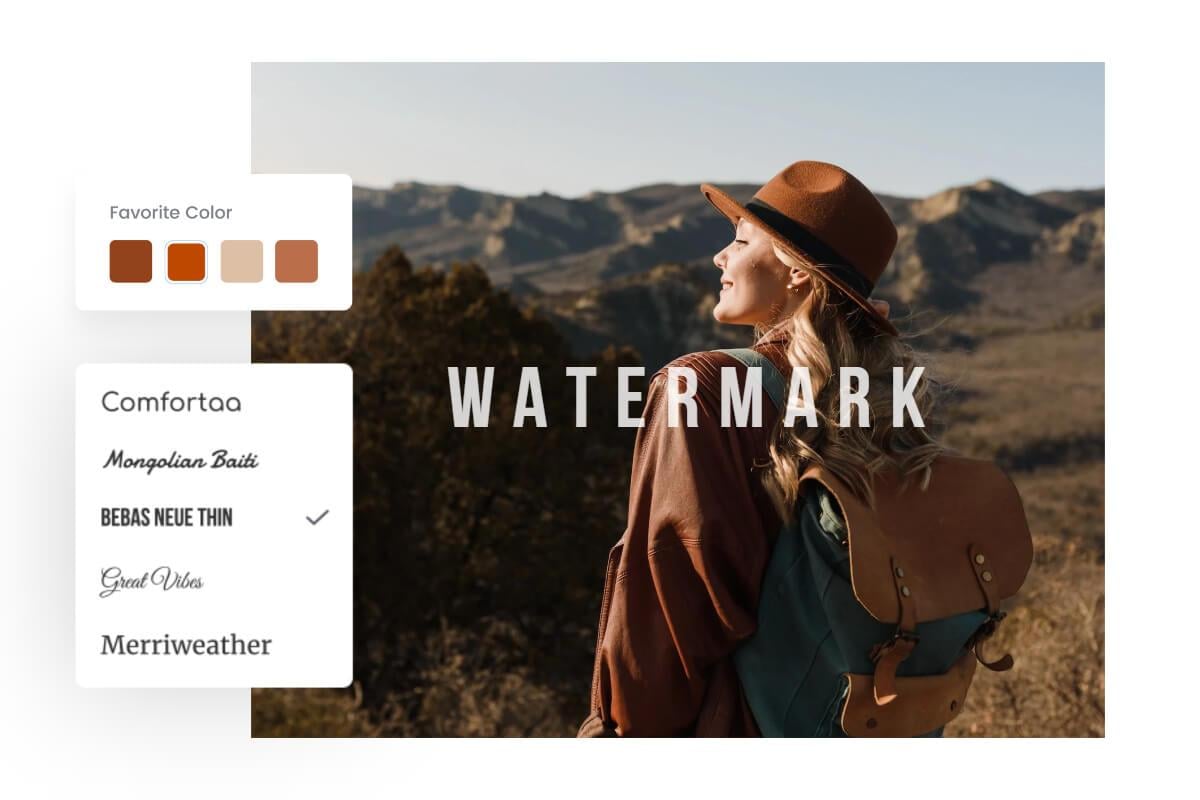
Have Customizations in Online Watermark Creator
Create fully personalized custom watermarks in Fotor's watermark maker. Choose from hundreds of fancy fonts and styles, input the words, and change the text color and transparency. Then you can get a unique watermark for photos and videos. Plus, you can upload your transparent logo PNG to watermark photos!
Create Watermarks for Multiple Images at Once
Fotor's watermark generator allows you to add watermarks to multiple photos at once. Upload all your images to our batch watermark maker, and you can make, edit, and add watermarks for photos in batches with ease. With Fotor, you can quickly watermark multiple images.

Create Watermarks with Fotor's Watermark App
Use Fotor's watermark app to make a watermark at any time and anywhere. It is available for both iOS and Android devices. Free and easy to use. Best of all, there are a lot of photo editing features in the app, such as colorizing photos, merging images, changing hair color, and drawing on images. Download the Fotor app to take it a try.
Why Need Our Watermark Maker?
Watermarking photos is widely used in life. Whether you're the operator of an e-commerce website, the owner of a stock picture website, or a personal user, putting watermarks on photos is an effective way to protect your rights and express your personality.
Brand Awareness
Create a logo watermark to promote your brand and increase brand awareness. Most used in the product pictures.
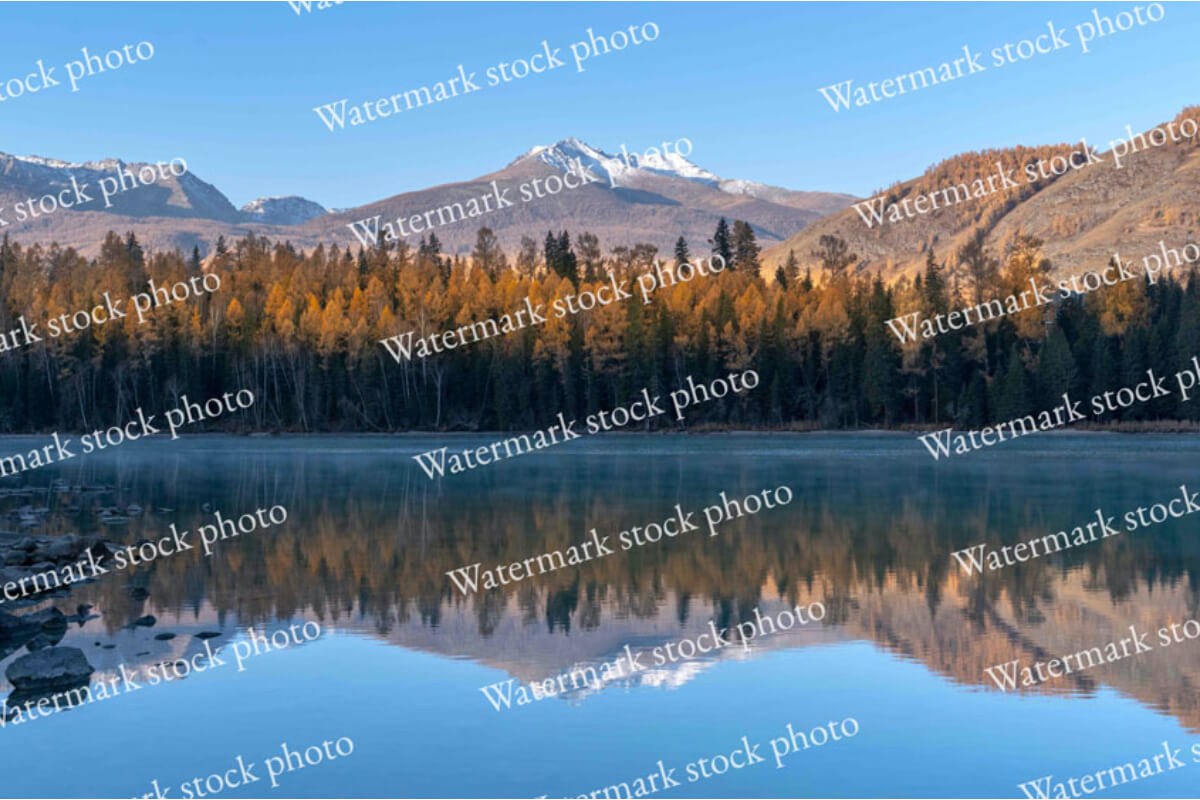
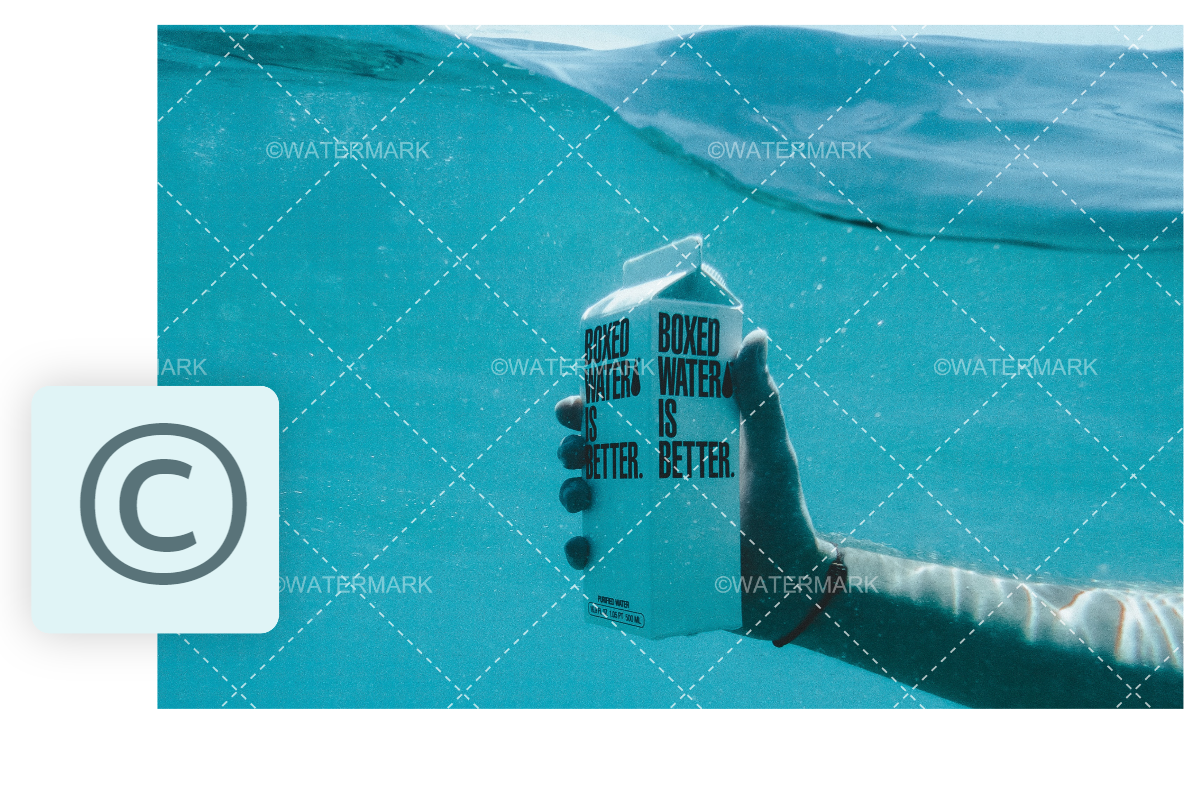
Copyright Identification
The watermark on stock photos can identify the copyright and insure it not be theft and forgery.

Protection of Personal Files
A visual watermark on image embodies personal ownership and a strong personal design style.
How to Watermark Photos with Fotor's Watermark Maker?
- Click the "Create Watermark Now" button on this page, and click the "Batch Editor" in the right corner to open our batch photo editor.
- Upload the picture by clicking "Open Image" or dragging and dropping it into the editing area.
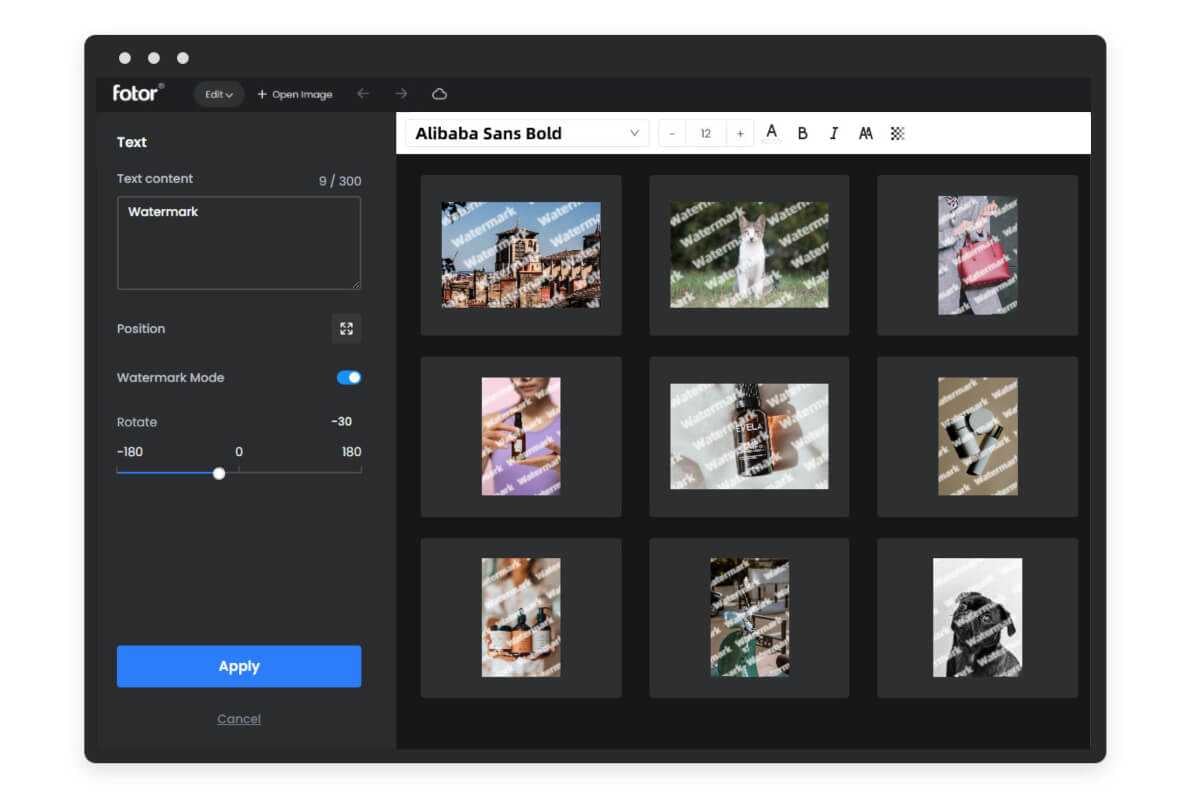
- Click "Text" on the left toolbar to open our watermark creator.
- Input the words you want to add, change the text size and fonts, and change the position of it by clicking the position button.
- Open the "Watermark Mode" button to add multi-text to the picture.
- When you are satisfied with your watermarked image, click the "Download" button to save your photos.