Free AI Photo Editor Online
Fotor's free AI photo editor makes complex image editing simple and fast. Remove backgrounds, erase unwanted objects, improve photo quality, and create new content with AI. No tools to learn, no skills required. Upload your image now, let AI handle the heavy lifting, and get professional results in seconds.

This site is protected by reCAPTCHA and the Google Privacy Policy and Terms of Service apply.
Fotor AI Automatic Photo Editor in Numbers
![AI photo editing tools]()
Pro results. Zero effort.
Skip complex Photoshop steps. Click, and AI handles the edit automatically.
![Advanced AI models]()
30+ AI tools. Every edit covered.
Enhance, retouch, remove backgrounds, and restore images in one place.
![Prompt based AI photo editing]()
Smarter AI for every task.
Each AI tool fits a specific need, delivering better results faster.

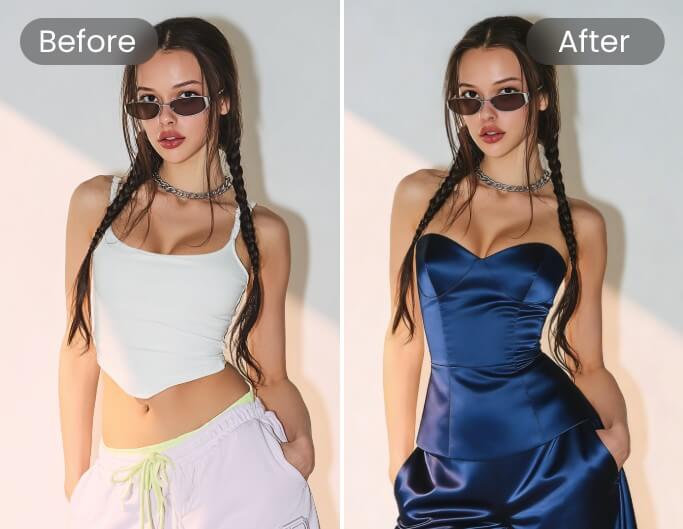
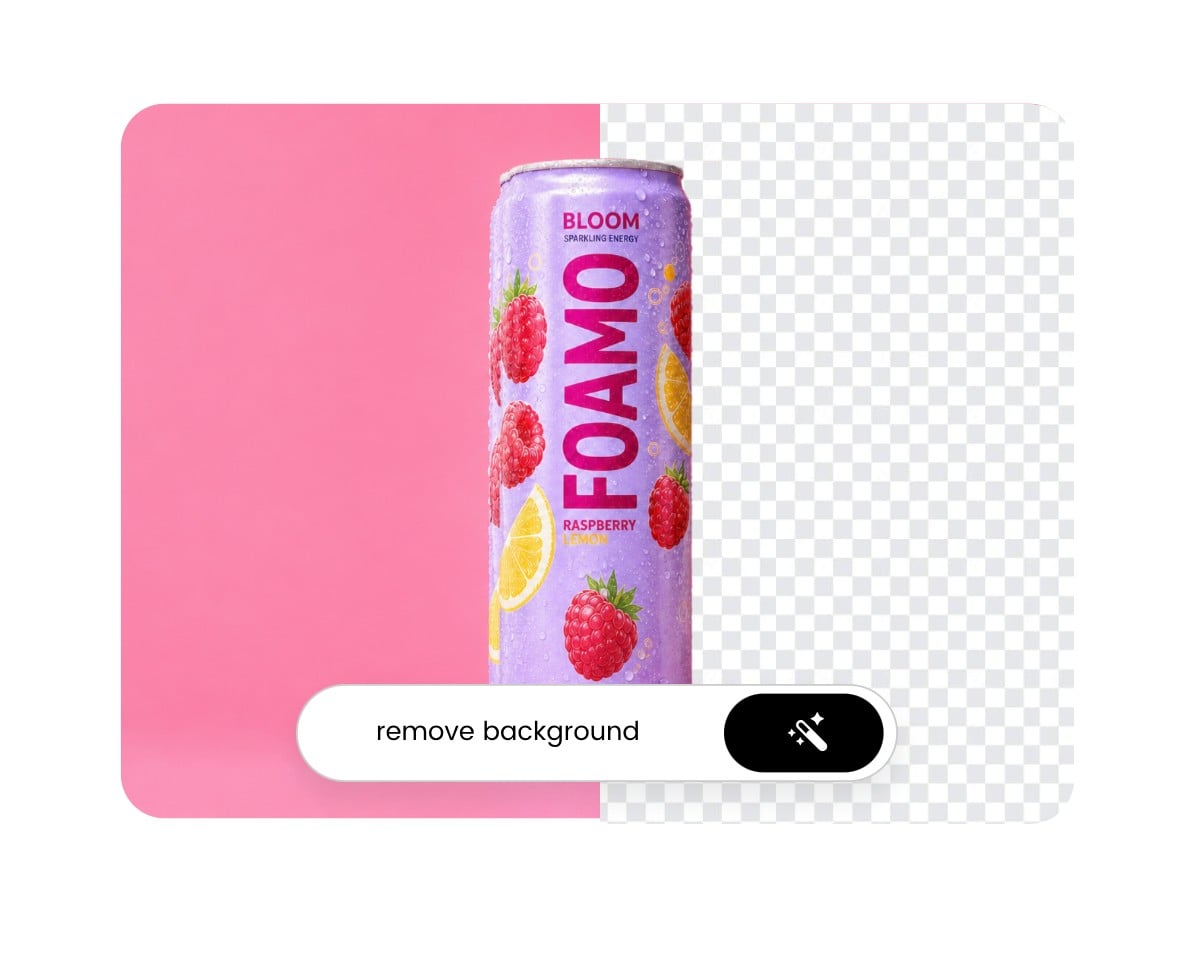
Remove, Replace, and Retouch — without Touching the Rest
Why should advanced photo edits require complicated software or hours of manual work? Fotor’s AI photo editor makes editing easy for everyone. Select an area, click, and get precise, natural-looking results in seconds. Remove unwanted objects, replace elements, change backgrounds, or add new content while keeping the rest of your image untouched. Whether you’re editing portraits, product photos, logos, or social media visuals, Fotor helps you create professional-looking edits without the hassle.
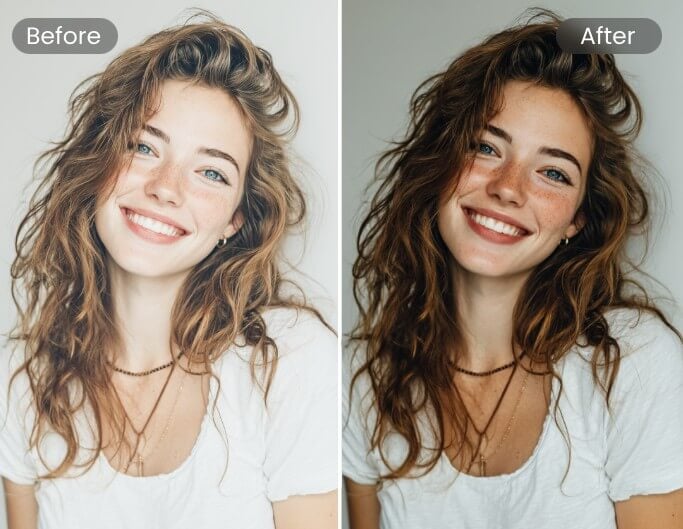
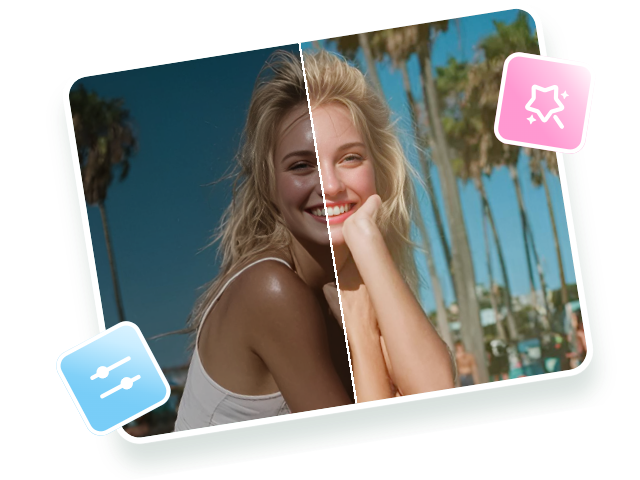
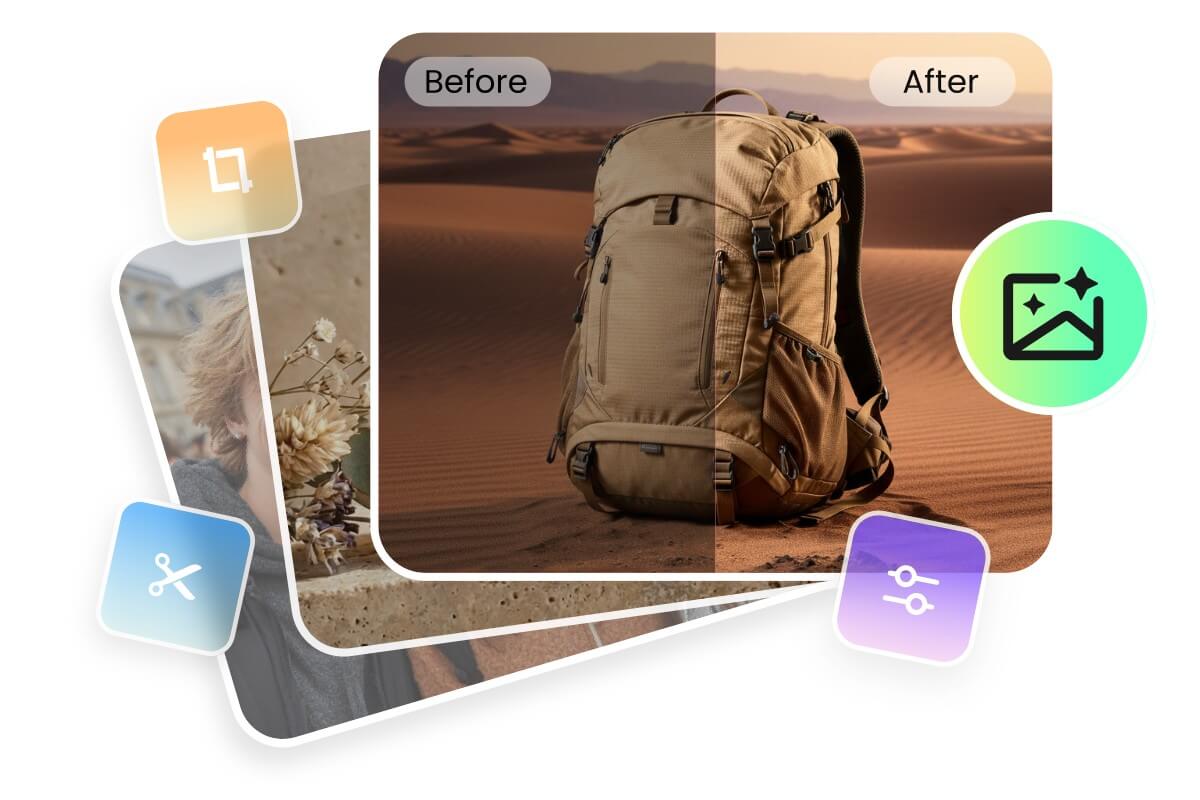
Enhance Image Quality Quickly with AI Photo Editing
Do your photos look blurry, grainy, or overexposed to use? Fotor’s AI image editor helps improve image quality in just a few clicks. It sharpens details, fixes lighting, reduces visual flaws, restore old photos and upscales low-resolution images automatically, making them clearer and more polished. Whether you’re preparing photos for print, social media, online stores, or client projects, Fotor helps your images look share-ready with less effort.
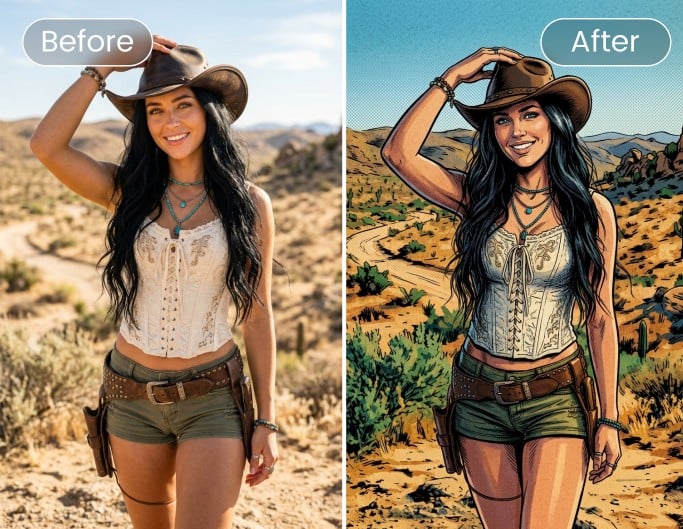
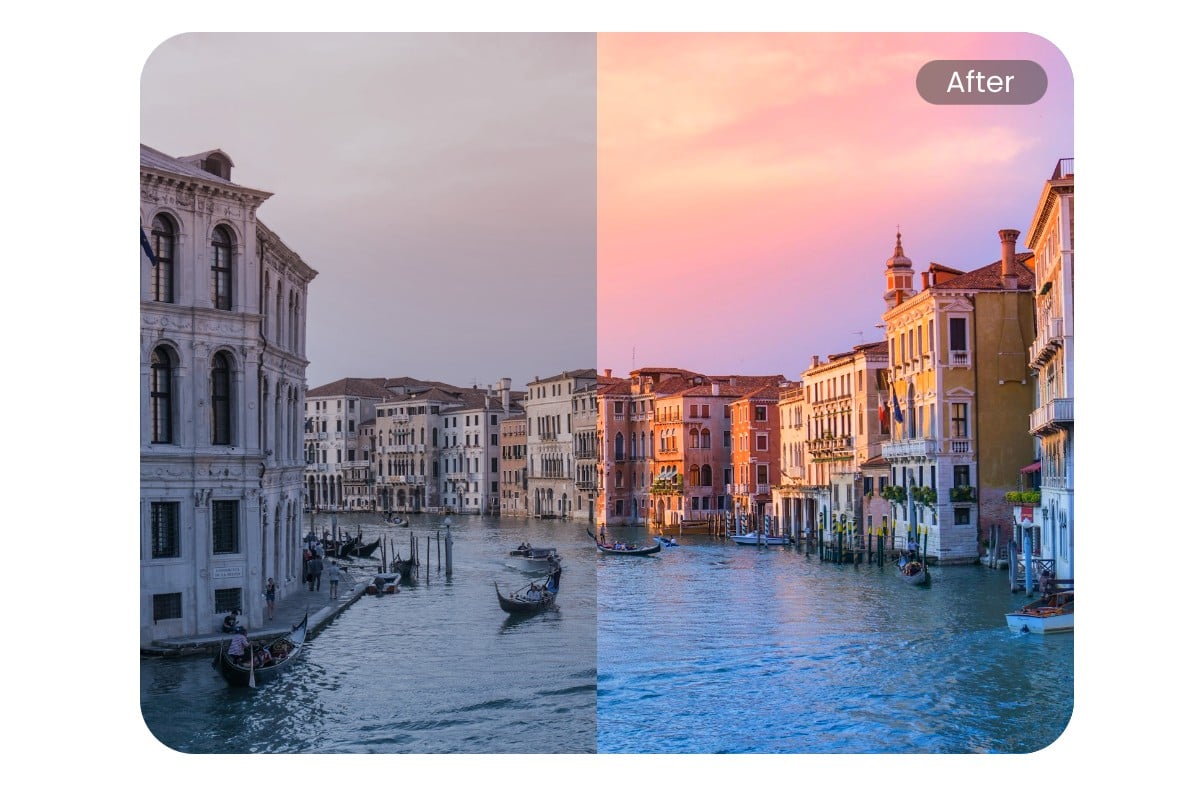
Give Your Photos a Whole New Look with AI Style Transfer
Want to try a creative photo style but don’t have the drawing skills or time to make it yourself? Fotor’s AI style transfer turns your photos into cartoons, anime art, sketches, oil paintings, watercolor pieces, pixel art, and more while keeping the main subject clear and recognizable. Explore trending styles, apply your favorite look in seconds, and give ordinary photos a fresh visual upgrade. For old or damaged images, AI Photo Restoration can repair scratches, restore faded colors, and sharpen facial details automatically, helping you bring treasured photos back to life.
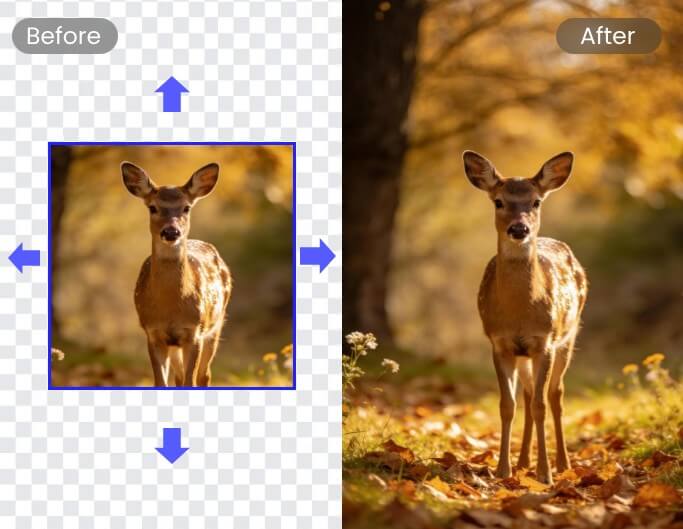
Expand Your Frame and Fill the Gaps with AI
Is your photo cropped too tightly or the wrong size for the platform you need? Fotor’s AI Image Extender helps you expand images beyond the original frame with AI-generated content that blends naturally into the scene. Upload your photo, choose the area to extend, and let AI fill in the background while keeping the style, lighting, and perspective consistent. It’s an easy way to fix awkward composition, adjust aspect ratios, or turn cropped images into complete visuals in seconds.
Effortless Batch AI Editing to Speed up Your Workflow
Facing a pile of photos? Don’t edit images one by one. Use our automatic photo editor to edit multiple photos at once. You can upload up to 50 photos and apply batch AI photo enhancement, background removal, skin retouching, and other edits—all in one go! Get more done in less time with our AI-based batch photo editor.
AI Image Editor for Every Creative Need

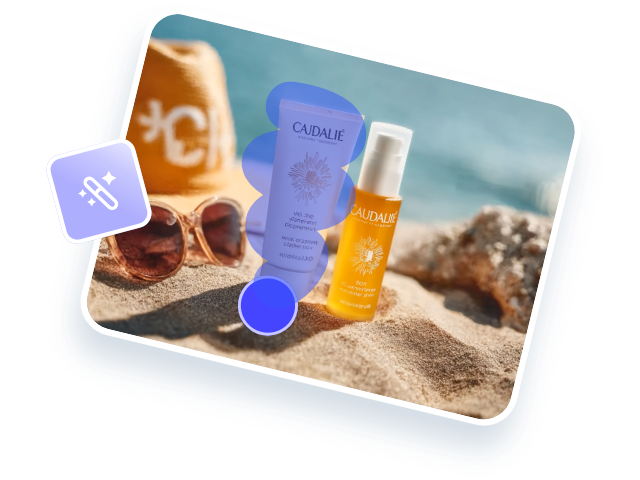
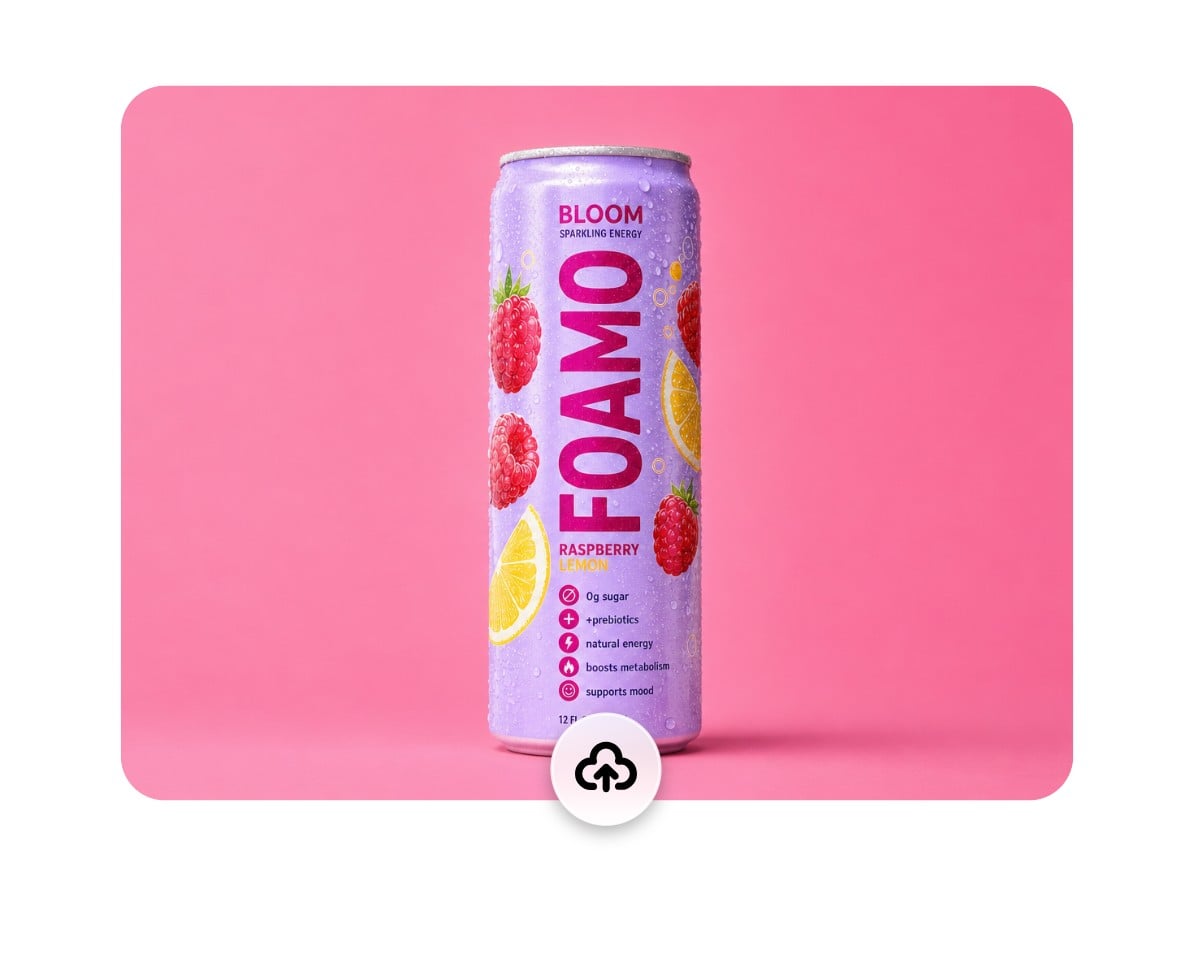
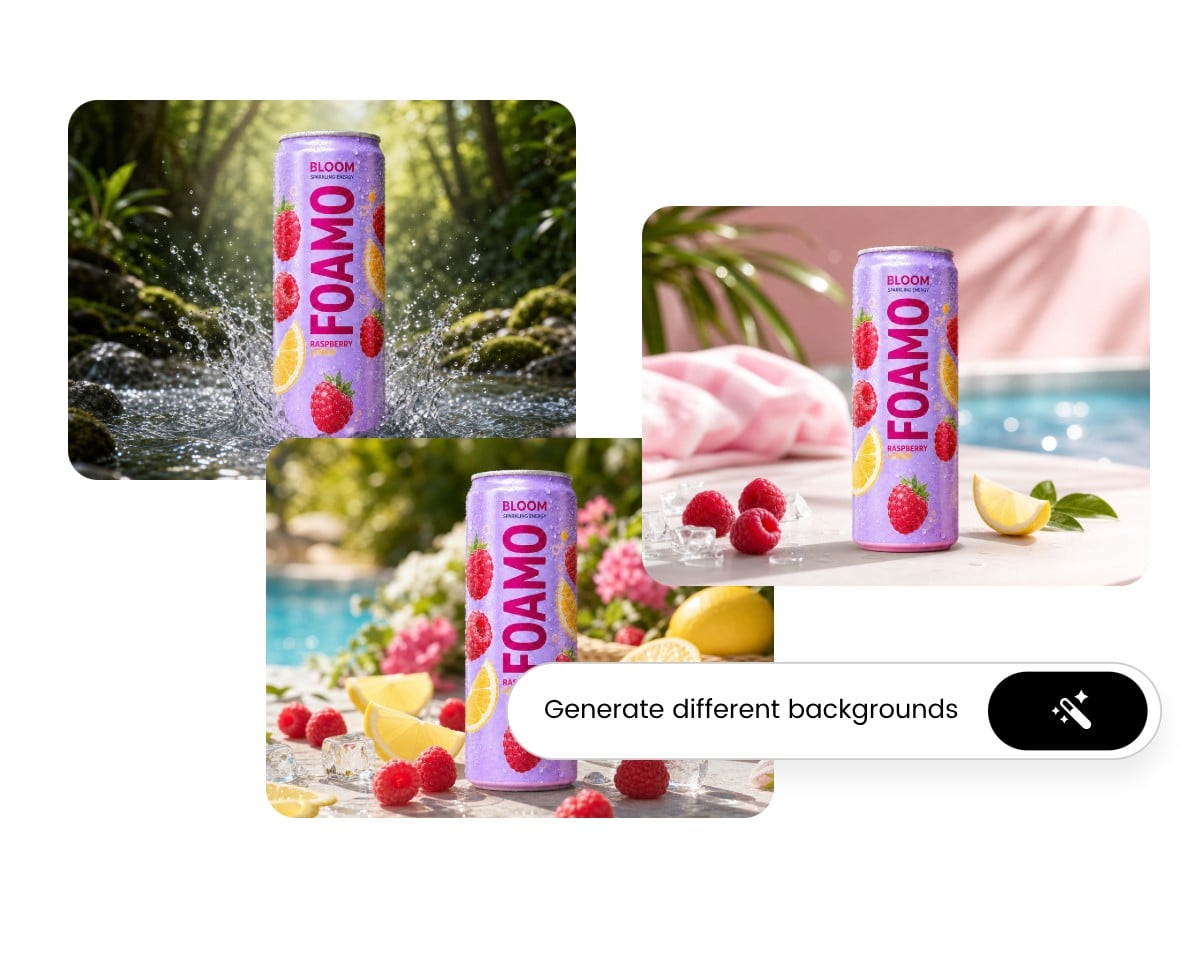
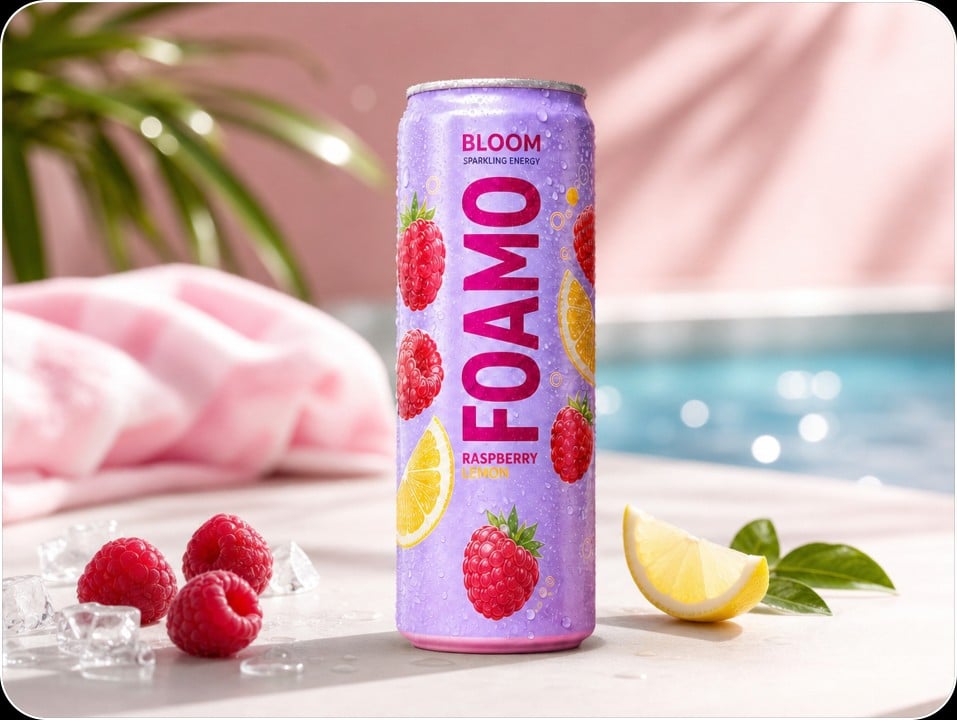
Create Professional Product Photos That Sell
For many online sellers, product photos are part of a daily listing workflow. When a new product arrives, photos are taken, background removal is needed, and images need to be ready for marketplaces as quickly as possible. Many solo sellers describe Fotor as a tool that keeps their listing pipeline moving—helping them create marketplace-ready product photos without the time and expense of traditional editing. From removing backgrounds and generating new scenes to adding realistic shadows and applying consistent edits, Fotor turns hours of repetitive work into a process that takes just minutes.
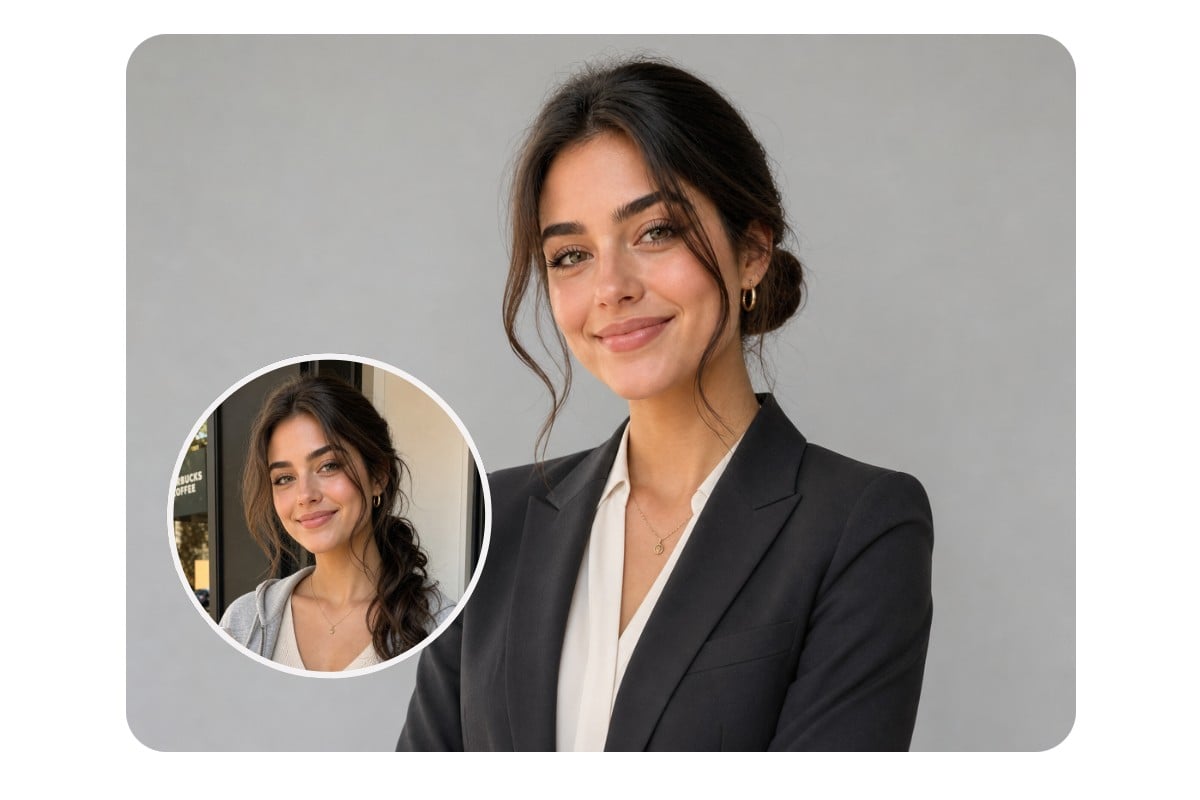
Use AI Photo Editor to Enhance Your Portrait
Not every great headshot starts in a studio. Upload a casual photo and transform it into a polished professional portrait for LinkedIn, resumes, portfolios, or personal branding. Update backgrounds, refine appearance, and create consistent, professional-looking images without the time and cost of a traditional photoshoot.
Automate the Tedious Post-Processing Work for Photographers
Fotor AI photo editor is the ultimate AI photo editing assistant for busy photographers. Use AI to automate time-consuming tasks like skin smoothing, lighting correction, and object removal. No complex masking or layer work is needed anymore. Whether you're shooting portraits, events, landscapes, or products, we can help you speed up your post-processing workflow without compromising quality.
How to Use Fotor AI Photo Editor to Edit Images
Upload Your Image to the AI Picture Editor
Upload a photo for AI editing, or simply drag and drop your image here. Supports JPEG, PNG, and WEBP files up to 40MB and 8192 × 8192 resolution.
Choose an AI Image Editing Tool
Change Different Backgrounds
Download Your AI Edited Photo
Why Users Love Creating with Fotor AI Photo Editor?
![easy to use icon]()
Automatic & Fast
Make complex photo editing tasks with ease. Save time and effort while achieving professional-grade enhancements to your photos.
![All in one AI editing tools]()
Full-Featured AI Editing Suite
Access 30+ AI photo editing tools at your fingertips—AI photo enhancer, background remover, text-to-image generator, image upscaler, and more.
![Multiple images icon]()
Multi-Model AI Image Editor
Edit and generate images with a variety of industry-leading models, including Nano Banana, Wan, Seedream, FLUX, and Qwen.
![all in one platform icon]()
Massive Asset Library
Level up your images with millions of built-in assets—fonts, icons, stock photos, stickers, and graphics. No need to search elsewhere.
![preserve details icon]()
High-res Export
Export your work in print-ready, high-definition quality. Perfect for social media and professional prints.
![cross-device icon]()
AI Photo Editor App
Enjoy a seamless editing experience with our free AI photo editor app. Edit photos anywhere and anytime you want.


What People Say About Fotor's AI Photo Editor


What I like best about Fotor Photo Editor is its powerful yet easy-to-use AI tools. The AI photo enhancer improves image quality in one click, and the background remover works in seconds. I also find the batch editing feature very helpful for saving time. The biggest upside is that it works entirely online in my browser, so I don't need to install any software or learn complex editing like Photoshop.
I use Fotor Photo Editor for photo editing and appreciate its ability to remove blur and improve quality. I like the AI photos feature because it makes my ideas come to life. The setup of Fotor Photo Editor was easy, and overall, I find it great with no changes needed.
The best part about the application is the range of features which are being offered for free/cheap prices. The easy way to use them is another addition which makes this app one of the best involvement of AI in a photo editor.