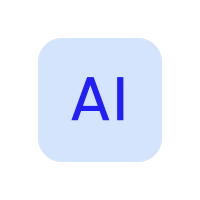
Free Online AI Photo Editor
Edit images faster than ever before. From quick fixes to advanced edits, effortlessly turn ordinary photos into polished visuals with Fotor AI photo editor. Experience the power of AI photo editing today.

This site is protected by reCAPTCHA and the Google Privacy Policy and Terms of Service apply.
![AI photo editing tools]()
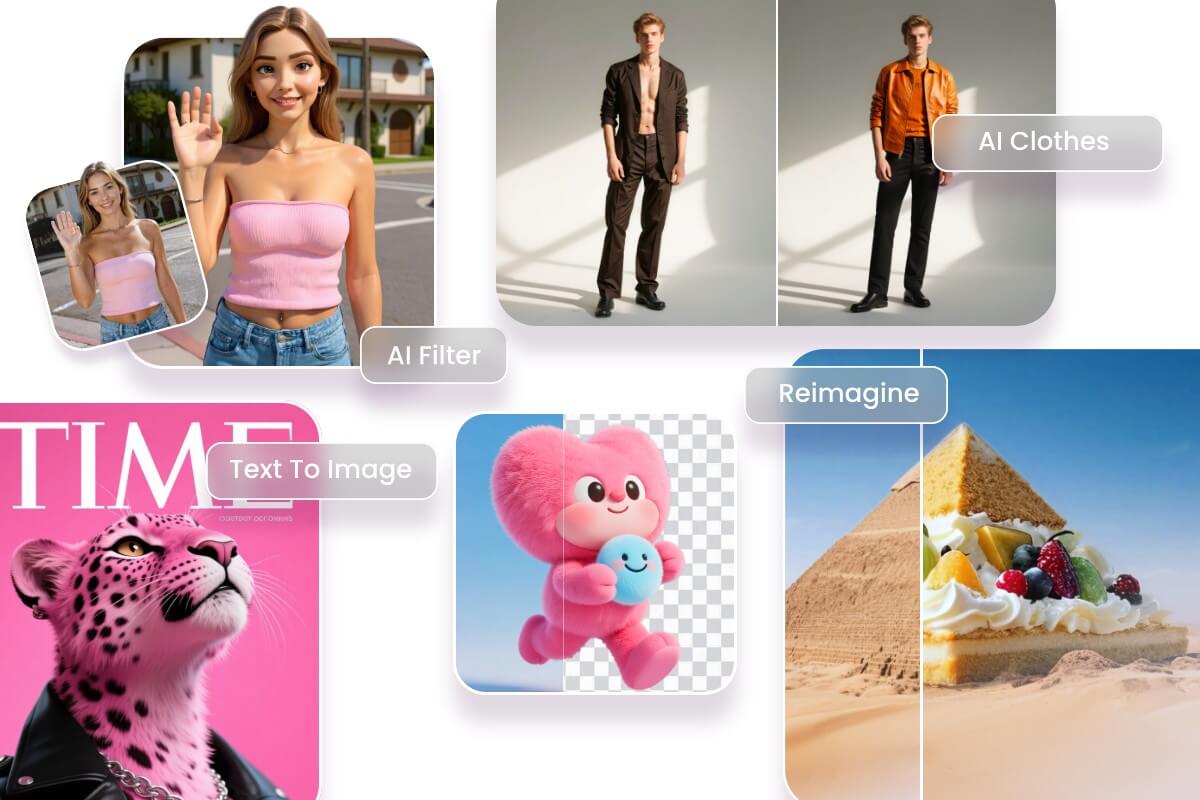
Powerful AI Toolset
Enhance image quality, remove backgrounds, retouch portraits, and more with just 1 click. Get 30+ AI tools in one place.
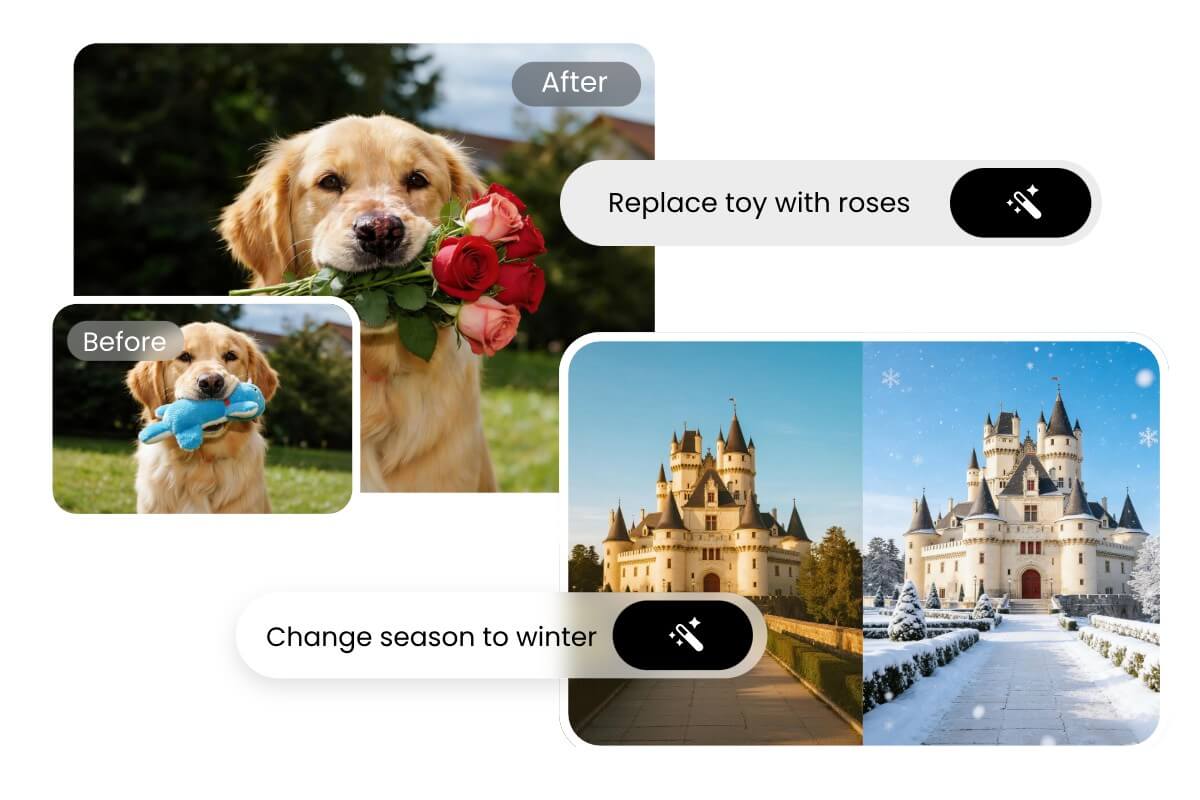
![Prompt based AI photo editing]()
Edit Photos with Prompts
Edit images easily using text prompts. Describe the edits you want and let AI modify your images automatically.
![Advanced AI models]()
Powered by Top AI
Integrate with industry-leading AI models, including Nano Banana, Wan, Seedream, FLUX, and Qwen.
What is AI Photo Editor?
The AI photo editor uses artificial intelligence to automatically analyze and retouch images. Fotor’s AI automatic photo editor can handle a diverse range of complex photo editing tasks—remove backgrounds, add or remove objects, upscale image quality, and more. Whether you're creating content for social media, editing product images for an online store, or improving personal photos, Fotor helps you achieve professional results effortlessly.
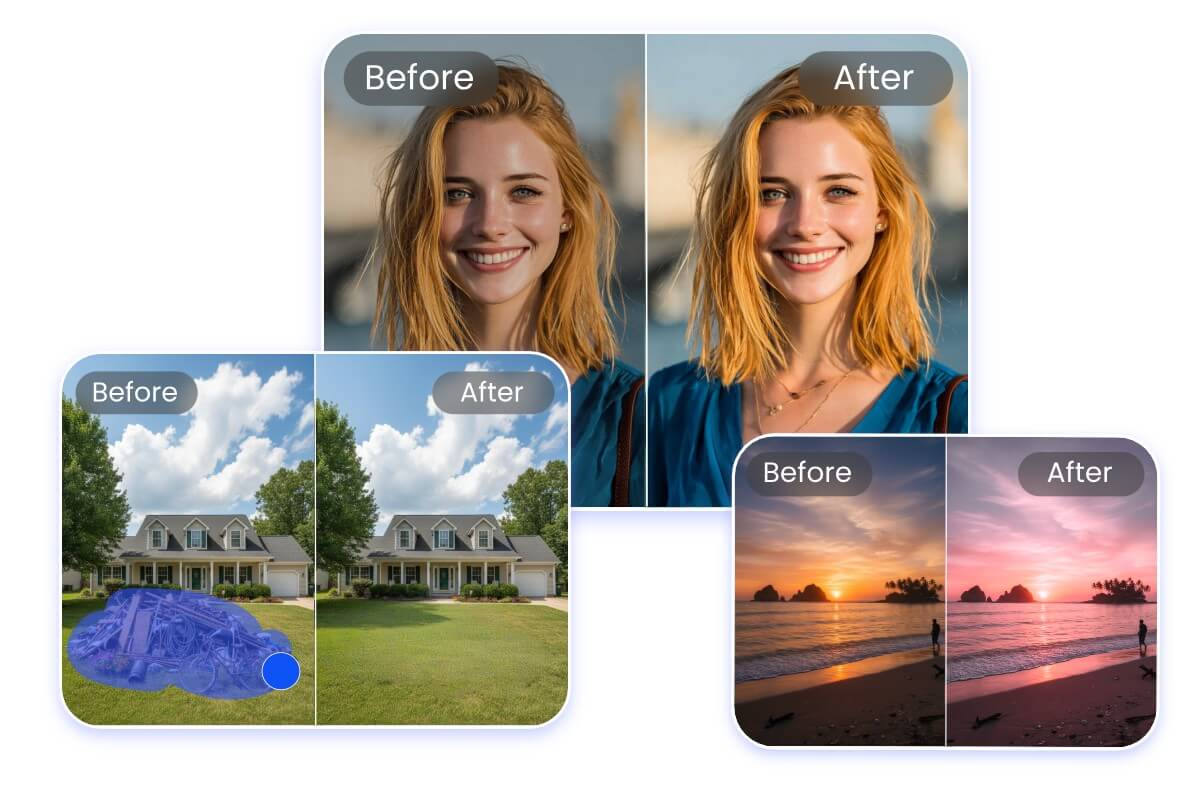
Minutes to Seconds - Edit Photos with AI in One Click
Our AI image editor brings a set of AI-driven editing tools to help you save hours of manual editing. Fix a blurry phone photo, replace a messy background, or clean up a selfie—all with a single click. No photo editing skills needed. What once took 5–10 minutes in traditional editing software can now be done in under 10 seconds with Fotor. Let AI improve your photos.
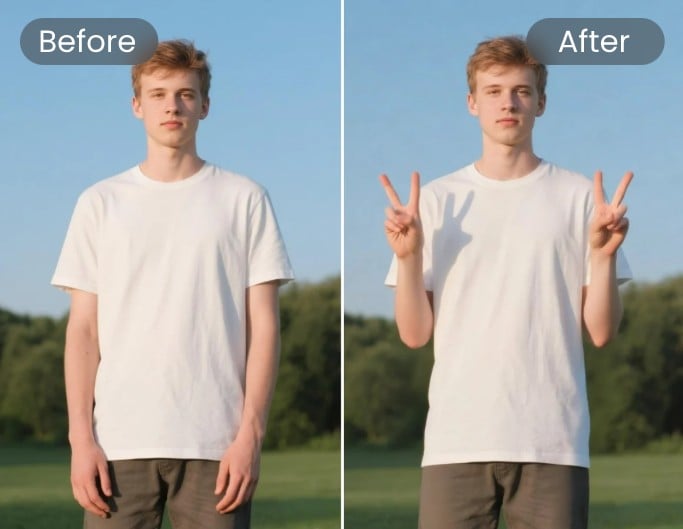
Chat to Edit - Automatic Photo Editing with Text Prompts
Our AI photo editor revolutionizes your photo editing experience. You can now effortlessly edit photos using simple text prompts. Just tell AI how you would like to edit your photos with natural language—like “make background white” or “shift focus on face”—and watch AI make it happen. It’s just like speaking to a human photo editor. Your vision will be understood and executed perfectly.
AI Image Editing Prompt Examples
See Fotor's AI image editor in action. Explore how easily you can transform photos using just text.
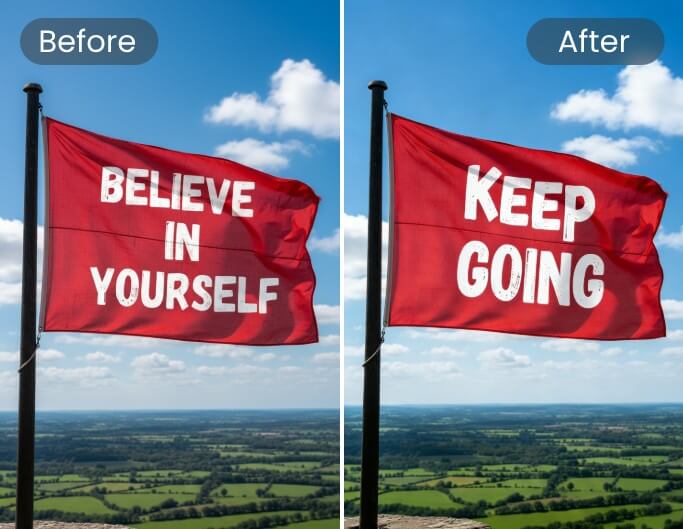

Next-Level AI Image Generation Possibilities
Need a specific image? Powered by state-of-the-art AI models like Nano Banana, we allow you to generate AI images ranging from lifelike photos to concept illustrations. Just type your idea, and our AI image editor brings it to life. Enjoy accurate text typography and visuals with real-world knowledge and detailed consistency.
Effortless Batch AI Editing to Speed up Your Workflow
Facing a pile of photos? Don’t edit images one by one. Use our automatic photo editor to edit multiple photos at once. You can upload up to 50 photos and apply batch AI photo enhancement, background removal, skin retouching, and other edits—all in one go! Get more done in less time with our AI-based batch photo editor.
30+ AI Photo Editing Tools in One Editor
Instead of switching between multiple editing software, we bring powerful AI tools into one workspace. Explore cutting-edge AI photo editing tools and photo effects in Fotor. Whether you need a quick fix or a creative transformation, our AI photo editor helps you get professional results like a pro.
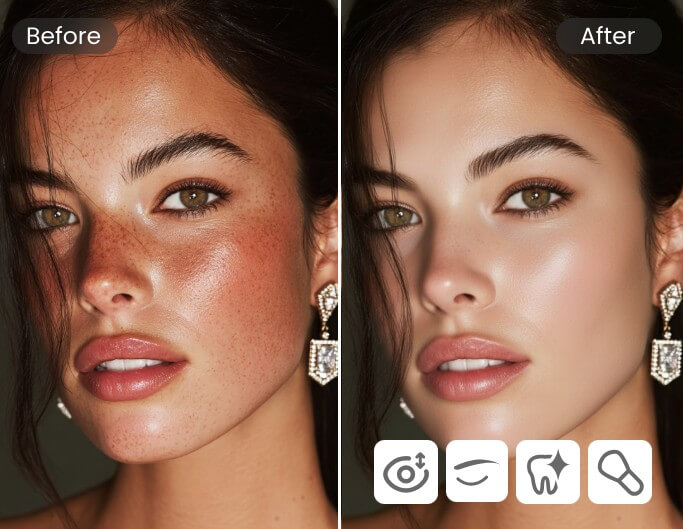
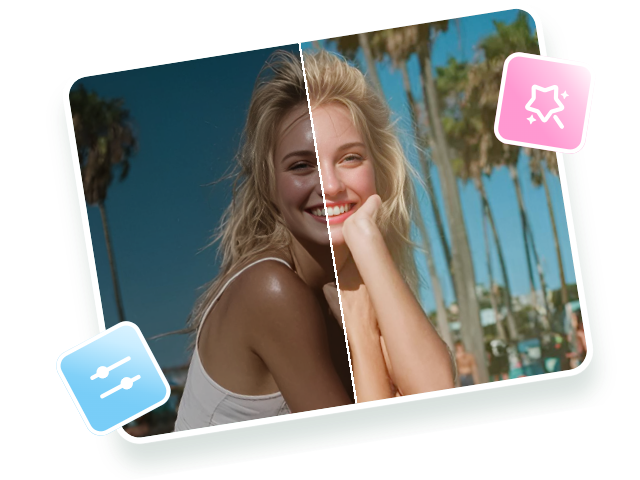
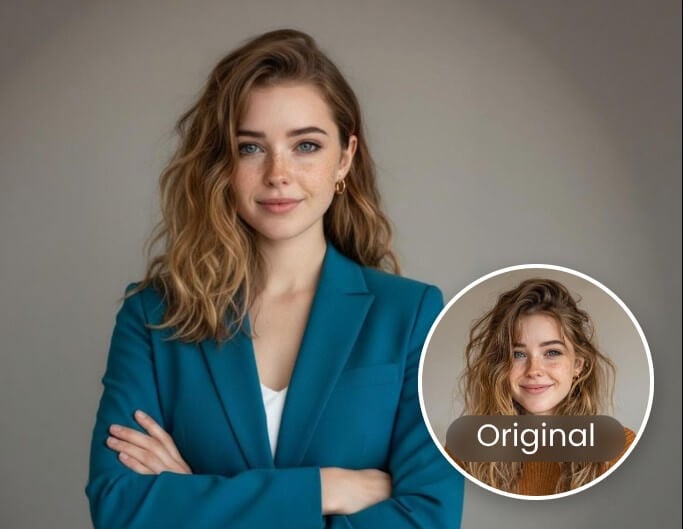
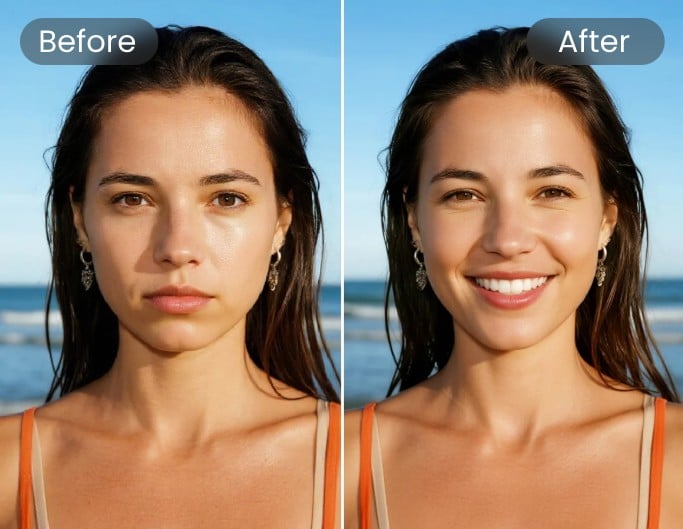
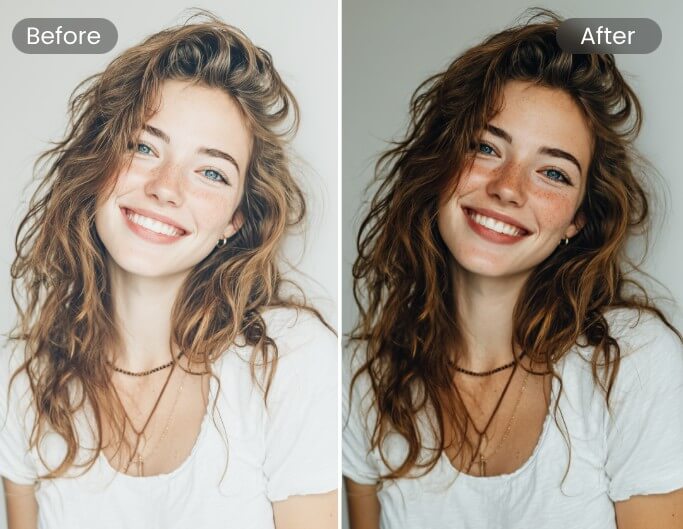
AI Portrait Retouch
Automatically smooth skin, remove blemishes, and enhance facial features. Achieve magazine-quality portraits without skills needed.
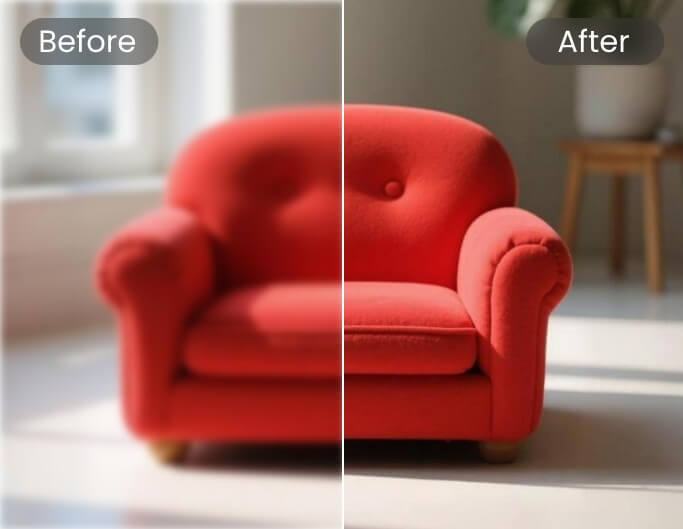
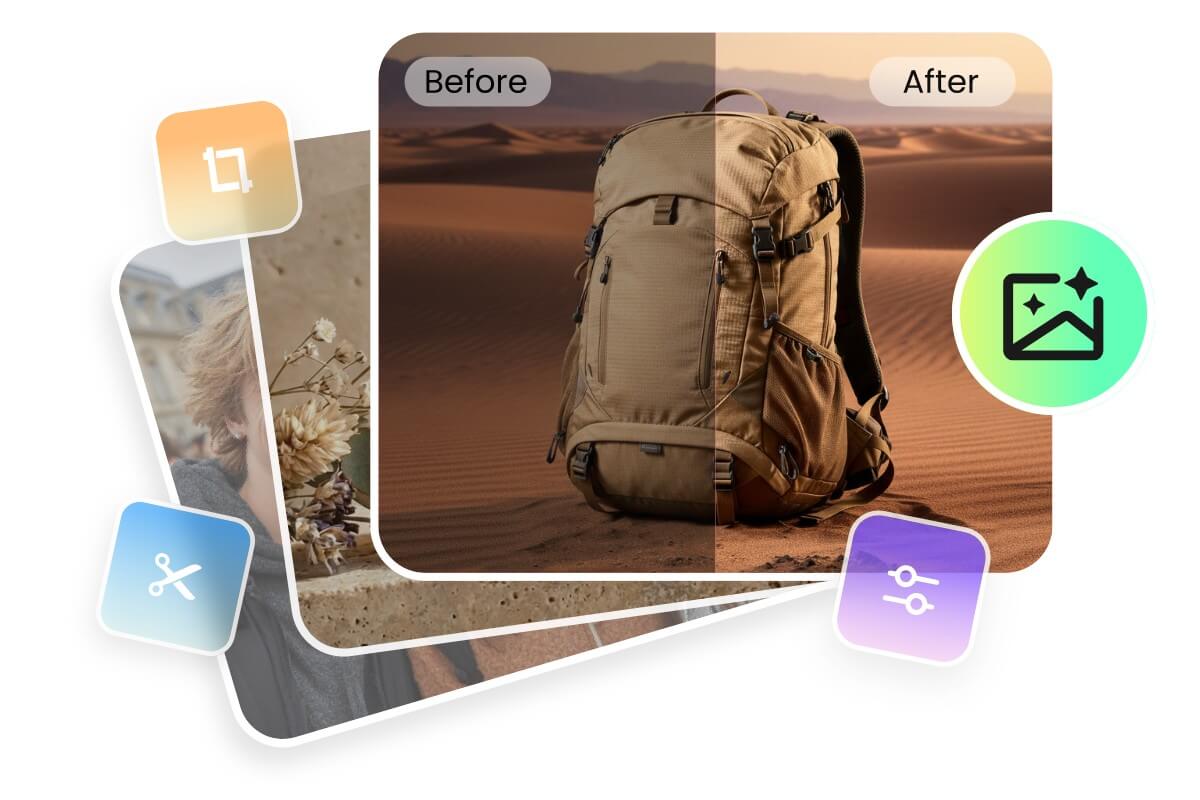
AI Image Enhancer
Improve image quality and upscale resolution up to 4K using AI super-resolution. Instantly fix blur and sharpen details to bring clarity back to your photos.
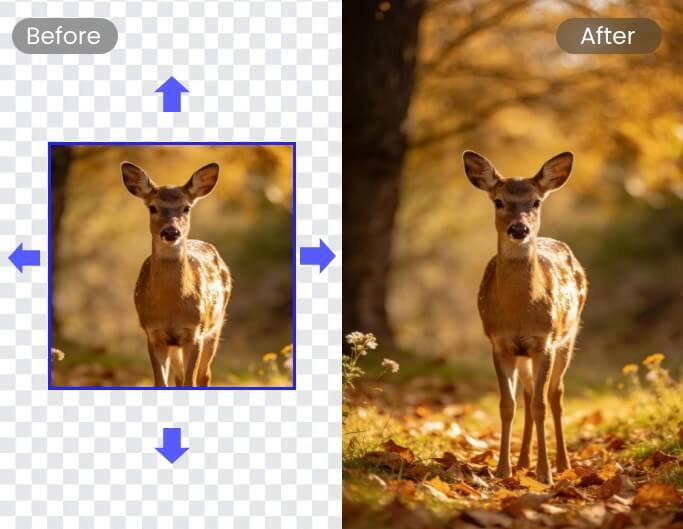
AI Image Extender
Expand photos using AI outpainting and diffusion models to generate context-aware, scene-matching content. Perfect for changing aspect ratios or improving composition.
AI Background Remover
Remove backgrounds from images in seconds. Our AI accurately processes complex edges like hair with advanced AI image segmentation. Create transparent or custom backgrounds easily.
AI Color Enhancer
Automatically fix lighting, white balance, and exposure via deep tone mapping algorithms. Get natural, vibrant colors that look true to life.
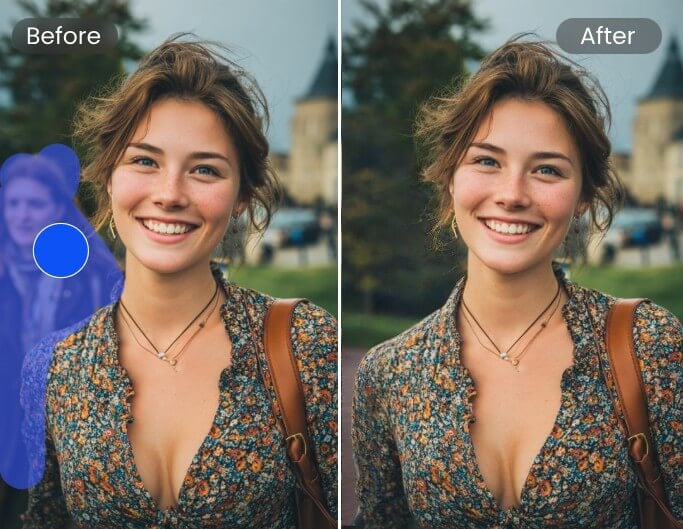
AI Object Remover
Remove unwanted objects from photos like magic—photobombers, watermarks, and. Our AI inpainting algorithms intelligently reconstruct the missing background pixels for a seamless result.
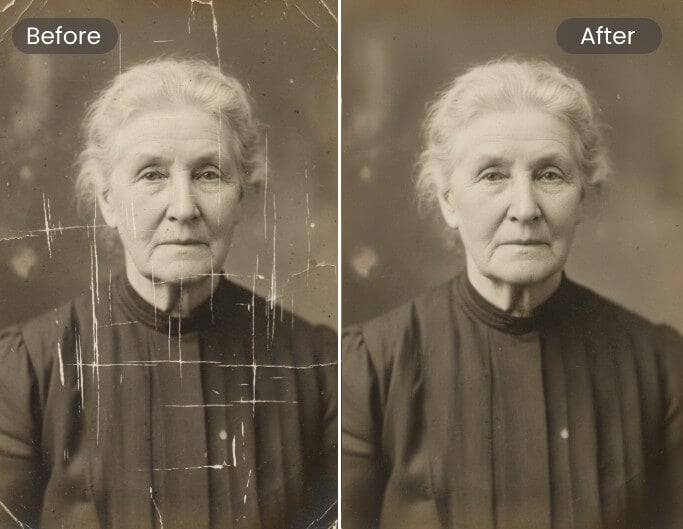
AI Photo Restoration
Use our AI photo editor to restore old photos to their former glory. Instantly map textures to recover lost details and colorize black-and-white images.
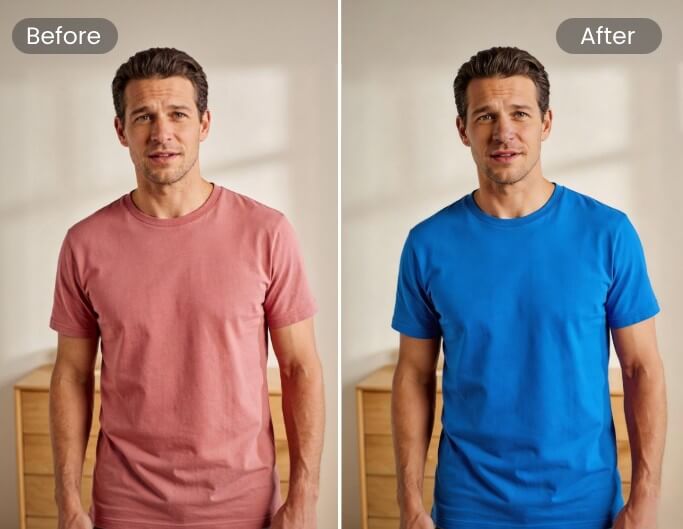
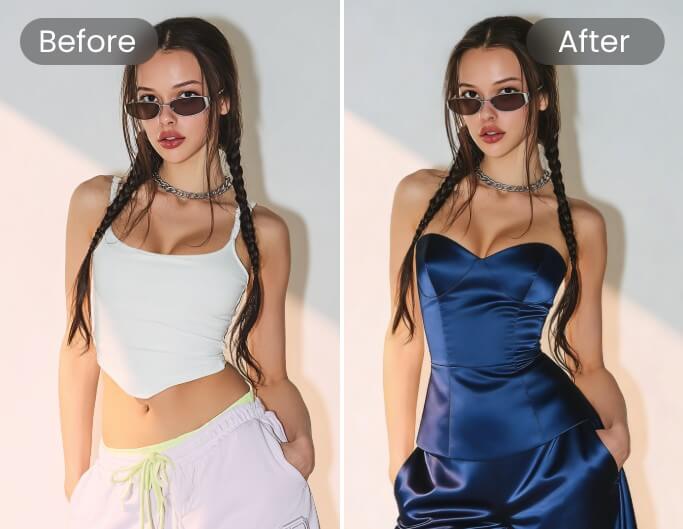
AI Color Changer
Change any specific color in your image using AI. Effortlessly replace clothing colors, hair color, or background color with a natural, realistic look.
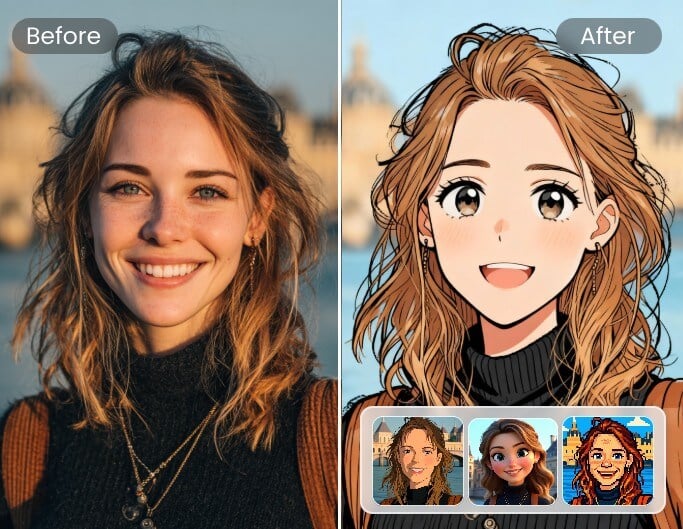
AI Effects & Filters
Apply neural style transfer to give your photo a creative twist. Instantly transform photos into cartoons, anime, sketches, action figures, or any Nano Banana trend.
AI Image Editor Made for Creators, Businesses, and E-commerce
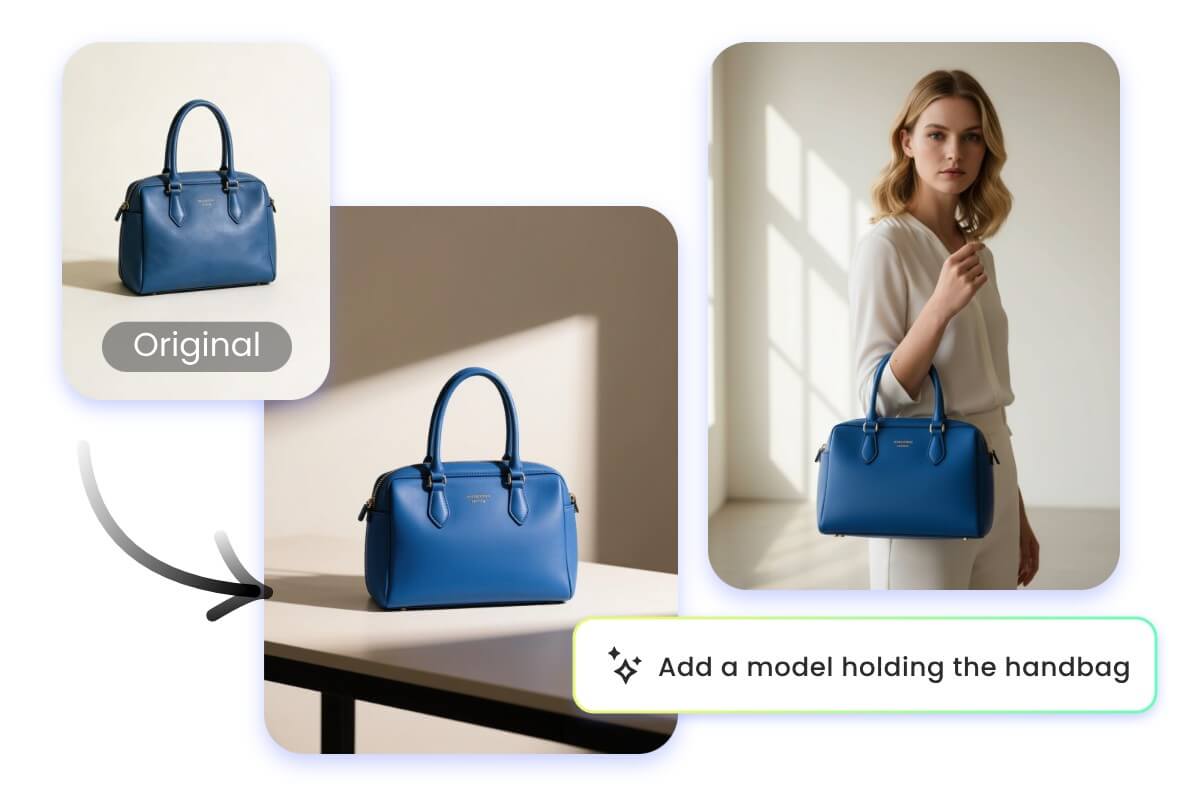
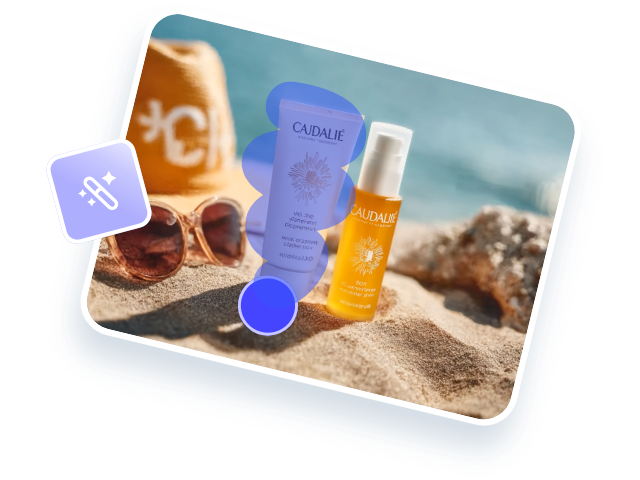
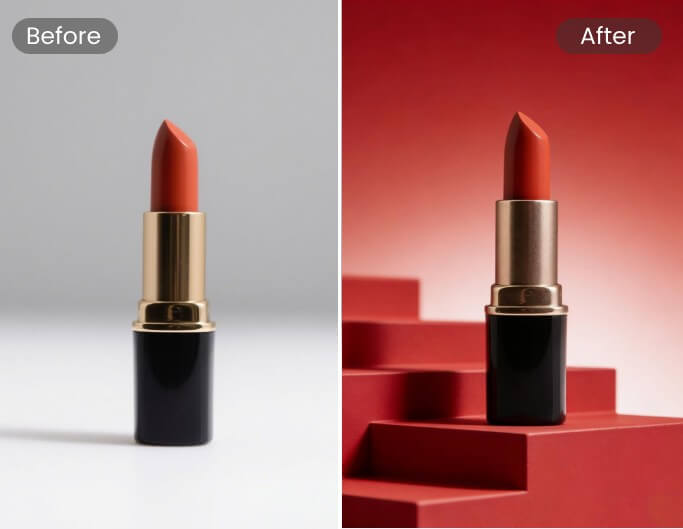
Create Professional Product Photos That Convert
Need to edit dozens of product photos for your online store? Our AI photo editor of AI vibe marketing platform streamlines the entire e-commerce product photo editing process. With just one click, you can enhance product images, generate clean, white backgrounds, add realistic product shadows, and apply consistent edits to batches of photos. You can even use AI to turn flatlays or mannequins into AI models. Perfect for Amazon, Shopify, and online stores.

Reimagine Your Photos with Creative Effects
Use our AI picture editor to instantly stylize photos and apply trending effects. Turn your selfies into Ghibli styles, generate custom AI action figures from your pet photos, or upload photos of your family to create Christmas-themed AI family photos. AI helps you generate share-worthy visuals in seconds. Explore fun ways to reimagine your photos with AI.

Perfect Real Estate Photos for Potential Buyers
Edit real estate photos easily with AI. Use text prompts like “replace gloomy sky with sunny blue” to instantly brighten exterior shots. Remove clutter from messy rooms using the AI object remover. Apply our AI photo enhancer to improve photo quality and enhance lighting, contrast, and color. Fotor AI photo editor is perfect for real estate listings, rental platforms, and marketing materials.
Automate the Tedious Post-Processing Work for Photographers
Fotor AI photo editor is the ultimate AI photo editing assistant for busy photographers. Use AI to automate time-consuming tasks like skin smoothing, lighting correction, and object removal. No complex masking or layer work is needed anymore. Whether you're shooting portraits, events, landscapes, or products, we can help you speed up your post-processing workflow without compromising quality.
How to Edit Photos with AI?
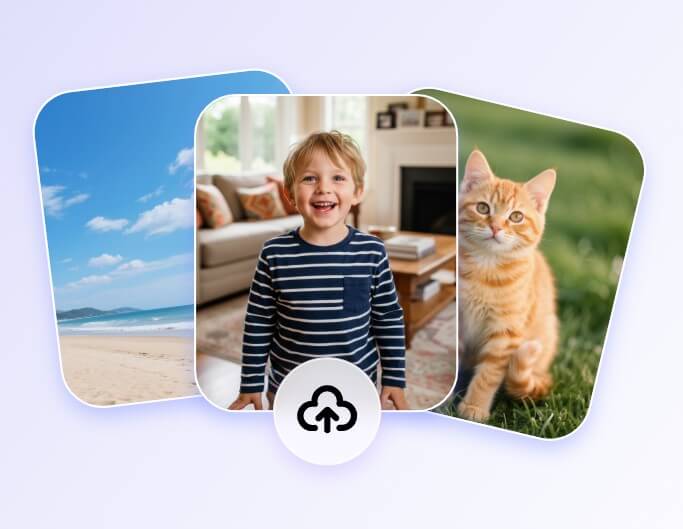
Step 1: Upload Your Image
Upload any image you want to edit. Our AI photo editor supports all major formats, including JPG, PNG, and WebP.
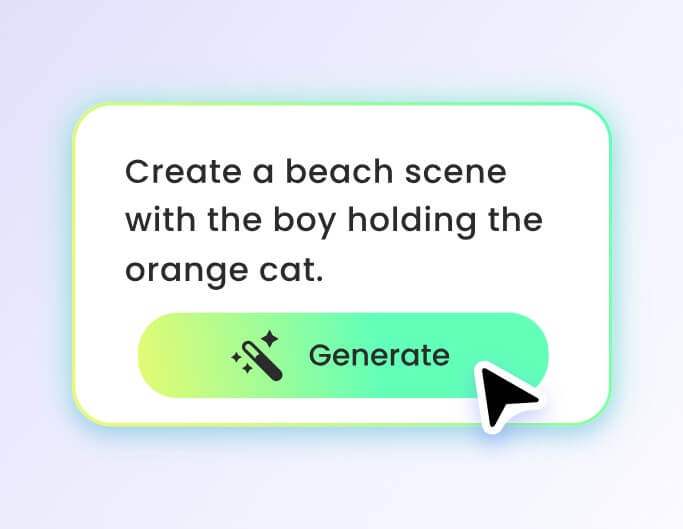
Step 2: Choose an AI Tool or Enter a Prompt
Select AI tools or describe your edits in text. The AI processes the image and applies the edit automatically.
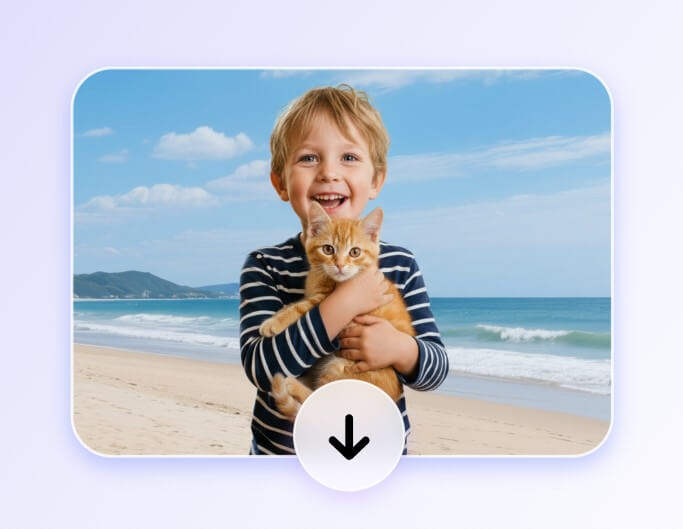
Step 3: Download Your Edited Photo
Once you're satisfied, export your edited image in high resolution for web or print use.
Fotor AI Automatic Photo Editor in Numbers
Why Users Love Creating with Fotor?
![easy to use icon]()
Automatic & Fast
Make complex photo editing tasks with ease. Save time and effort while achieving professional-grade enhancements to your photos.
![High resolution image export]()
High-res Export
Export your work in print-ready, high-definition quality. Perfect for social media and professional prints.
![AI photo editor app]()
AI Photo Editor App
Enjoy a seamless editing experience with our free AI photo editor app. Edit photos anywhere and anytime you want.