


Free Online Image Combiner
Instantly merge and combine multiple images into one with our free online photo joiner. Choose from a range of ready-made photo grids and collage templates to stitch wallpapers, backgrounds, and PFP right away!

Learn about Fotor's upload formats and requirements. See how we use your content in our Privacy Policy.
50+
Templates
4.5★
on Capterra
3 Secs
Instant Editing
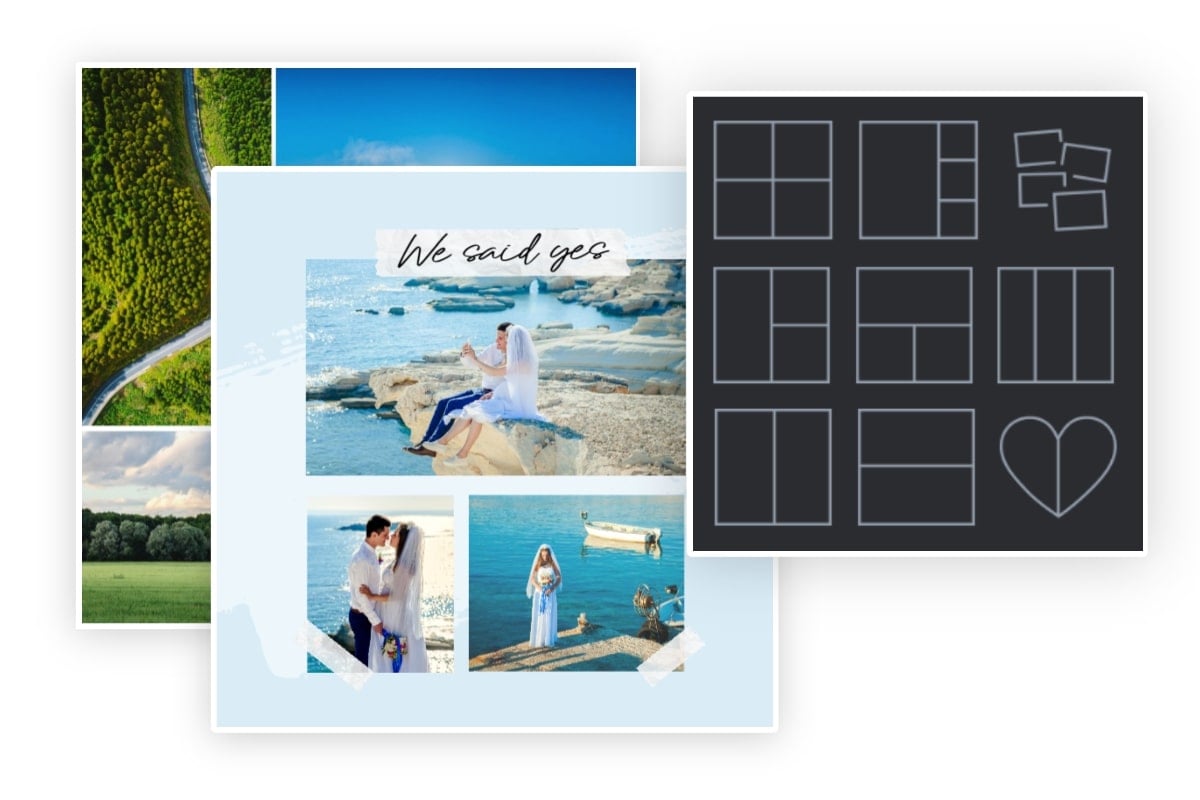
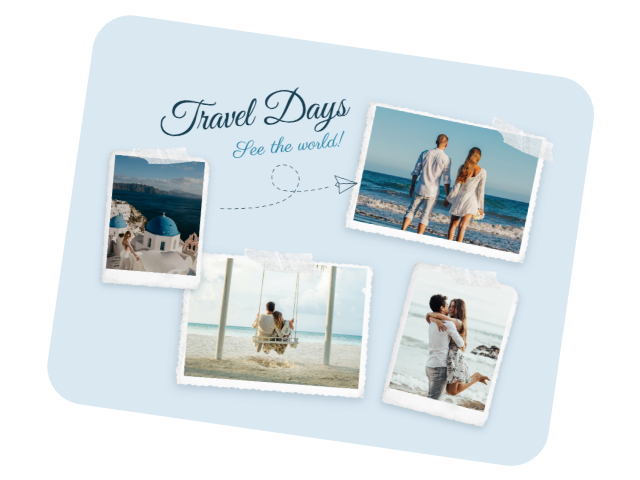
A Library of Layouts and Grids to Combine Images
Choose from over 50 preset layouts and templates designed for photo merge on Fotor. You can easily find a suitable arrangement in various styles for any number of images from 2 to 10+. Whether you want to put two pictures side by side or combine multiple images into one, we’ve got you covered.
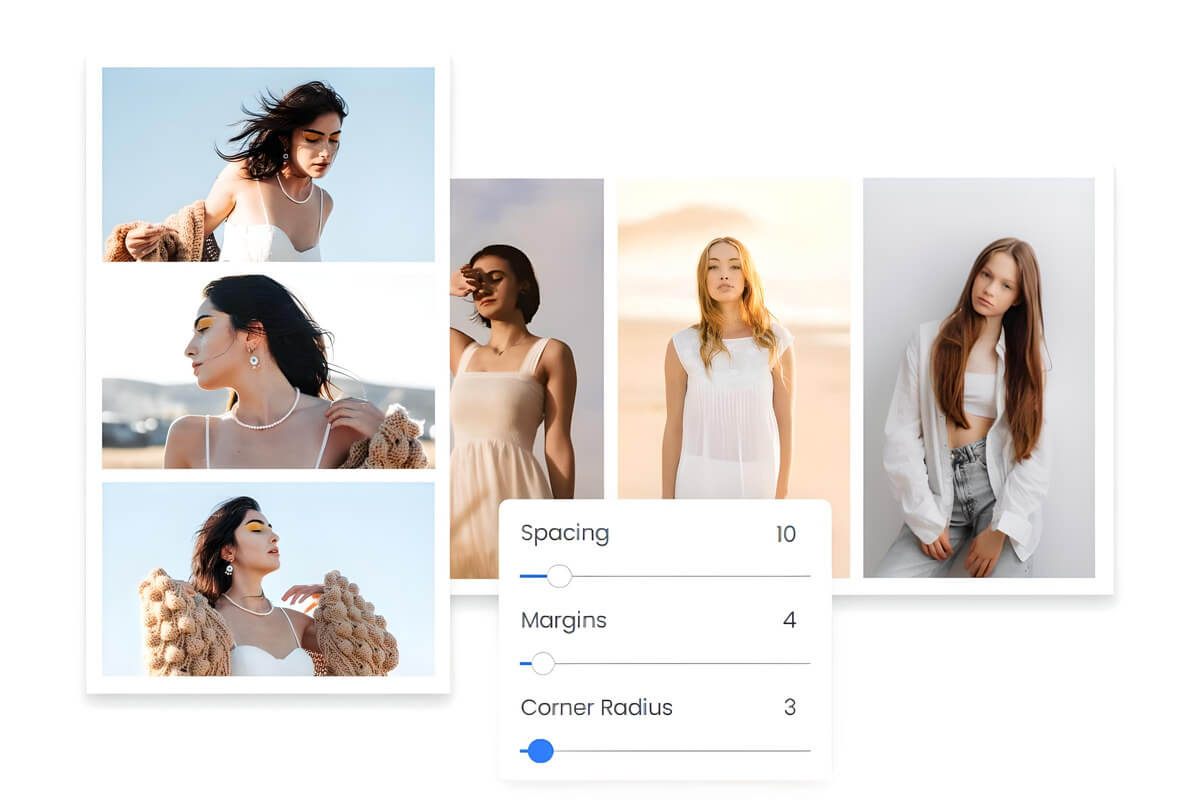
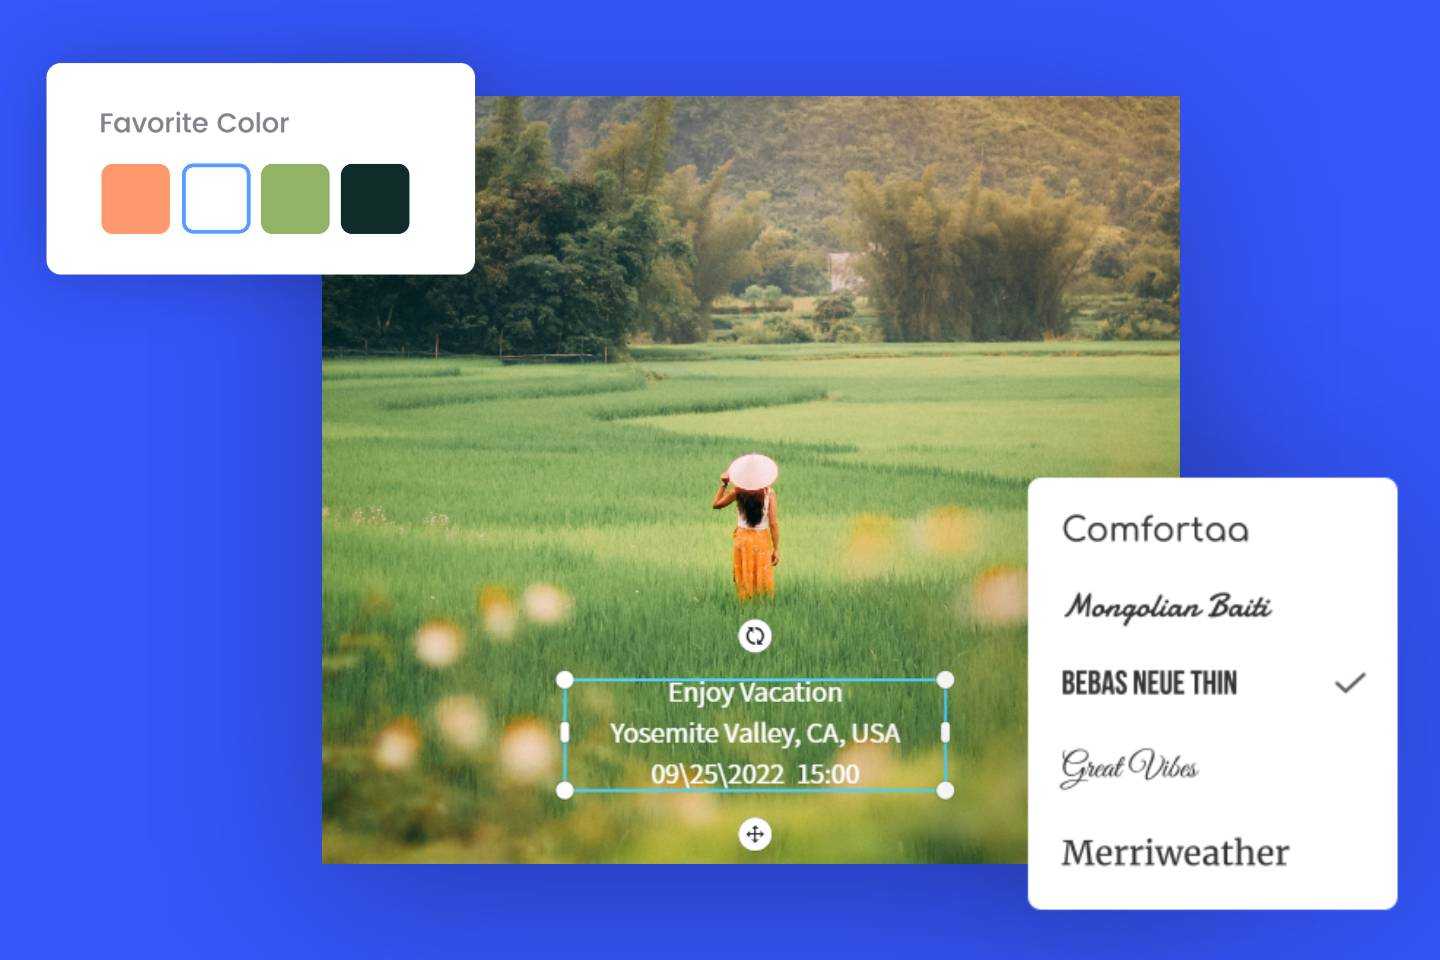
Customize Every Detail of Your Image Merge
Our photo combiner offers extensive customization options like cropping, rotating, resizing, and adjusting spacing or margins. Effortlessly edit the merged photos to ensure they fit into the layout while keeping the subjects centered.
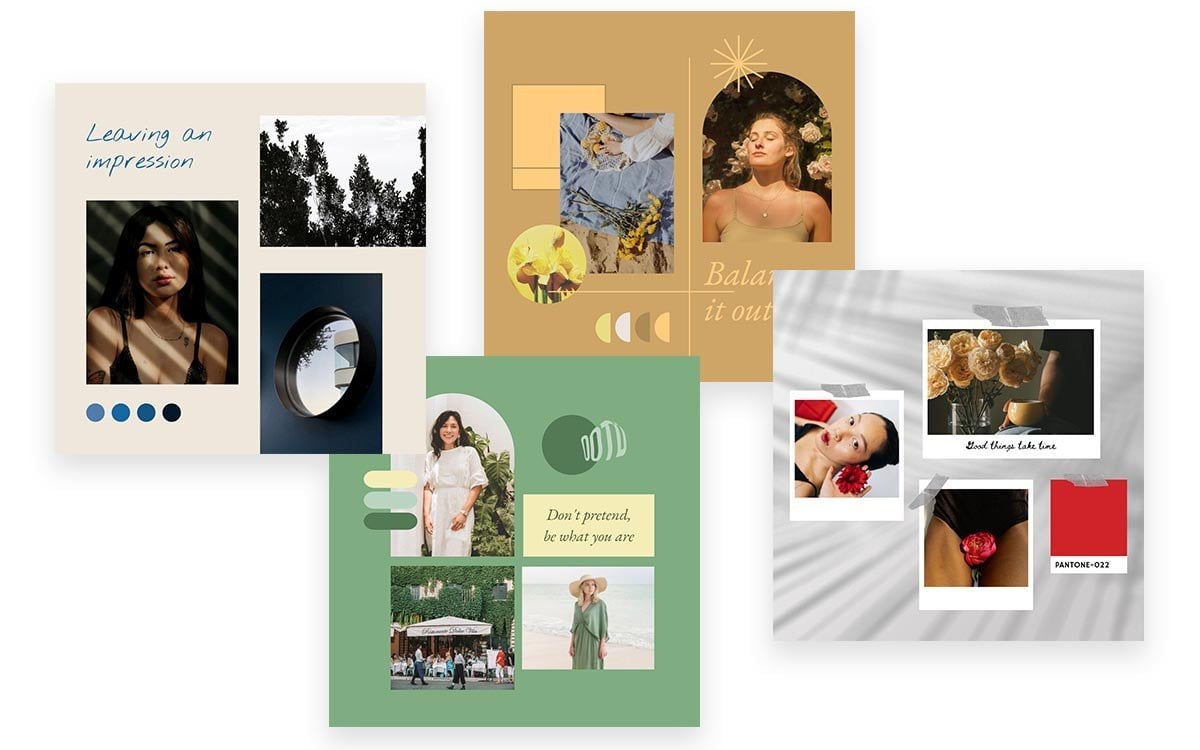
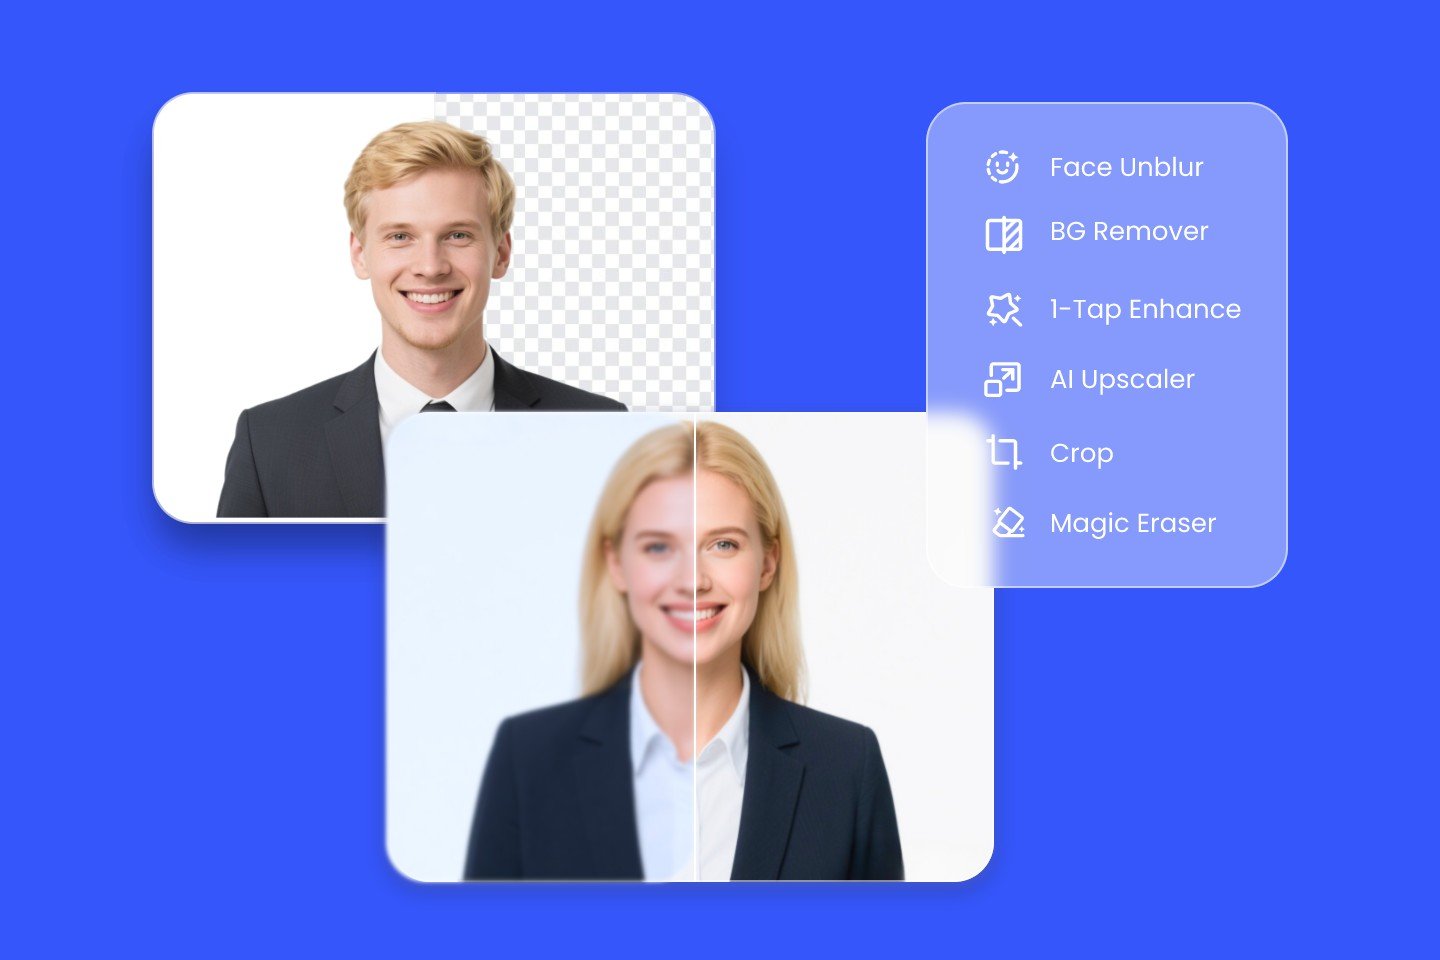
More Than a Photo Merger
To help you polish your photo merge, Fotor offers various design assets like, stickers, frames, and filters. Make full use of our image combiner to create stunning collages, professional product listings, or creative design projects.
Photo Joiner for Any Use Cases
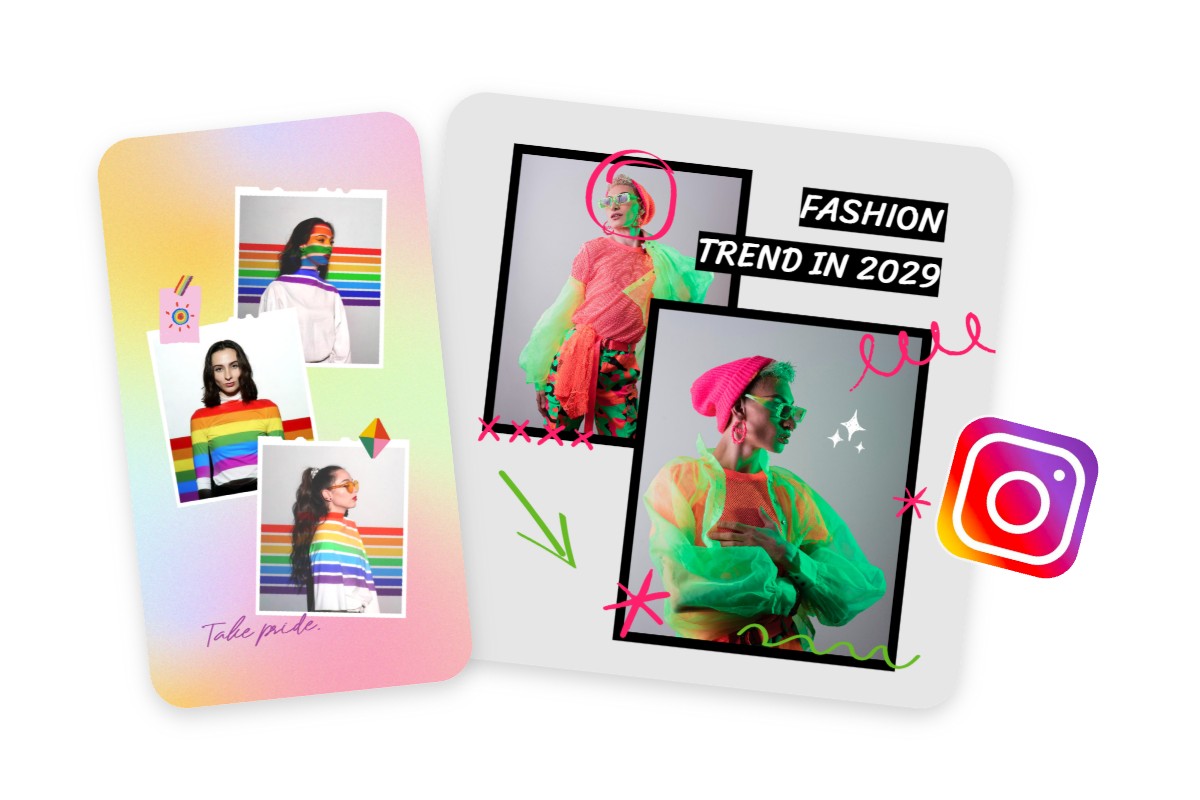
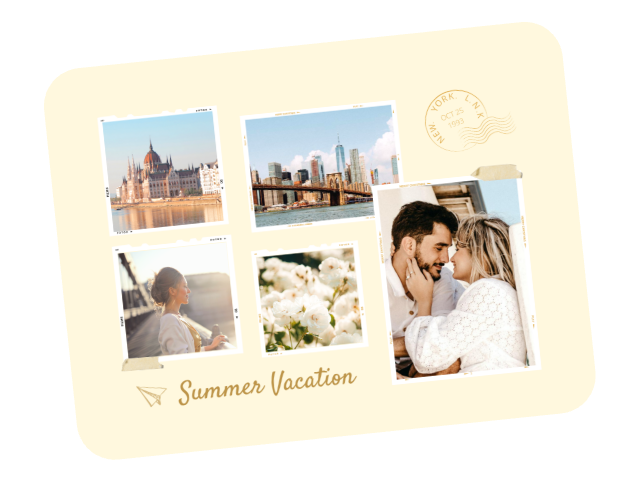
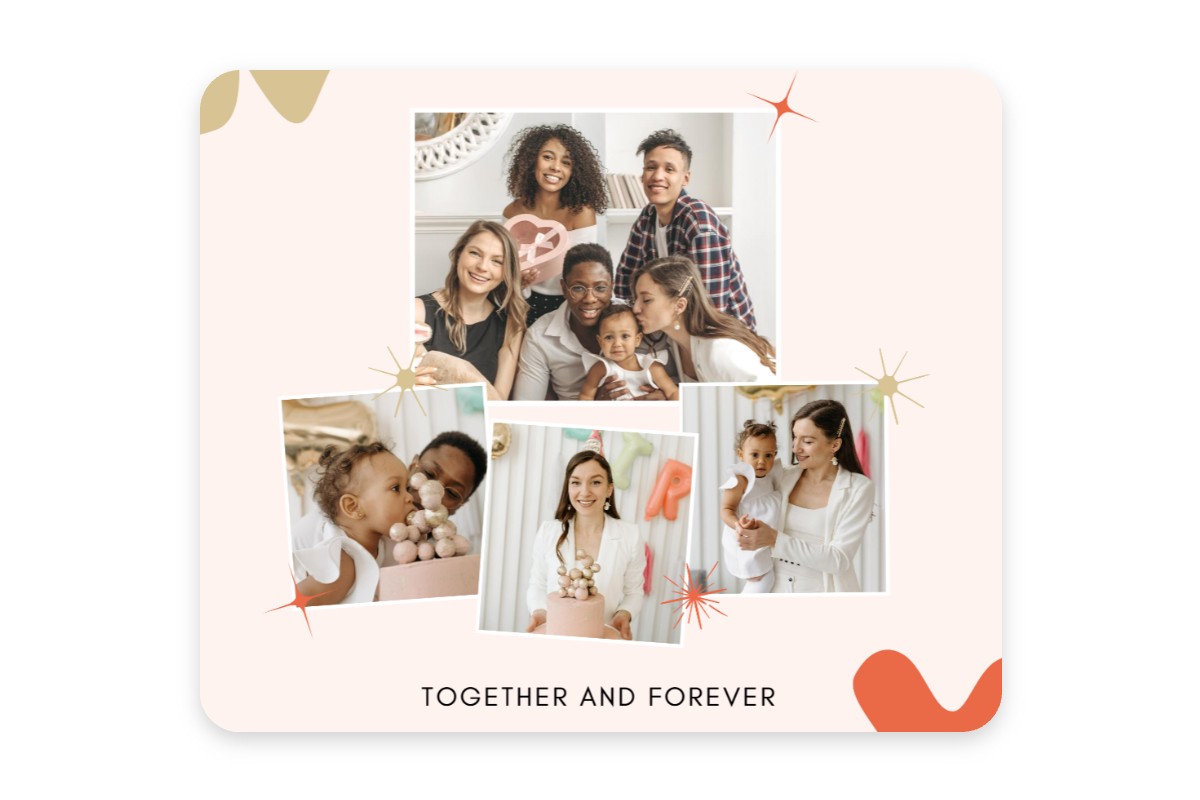
Social Media Contents
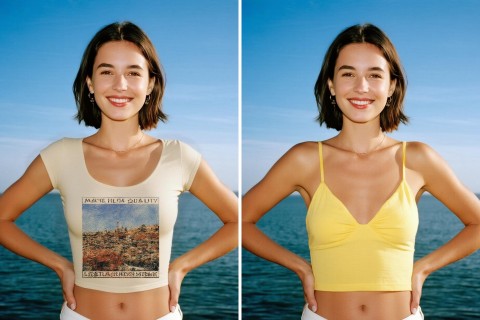
Use our photo merger to create social media edits or photo dumps that tell the stories of your life. Put together the photos taken at your birthday party to preserve those happy moments, or combine your daily outfit photos for an OOTD post.
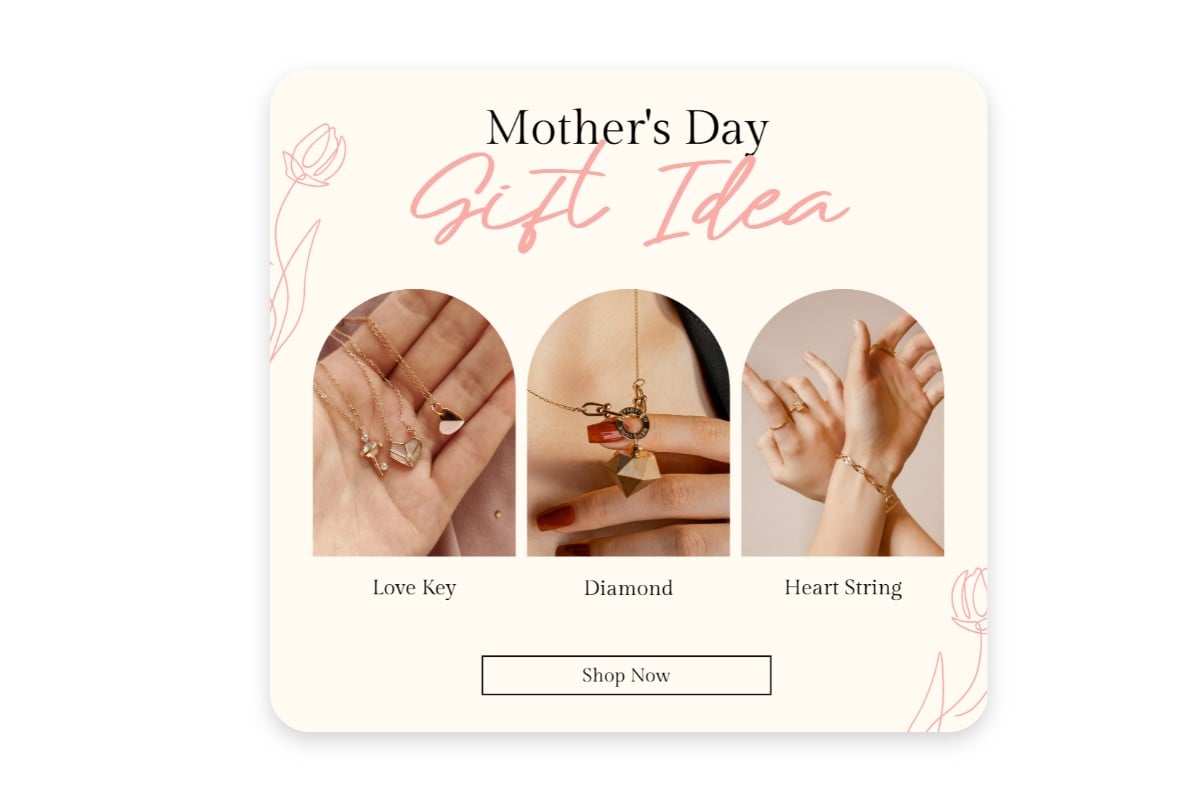
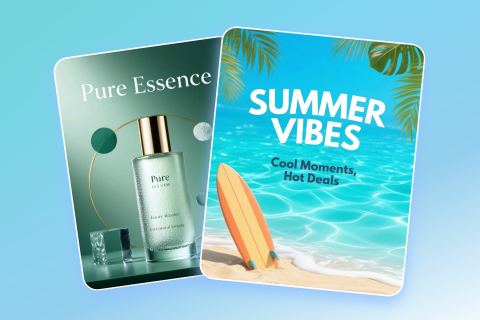
Product Photo Displays
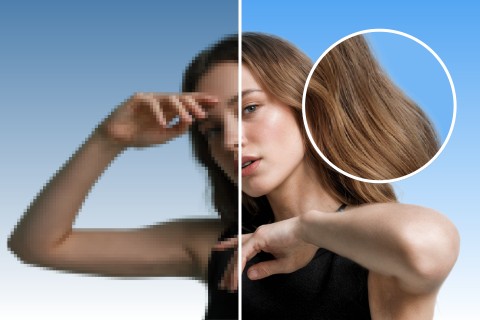
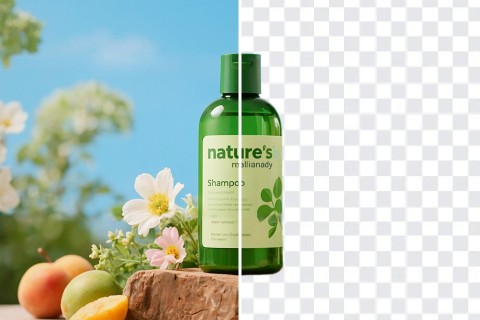
Combine multiple images into one to create high-quality product listings. You can also merge two images in a single frame to create before-and-after reveals to better showcase your products on Amazon or Shopify.
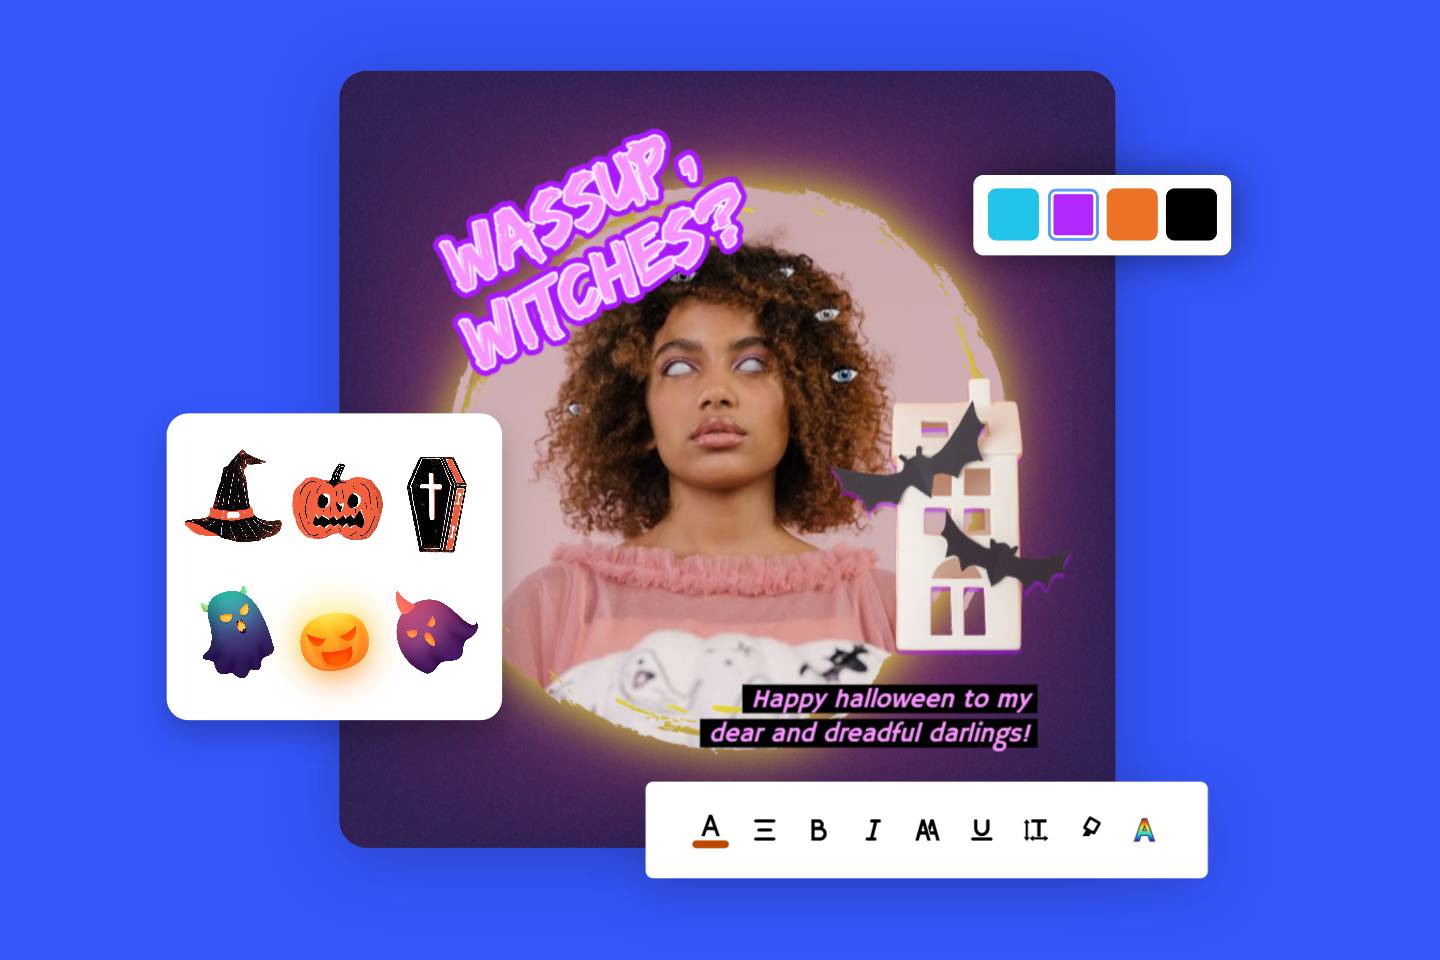
Creative Projects
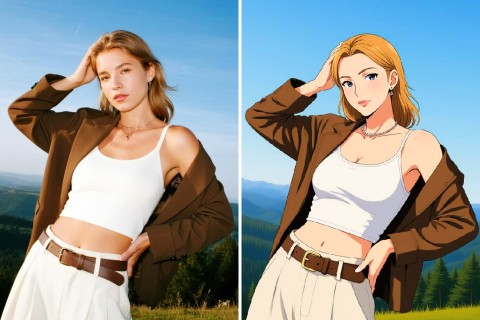
Merge images into a customized frame and decorate them with stickers, text, and filters to bring your designs to life. Whether you're designing a poster or preparing a presentation, we have solutions for you.
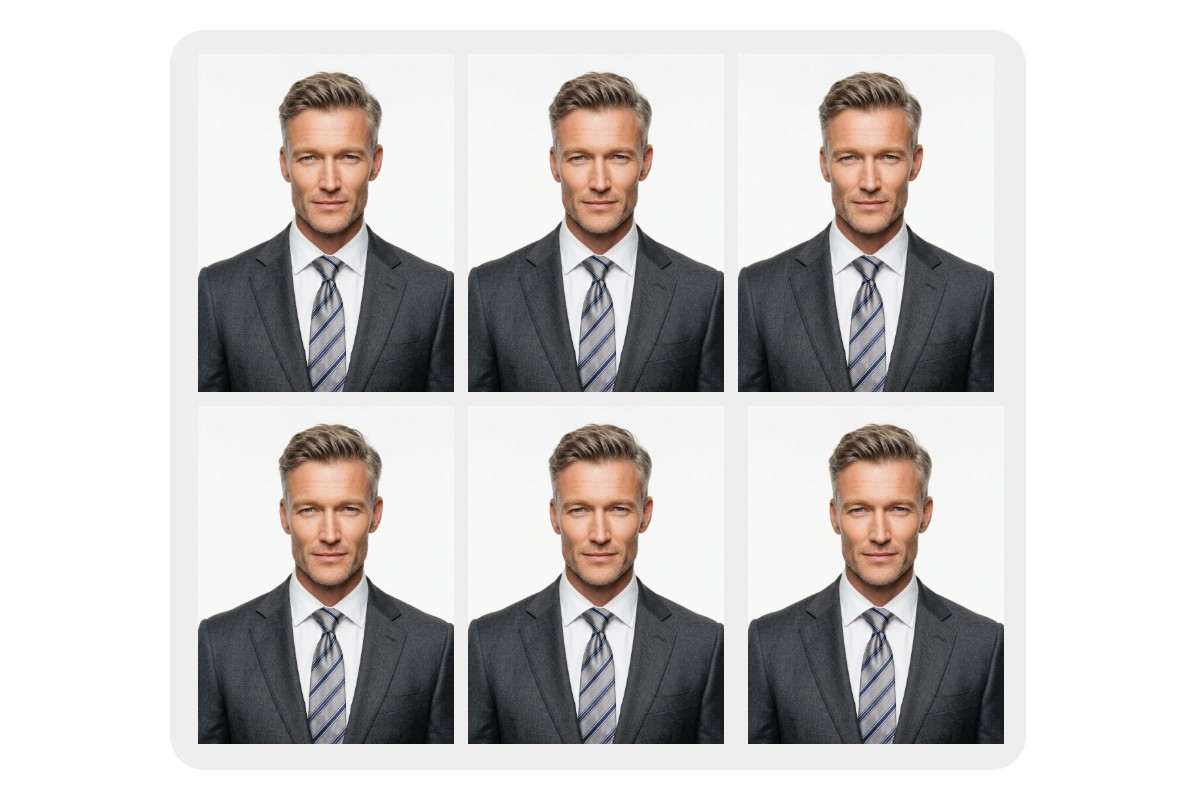
Printing & Layouts
Merge pictures and arrange them on a single sheet for instant printing. Ideal for professional headshots or passport photos. Our 6-photo template is designed for laying out 6 passport photos on one A4 sheet.