Free Online Image Brightener
Don’t let poor lighting ruin your shots. With Fotor’s image brightener, you can lighten dark photos, fix underexposed pictures, and brighten faces in photos with simple clicks. Brighten images now to bring out every detail.
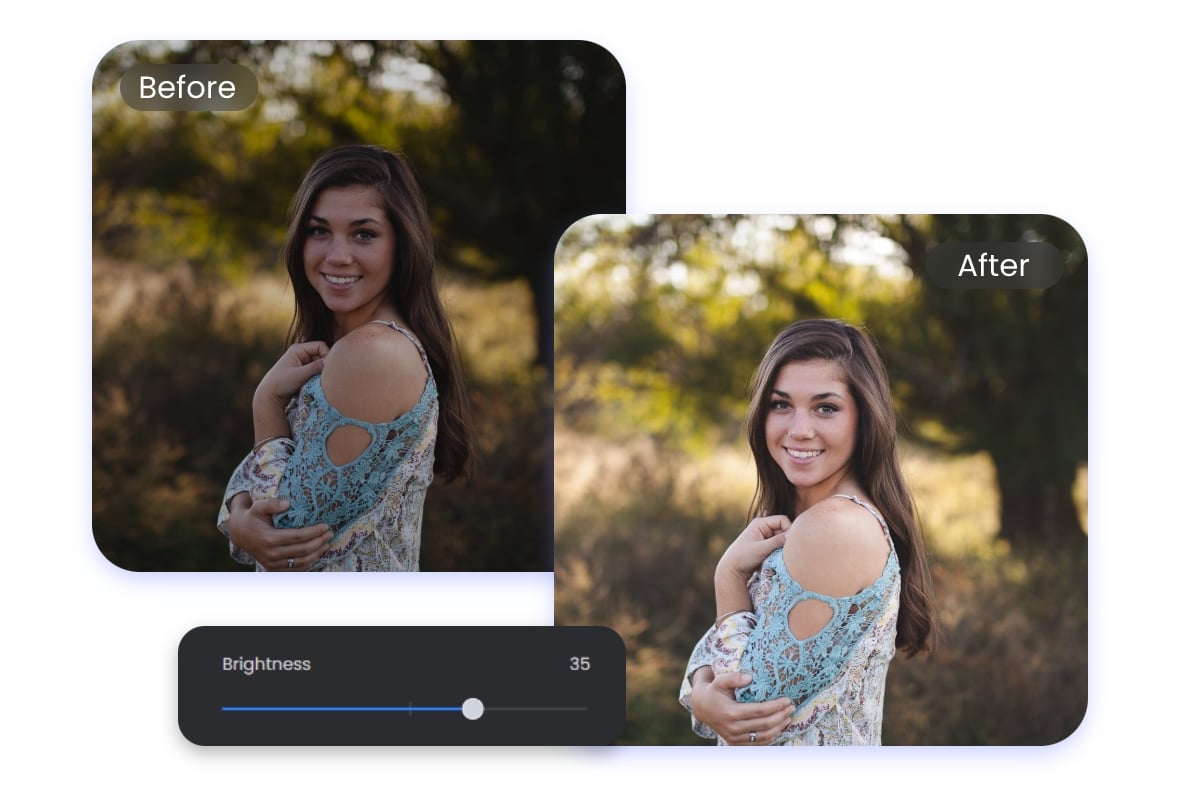
Brighten Images to Improve Details in Seconds
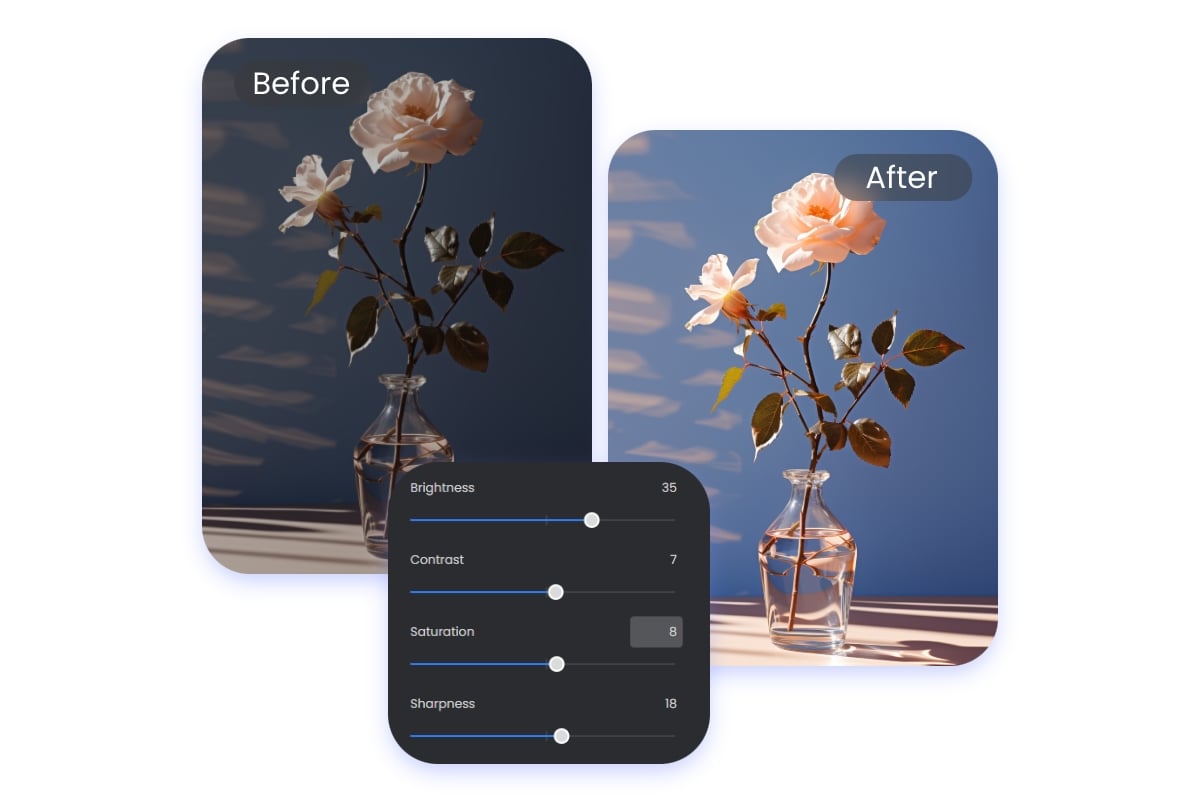
Are the details in your images obscured by darkness? Fotor's online image brightener helps you quickly brighten dark photos and clear blurry images. Simply upload your photo to our photo editor, increase the brightness with a quick slider, and watch your dark photo come to life with vibrant and radiant colors!
One-Click Automatic Photo Brighter with AI
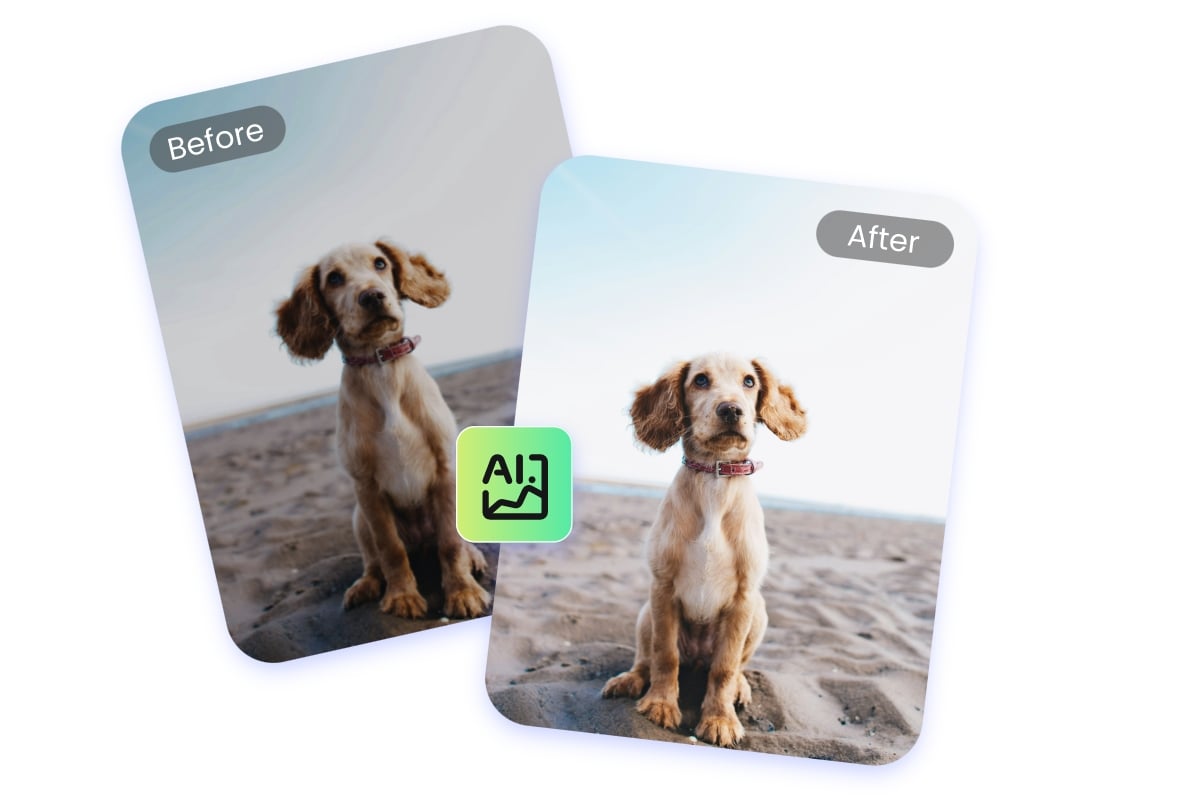
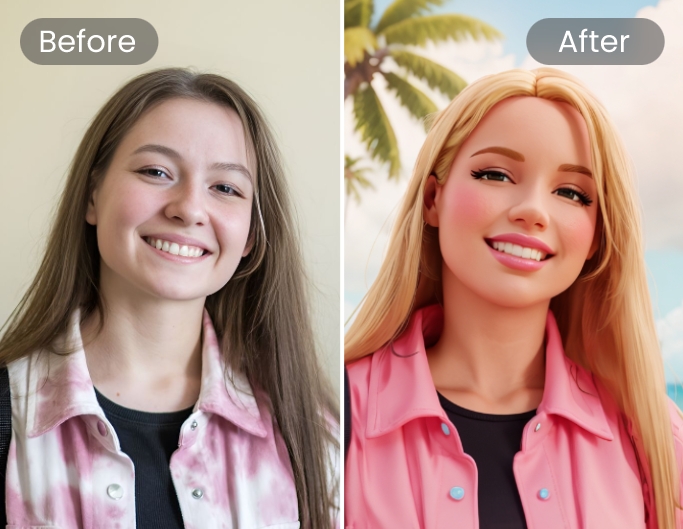
Fotor offers you a smart way to brighten images online. With our AI-powered automatic photo enhancer, you can remove darkness from images in just one click—no complicated steps are required. Whether you're editing portraits, landscapes, or product shots, our image brightener supports all image types. Effortlessly brighten faces in photos to make facial features look more natural and vivid. Try it out to make your photos always look perfect.
Lighten Dark Photos and Fix Underexposed Pictures Online
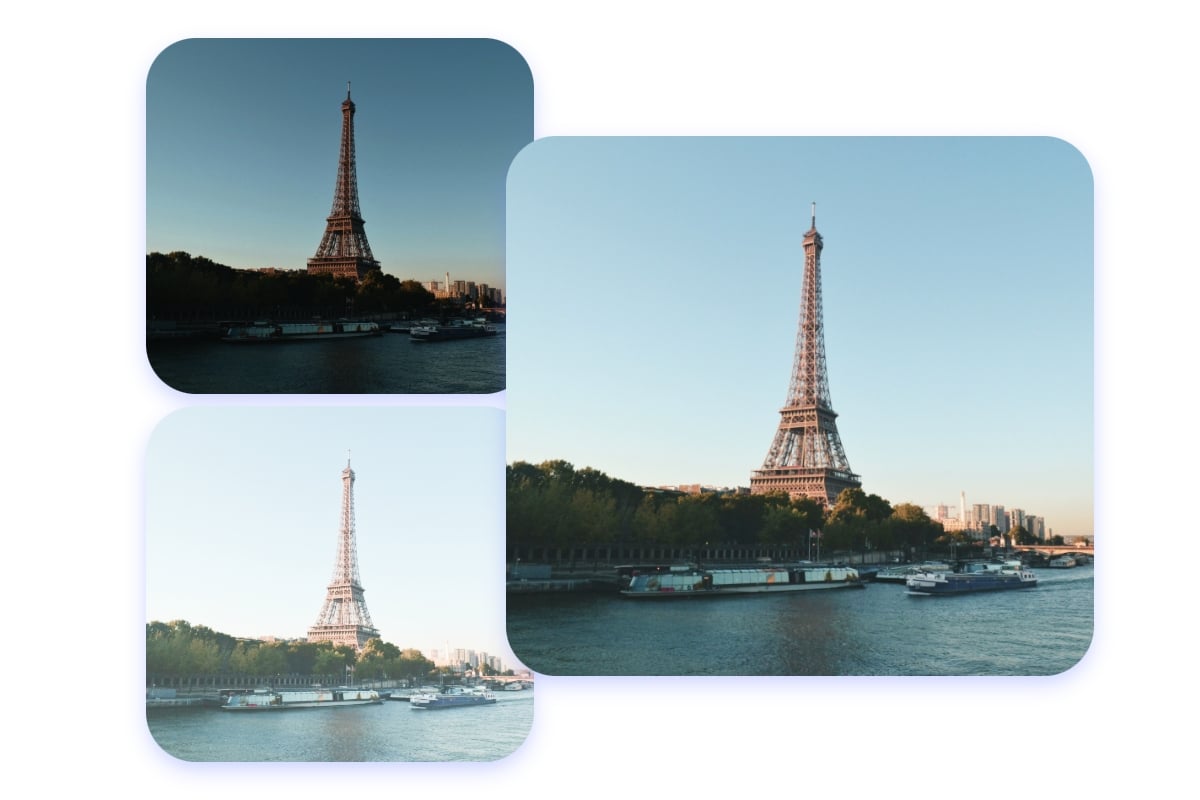
A dark and underexposed image can dull your details and make them less noticeable. Use our online free photo brightener to remove darkness and lighten dark, underexposed pictures within seconds. You can also adjust the contrast to reduce the brightness of overexposed images. Create high-quality HDR photos to make the image subjects and details stand out.
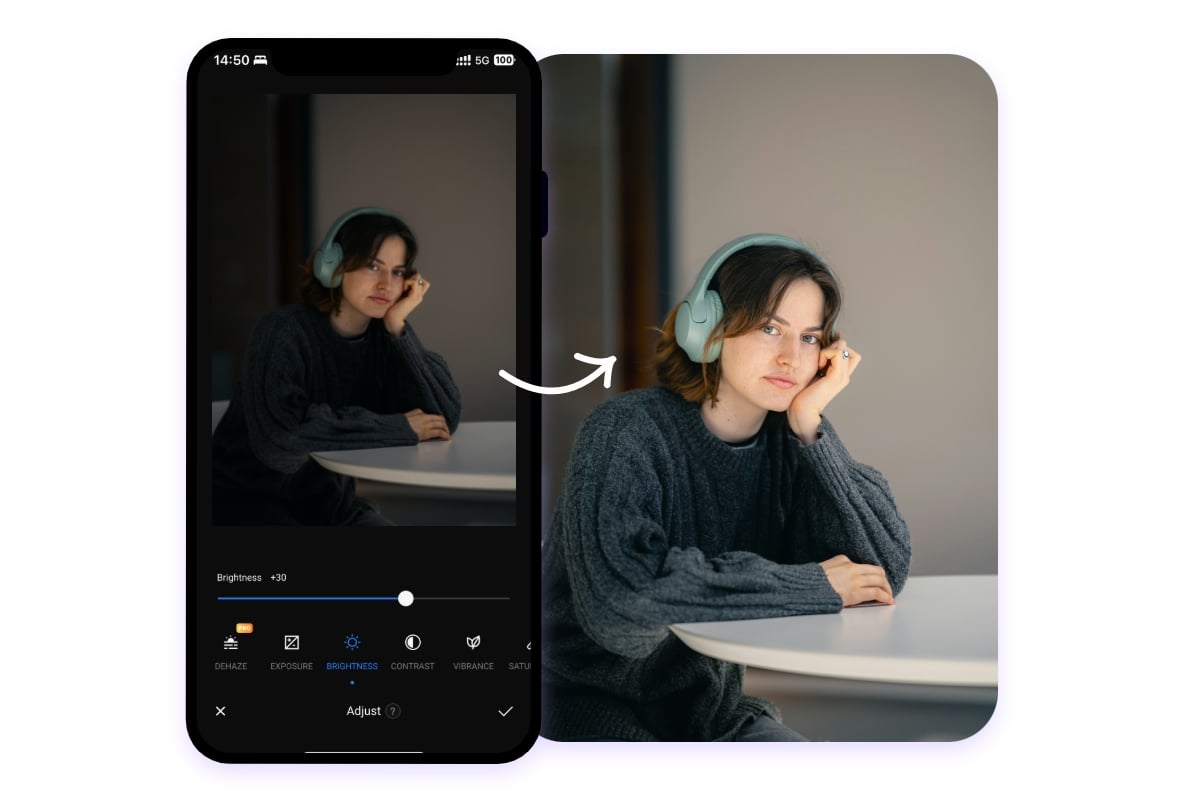
Free Photo Brightener App for iOS and Android
Fotor's image lightener allows you to brighten photos on your phone. We provide you with the best app for brightening photos for iOS and Android so that you can easily adjust photo brightness anytime and anywhere. Just download and log into the free app to lighten dark pictures and share them online now!
Enhance Your Photo with More Options
Simply brightening an image isn't enough. We offer more editing options to enhance your photos. In addition to adjusting brightness, you can fine-tune the HSL curves, improve color saturation, sharpen the image, and even adjust the color temperature. All these features are available in one place, making it easy to customize and perfect your image for the best results.

Customize Your Picture with More Elements
Continue to enhance your picture to perfection after lightening dark photos. Fotor offers you a rich library of resources. You can add different style filters and effects, insert text, and use various fun stickers to customize your picture, making it more creative. With Fotor, image editing tools are at your fingertips.
More Than Just to Brighten Photos
Whether basic photo editing tools or AI-powered image enhancers, Fotor offers everything you need to enhance and perfect photos.
AI Photo Color Correction
Correct image color with AI to achieve good lightness, contrast, and saturation in seconds.

AI Image Upscaler
Enhance your image quality and enlarge image resolution to 4K automatically with AI.
Hue Changer
Adjust the hue of your photo to make it more vibrant and visually appealing.
Blur Background
Blur your photo background to highlight the subject and add depth to your photo.
AI Filter
Use AI filters to make your images more creative and fun.
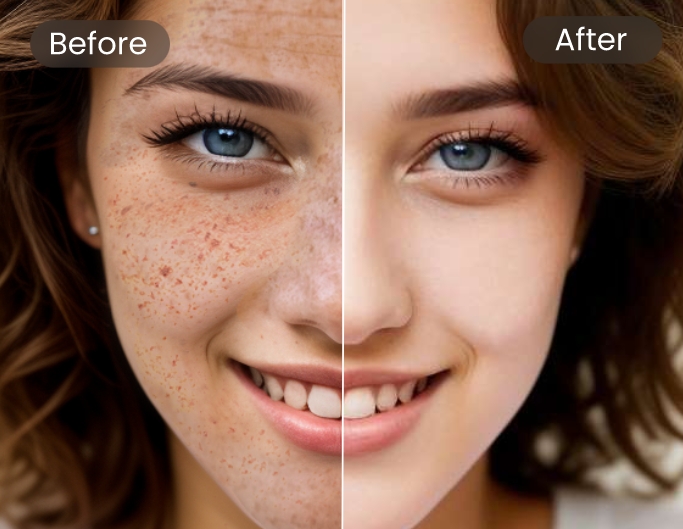
Photo Retouching
Transform your portraits and photos magically and flawlessly.
Why Choose Fotor Image Brightener
![Easy to use icon]()
Easy to Use
No special skills are needed. Just a few simple steps to brighten your photos.
![One stop editing icon]()
One-Stop Editng
No need to keep switching between different tools. Everything you need is in one stop.
![high quality icon]()
High-Quality Download
The entire editing process preserves image quality and supports high-quality downloads.
![No watermarks icon]()
No Watermarks
Whether uploading, editing, or downloading, no watermarks of any kind will be added.