How to Convert HEIC to JPG on iPhone (Easy Steps)

Summary: In this post, we will introduce easy steps on how to convert HEIC to JPG on iPhone, including iPhone files conversion, third-party converter and more useful tricks.

How to Convert HEIC to JPG on iPhone

With the update of iOS 11, Apple introduced a new feature of image file format to reduce size and better storage — HEIC format. However, HEIC is not as compatible as JPG files via internet transmission. The limited compatibility of HEIC format makes us have to convert it to JPG for our office work. But, how to convert HEIC to JPG on iPhone?

This post will introduce easy methods for you to change HEIC to JPG on iPhone. Follow our step-by-step tutorial, you can quickly change HEIC to JPG on iPhone with ease. And use the bulk conversion tool we recommended to improve your productivity and save time.

Why Need to Convert HEIC to JPG?

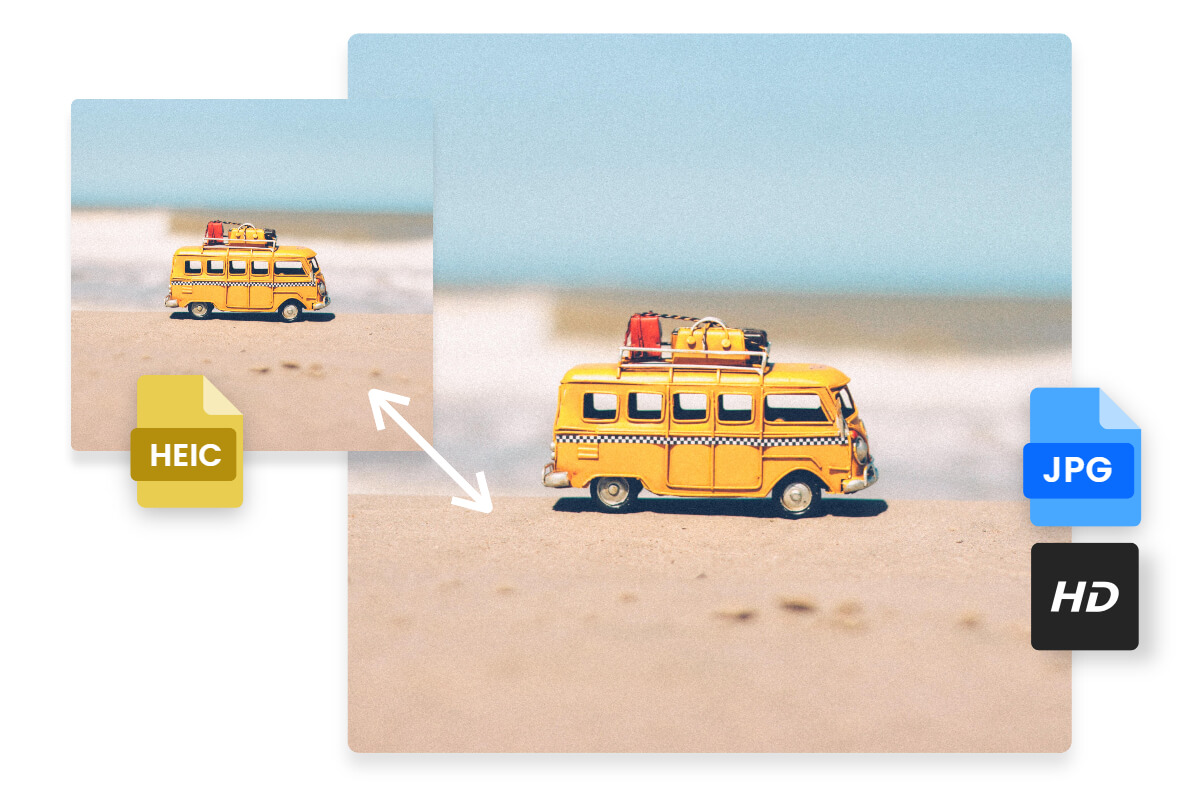
What is an HEIC file? HEIC, as a new image format, starts from iOS 11. It reduces the image size by up to 50% compared with JPG. That means we can store more images in smaller sizes in HEIC format.

However, HEIC is not a popular transmission format for internet communication and work. You can find many websites and emails that cannot support the HEIC format which makes troubles to work.

In contrast, JPG format is widely utilized in the world as the mainstream office file format because of its excellent compatibility and compact size. So, the best choice file format is also the JPG for your work convenience.

How to Convert HEIC to JPG ?

There is a trick that you can easily convert iPhone photos to JPG using iPhone built-in software Files. And there is also another easy method to change HEIC to JPG using a third-party tool. Follow the picture tutorials to convert from HEIC to JPG now!

How to Turn HEIC to JPG on iPhone?

  1. First, open Photos to select the picture you need to convert.
  2. Tap the Three-Dot Icon in the upper right corner and tap Copy.
  3. Open Files and tap On My iPhone. Long press in the blank space and tap Paste.
  4. Then your picture gets converted. In the last picture tutorial, tap the icon in the lower left corner to Save Image.
Convert HEIC to JPG on iPhone files

Learn more>>How to Change HEIC to JPG on Mac?

How to Change HEIC to JPG Using Third-Party Tool?

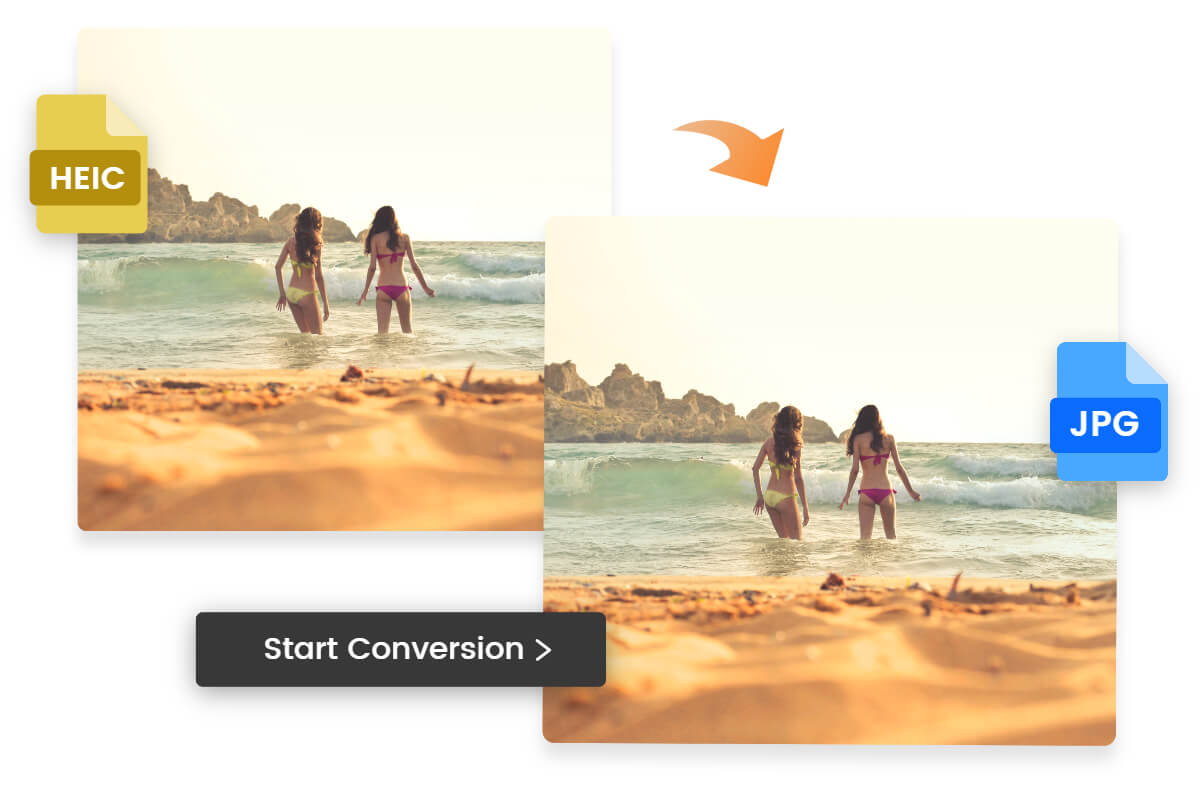
The method above can occasionally handle a photo conversion. But if you need to convert HEIC to JPG frequently. There is a super simple way for you to easily convert iPhone photo to jpg — image converter.

Convert HEIC to JPG in high quality with Fotor image converter
Fotor

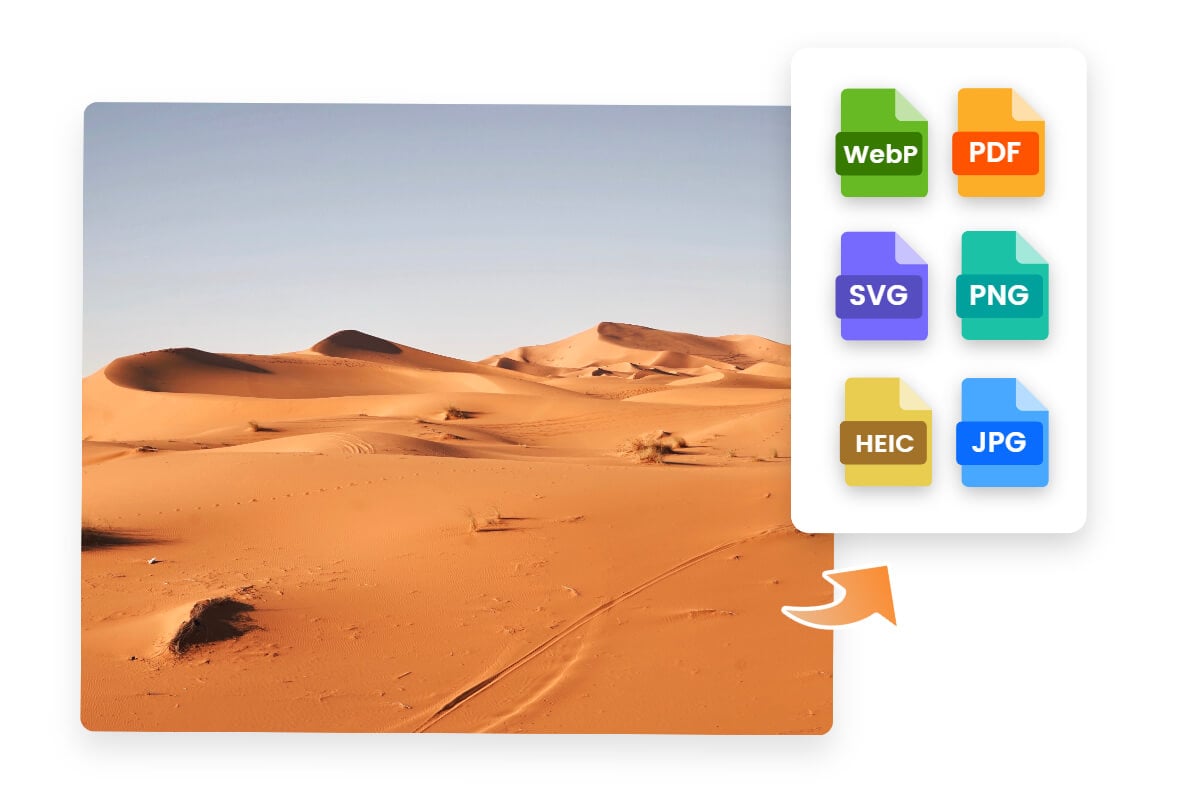
Use Fotor’s free image converter to convert photos into JPG, PNG, JPEG, and Webp at once. Convert images in seconds with high quality.

Convert HEIC to JPG Now

Fotor image converter combines with artificial intelligence. It can process your file conversion at a high speed while preserving high-quality image output. Moreover, Fotor HEIC to JPG converter ensures the security of users' data as the top priority. No one else can access your images uploaded, and they will be deleted automatically after conversion.

Let me show you how to convert quickly.

  1. Open Fotor image converter.
  2. Upload or drag and drop the HEIC file you want to convert.
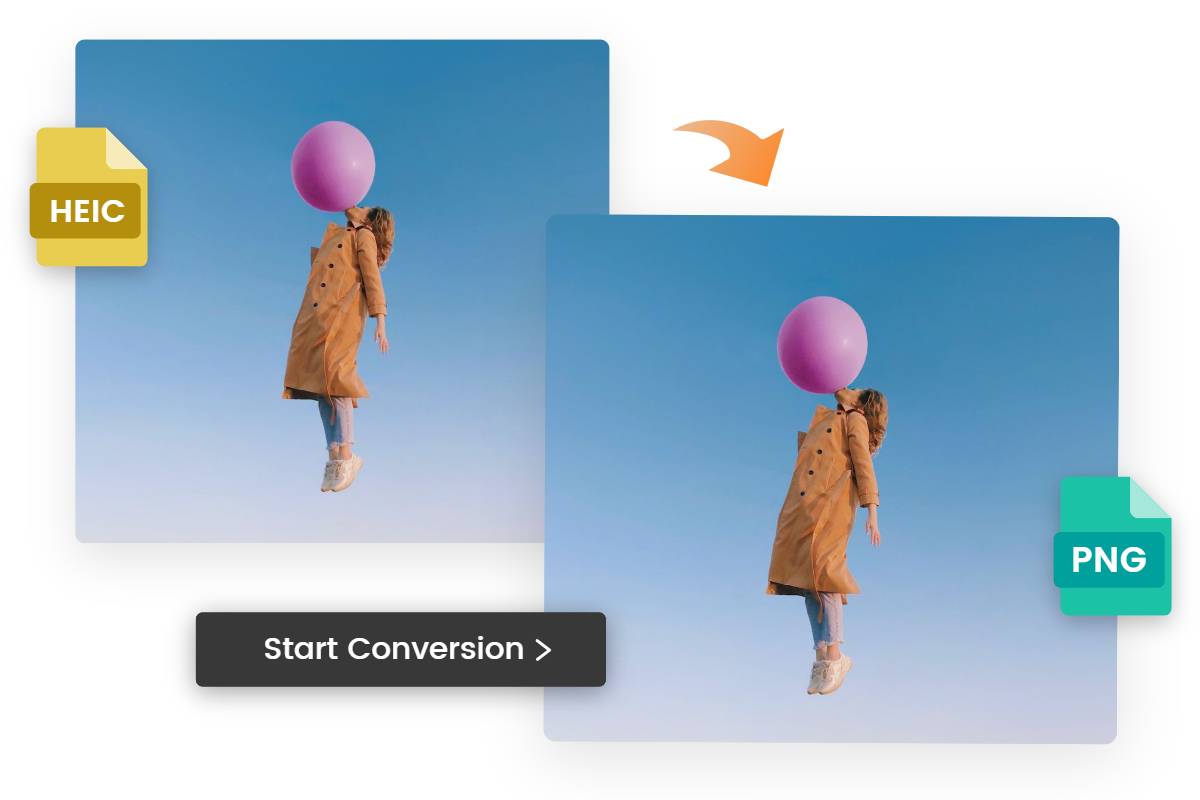
  3. Fotor’s HEIC to JPG converter will automatically start the conversion process.
  4. Download the converted JPG images individually or all together as a ZIP file.

Bulk Convert HEIC to JPG

The iPhone system doesn’t have an easy way for multiple photo conversion. But you don’t need to process conversion like above one by one. Here is a bulk converting HEIC to JPG tool for you to easily convert HECI to JPG in multiple images.

Fotor batch image converter is a user-friendly and data-secure tool for anyone to use. No need for sign-up and payment. You can use it to convert up to 50 images at once while delivering speedy processing for your convenience. Just upload your multiple images and convert high-quality images in seconds on your phone.

How to Change HEIC to JPG on iPhone Permanently?

With the iOS update, the system has set the HEIC as the default image format. But we can turn off HEIC on iPhone. Here are the steps.

  1. Open Settings and slide down to tap Camera.
  2. Tap Formats to change photo format.
  3. Tap Most Compatible and then your photos taken will be in JPG format.
Change HEIC to JPG on iPhone Permanently

FAQs

How to Convert HEIC to JPG on iPad?

It is super easy to change from HEIC to JPG on iPad.

  1. First, open Apple Photos and choose the picture you need to convert.
  2. Tap the Three-Dot icon on the top-right and tap Copy.
  3. Open Files and long press on the blank space to Paste.
  4. Then your HEIC has been converted successfully.

However, you can use Fotor image converter to turn HEIC to JPG with one click. Fotor makes conversion easier than ever.

How to Check Image Format on iPhone?

You can use Apple Photos to check more information about your images, such as shooting time, shooting location, shooting equipment information, photo resolution, photo size, photo format, etc.

Let me tell you how to check image information on iPhone.

  1. Open Photos. Select the picture you need to check.
  2. Tap the i icon on the third one from the left below.
  3. Then you can see all information about this picture.
Check image information on iPhone

How to Transfer to Mac or PC in JPG Format?

The iPhone system uses the default HEIC image format as usual. If you want to transfer your HEIC images to Mac or PC but in JPG format, follow the picture tutorial below to learn it.

  1. Open Settings and browse down to Photos.
  2. Tap Automatic and the pictures you transferred will be in JPG format.
Transfer images to Mac or PC in JPG Format on iPhone

Conclusion

In this post, we introduce easy steps on how to convert HEIC to JPG on iPhone, you can easily learn to operate in iPhone files. But batch image converter has made it much easier for you. You can turn HEIC to JPG in seconds without quality loss. Come and try it now!