Convert HEIC to JPG Online Free
Quickly convert the HEIC file to JPG with our free online HEIC to JPG converter, which ensures efficient conversion of HEIC files to universally compatible JPG format. It allows you to enjoy effortlessly view and high-quality image conversions.
How to Convert HEIC to JPG Online?
It’s easy to convert HEIC to JPG using Fotor’s free online HEIC to JPG converter.
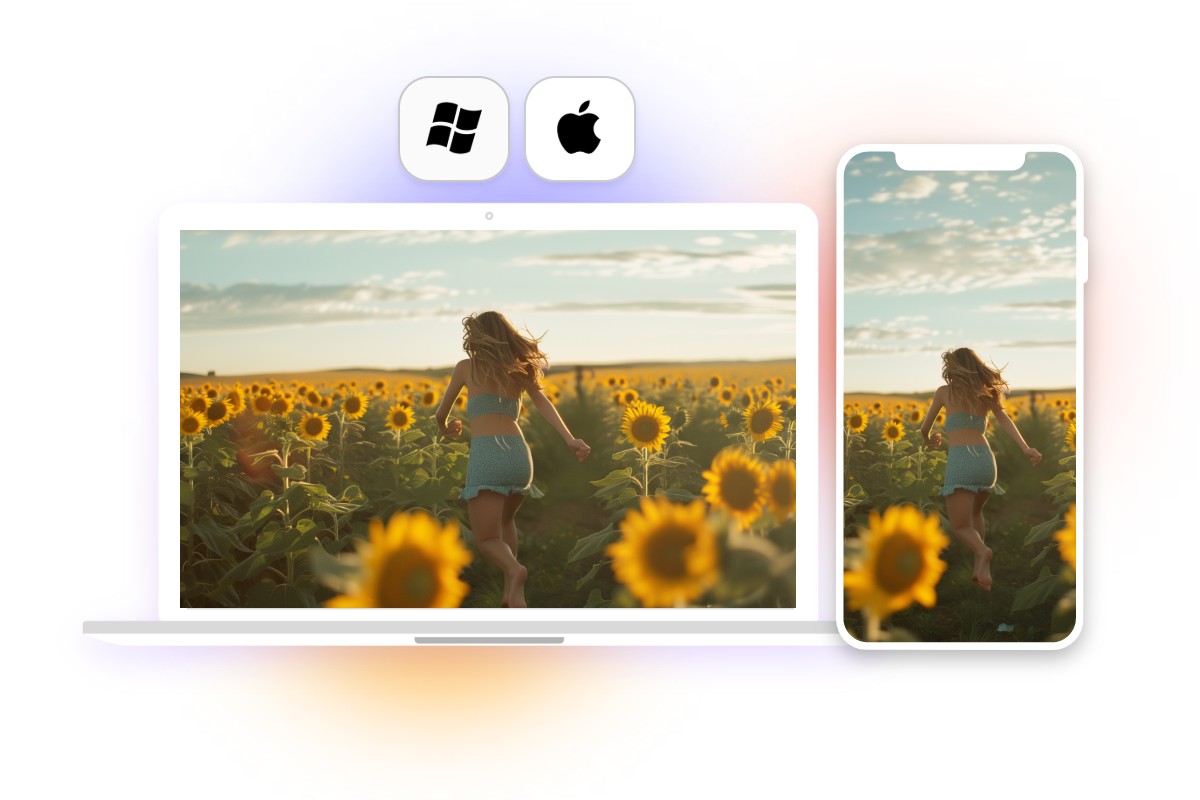
Convert HEIC to JPG on Multiple Platforms
Fotor's advanced HEIC to JPG converter lets you edit and share your images across various devices and platforms. Whether you want to change the heic to jpg on iPhone, Android, Mac, or Windows, they are all the same fast and easy. No need to worry about different platforms affecting your work efficiency. If you are a person who doesn't want to download software, you can also use our online converter to open the web and edit your pictures. There are no equipment limitations either.
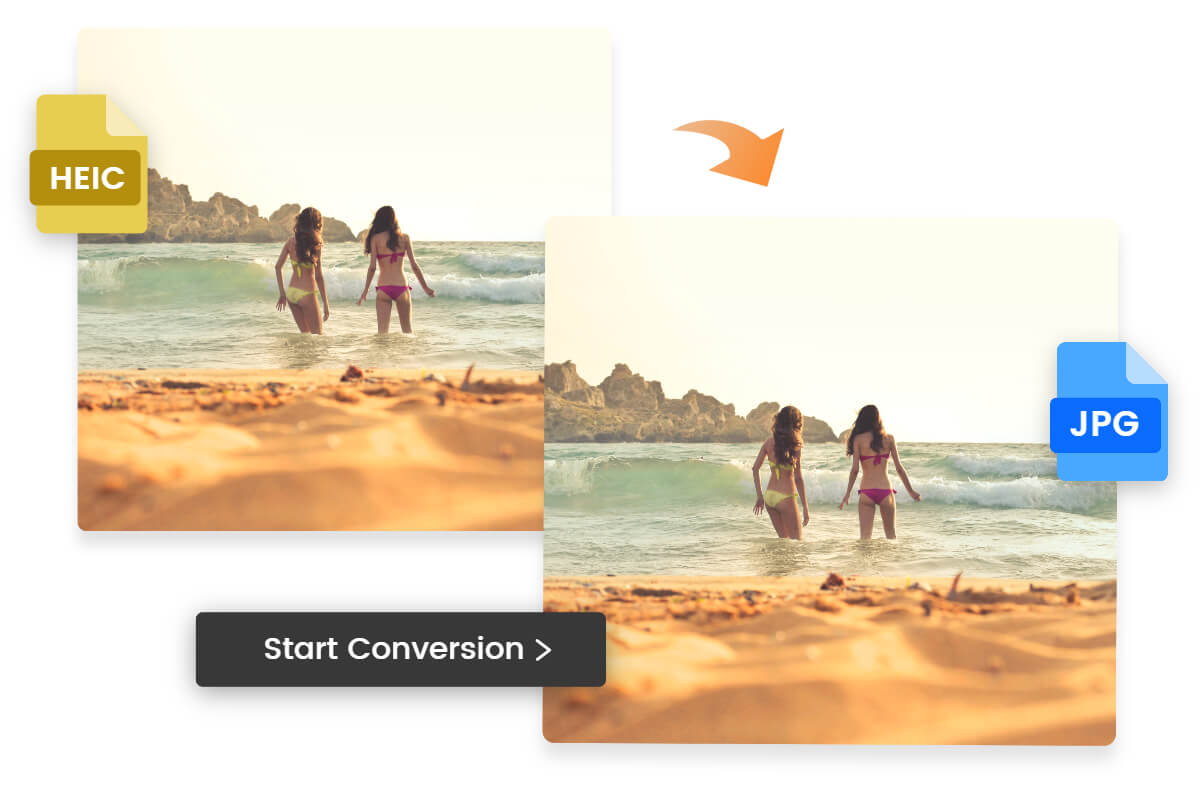
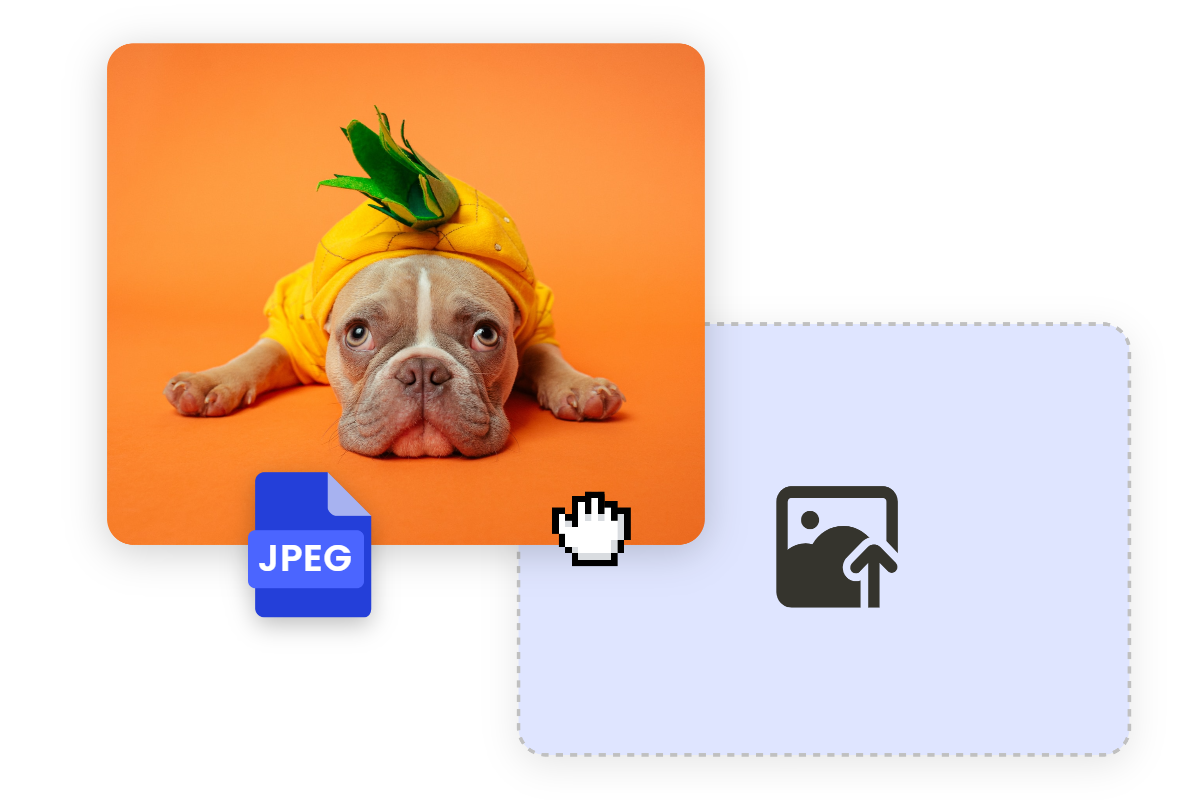
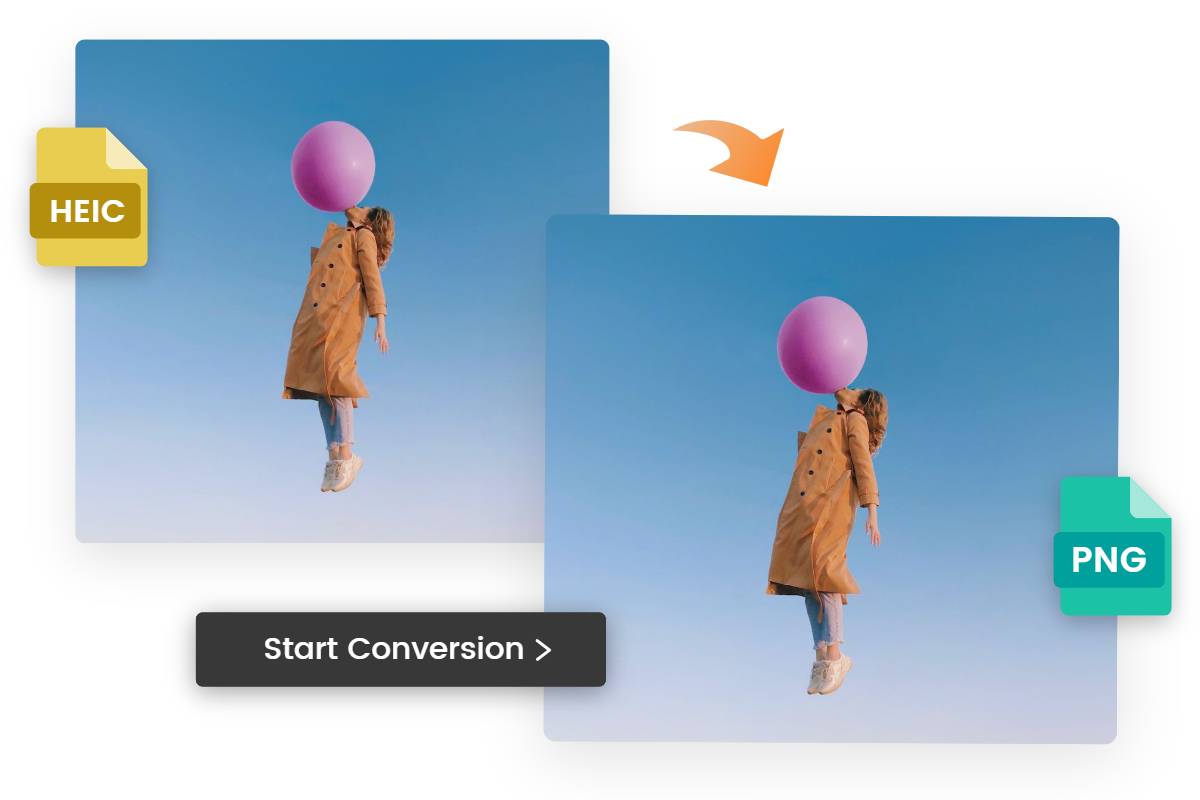
Convert HEIC to JPG Instantly
Fotor's advanced HEIC to JPG converter ensures efficient conversion of HEIC files to universally compatible JPG format, allowing you to effortlessly view, edit, and share your images across various devices and platforms. Simply upload your HEIC file to Fotor, and get a JPG image in seconds. Converting HEIC to JPG has never been easier!
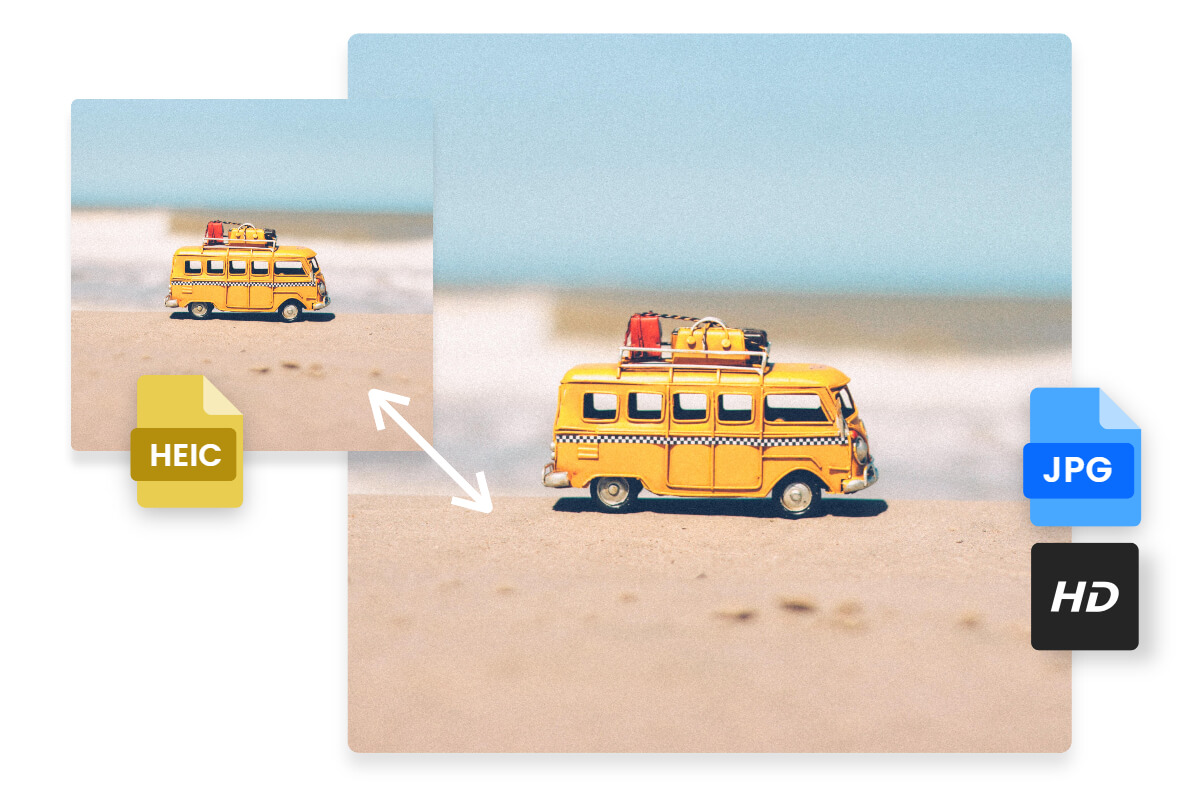
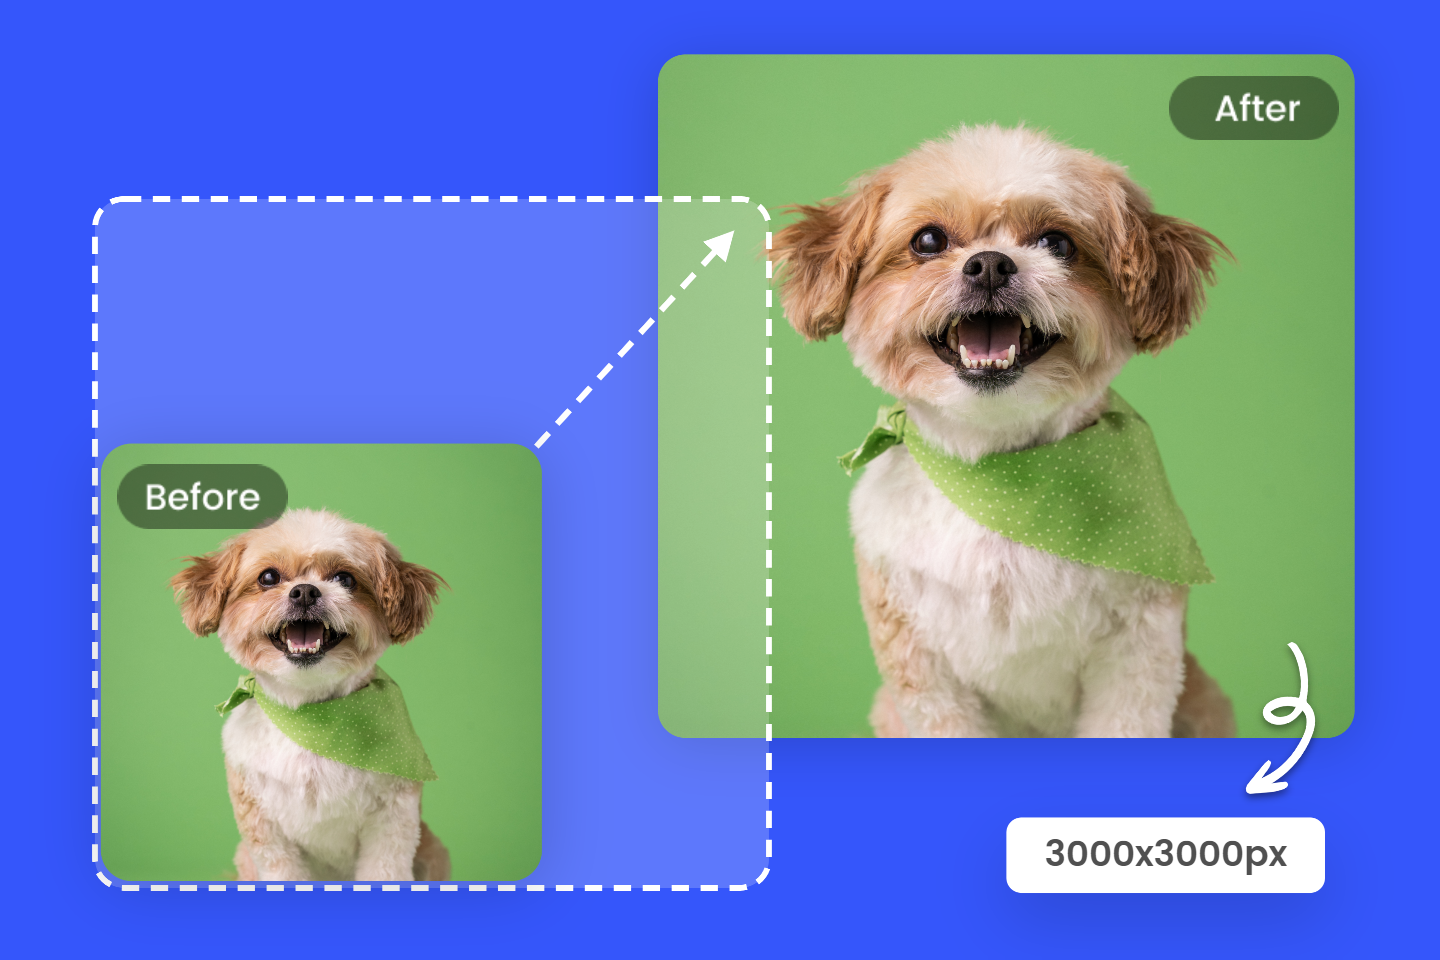
Change HEIC to JPG without Losing Quality
With our HEIC to JPG converter, rest assured that image quality will remain intact throughout the conversion process. Fotor allows you to convert HEIC files to JPG format while preserving the original image details. In addition, Fotor's image enhancer can further improve the image quality, help you adjust brightness and contrast, sharpen details, and enhance colors.
Try Fotor image converter now and enjoy high-quality conversions!

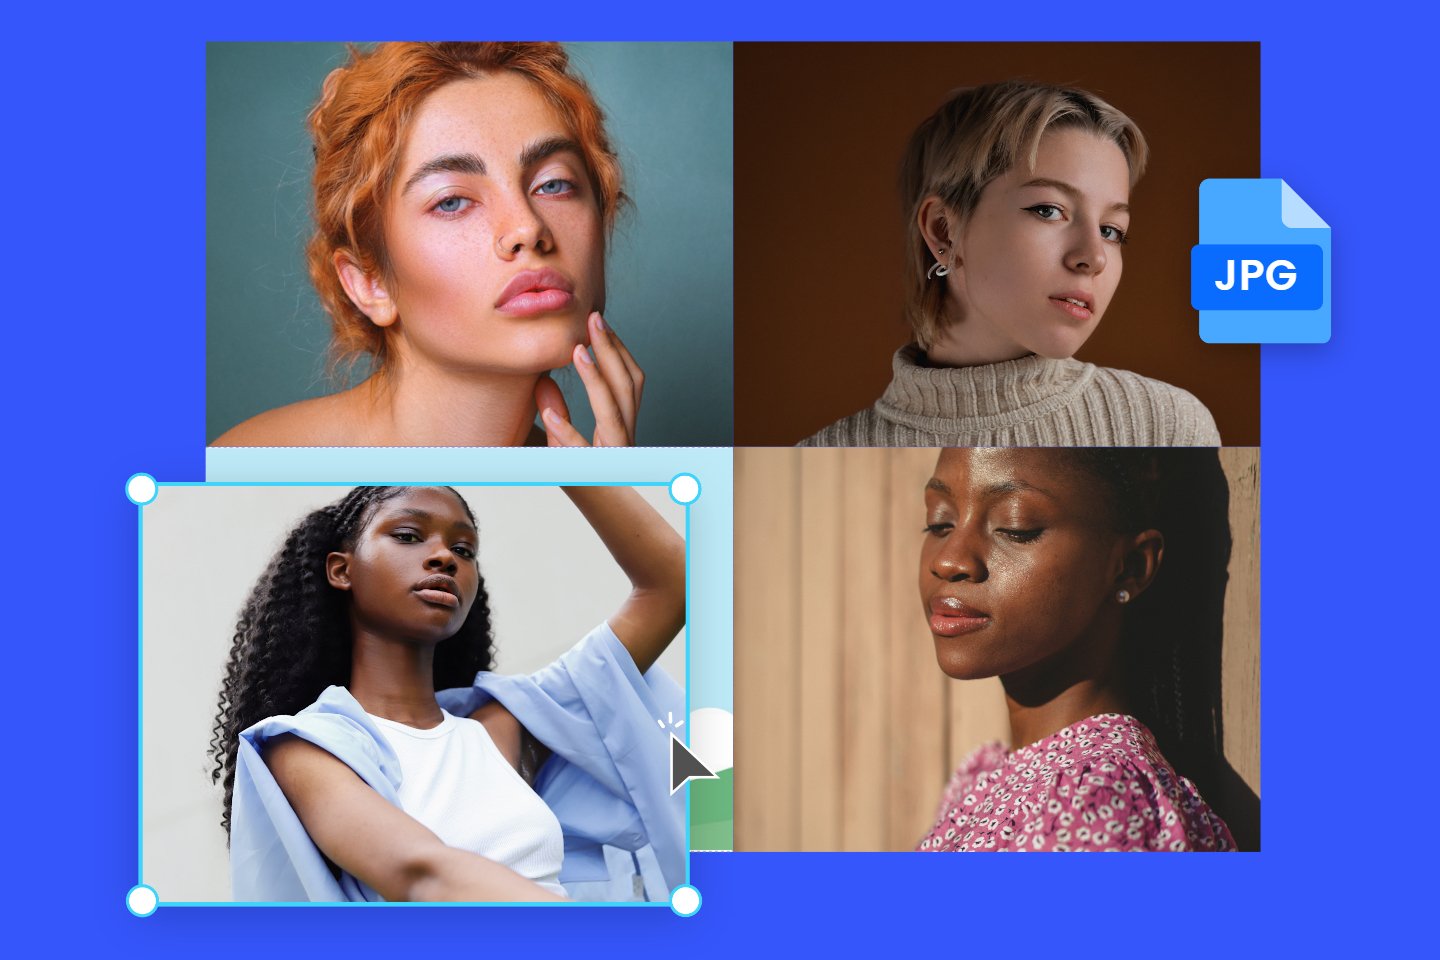
Batch Convert HEIC to JPG
Say goodbye to the boring process of converting images one by one, use our HEIC to JPG converter to convert multiple HEIC files into JPG format at once. By converting HEIC images in batches with our user-friendly tool, you can save valuable time and effort to capture superior photographs and enhance your photography endeavors.
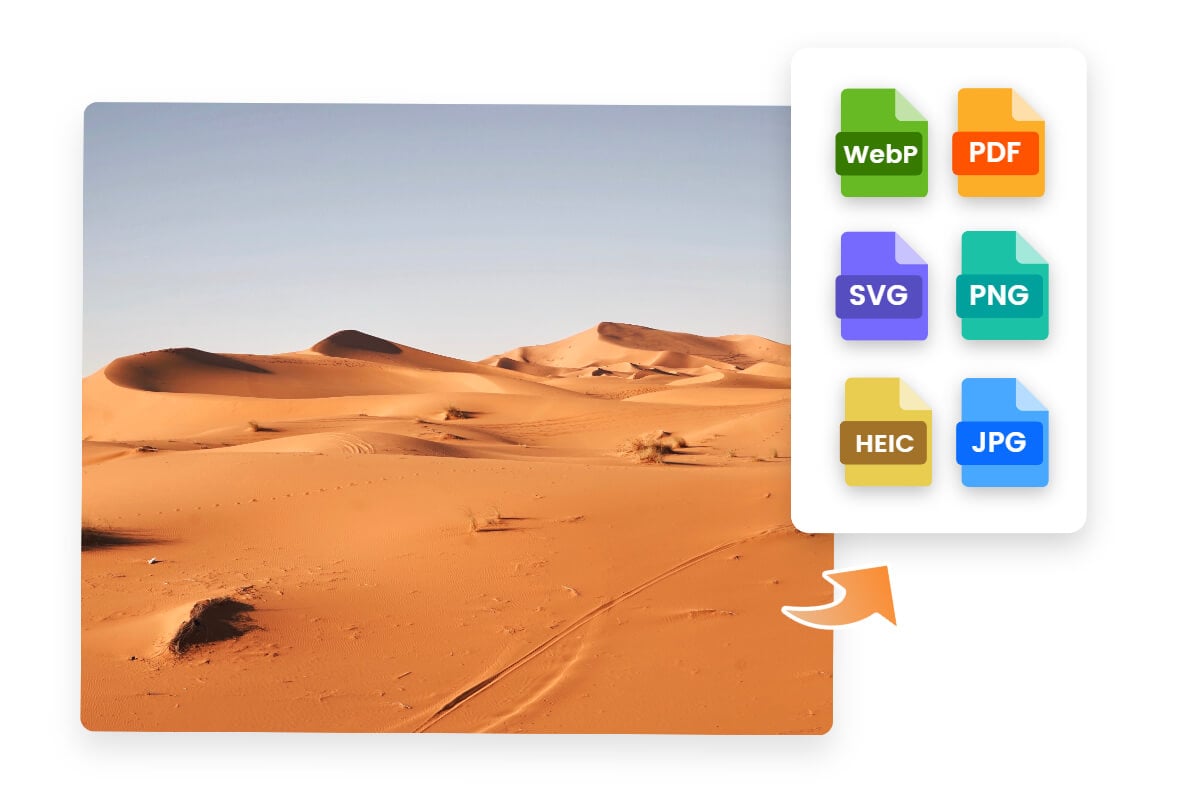
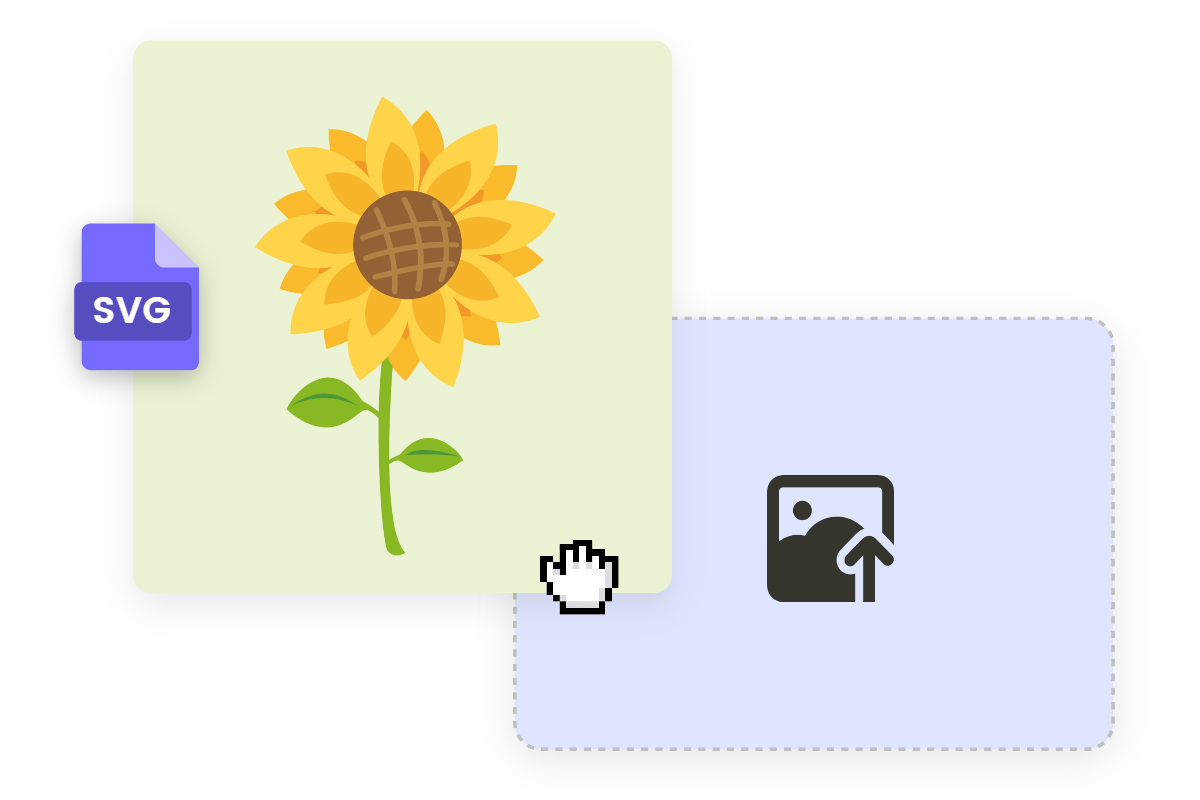
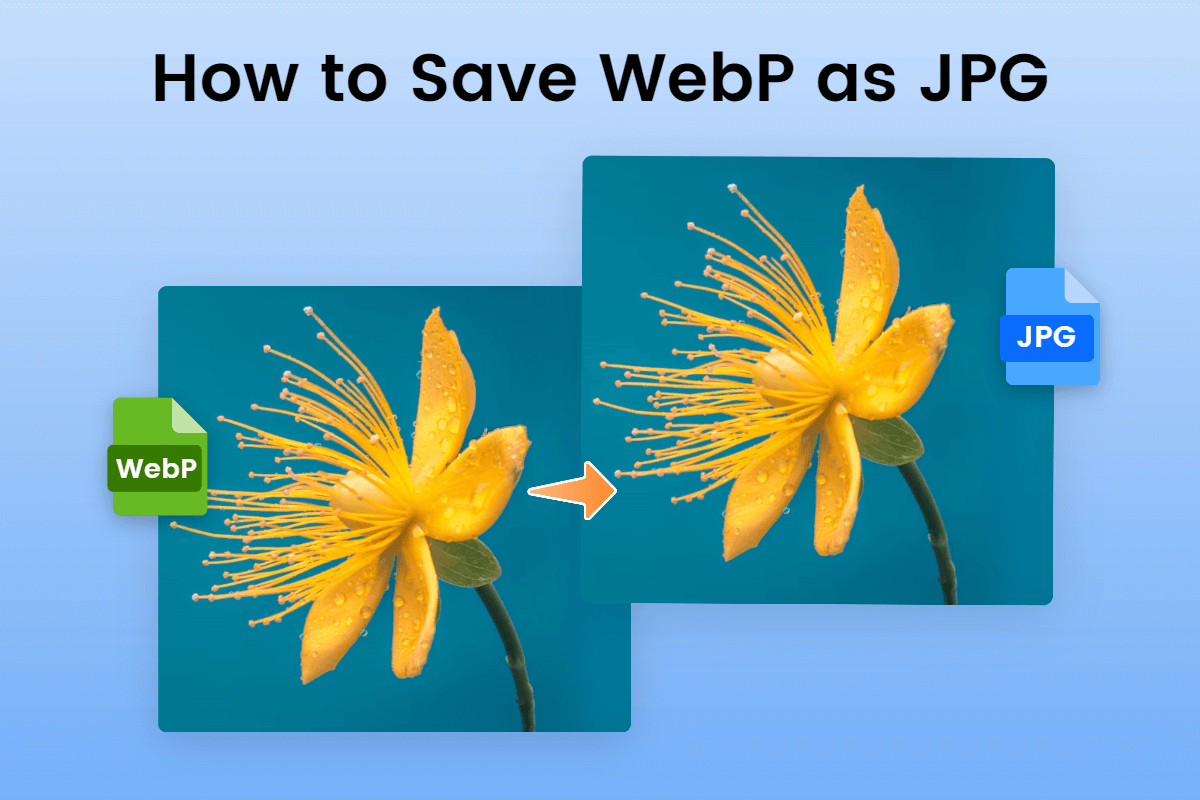
Various Image File Conversion
Fotor supports various image files, including JPG, PNG, PDF, WEBP, SVG, and HEIC. It allows you to convert between different image formats effortlessly. Whether you need to convert PNG to JPG, WEBP to JPG, or SVG to PNG, Fotor has you covered. With Fotor image converter, you can achieve rapid and superior image conversion, ensuring high-quality results in seconds.
Why Choose Fotor HEIC to JPG Converter?

Free
Our converters are completely free. You can do all the basic editing without spending one dollar.
Secure
We ensure that all user's private information will never be leaked or stolen. User uploaded and edited images are only visible and usable by the user.
Efficient
Take a few seconds to convert the HEIC images to JPG images. Batch conversion also only takes the same time.