Outline Pictures Online for Free
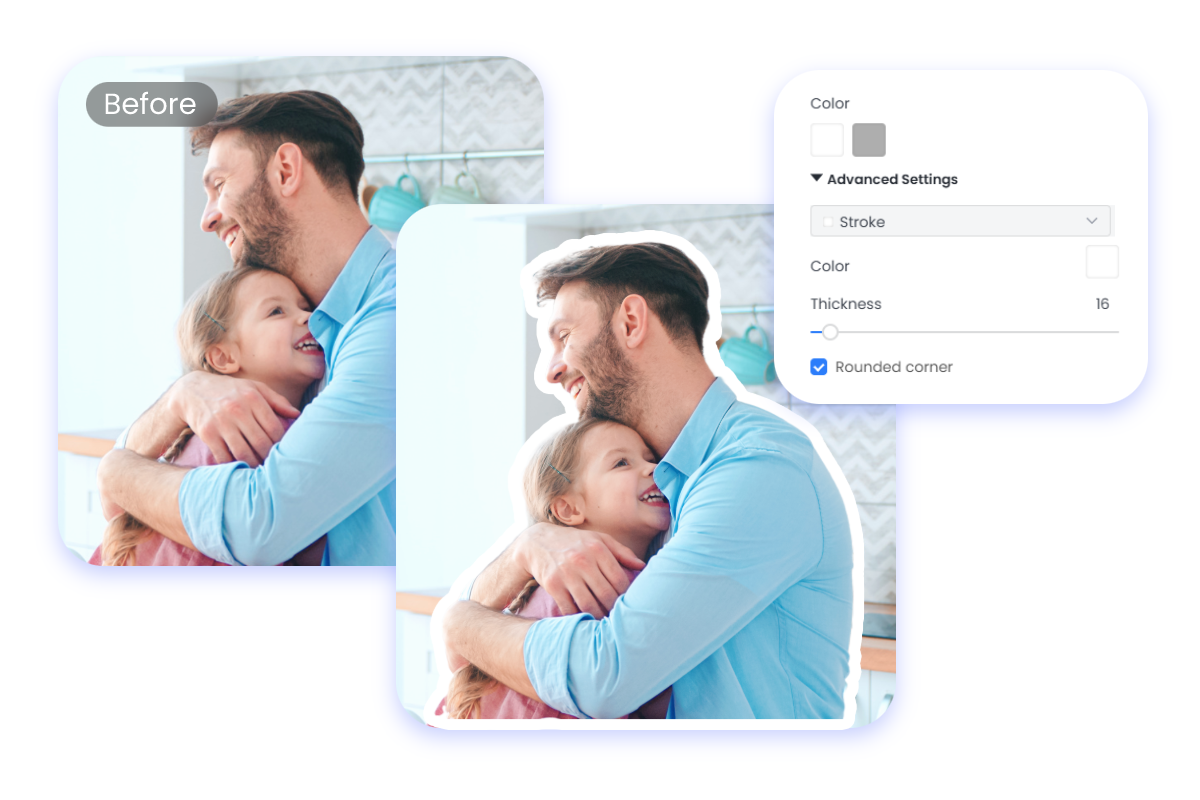
Feel free to outline pictures with our free online image outliner in Fotor! Inspire your creativity to add white outline to stickers, profile pictures, and memes instantly with outline maker. Distinguish your pictures with different outlines effects, such as white outline, glowing outline, and neon outline.


Enhance Your Pictures with Image Outliner Instantly
Adding an outline on pictures is a good way to stand out a person or an object in a photo, and this effect is regularly used as the YouTube thumbnail. Use our outline maker to add outline effect to your visual content to highlight your subject matter to draw people in. Select one of your favorite outline from our preset outlines and apply it to your image. Users can apply glowing outline, neon outline and other kind of outlines on their images.

White Outline Images Online with Outline Editor
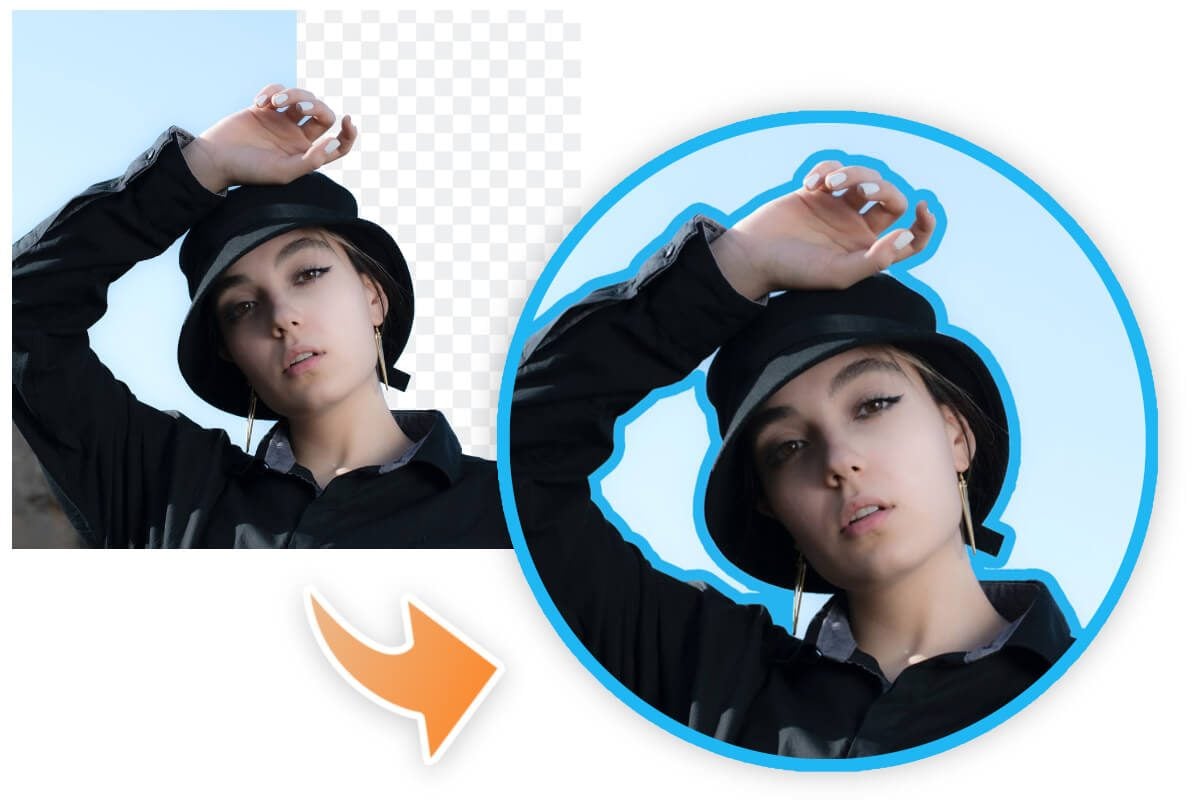
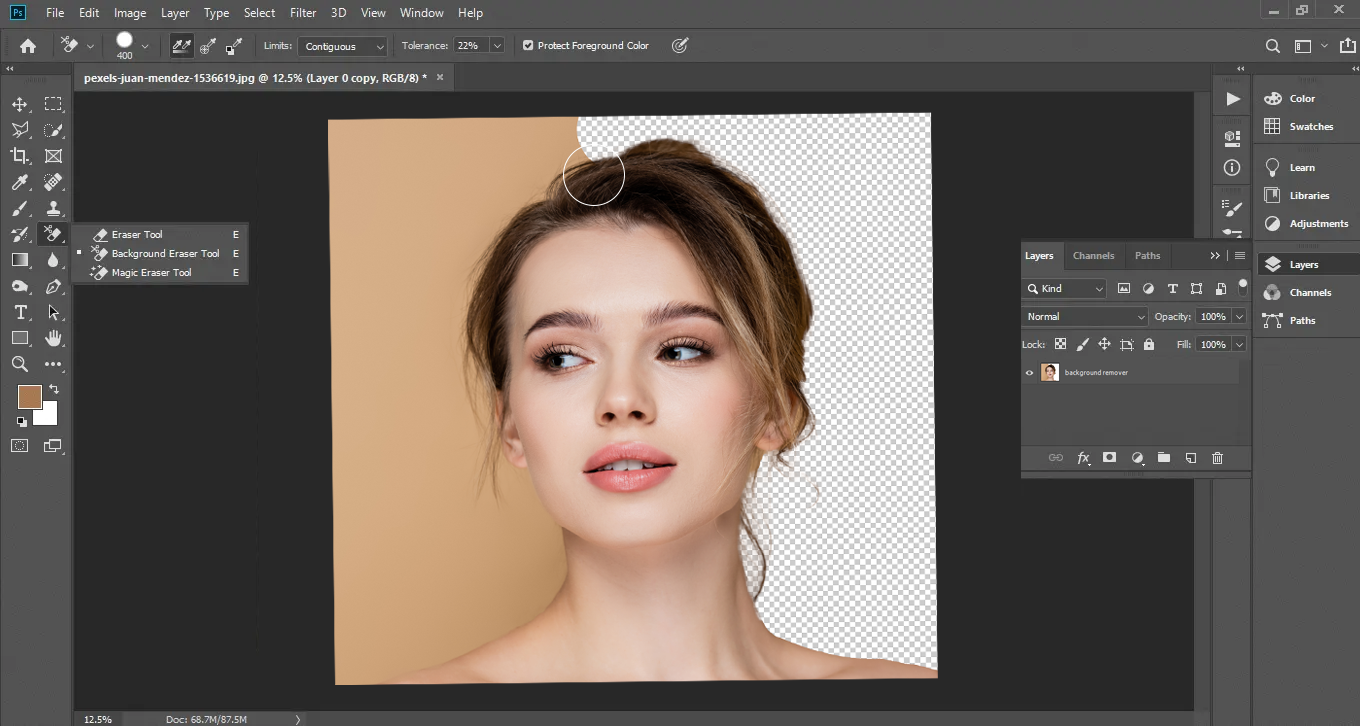
Add an outline to the photo quickly with Fotor's image outliner. No Photoshop skills are required. To add a white outline to your photo, just upload your photo and remove the background with one click using our automatic bg remover, then choose one of the preset outline effects and customize the color and spacing to create an outline of the image in minutes. Making outline images has never been easier!

Personalize Your Portrait with Outline Effect
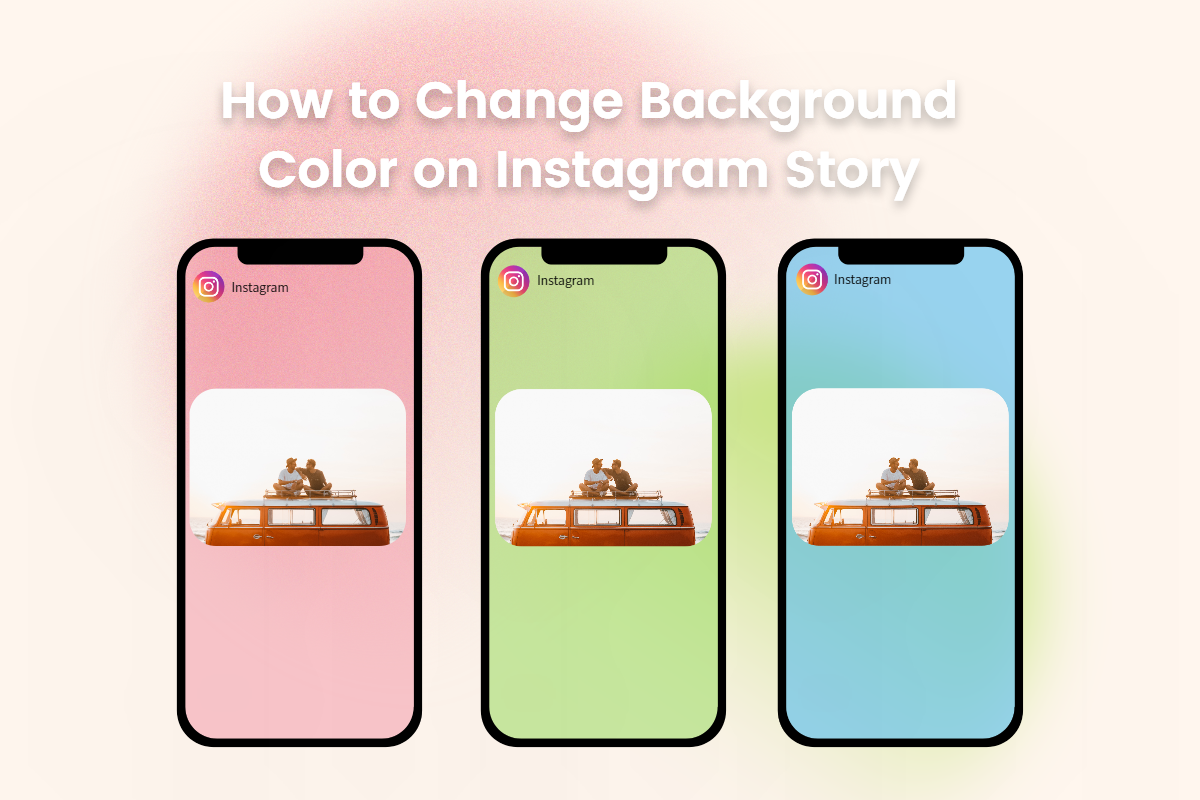
Great backgrounds are very important for outline pictures. You can easily remove the background from your portrait with Fotor's background remover. Outline your portrait like a pro to make PFP or memes. Replace image backgroundand design your background images by yourself. Come on and get a unique PFP for TikTok, Instagram, and other social media with a photo outline maker.

Outline Images to Make Funny Stickers
Spice up your pictures with photo outline editor to make them look like stickers. Outline images with our image outliner and your photo will be turned into an instant sticker. Users can outline pictures of dogs and cats to make cute stickers and share them with friends. Not only that, but you can arrange your outline pictures with other stickers you like to make sticker collages and print them out!

Share Your Outline Pictures on Social Media
Enrich your social media visual content with picture outline maker. Whether you want to make a YouTube video thumbnail or Instagram post, Fotor's image outliner has you covered! Choose your favorite template from our huge preset free templates, and add an outline to your photo to create an amazing outline photo that will attract viewers.
Why Pick Our Image Outliner?
Online Image Outliner
There is no need to download any apps. Users can directly use our outline adder to enhance their images.
Easy-to-use Outline Maker
No complex process to add outlines on photos. Fotor provides users with a smart bg remover to add outlines in a few clicks.
Useful Outline Editor
Users can choose different outlines to add on their photos. There is outline editor for them to adjust thickness and colors of outlines.


