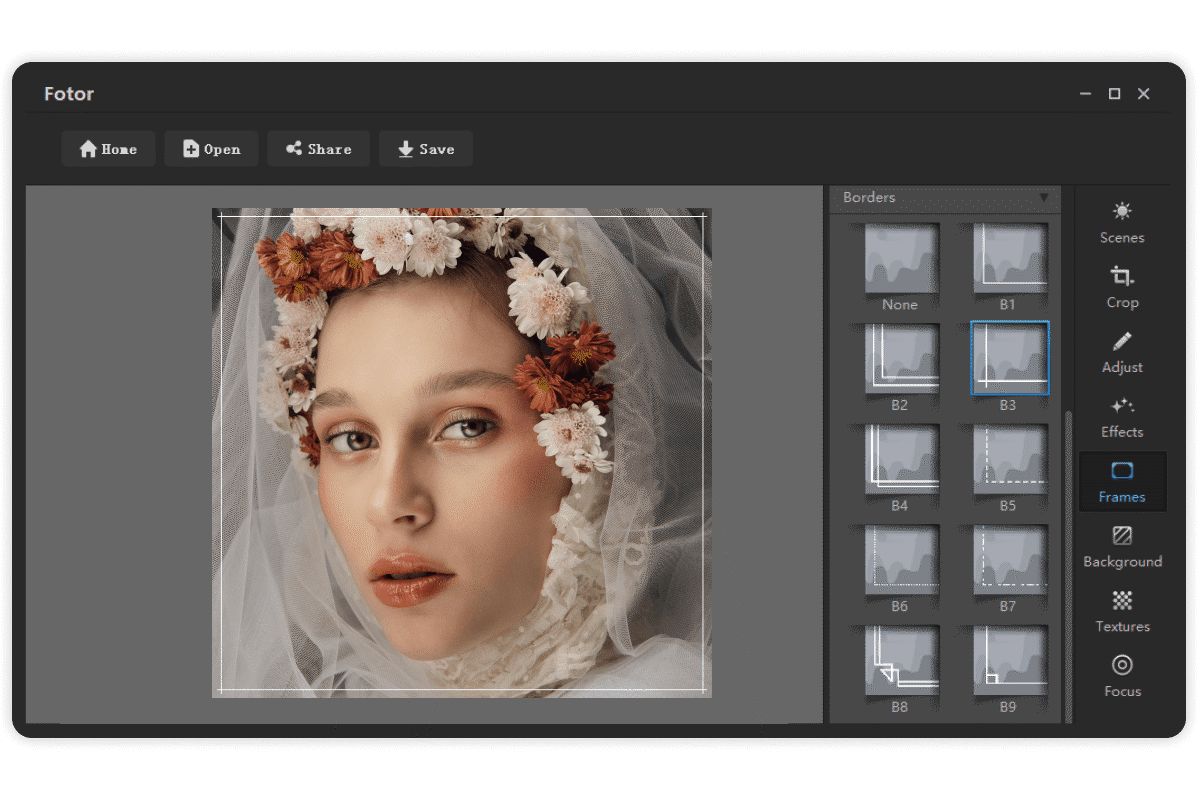
Fotor, the Best Mac Photo Editor
Free and simple photo editing software for mac, allowing you to adjust exposure and brightness, crop and straighten pictures, smooth skin, collage photos, and create graphic design. All make your photos look unique. Fotor Mac photo editor has more than 5,000,000 downloads. You can't miss it!

Color Splash Function of Fotor Photo Editor for Mac
Color splash is a method of preserving the color of the center object and darkening the surrounding colors to achieve the effect of highlighting the center object. This contrast of bright and dark colors gives people a visual impact and instantly grabs the viewer's sight. Of course, Fotor's color splash can also customize the parts that need to keep the color bright.

Art Effects of Fotor Photo Editor Mac
Want to make the photos you share unique? Try the art effects of Fotor's best photo editing software for mac. Art effects of Fotor photo editor apply the latest AI technology to allow users to instantly transform their photos using preset fine art templates, inspired by the masters of the fine arts.
The painting style photo effects that mimic Van Gogh to Monet provide users with a choice between artistic styles to edit photos. Hurry up and download the Fotor photo editor on mac to see your artistic photos.
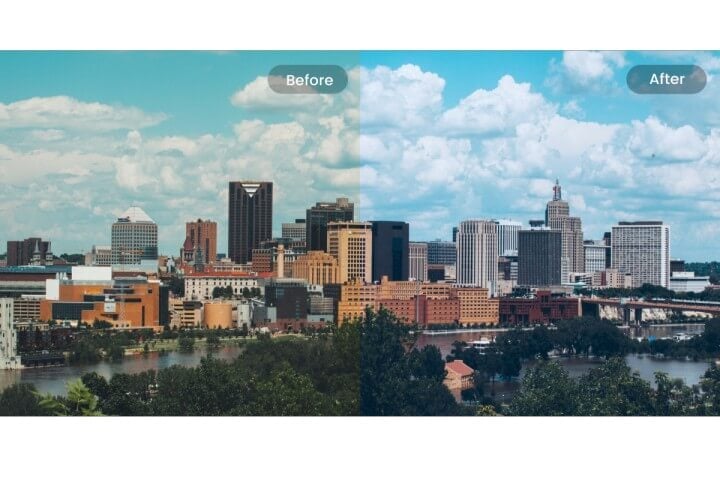
Photo Editor for Mac
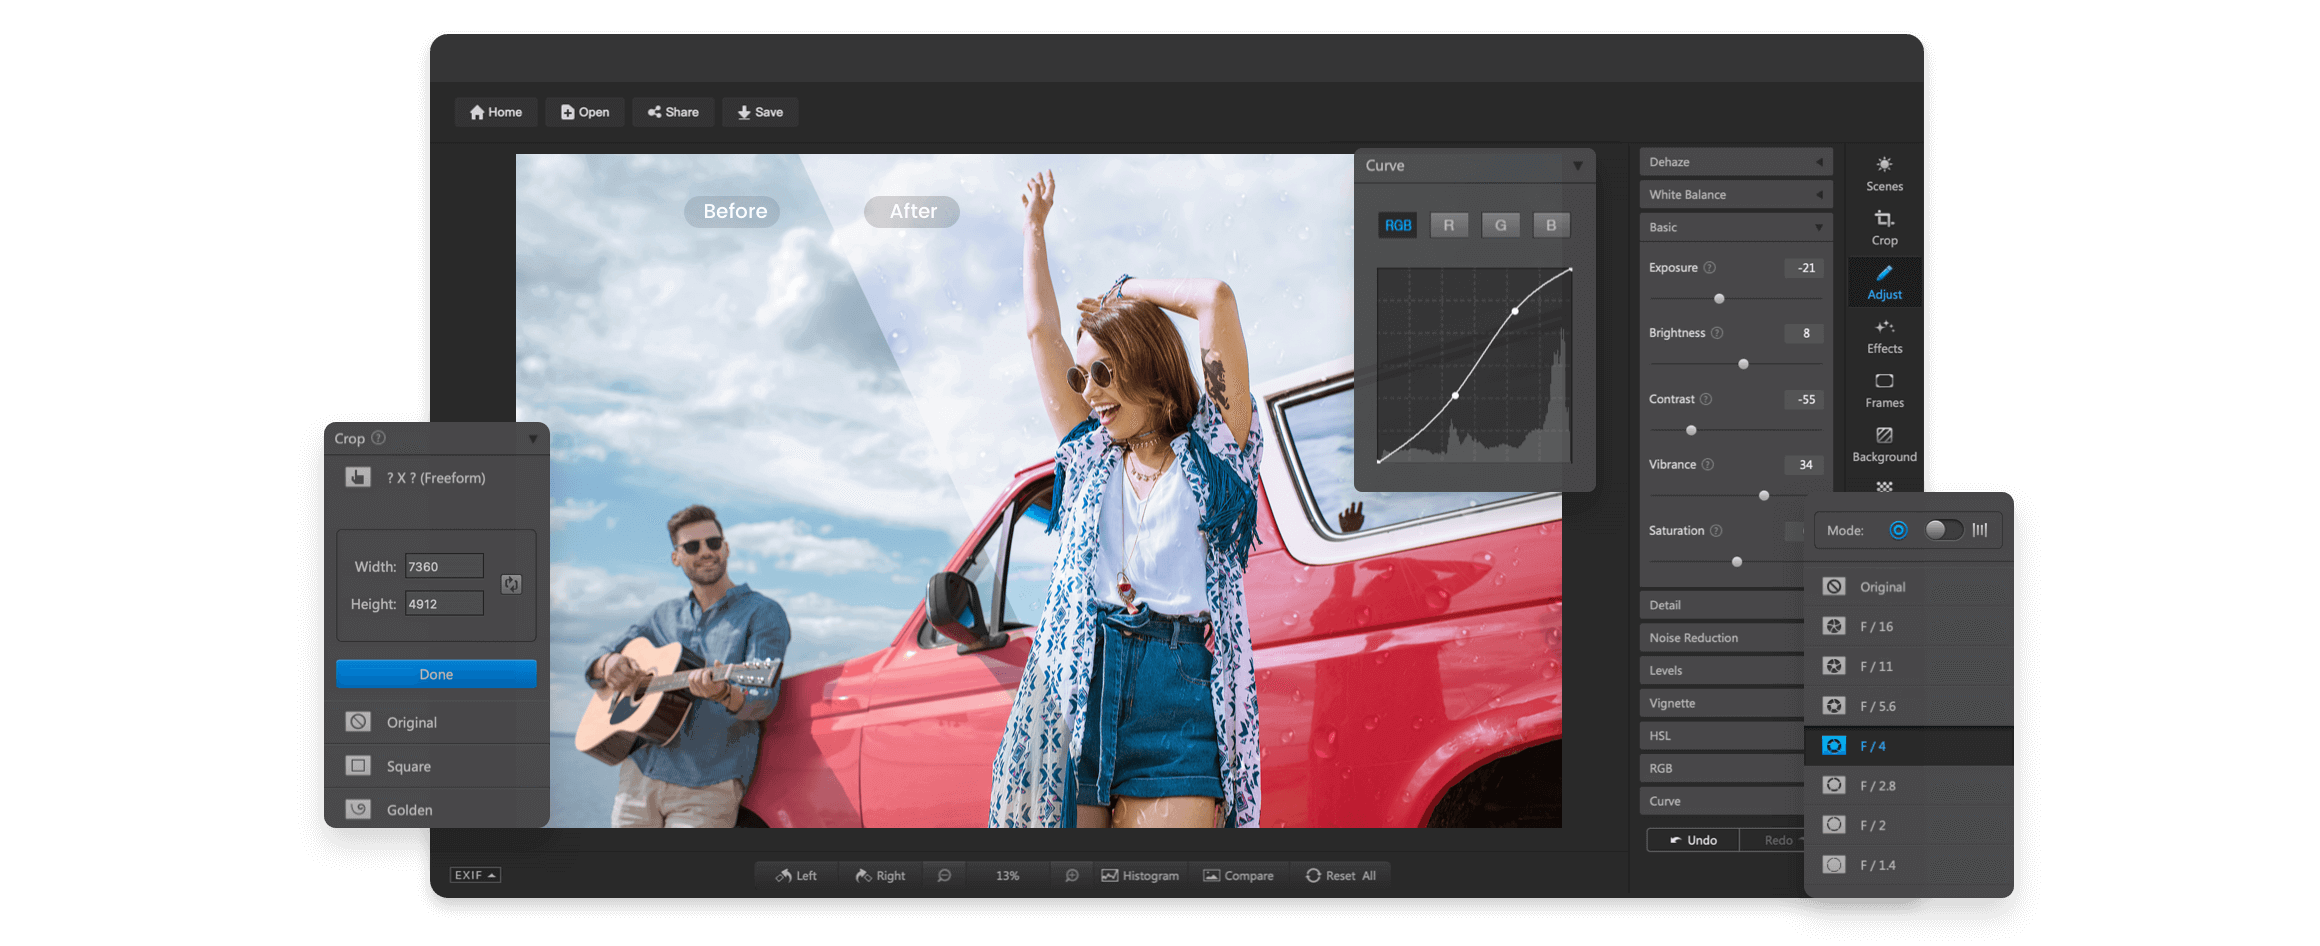
Fotor photo editor on mac is very convenient to use. Except for the photo effects, you can choose the adjust function to adjust the corresponding parameters yourself. In basic tools, you can change the exposure, brightness, contrast, vibrance, and saturation, sharpen images, and adjust the color tone. Using the RGB tool to add colors to highlights, middle tones, and shadows for your photos is a great idea.
Touch up Free Photo Editor Mac
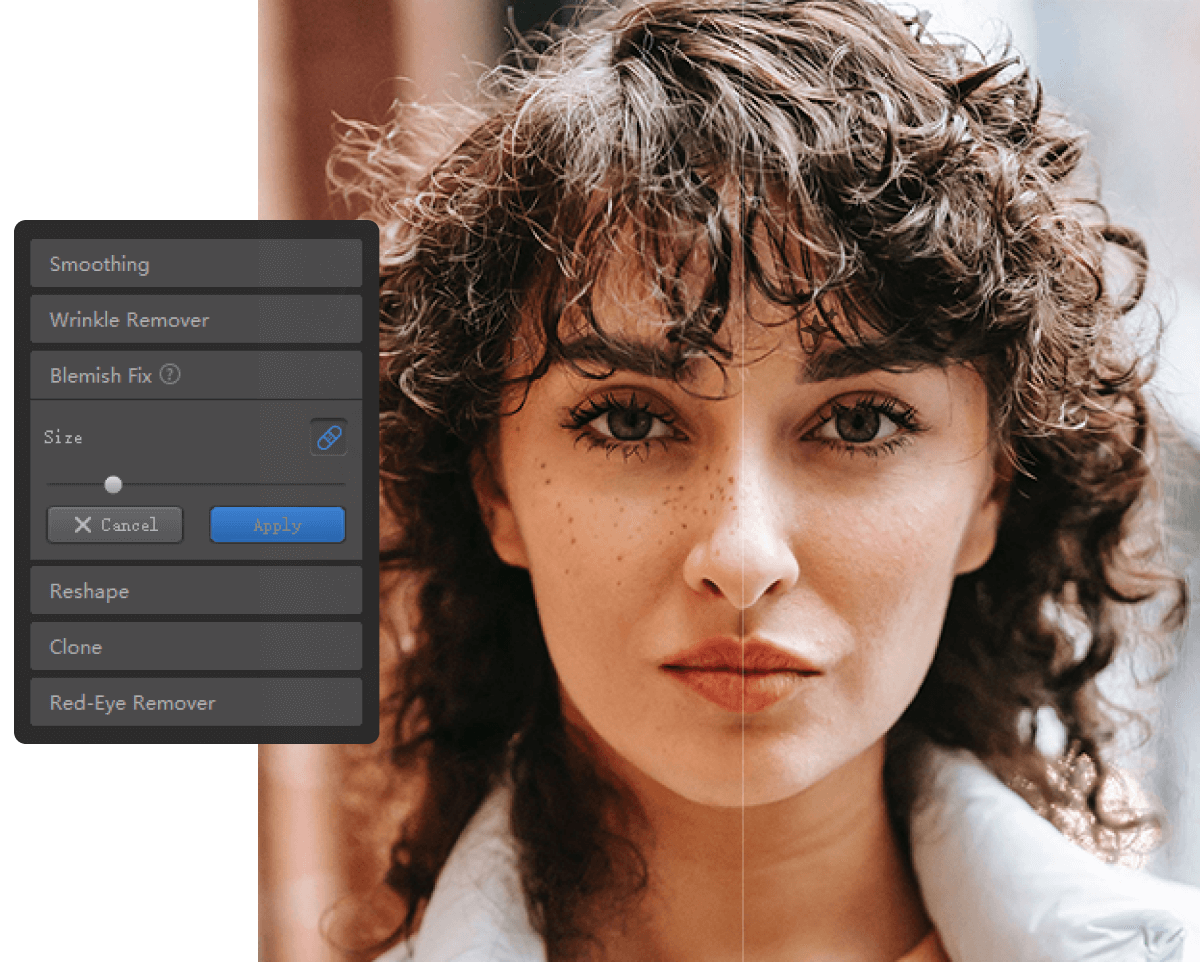
Are you still hesitating to share your photos on social media because of spots and acne on your face? Try the touch up function of Fotor photo editor on mac. The blemish fix can make the acne on your face disappear.
With just a few clicks of the smoothing tool, the skin becomes as smooth as a teenager's. Photos look fat? nonexistent. Use the reshape tool to adjust the face shape and body fatness at will.

Collage Maker on Mac
If you have too many photos to share and don’t know how to choose? The collage maker in Fotor is the right choice to combine all the photos you want to share in one go. As the best free photo editing software for mac, Fotor's collage frames function provides 100+ collage templates and freestyle modes for users to choose from. The number of pictures, size, and background color, all you can adjust as you want.
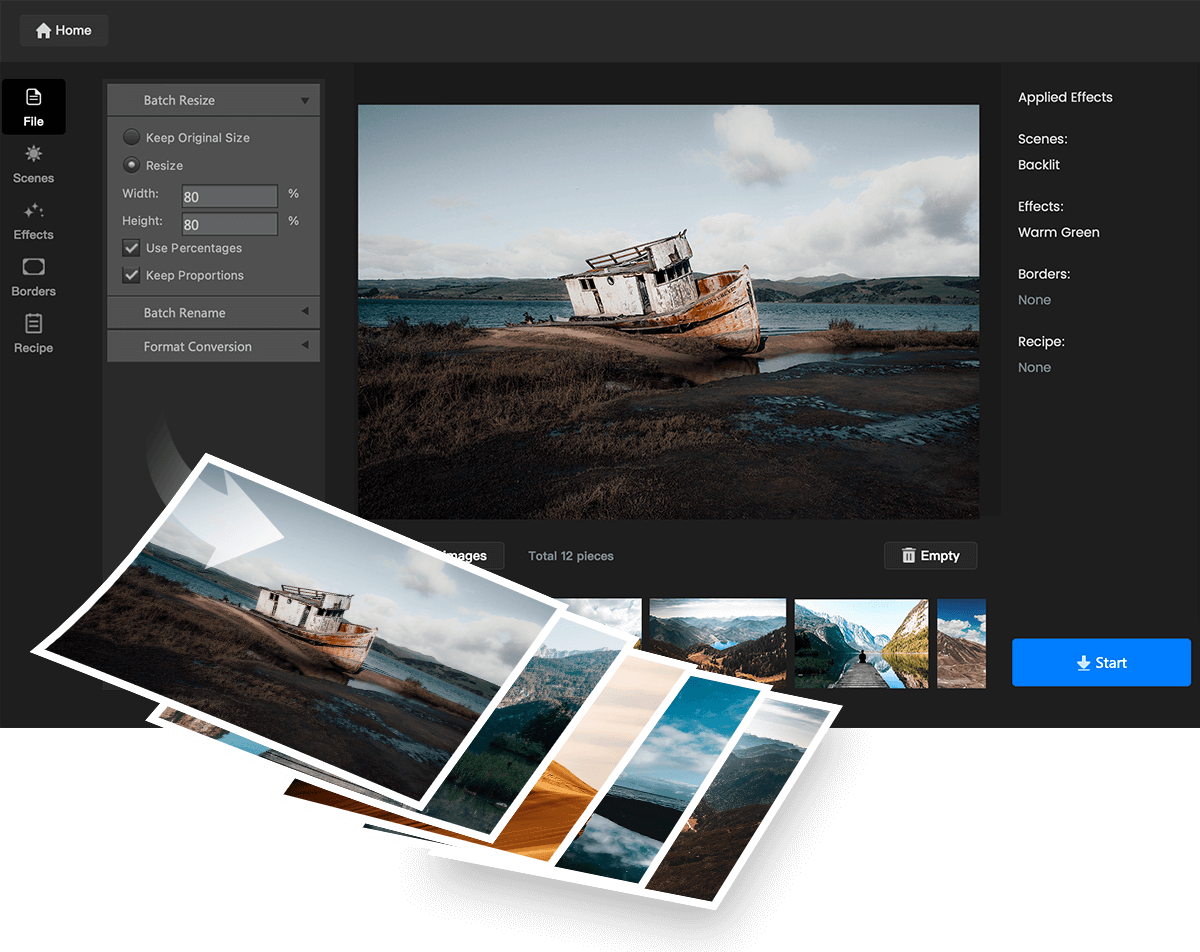
Edit Multiple Photos with Batch Photo Editor for Mac
The Fotor batch photo editor can make the same adjustments to multiple images at the same time. Using it can convert image format, adjust image size and rename. In addition, the tool also supports adding filters and borders to batches of pictures without reducing the quality of the pictures. With batch photo editor for Mac, you can complete the heavy work easier and save time editing photos more than ever.

Double Exposure Effect
Like the double-exposure art pictures on the cover of the magazine, but don't use Photoshop? Come and try the double-exposure function of the Mac photo editor. Just adding one photo, the system will automatically synthesize the double-exposure photos.
Not satisfied? Click on the other pictures we provide on the right function area to switch the effect of double exposure photos. Using Fotor's double exposure tool, turn your ordinary photos into cover shots in minutes.

HDR Photo Effects
HDR photo effects merge multiple photos of the same scene into one photo to achieve full exposure and color saturation for this photo. It also can denoise images and adjust color levels. If you are not satisfied with the photos you took, come and try our HDR photo effect for Mac.

Best Free Graphic Design Software
As the best graphic design software, Fotor can meet almost everyone's design needs. It has a design section for people who like to share socially, such as Facebook, Twitter, Instagram, and YouTube cover design. The workplace workers can use Fotor to design resumes, invitation letters, business cards, etc.
Besides, you can easily create logo designs, poster designs, and flyer designs on Mac photo editor. In short, as free graphic design software, Fotor photo editor for Mac is deeply loved by everyone.

