


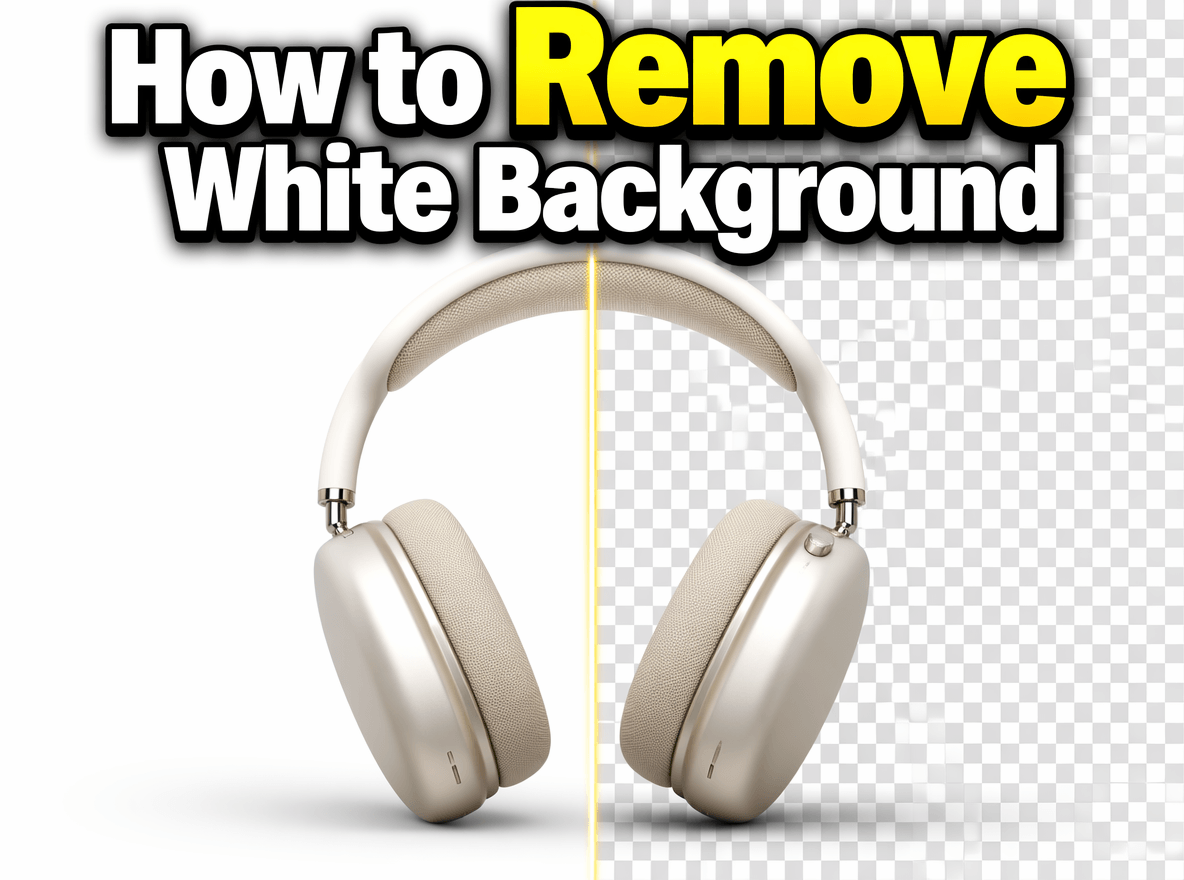
What You'll Learn
- Why white backgrounds need to be removed in real-world projects
- How traditional tools(Photoshop, Microsoft Office)perform in practice
- What Fotor's AI background remover does and how it works
- How to remove a white background in 3 steps
- Core tips to get a flawless result every time
Why Do We Need to Remove White Backgrounds from Your Images?
White background images are the most common assets we encounter daily. Their biggest advantage is that they look clean and crisp, instantly centering the viewer's attention on the main subject. For creators, using a white wall or a backdrop is also the simplest and most manageable way to control lighting during a shoot.
However, problems arise when you need to fit these images into real-world projects. If your website, banner, or presentation slides happen to be a non-white color, that rigid white box acts like an awkward "patch," ruining the overall aesthetic. The main purpose of removing the white background is to get a transparent PNG image, allowing the subject to blend seamlessly into any solid color or complex backdrop. This guide is perfect for e-commerce sellers managing product listings, developers styling logos for websites, and professionals or students creating daily presentations and posters.
Next, we’ll walk you through the solutions. Whether you want to understand classic traditional extraction methods or try out a 1-click AI tool that anyone can master, you will find the right step-by-step approach here.
Traditional Methods to Remove White Backgrounds
Before the rise of AI technology, people mainly relied on classic manual software or daily office tools to clear backgrounds. Here are the two most common traditional methods and how they perform in practice:
Adobe Photoshop (Magic Wand & Lasso Tools)
How it works: Import the image into PS, click the white backdrop with the Magic Wand tool, and hit Delete. Alternatively, use the Lasso tool to manually trace around the subject.
Pros: Highly precise for professional designers, especially when dealing with simple graphics that have sharp edges and strong color contrasts.
Cons: Steep learning curve and tedious workflow. If the subject contains white elements (like a white shirt or shiny reflections), it easily erases parts of the subject. Handling intricate details like hair is extremely time-consuming.
Microsoft Office (Set Transparent Color Feature)
How it works: Insert the image into PowerPoint or Word, navigate to the "Picture Format" menu, select the "Set Transparent Color" brush, and click on the white background.
Pros: Readily available without installing extra design software—perfect for quick, on-the-go fixes during presentation prep.
Cons: Extremely limited. It only works well for absolutely solid white backgrounds with very simple geometric icons. For complex photos, it leaves heavy, jagged white edges, making the result look unprofessional.
Say Goodbye to Manual Editing: Switch to Fotor AI
Fortunately, you don't have to suffer through those tedious traditional workflows. Modern AI technology has completely transformed this inefficient process, turning what used to be minutes of tedious manual labor into a 1-click operation that takes only seconds. Among the options available, Fotor stands out as the ideal platform to help you ditch manual editing for good.
What Is Fotor’s White Background Remover?

To put it simply, Fotor’s background remover is an online, AI-powered extraction assistant. You don't need to fiddle with complex layers, tolerance settings, or selection paths as you would in Photoshop. Its core advantage is that it is entirely automatic.
Trained on millions of images, Fotor's AI intelligently distinguishes the main subject—whether it’s a person, a product, a logo, or an animal—and isolates it from the white backdrop. Most importantly, it excels at handling tiny details that typically frustrate manual editors, such as messy hair, clothing fibers, or semi-transparent shadows, ensuring smooth and natural edges without leaving ugly white jagged lines.
How to Remove White Background from Image with Fotor?
Using Fotor to clear a white backdrop requires zero learning curve. The entire process takes just three straightforward steps:
1. Upload Images
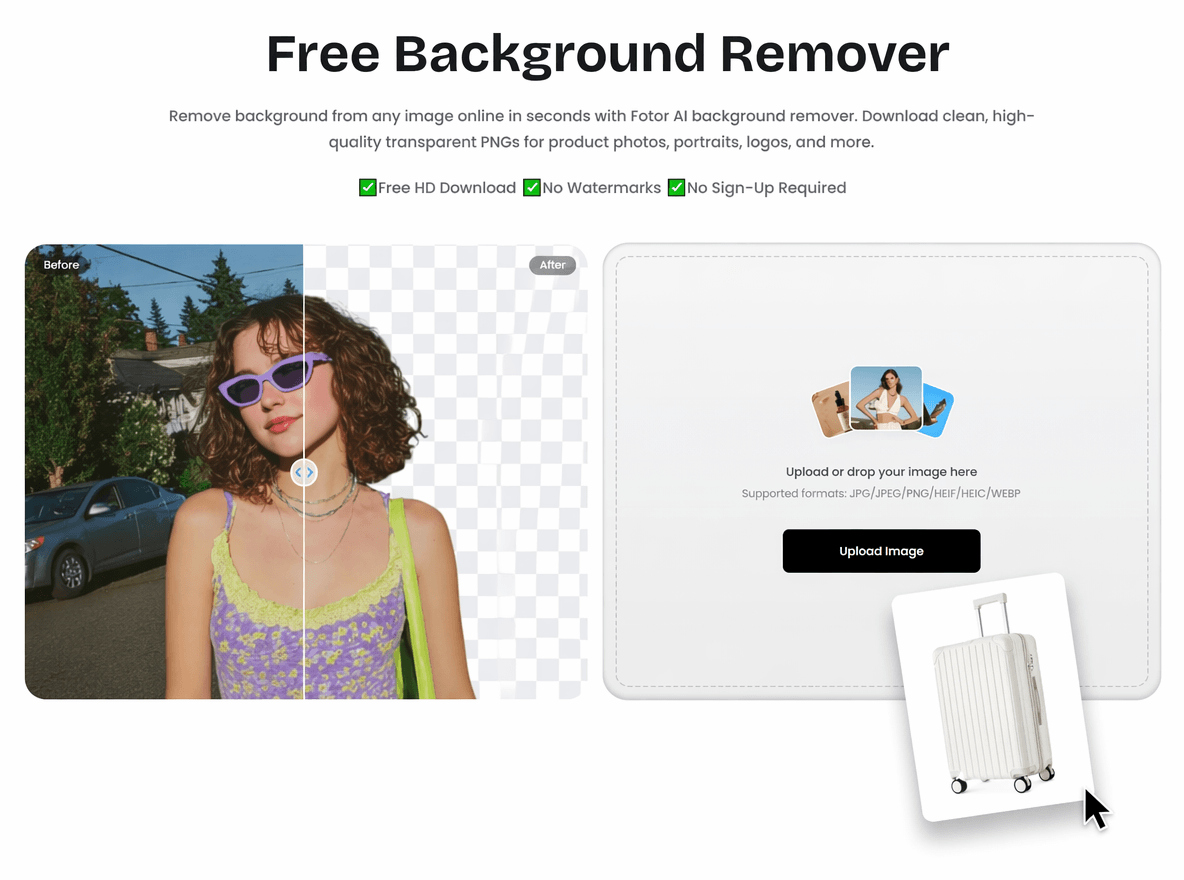
Open Fotor’s online background remover, then drag and drop your white-background image into the workspace, or click to select and upload your file. (Supports most common image formats, including JPG, JPEG, PNG, HEIF, HEIC, and WEBP.)
2. Let AI Remove It
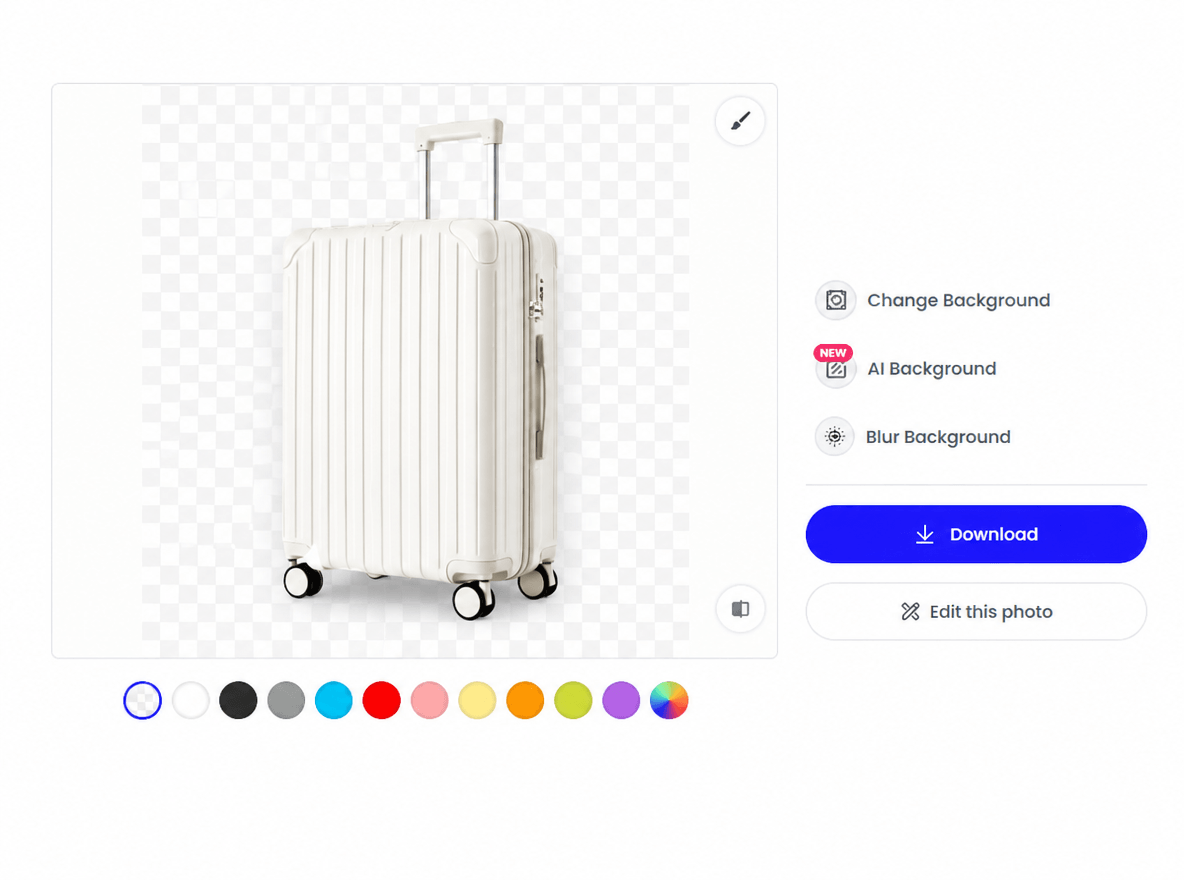
The moment your photo is uploaded, the AI instantly detects and removes the white backdrop. No manual brushing is needed—you will see the transparent preview on your screen within two to three seconds.
3. Download as PNG

Once you are happy with the result, click download. Make sure to choose the PNG format to keep the background perfectly transparent, so you can drop it onto any other design later.
Core Tips for Removing White Backgrounds with AI
To get a flawless, professional result every single time, keep these practical tips in mind:
Always Save as PNG: JPEGs do not support transparency. If you accidentally download your image as a JPEG, the system will automatically fill the empty space with a solid white background again.
Use the Refine Brush for Fine-Tuning: If your subject contains elements that are also pure white (like a white shirt or bright reflections), the AI might occasionally over-erase. You can easily use Fotor's built-in "Erase/Restore" brushes to manually paint those details back.
Enhance Low-Res Images First: AI performs best when it has plenty of pixel data to work with. If your original photo is blurry or low-resolution, you can use Fotor’s Photo Enhancer first to boost the image resolution and clarity, making it much easier for the AI to detect perfect edges.
Frequently Asked Questions
- Why does my image still have a white background after I remove it?
This happens when the file is saved as a JPEG. JPEGs do not support transparency—the system will automatically fill the empty space with a solid white background. Always choose PNG format when downloading.
- What if the AI erases white parts of my subject (like a white shirt)?
You can use Fotor's built-in "Erase/Restore" brushes to manually paint those details back. This gives you precise control over any areas the AI may have over-erased.
- Do I need design skills to use Fotor's background remover?
No. Using Fotor to clear a white backdrop requires zero learning curve. The entire process is entirely automatic—upload, let AI process, and download.
- What image formats does Fotor support?
Fotor supports most common image formats, including JPG, JPEG, PNG, HEIF, HEIC, and WEBP.
Conclusion
Removing a white background from an image might seem like a small tweak, but it unlocks endless creative possibilities. Once you have that perfect transparent PNG, you can drop your subject onto any new backdrop with ease—whether you’re designing high-end product posters for e-commerce, styling a sleek brand logo, or producing eye-catching social media graphics.
While traditional methods like Photoshop still have their place, Fotor’s AI background remover is undoubtedly the faster, error-free choice if you want to save time and secure flawless edges. Head over to Fotor today, give it a try, and break free from that rigid white box for good!